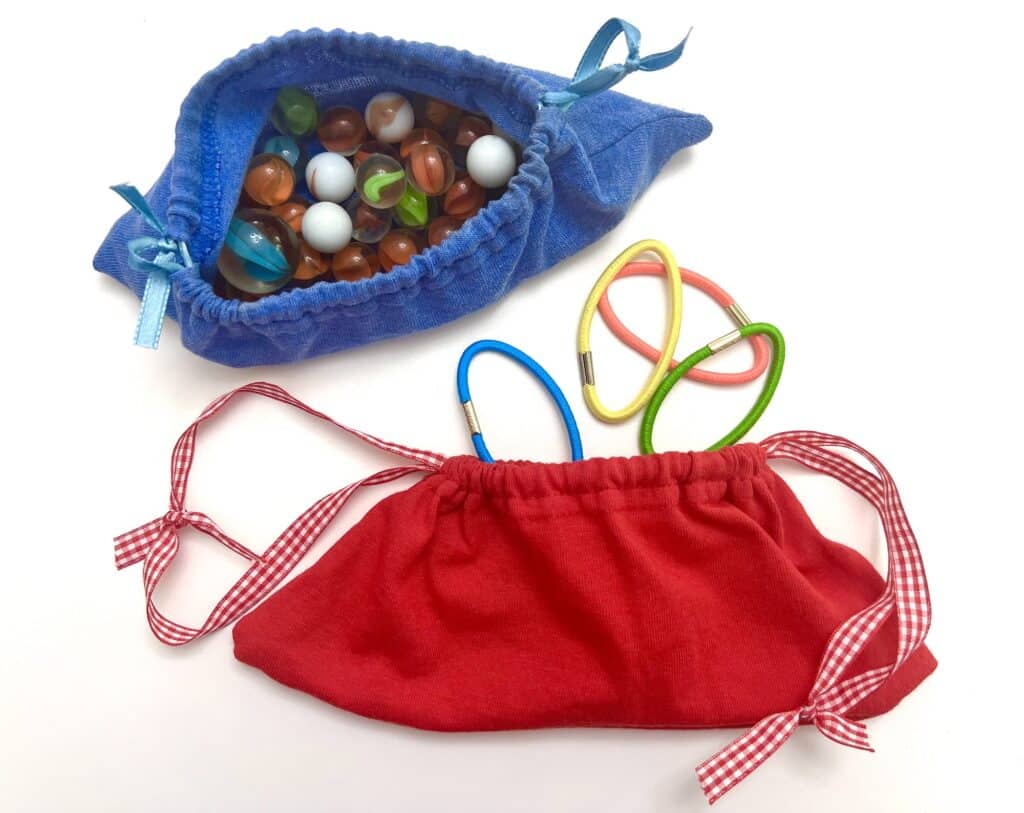
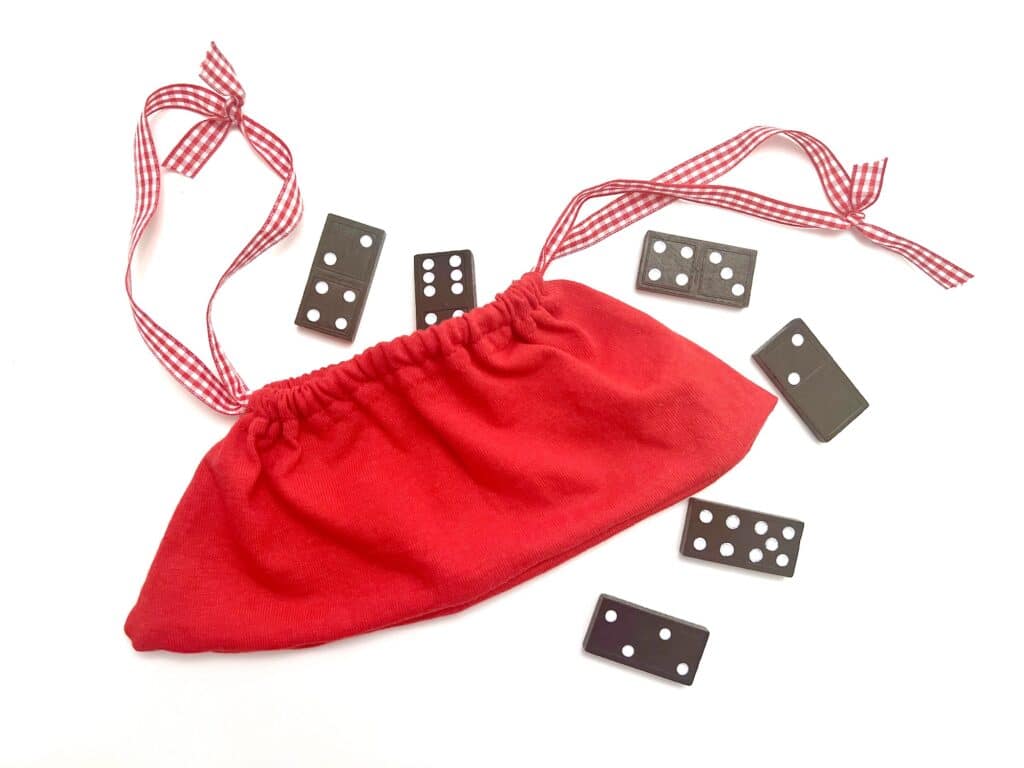
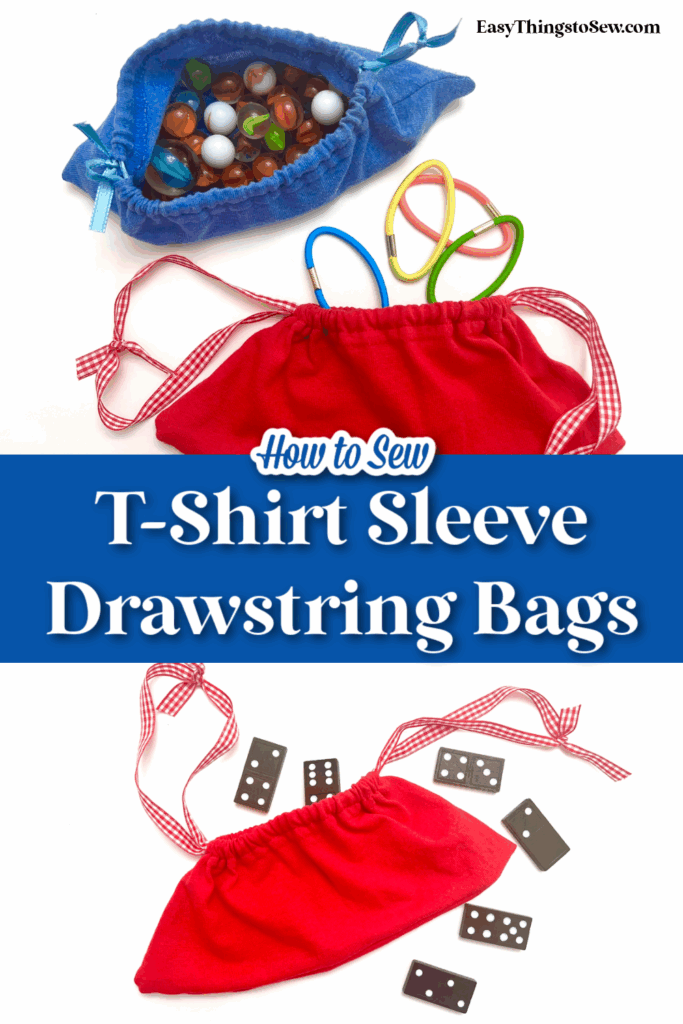
T-Shirt Sleeve Drawstring Bags (with Video Tutorial)
If you use old t-shirts to make T shirt yarn, t-shirt quilts or an easy t-shirt bag, then you will have leftover sleeves. Instead of throwing the shirt sleeves away, you can easily repurpose them to make small drawstring bags!
These DIY t-shirt sleeve drawstring bags are perfect for small items, such as:
- Game pieces
- Legos or plastic building blocks
- Marbles
- Dominoes
- Playing cards
- Dice
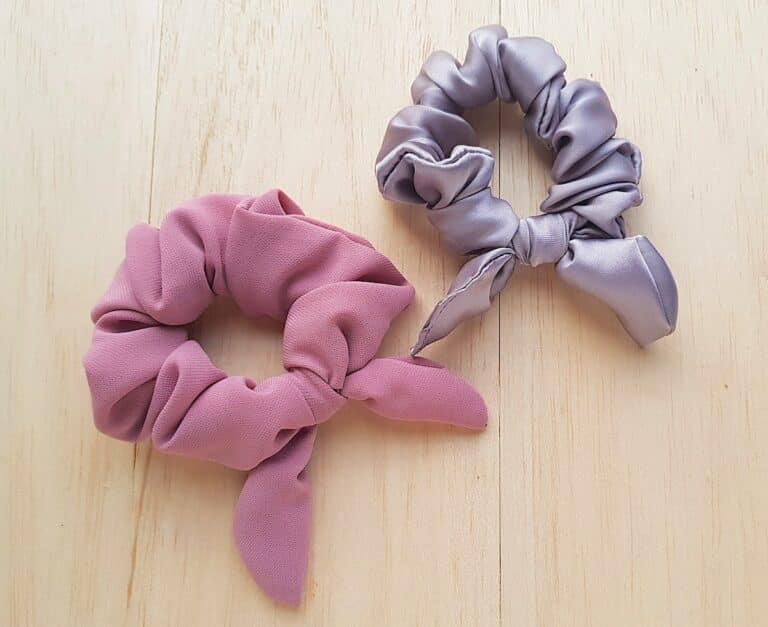
- Hair accessories
- Doll accessories
- Snack bags
This is just one of our easy sewing projects that cost less than $1 to make!
How to Make a Drawstring Bag from T-Shirt Sleeves
The bigger the sleeve, the bigger the bag you will make. This tutorial works the same for any size sleeve.
When sewing jersey knit fabric, it is recommended to use a ball point sewing needle. However, with this project I chose to use my normal sewing needle and it worked fine.
Supplies
- T-shirt sleeve (short sleeve, not long sleeve)
- Thin Ribbon, Cord or T-shirt Yarn
- Small safety pin
- Scissors or Rotary Cutter
- Ball Point / Jersey Fabric Sewing Machine Needle (optional)
Directions
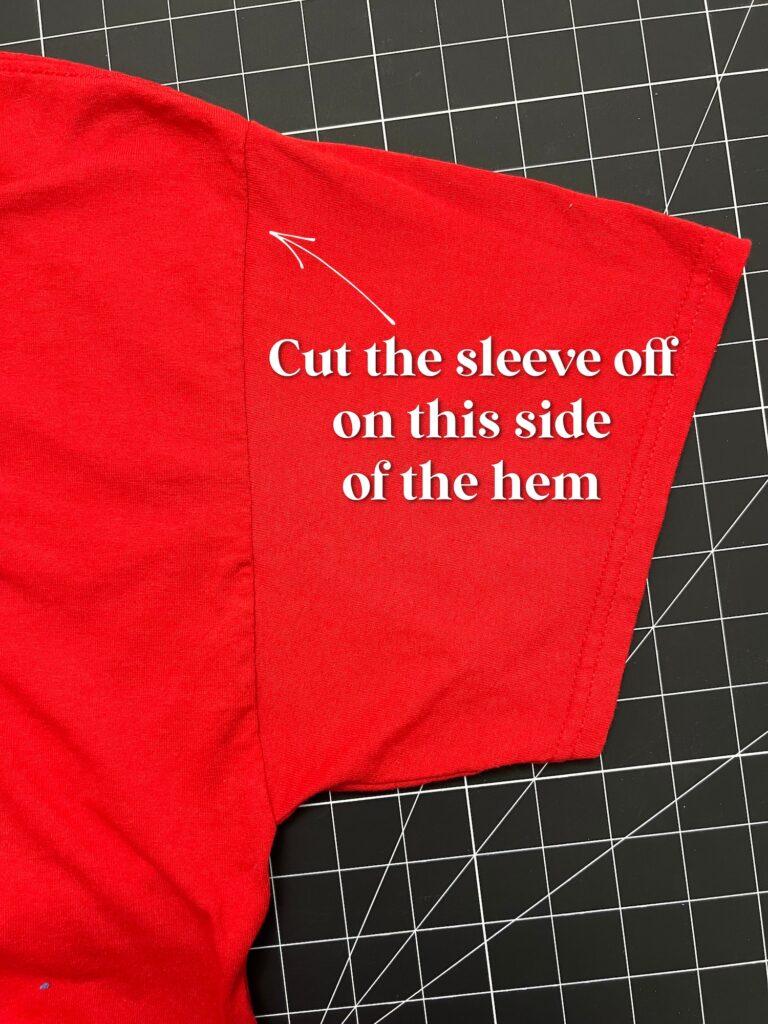
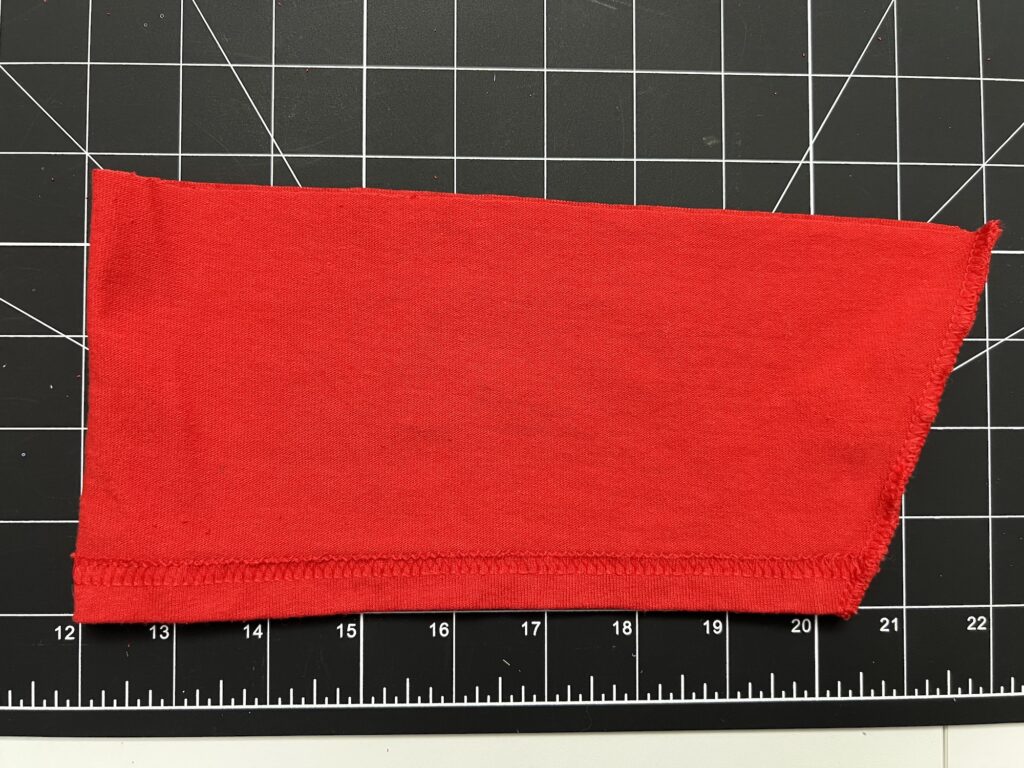
Cut the sleeve off of the t-shirt close to the seam, but do not include the thick hem on your fabric.

Even off the cut end of the sleeve with a straight line to be parallel to the existing finished hemmed edges.
To keep as much fabric as possible in the bag, I laid a ruler at the widest edge of the cut sleeve, then drew a straight line across the sleeve.
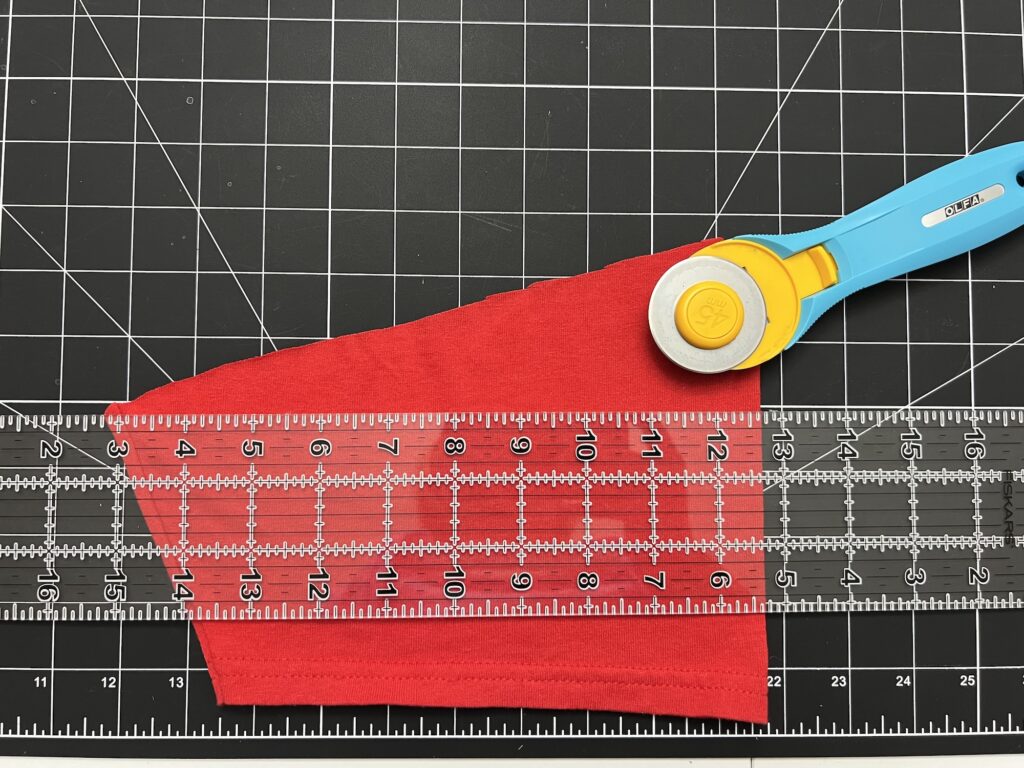
Cut away the excess fabric.
Optional: I wanted to keep as much fabric as possible for the drawstring bag, so I did not even out the angled side. If you would like to square off the side, draw another straight line on the sleeve up and down, then cut. Turn the sleeve inside out and sew those raw edges together. Then continue with the remainder of this tutorial.
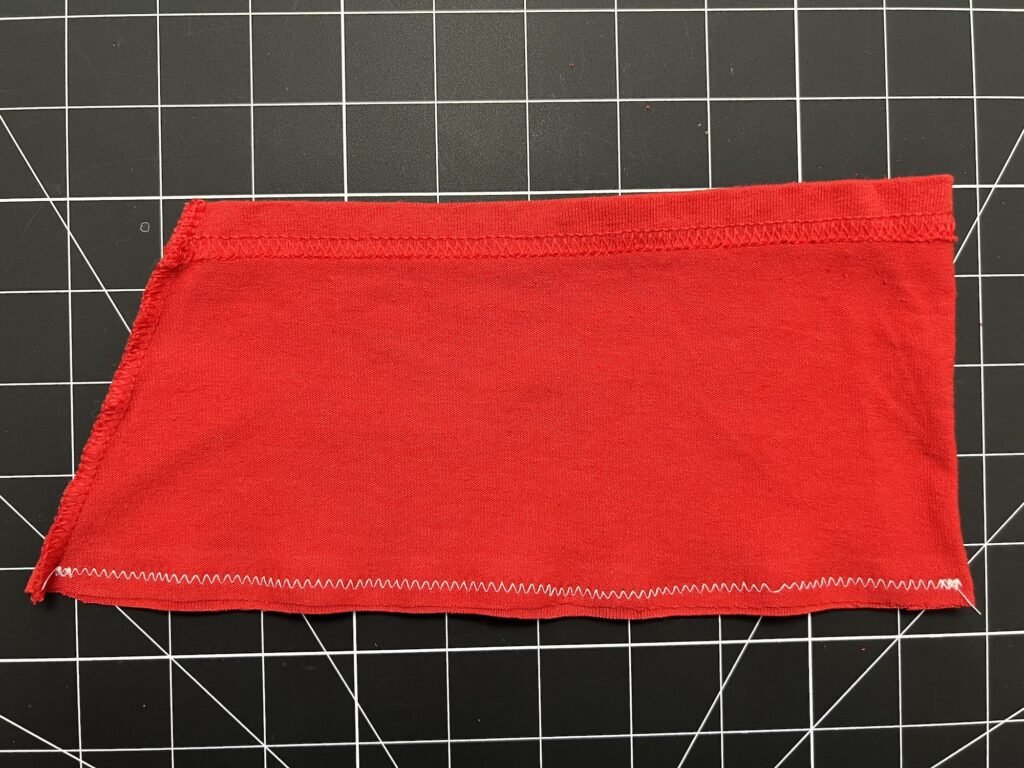
Turn the sleeve inside out.
Sew along the long cut edge, using a 1/4 inch seam allowance. Use a small zig-zag stitch, if possible. Be sure to backstitch at the beginning and end of your stitching.

Helpful Hint: Zig-zag stitching allows the t-shirt fabric to stretch. Smaller stitch length will allow for the most stretching. However, these small bags will likely not receive much stretching on the bottom during their use, so it would be okay to use a normal stitch if you are not comfortable changing the settings of your machine.
Turn the drawstring bag inside out so that the right sides are facing outwards.
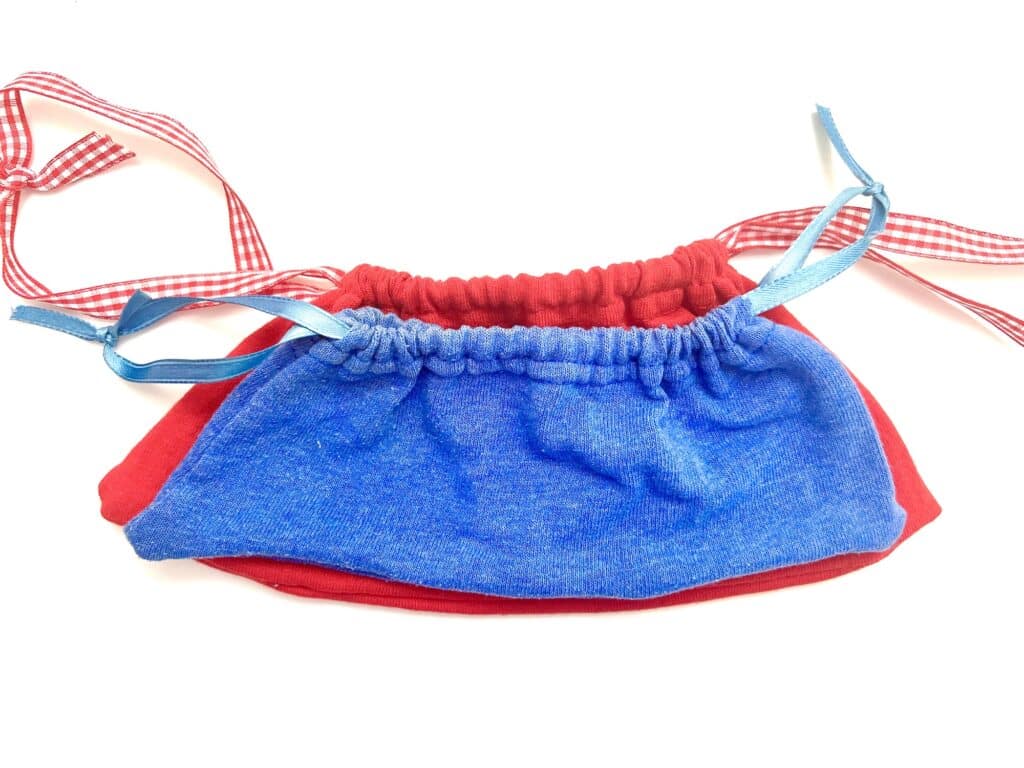
(I forgot to take pictures with the red sleeve, so the rest of the photos are with the blue sleeve bag I made.)
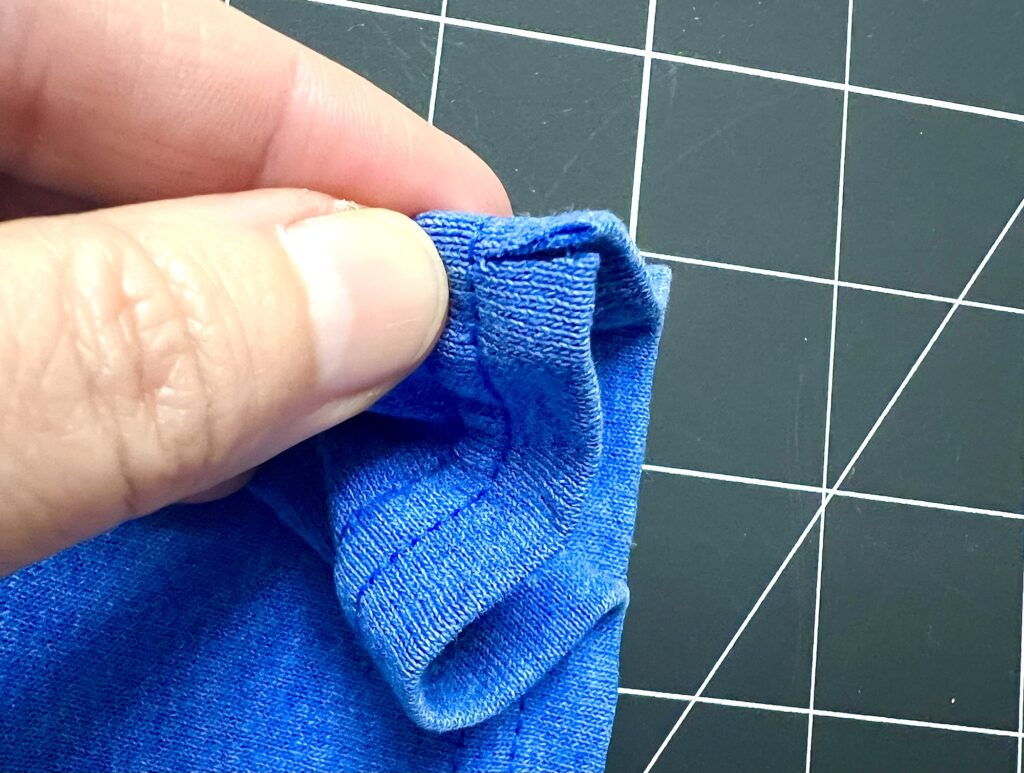
Now it’s time to cut small slits in the t-shirt sleeve hems (the ones the t-shirt came with) to make the drawstring cord casings. These cuts will be on the natural folds of the sleeve, which are now the outer corners of the drawstring bag.
Using small sewing scissors, cut through the folded hem up to the stitching but do not cut through the stitching.
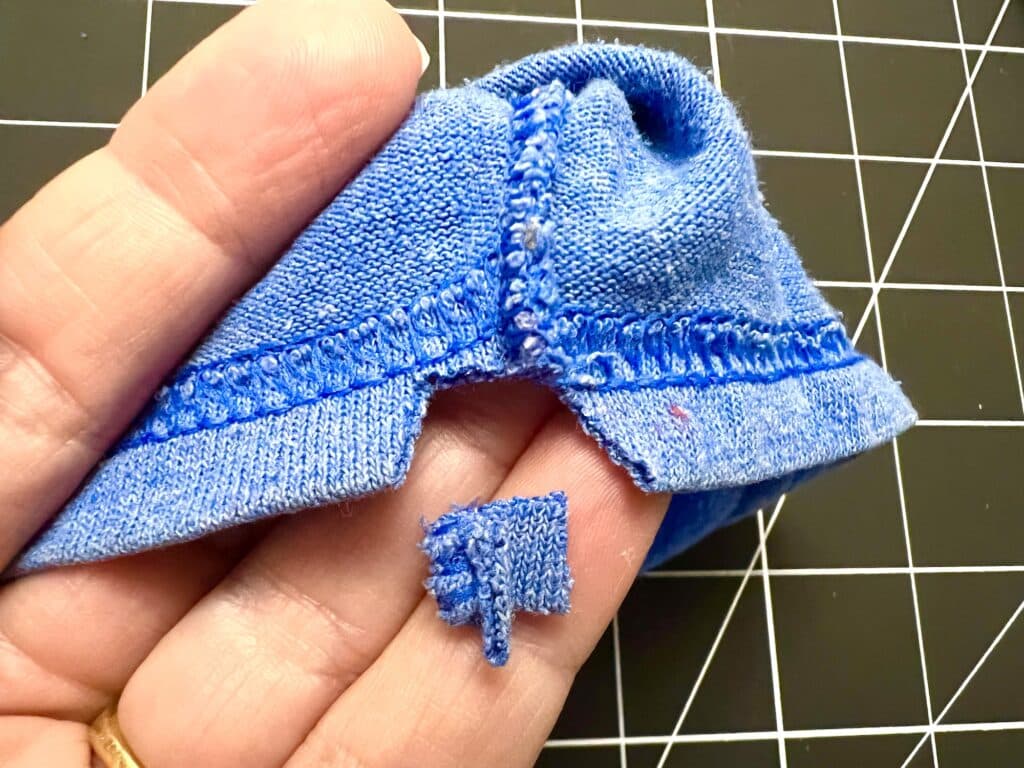
Make one cut on each folded edge. On one of the edges you will have the stitched seams, which will be bulky and not allow you to pass a cord through the casing. Cut away the stitching, making a very small square to remove the bulk.
Cut two lengths of cord or ribbon for the drawstrings. For the measurement, lay the ribbon across the top of the drawstring bag. Double that measurement then add 2-3 inches.
Using one piece of ribbon, attach a small safety pin to the end. Insert the safety pin through one open end of a casing. Using a push then pull method, work the safety pin through the casing to come out the other side.
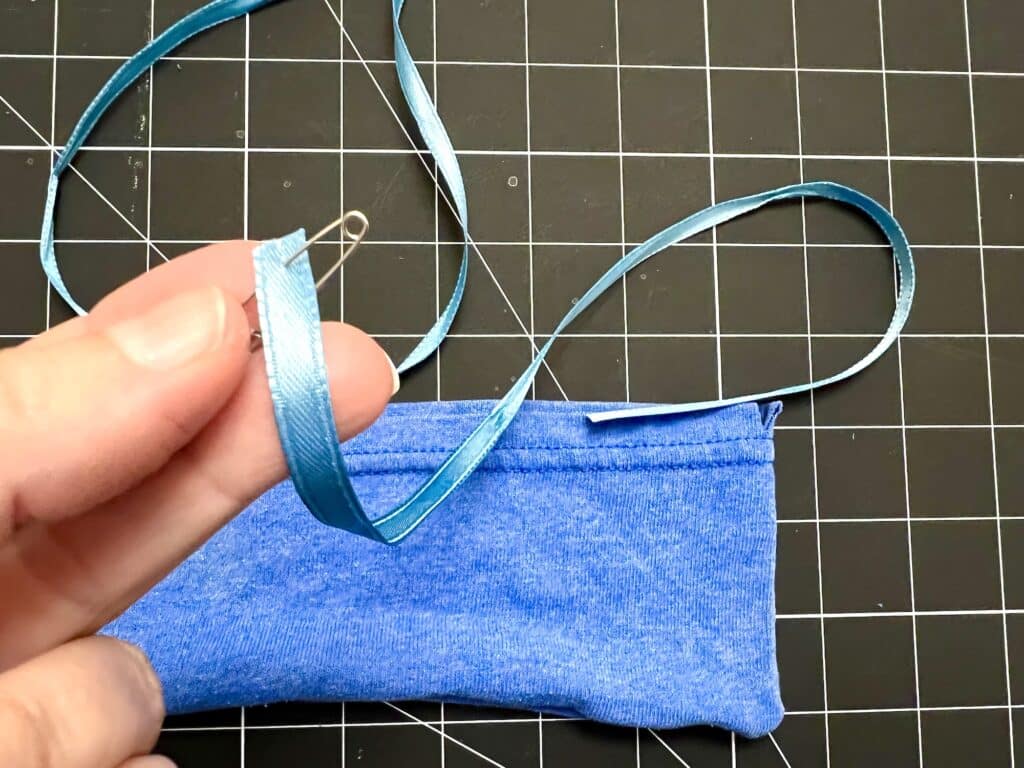
Be sure to hold on to the other cut end of the ribbon so that you don’t accidentally pull it completely through the casing! (Ask me how I know, LOL!)
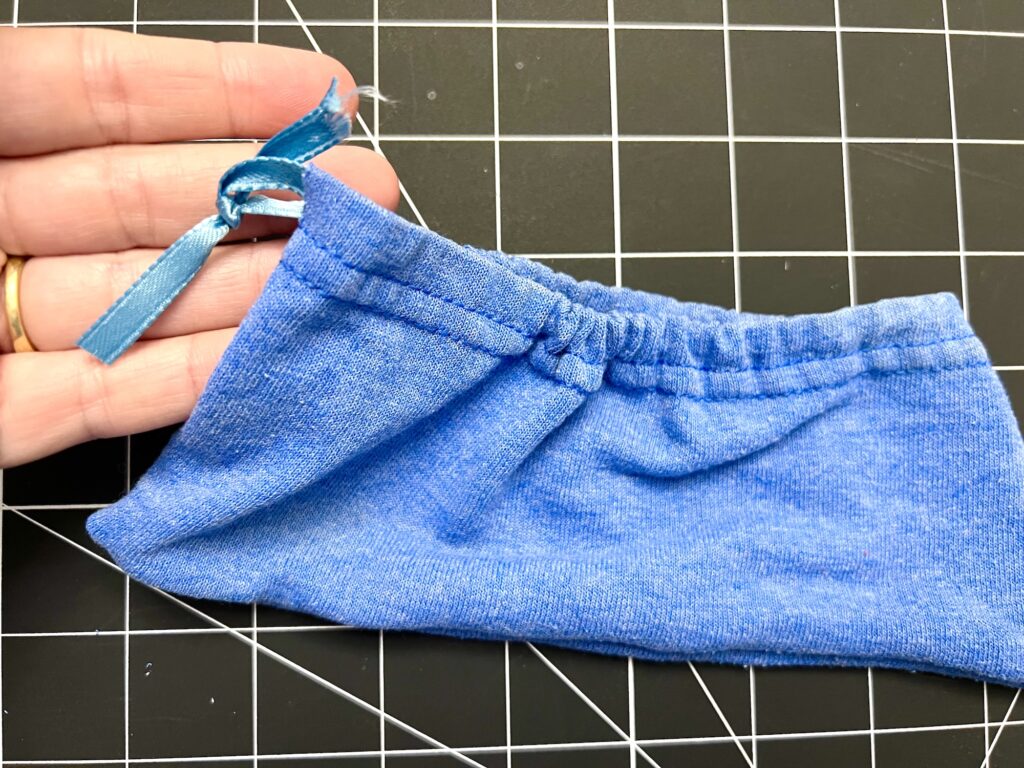
Once the safety pin has been drawn through one casing, put it into the other casing and use the same method to draw it through. Once the safety pin comes out the other side, adjust the gathers on the bag so that you have the long ends of the ribbon hanging out. Then tie the ends of the ribbon in a knot.
Repeat this same process using the other piece of ribbon. Insert the safety pin into a casing on the side with the folded ribbon going through the casings (not the side with the knotted ribbon).
Optional: You could just use one piece of ribbon if you choose to have just one drawstring.
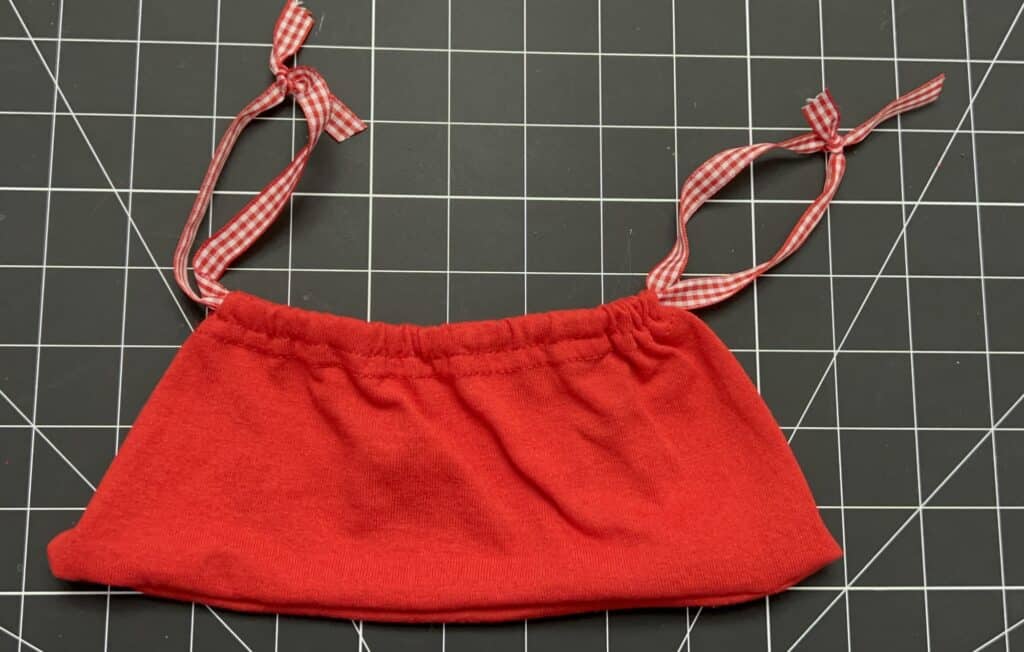
After both ribbons are drawn through the casings in opposite directions, your small drawstring bag pouch is done!
Want to watch me make these bags? Check out our YouTube video below:
…
Be sure to Pin This Idea to save for later!
These small drawstring bags are a favorite Operation Christmas Child shoebox sewing project, especially if you are already making t-shirt jump ropes.
Drawstring bags are so easy to make! See these bag variations next:
- How to Sew a Drawstring Bag (with cotton fabric)
- DIY Crayon Bag
- Round Pouch for Marbles
- Lined Fabric Gift Bags