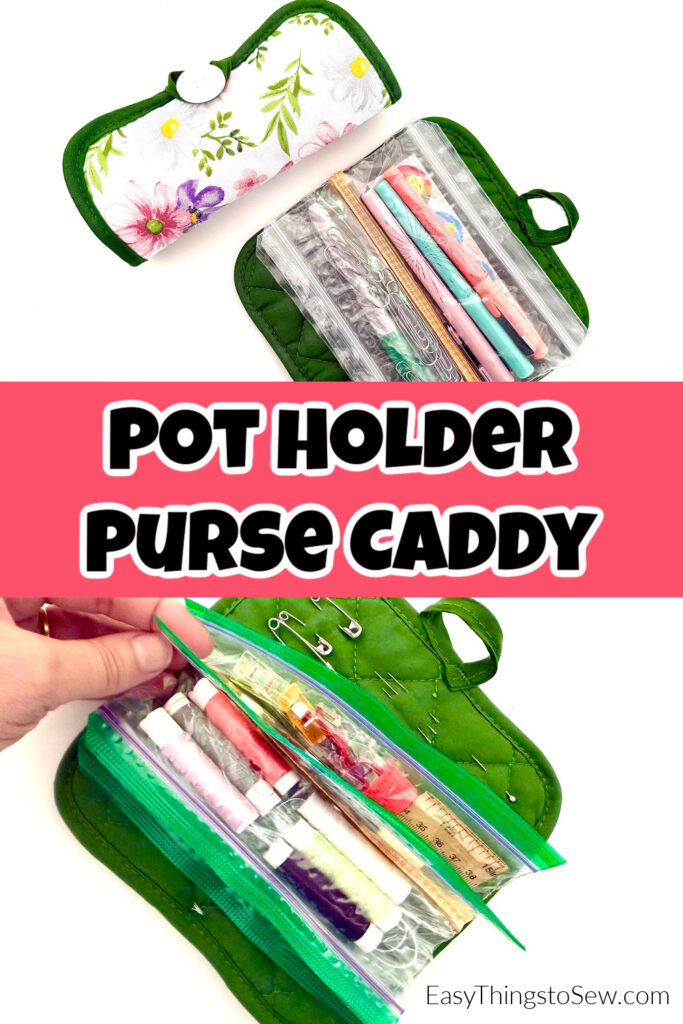
Pot Holder Purse Caddy (Or Use as a Sewing Kit)
Pot holder crafts are fun to make because they are quick, easy and inexpensive. This pot holder purse organizer can be made in 10 minutes or less and costs less than $2.
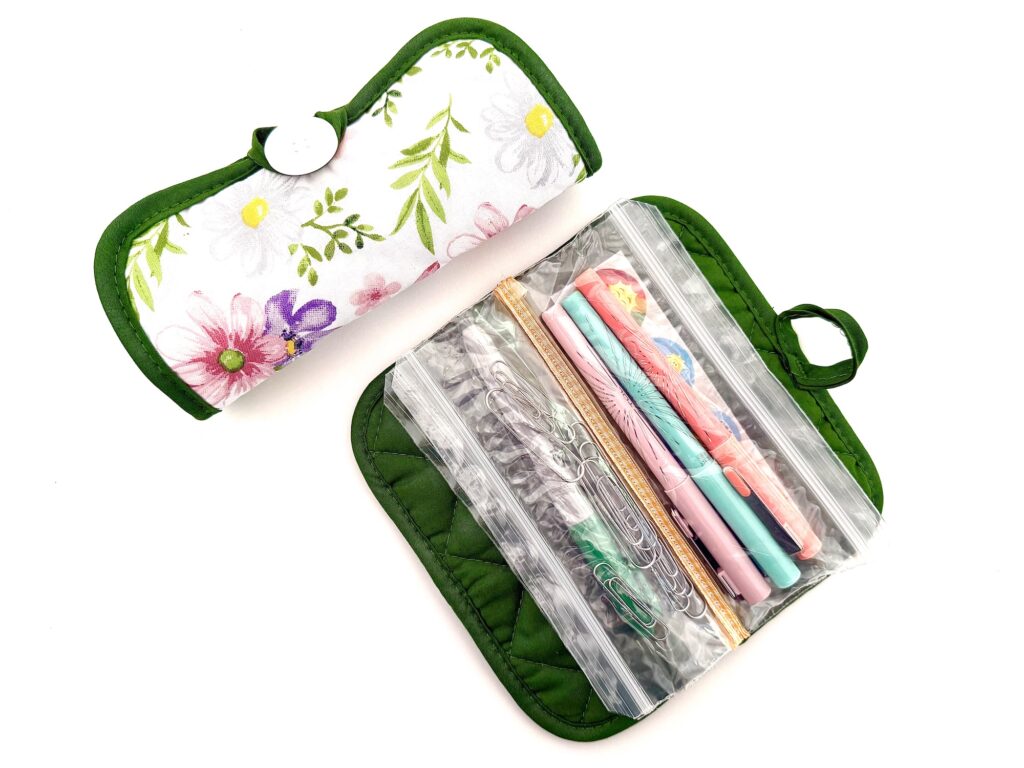
This pot holder organizer can be used in so many ways, such as:
- Purse organizer
- Sewing kit
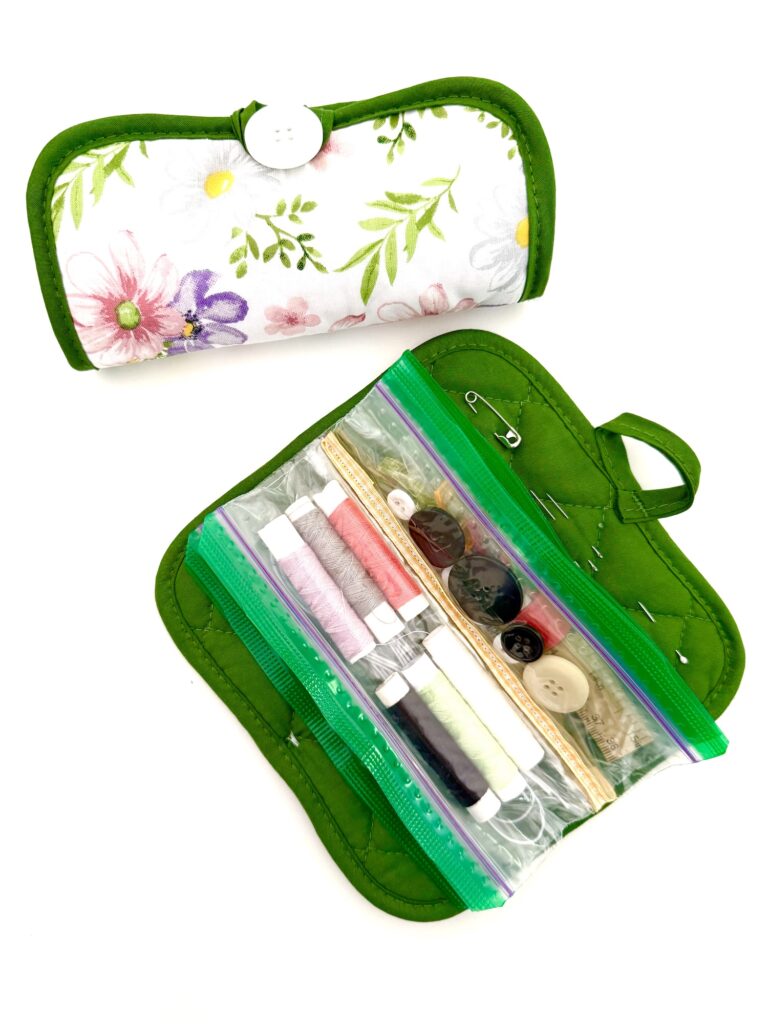
- Jewelry organizer
- Pen and pencils organizer
- First aid kit
This is an excellent craft to sew to sell! It doesn’t cost much to make, yet you can charge at least $4-$6 for each one.
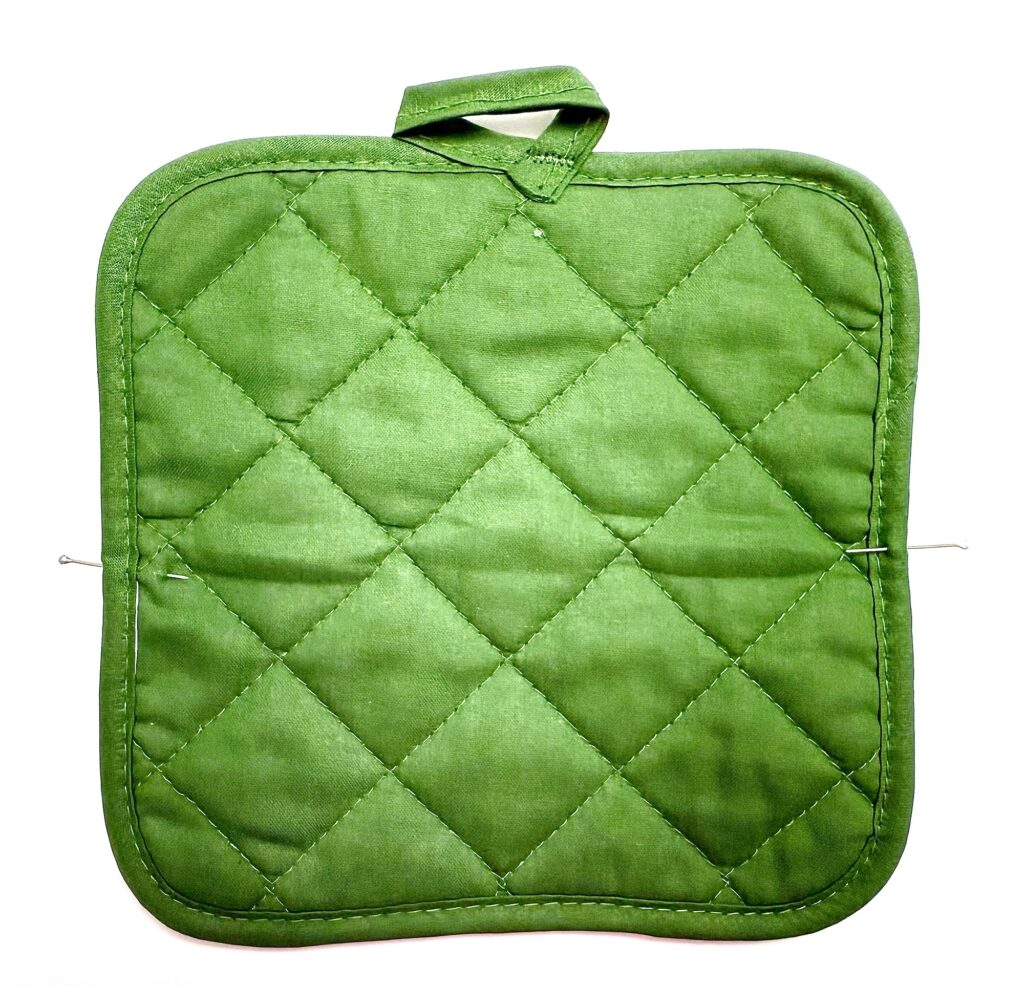
We used inexpensive pot holders from Dollar Tree, Dollar General and Walmart to make these cute pot holder caddies.
Pot holders are often sold in packs of 2, so you could get each pot holder for under $1, which makes these one of our Sewing Projects that Cost Less Than $1.
How to Sew a Pot Holder Purse Caddy
Watch me make a pot holder purse caddy in my YouTube video below.
Supplies
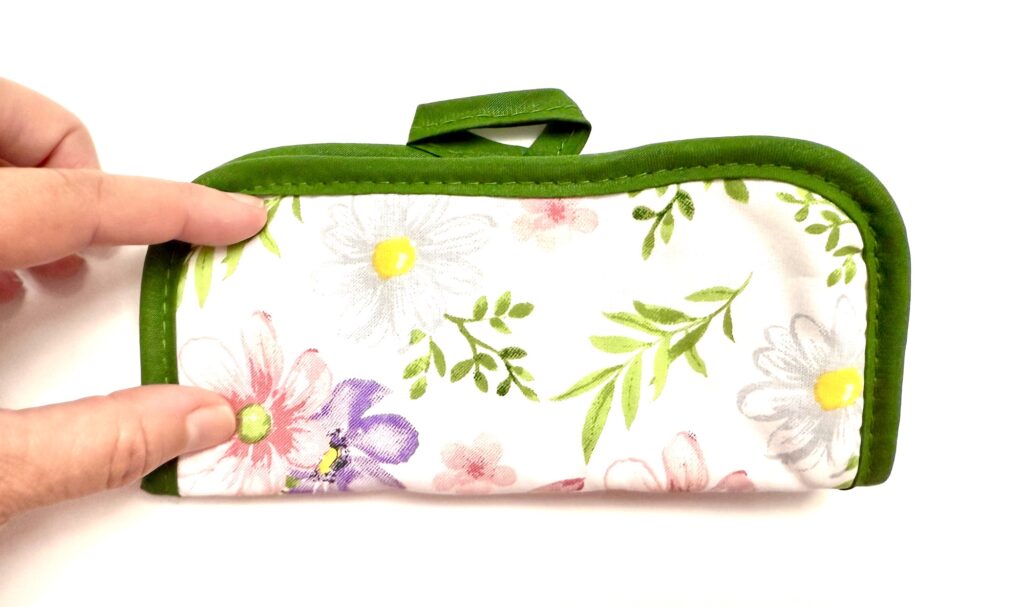
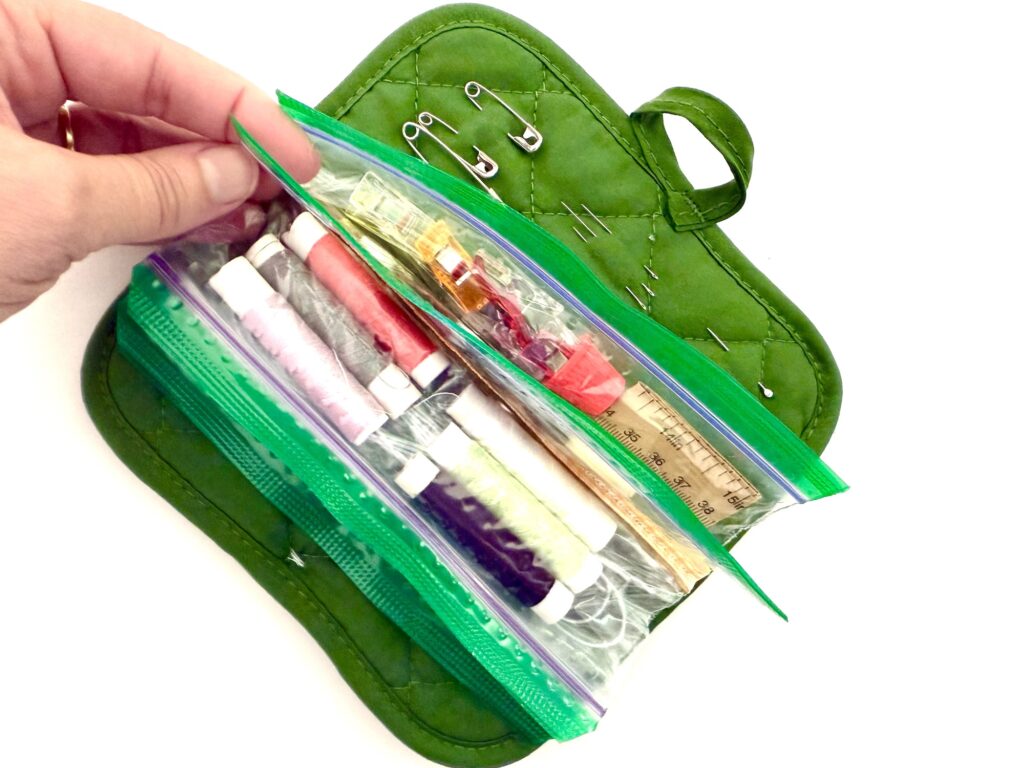
- One pot holder (loop should be on the side, not on the corner)
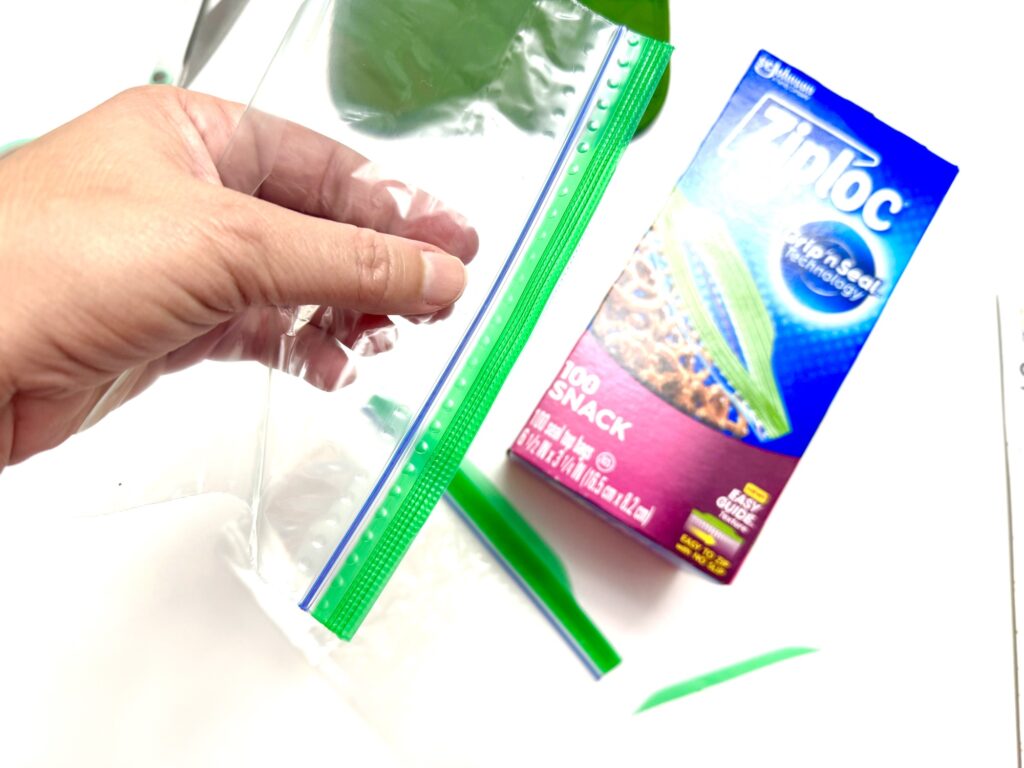
- 4-6 Snack-size plastic zip-top bags (such as Ziploc)
- Button
- Ribbon
- Sewing clips and pins
- Hand sewing needle
Directions
Fold the potholder in half. Put a pin on either side of the pot holder where it folds. Open up the pot holder again to lay it flat.
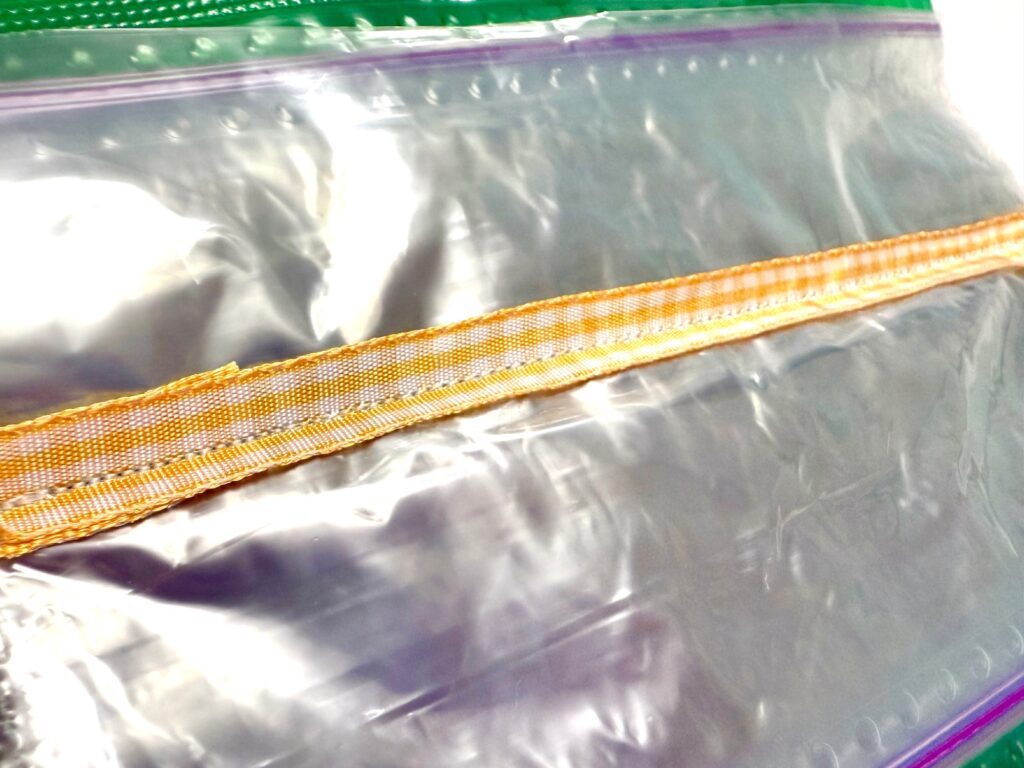
Lay one plastic zip top snack bag on the pot holder, making sure the edges do not overlap the top sides. The bottom of the bag should overlap the mid-way point where you placed a pin.
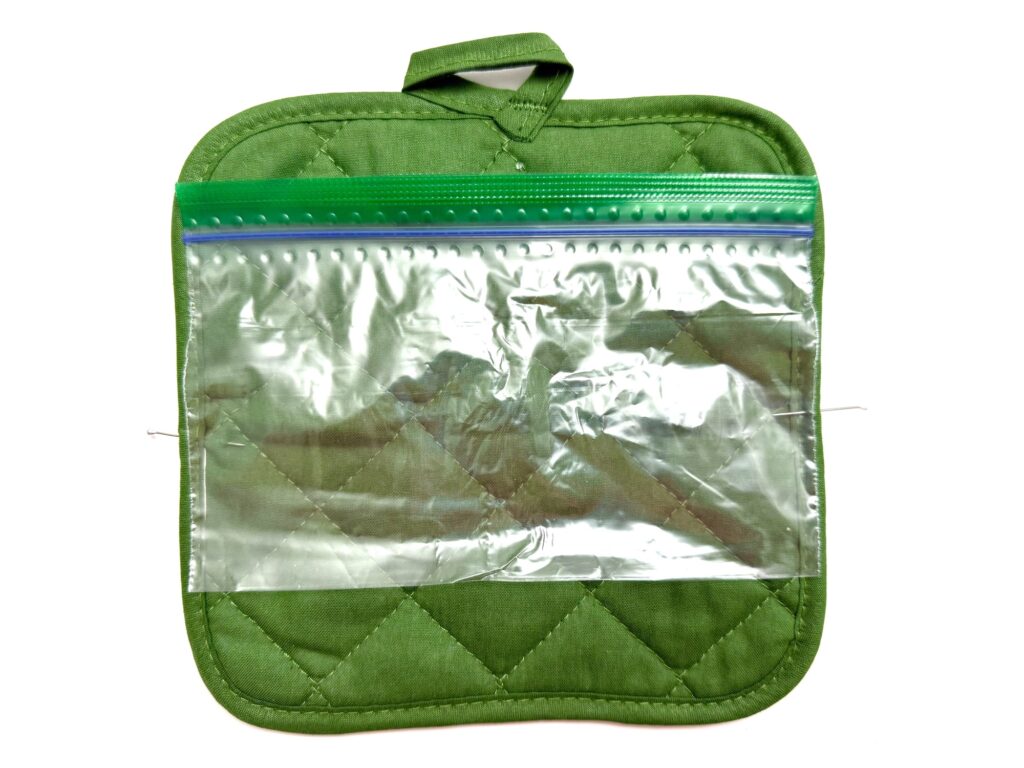
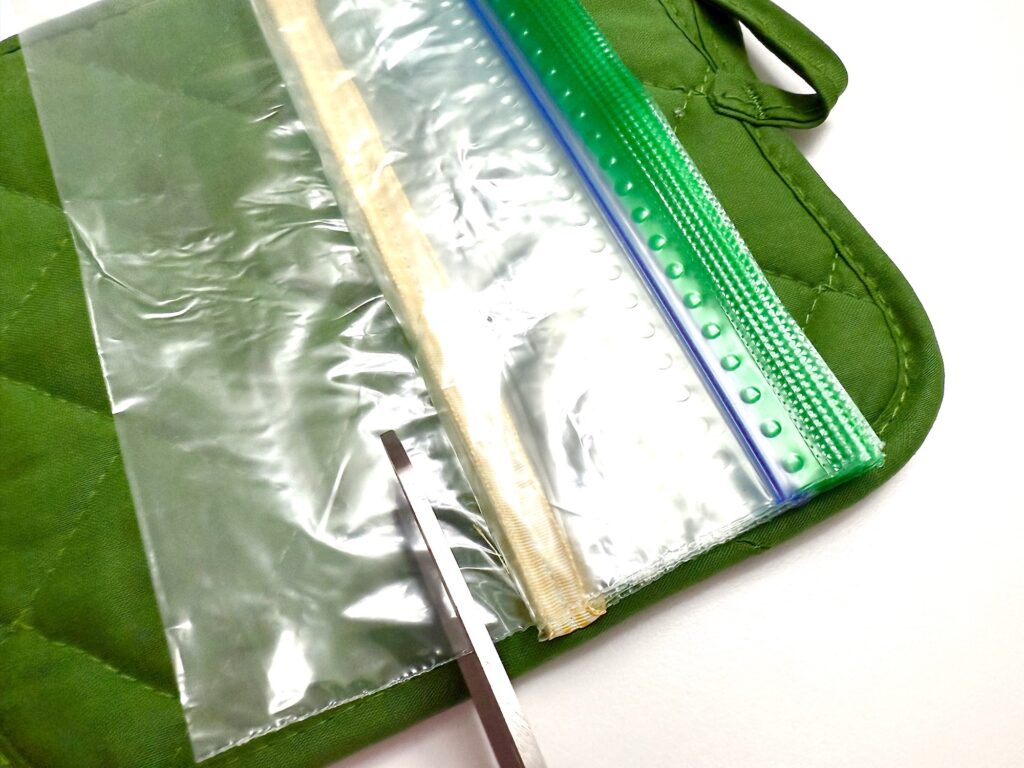
You can trim the tops of the plastic bags if desired, as I did with my Ziploc plastic bags.
Then place another plastic bag on top of the pot holder, facing the opposite direction. The end of the bag will overlap the first plastic bag.

Continue adding zip-top plastic bags in the same method. We suggest only using 4-6 bags in each pot holder caddy.
Once all of the bags are laid down, use sewing clips (or clothespins) to secure the bags to the pot holder so that they don’t slide around.
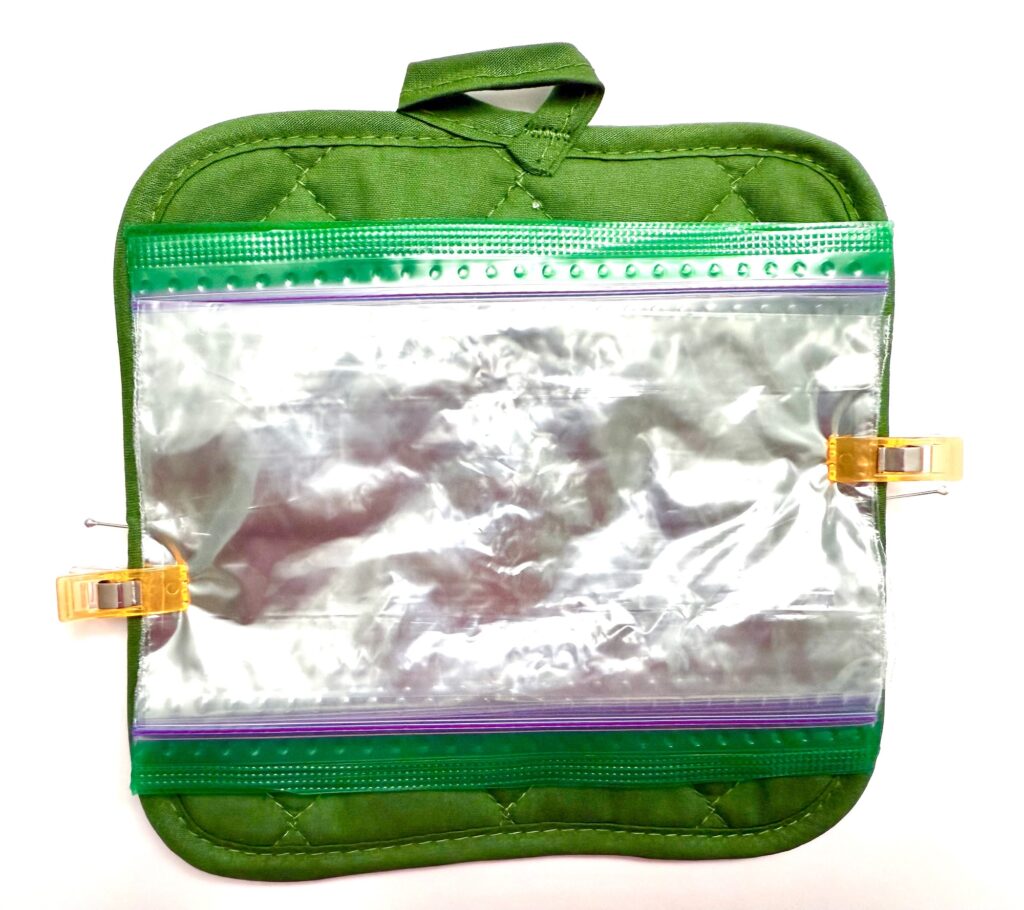
Measure a piece of ribbon that is as wide as the pot holder, plus a couple more inches.
Lay the ribbon over the bags at the mid-way point on the pot holder where you placed the pins.
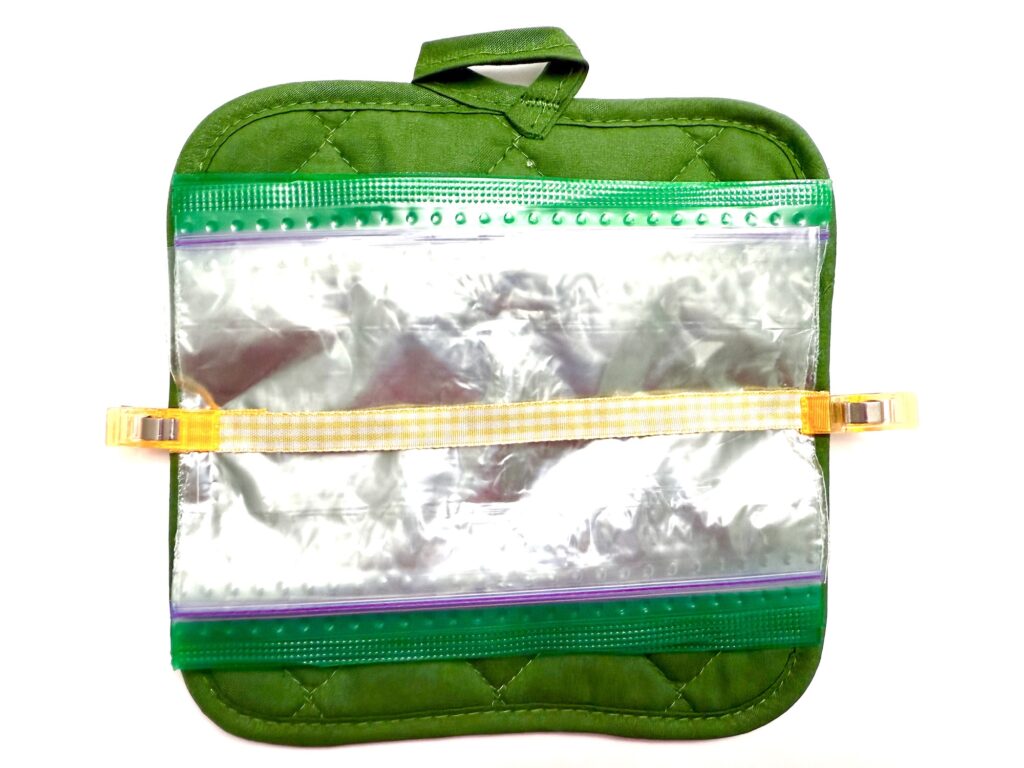
Tuck under the raw edge of the ribbon underneath the stack of plastic bags on either side. Pin to secure.
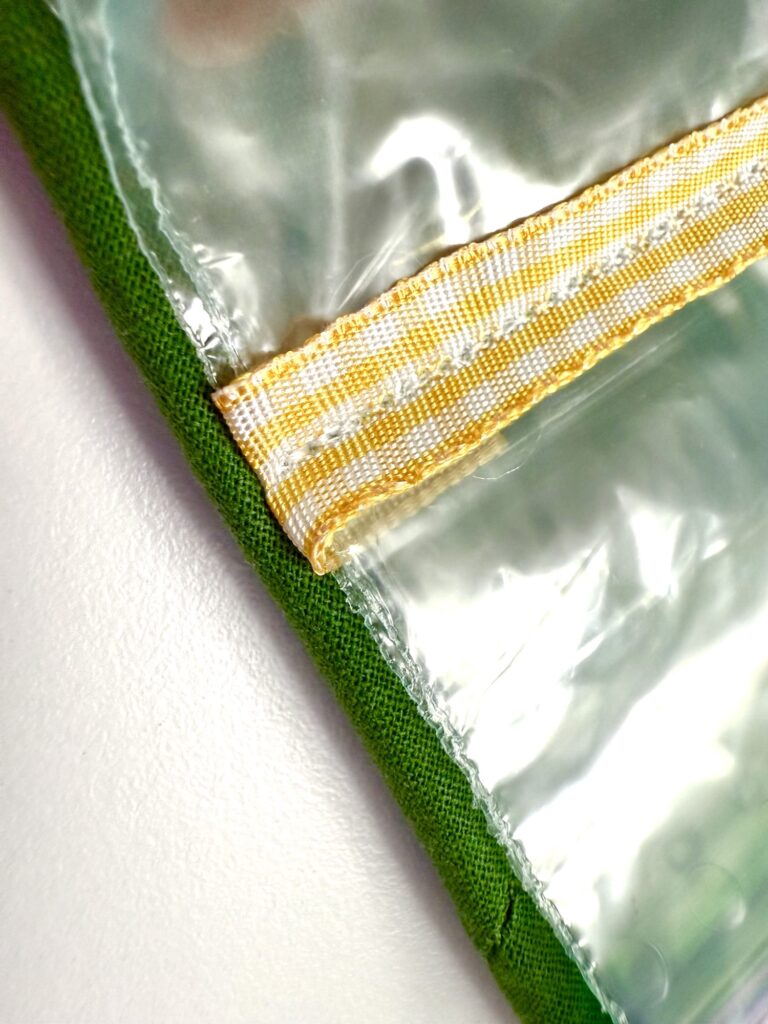
Sew a straight stitch in the middle of the ribbon, being sure to backstitch at the beginning and end. You will want to sew slowly since the bags can slide around.
Now trim the closed ends of the bags found on either side. Use scissors to cut close to the ribbon to trim off this excess, but be sure to cut only the closed ends and not the other bags layered!
Fold the pot holder in half to close. Determine where to put the button so that the pot holder loop can overlap the button to secure and secure in place.
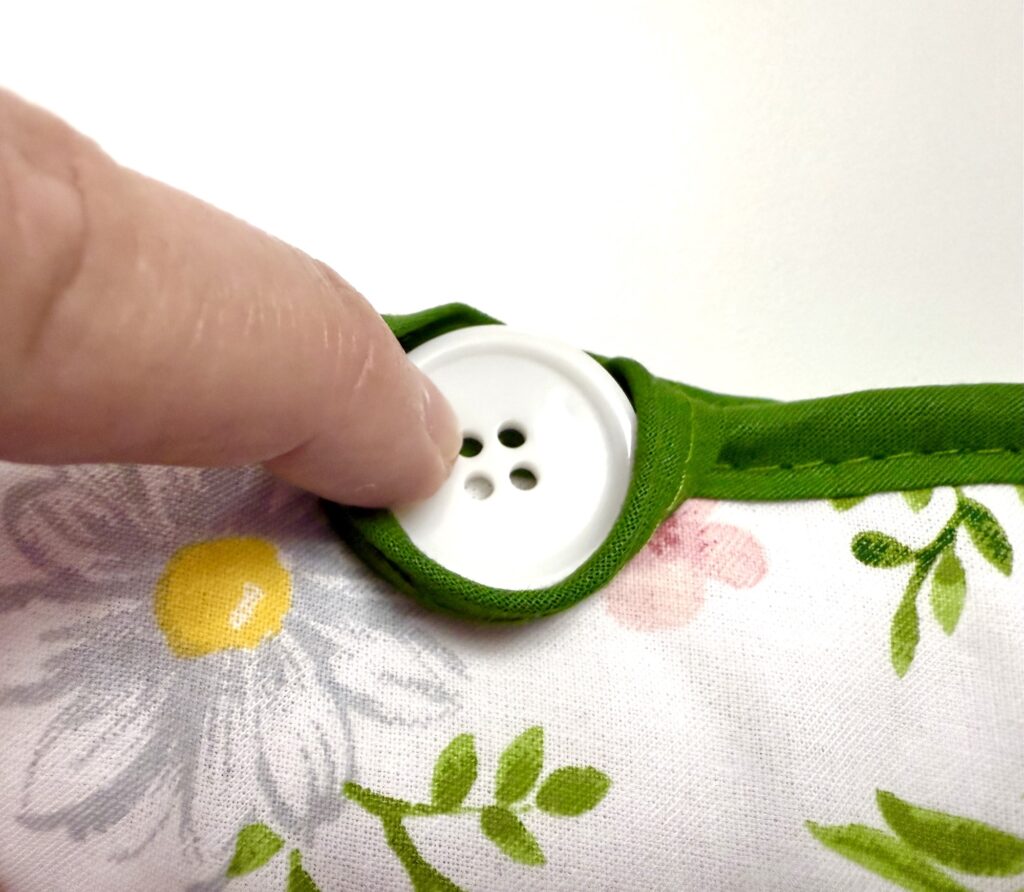
Hand stitch the button on the pot holder. If you don’t want the stitching to show through the pot holder, only stitch through the top layer, rather than bringing the needle through both layers.
Optional: You can add embellishments or pockets to the front of the pot holder purse caddy. Consider using an iron-on patch, a ribbon bow or even adding a pocket with a scrap piece of fabric or felt.
Watch me make this pot holder purse caddy in my YouTube video below:
Why not make a pocket tissue cover to match? It’s a great way to coordinate your purse.
Want to save this idea for later? Be sure to Pin It to Pinterest!
If you love this easy craft, check out these ideas, too:

Good idea to use a potholder!
I will try to make a sewing kit for the OCC shoeboxes with a potholder & cloth or felt.
I’m not too excited about using a disposable item such as a baggie to make this but appreciate the idea.
The great thing is that you will use the disposable baggies in a way that they won’t enter the waste stream until you are done with the purse caddy. So instead of a one-time use, they are used over and over again.
I’m so making these for secret Santa at the office for the ladies. Thank you for such a great inexpensive gift idea!
You are welcome! The ladies will love it!