How to Sew a Dog Bandana without a Pattern
Our easy way to make a dog bandana allows you to customize the dog scarf based on the size of your pet. From smaller dogs to big dogs, this stylish dog’s collar can be made without much fabric!
This is a great project for beginner sewing!
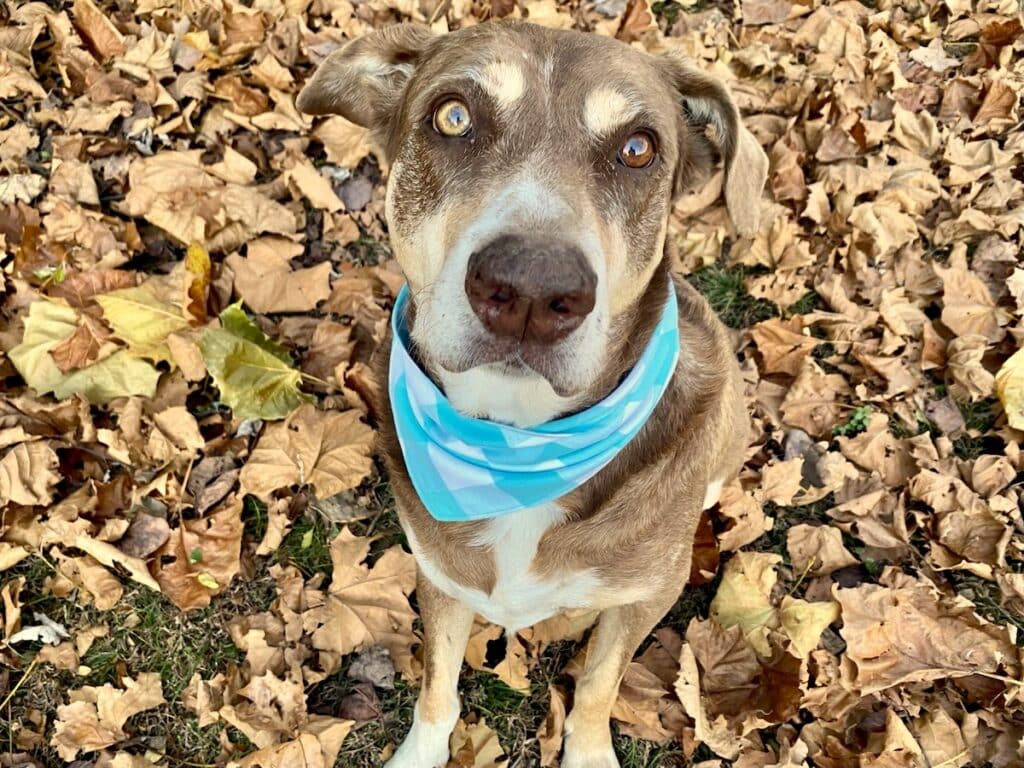
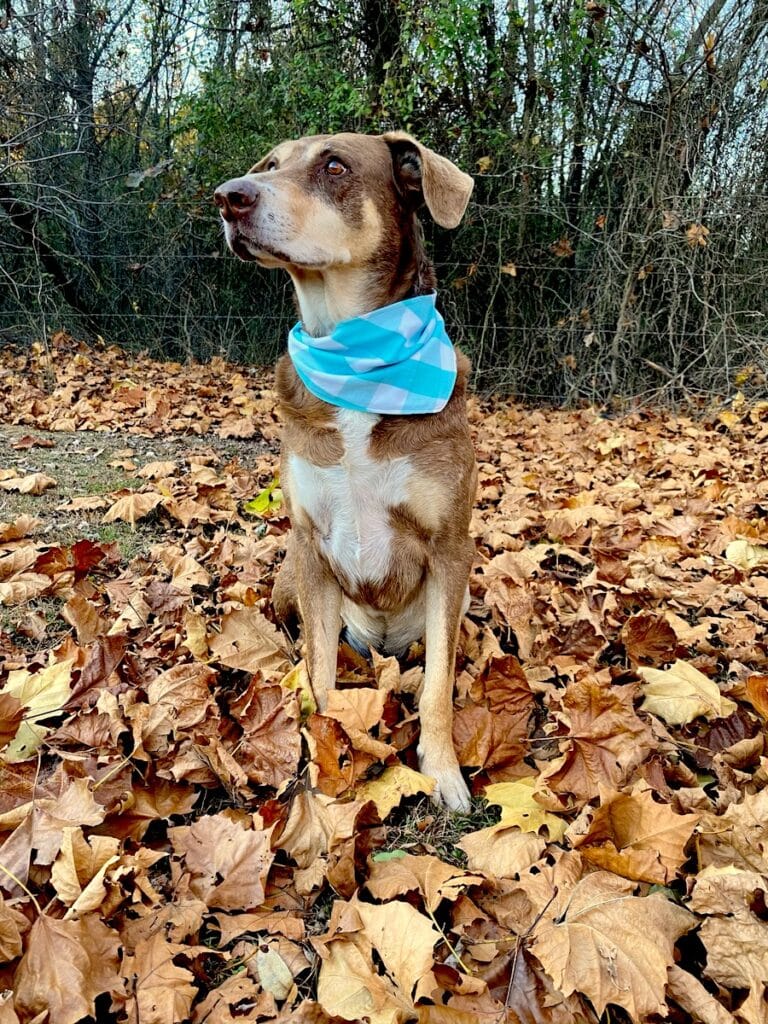
First, let me introduce our furry friend. Camp is a 7-year old Australian Kelpie and Blackmouth Curries mix. He is a working farm dog and protects chickens and guinea fowl.
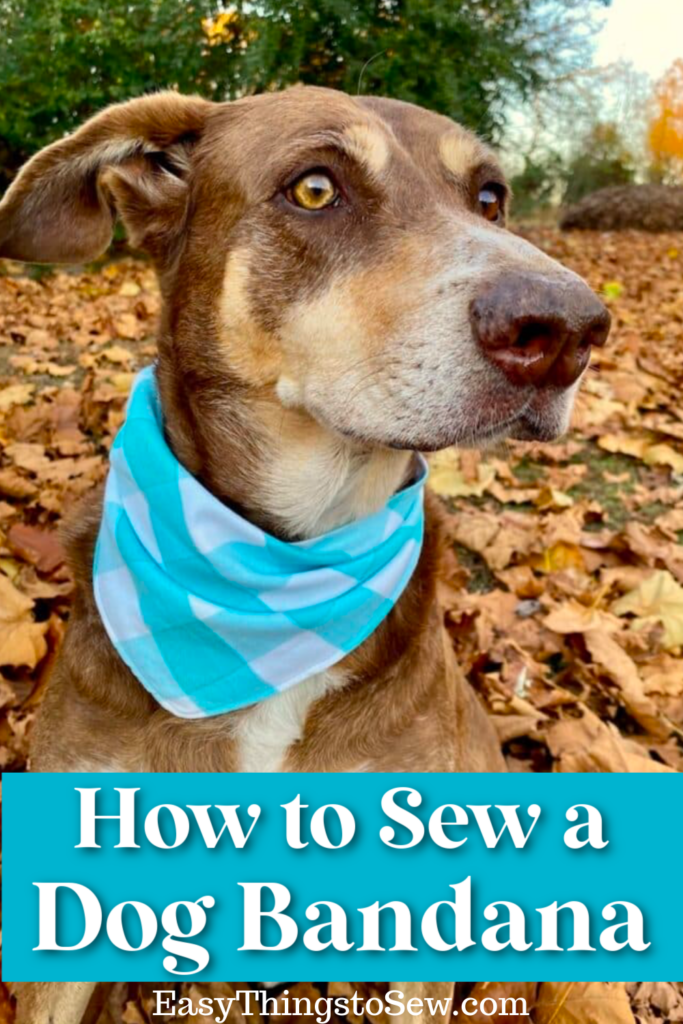
And, yes, his eyes are two different colors!
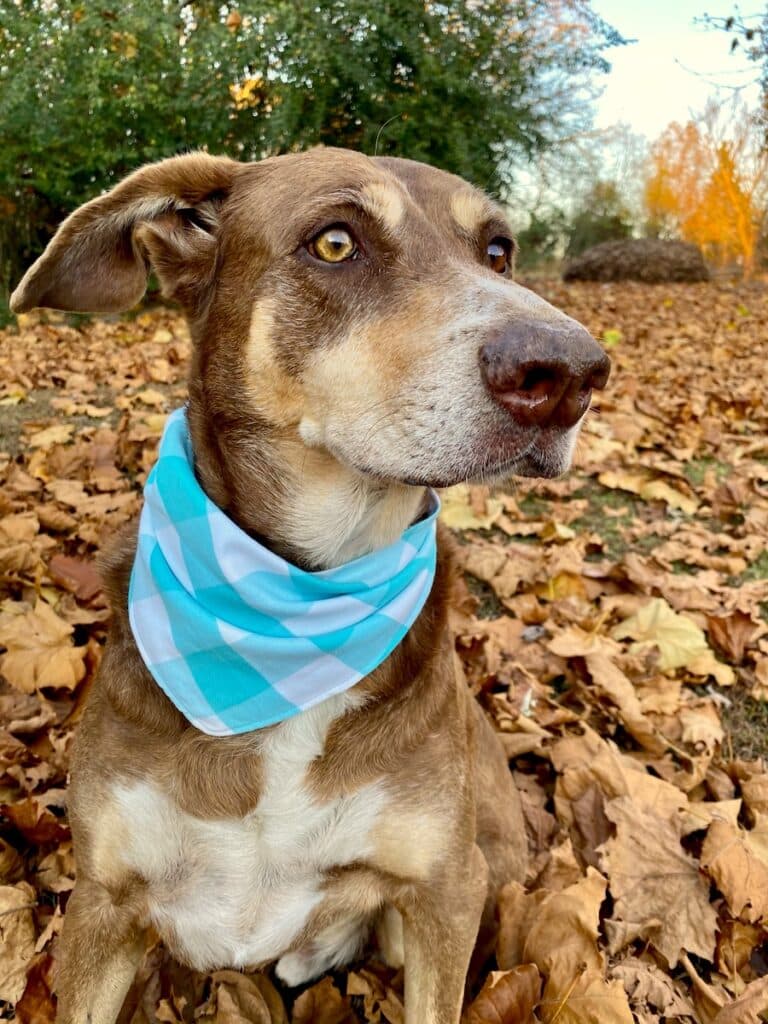
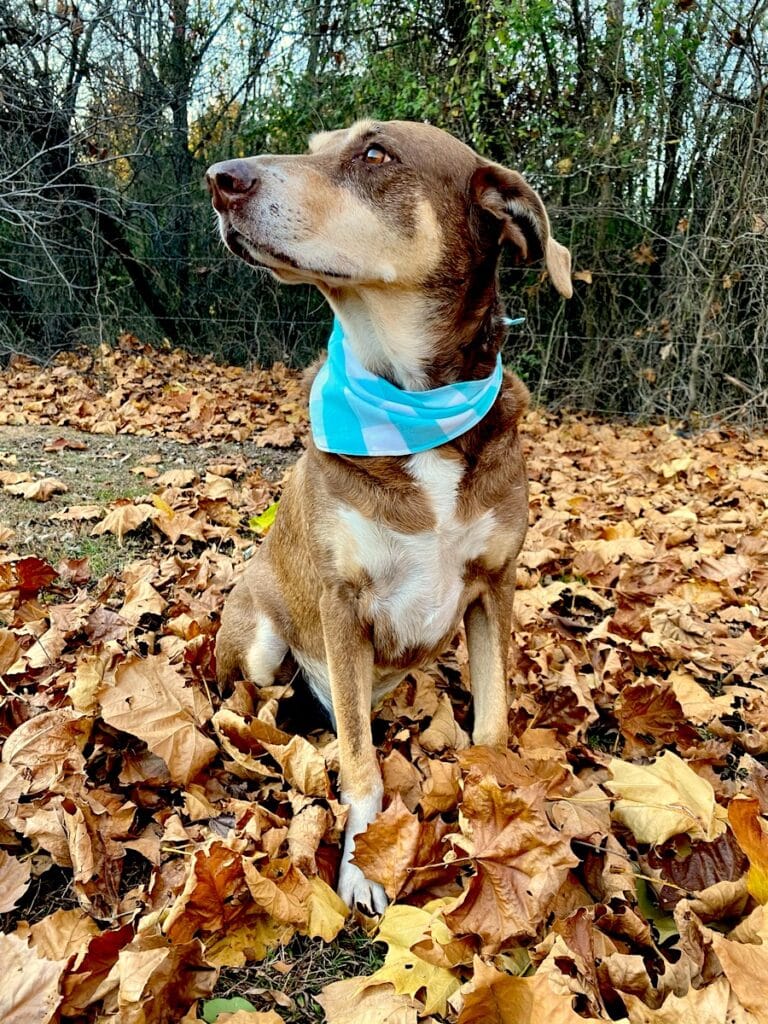
He loved posing with his new bandana. We had so much fun taking photos!
Once you see how easy this dog bandana sewing tutorial is, you will want to make one for every season! With a variety of different fabrics, you can make these simple bandanas for holidays, family portraits, parties, and more.
The great thing is that if you have some fabric, such as fat quarters or fabric scraps, you can make an easy pet bandana right now!
There’s no pattern needed. Just start measuring your dog’s neck size!
Our over the collar dog bandana is also easy to sew, too!
How to Sew a Dog Bandana
Supplies
- ½ yard Cotton Fabric (or more for a large dog)
- Coordinating Thread
- Rotary Cutter (or scissors)
- Cutting Mat
- Measuring Tape
- Sewing Clips
- Fabric Shears
- Turning Tool
- Iron and Ironing Board
Cut a square of fabric according to the bandana size you will need. Some examples are below.
To get the right size, loosely measure around your dog’s neck with a tape measure or piece of string. Don’t make it too snug.
We used a Size Small piece of fabric for this tutorial.
| Size / Neck Circumference | Fabric Size |
| XS (7-10″) | 17″ X 17″ |
| S (10-15″) | 23″ X 23″ |
| M (15-20″) | 28″ X 28″ |
| L (20-26″) | 34″ X 34″ |
| XL (26-32″) | 40″ X 40″ |
Directions
Step 1
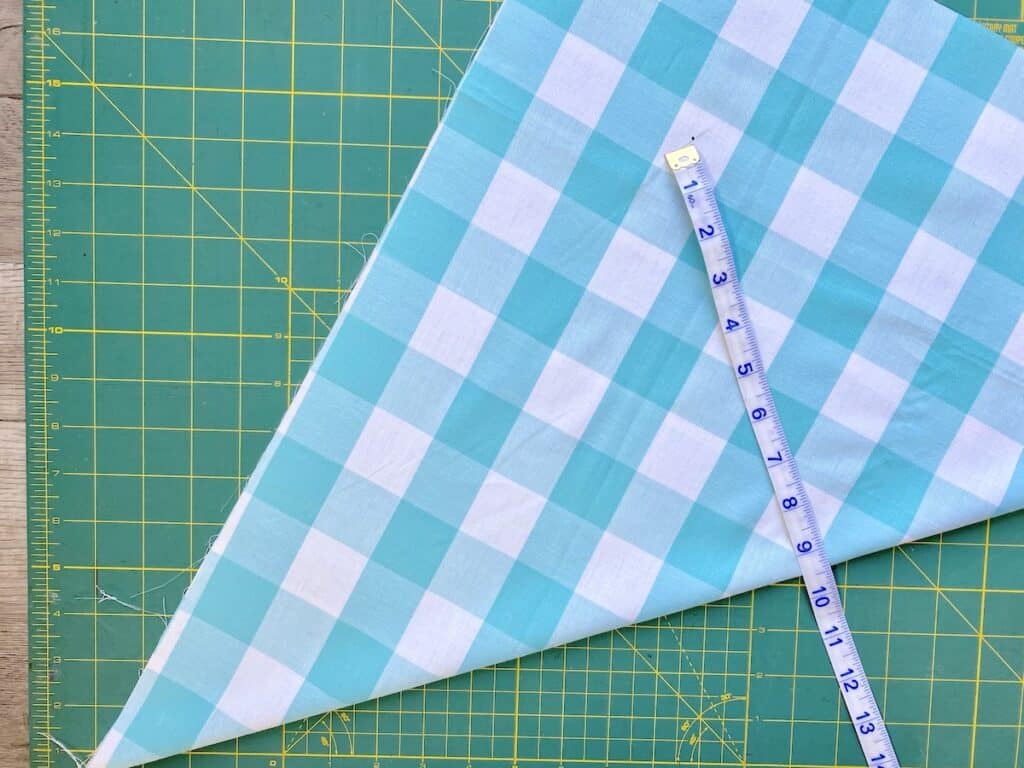
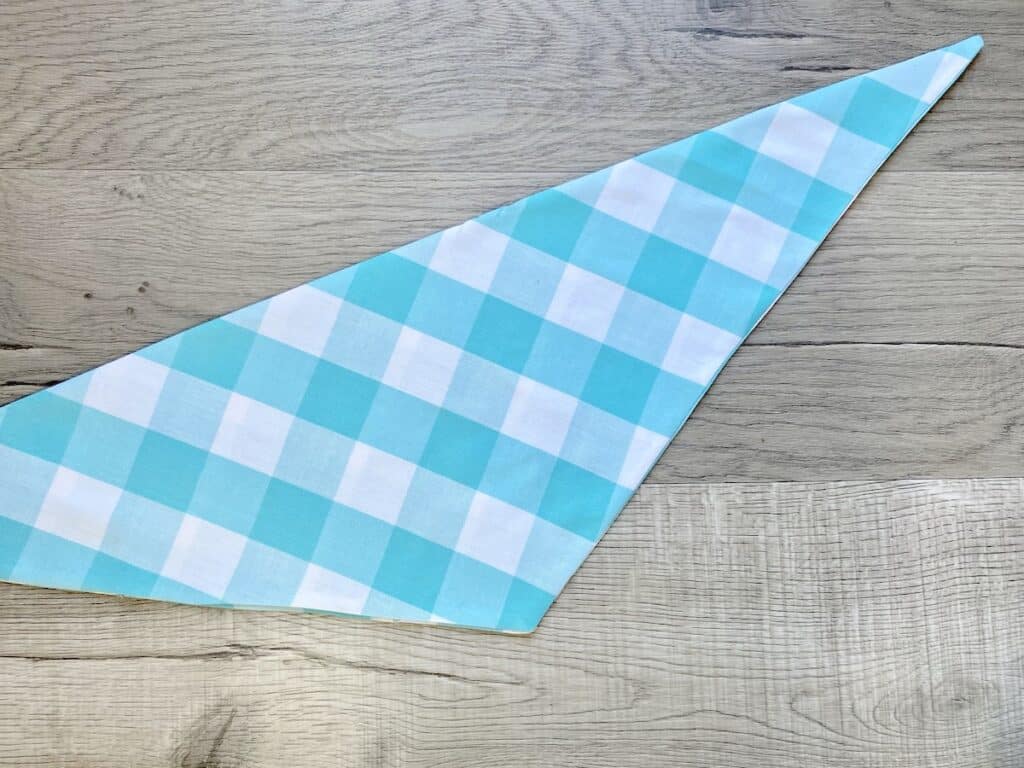
Fold the square in half to create a triangle.
Measure from the center of the fold toward the point of the triangle. Make a mark at the appropriate point according to the table below.
| XS | 7″ |
| S | 9.5″ |
| M | 12.5″ |
| L | 14″ |
| XL | 17.5″ |
Then draw a straight line from the mark to each corner on the left and right.
Cut along the lines. This will have you cutting off some of the top of the triangle to create a shape that works as a bandana.
Step 2
Cut along the fold. Then place the right sides together and clip all the way around.
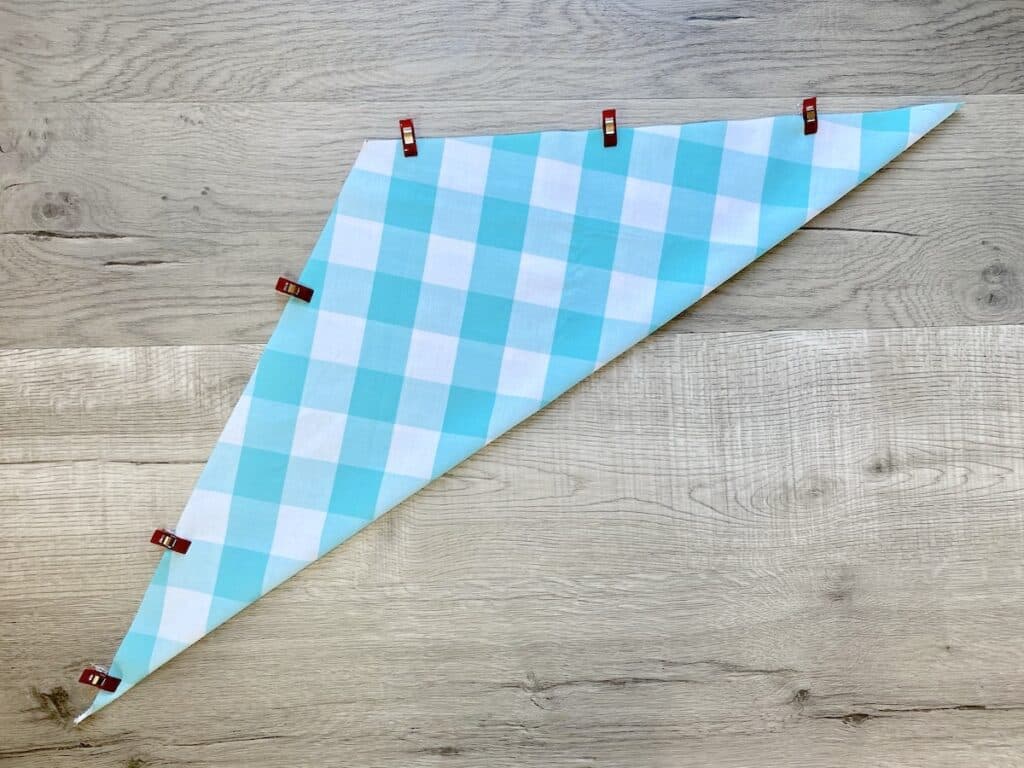
Step 3
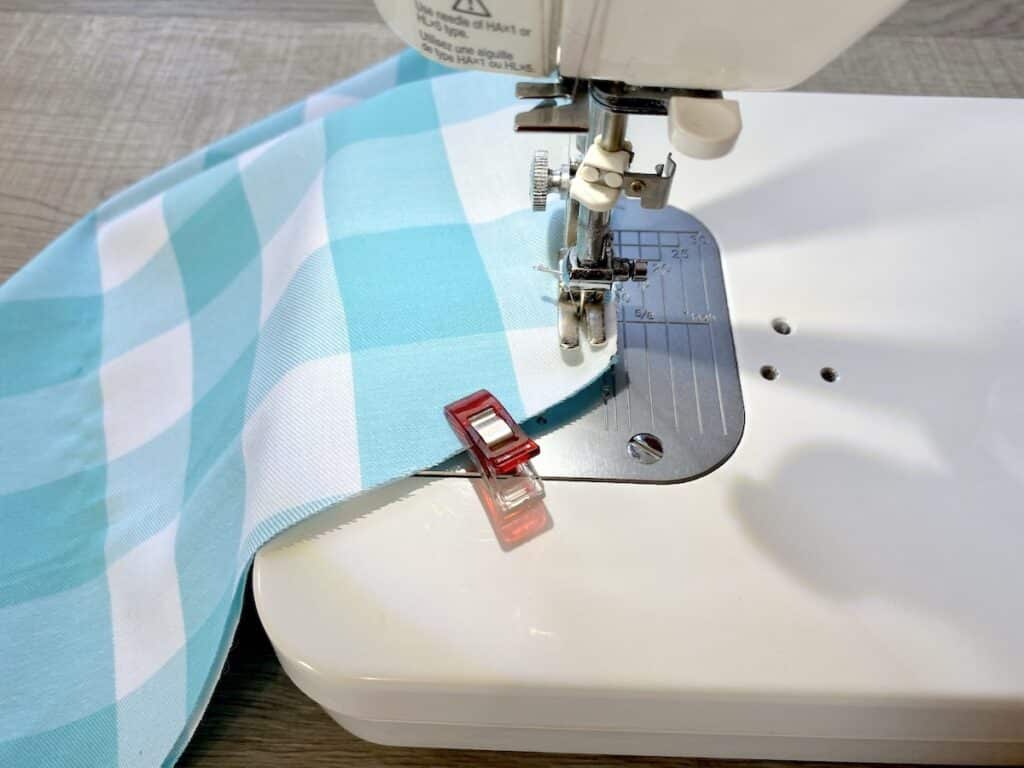
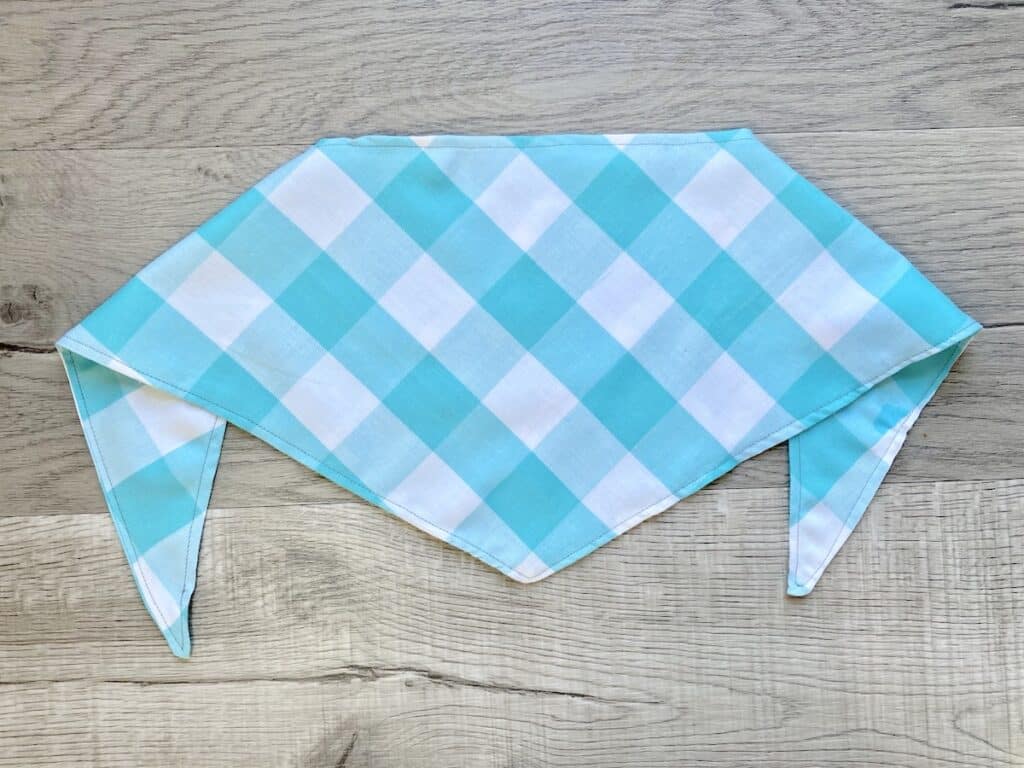
Sew around the perimeter with a ¼” seam allowance, leaving a 2” opening for turning inside out.
Step 4
Pull the fabric through the opening to turn it right side out.
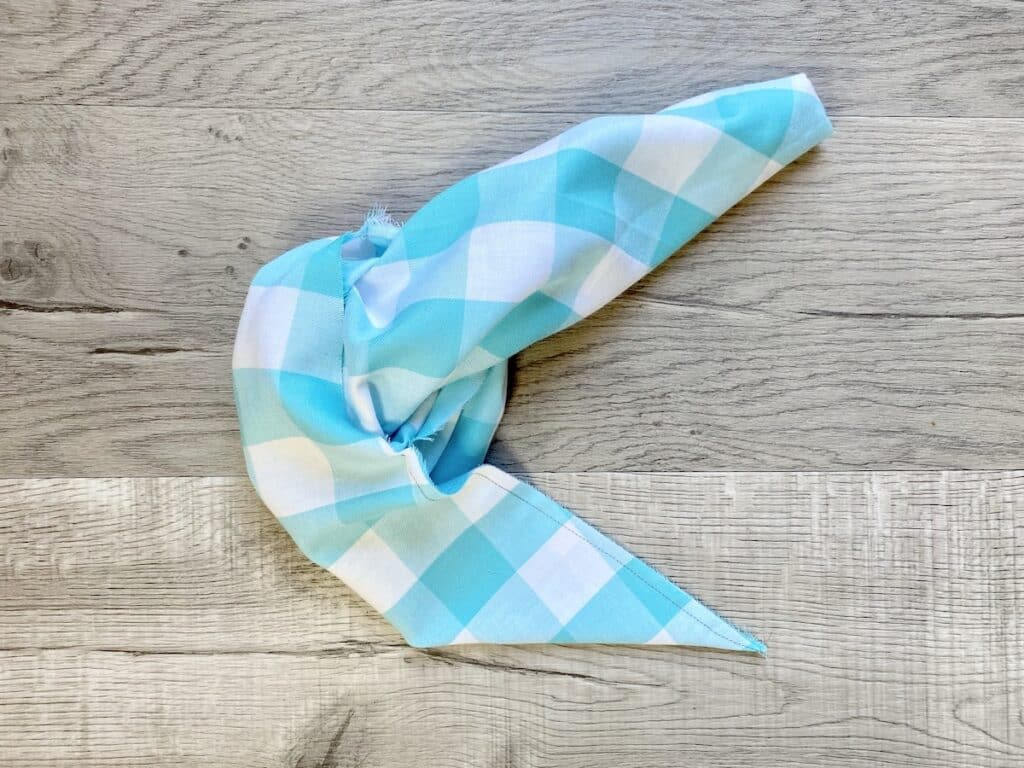
Use a turning tool or chopstick to gently press out the points to be sharp corners.
Step 5
Turn the opening under 1/”4 inch.
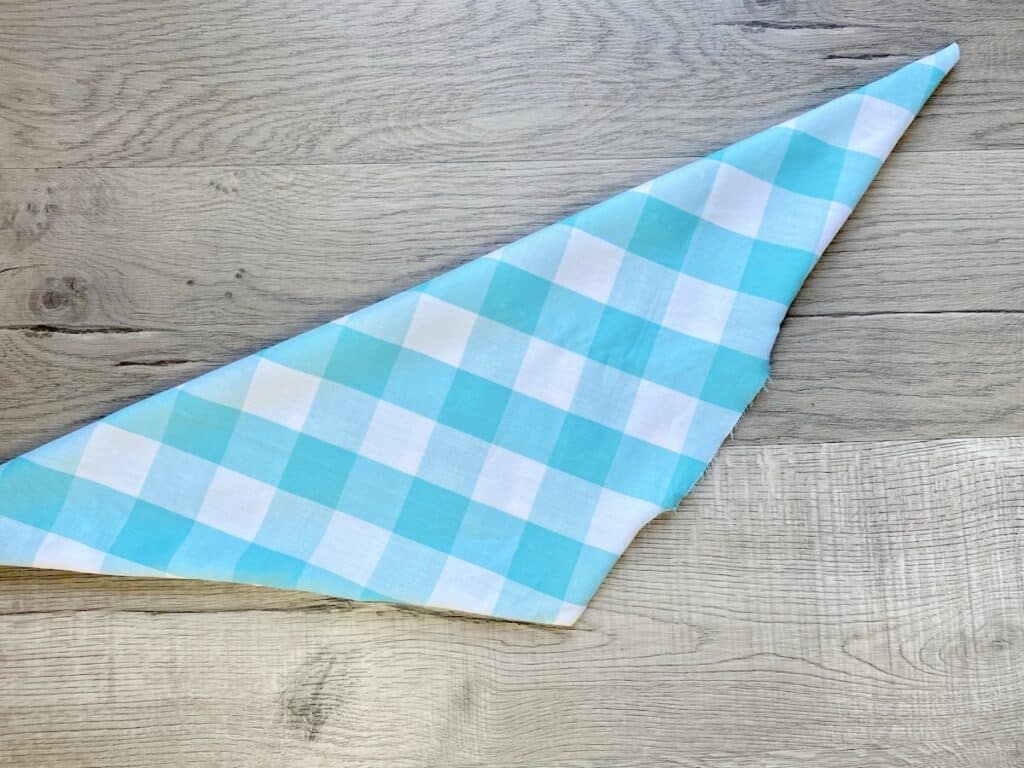
Press flat with an iron.
Step 6
Top stitch all the way around the bandana, including the opening that you just pressed. Stitch close to the edge with about a 1/8 inch seam allowance.

Your DIY pet bandana is done!
It is an easy sewing project, right?
Want to save this dog bandana tutorial for later? Be sure to Pin It!
You might also be interested in how to engrave a dog tag with your pet’s name.
If you have a cat, be sure to see our easy DIY Cat Crinkle Toys next!

how do you print out the pattern pieces and instructions?
thank you
There are no pattern pieces to cut out. You can refer to the measurement sizes in the table above Step one and in Step one.
Hi is it a tie fasteners or could you see on press studs
This is tied in the back. You could add on snaps if you would like.
How does the size of the dog’s neck correspond to the numbers in your size chart?
I’ve updated the table to include the neck circumference for different size dogs and how it corresponds to the size chart.