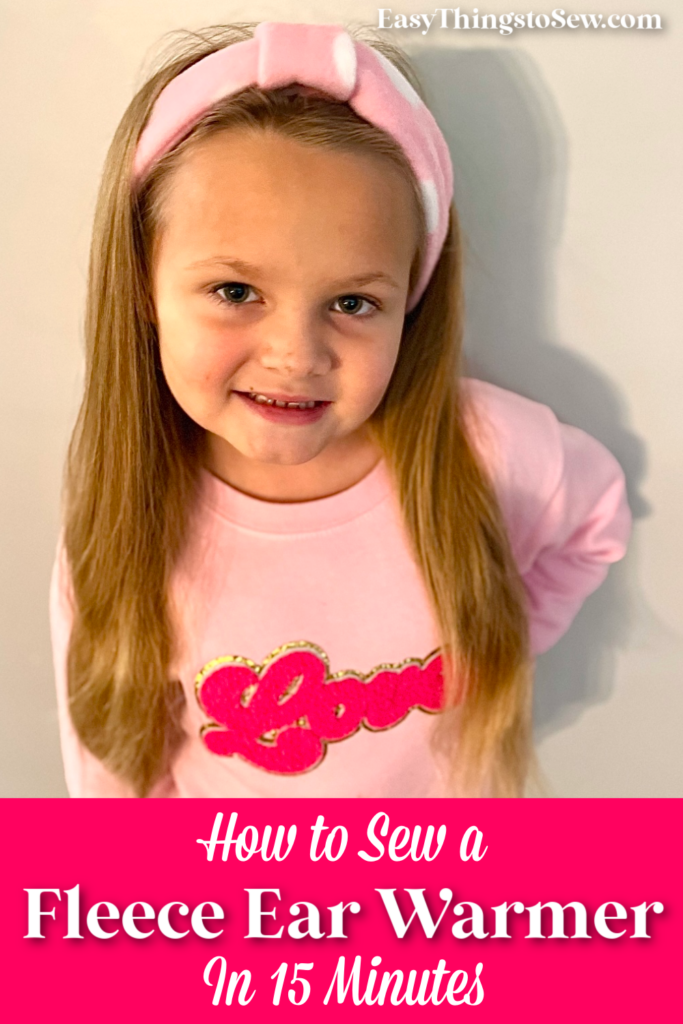
Easy Fleece Ear Warmer Headband (No Pattern Needed!)
A fleece ear warmer is a quick and easy sewing project that can be made in 15 minutes or less. This beginner sewing project is perfect for making custom fashion accessories to stay warm in winter.

Sizes for both kids and adults are found in the directions below.
You can make two kid-sized headband ear warmers with 1/3 yard of fleece. Which means you could make 6 ear warmers with one yard of fleece.
I often see fleece on sale for about $4 a yard, which makes each child-sized ear warmer about 0.68 cents to make.
For adults, the thick width of the ear warmer uses more fabric, so you can get 4 ear warmers from a yard, with lots of fleece leftover to make other sewing projects to keep you warm in winter, such as a fleece neck warmer and this easy fleece hat with pom pom top.

Fleece Ear Warmer Headband Tutorial
Supplies
- Fleece fabric (at least 23″ X 11″ depending on size chart below; plus a 3″ x 5″ square)
- Thread
- Sewing Machine
- Sewing Scissors or Rotary Cutter and Mat
- Sewing Clips or Pins
Directions
This sewing tutorial is very similar to the DIY Neck Warmer, however the measurements are different and there is the decorative element at the end.
Step 1
Measure and cut the fabric.
Measure the circumference of the head. This will be the length and should be cut on the stretchiest part of the fleece, between the selvedges.
I did not add an inch to this measurement to allow for seam allowances because you want the headband to be slightly tight to stay on.
Next, measure how wide you want the headband to be. Double this measurement and add one inch to allow for seam allowances.
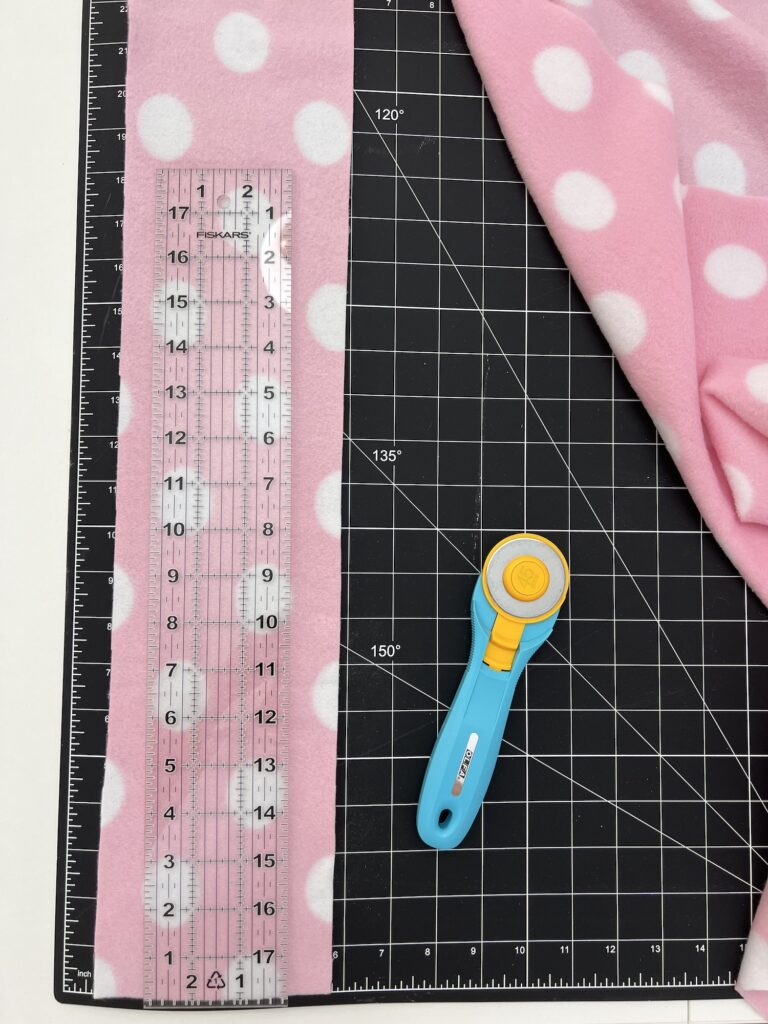
These are measurements that I’ve used:
- Kids: 23″ long, 5″ wide (cut a piece of fabric 23″ X 11″)
- Adults: 24″ long, 6″ wide (cut a piece of fabric 24″ X 13″)
I have found that using a rotary cutter and mat is the easiest way to cut fleece, however it is not necessary.
Step 2
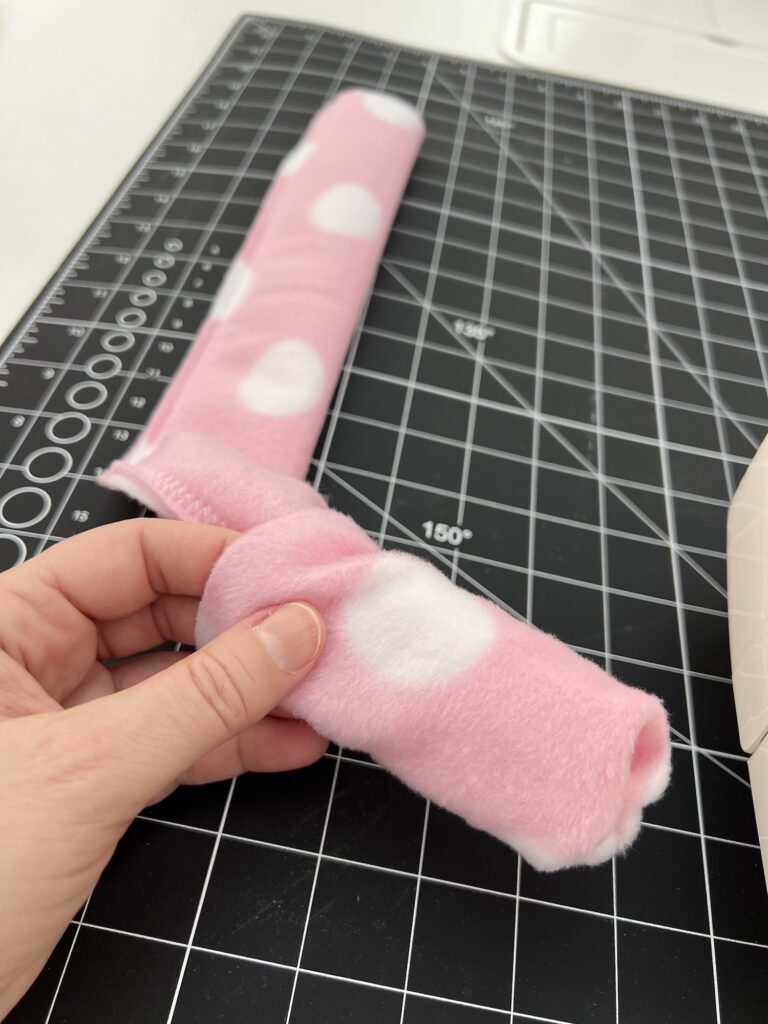
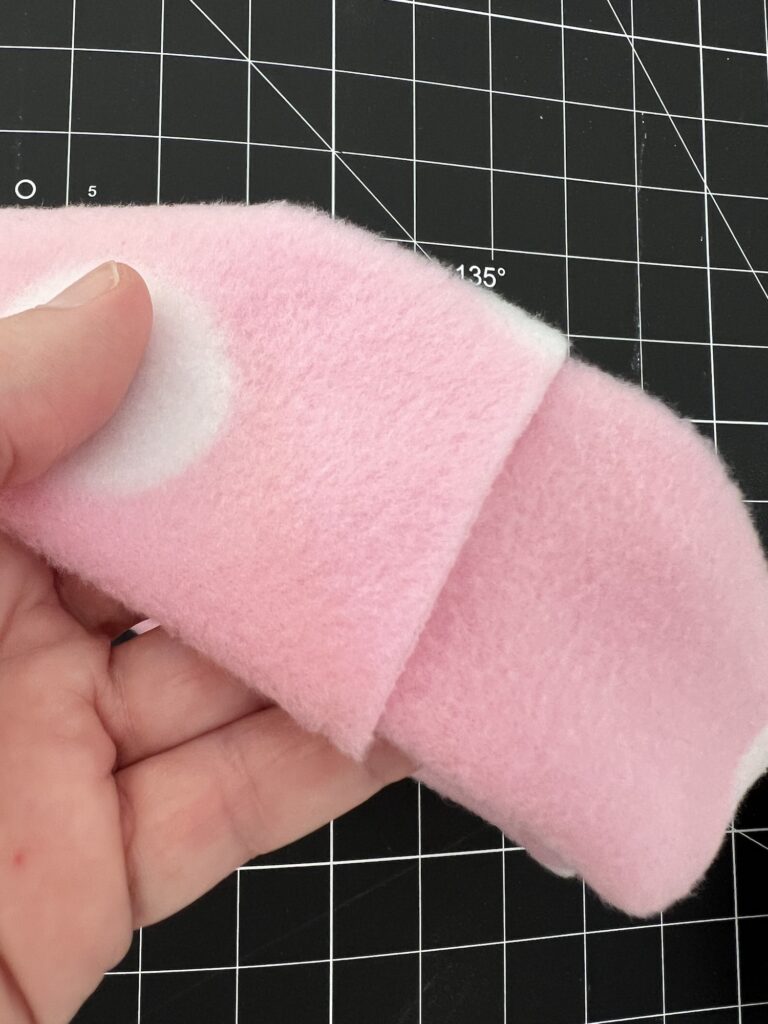
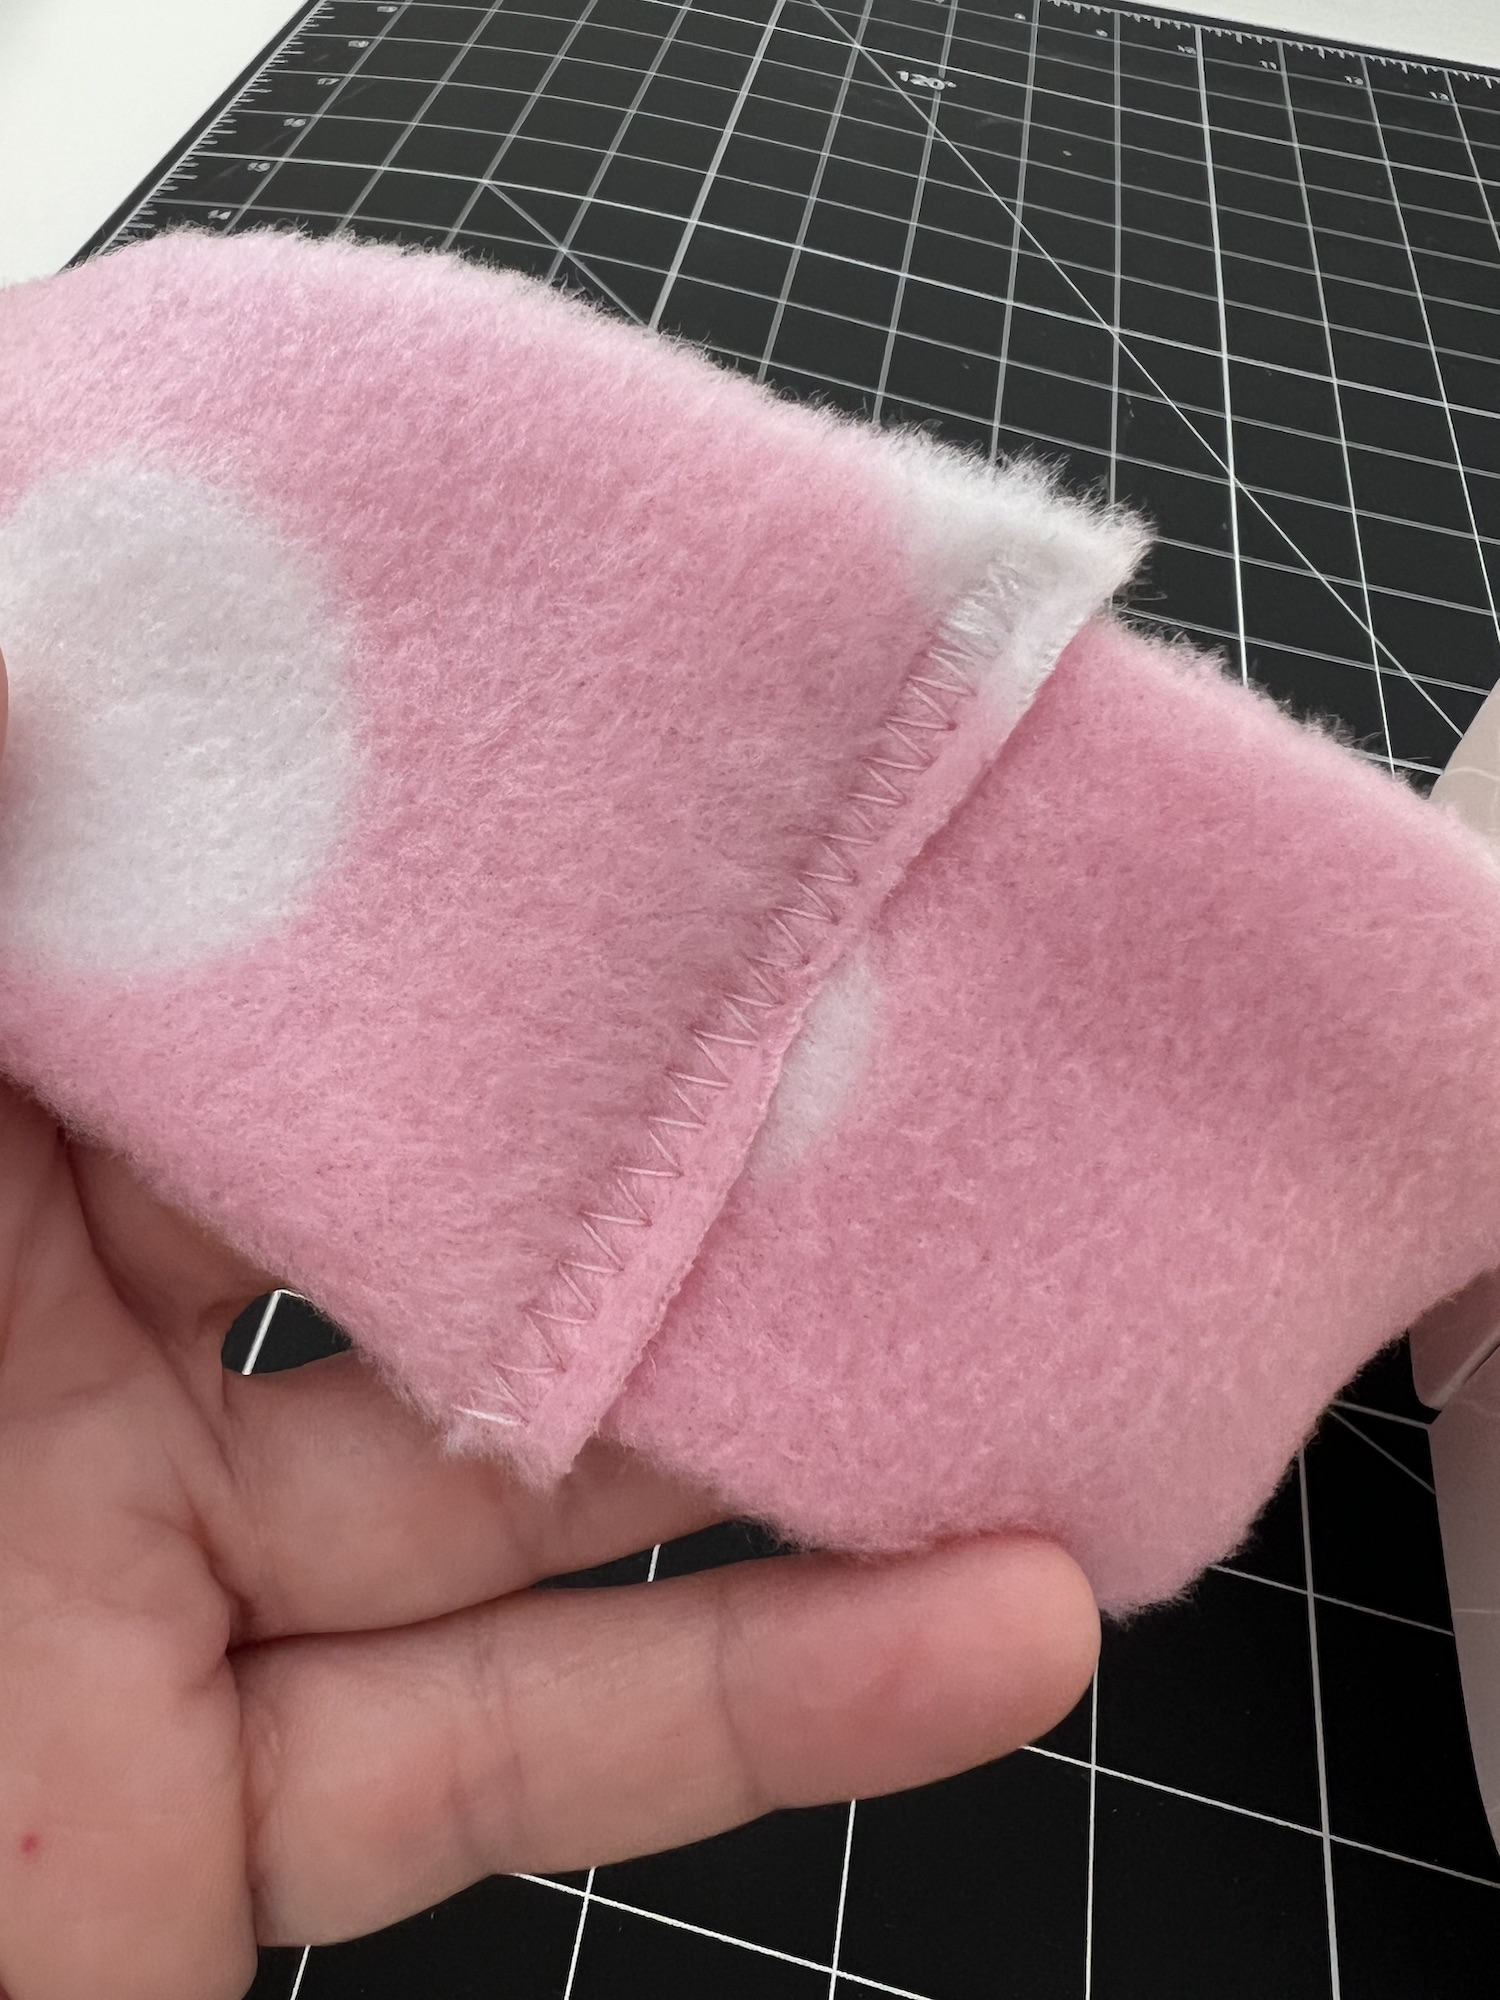
Fold the right sides together along the short side of the fabric.
Sew along the long edge, using a zig-zag stitch with a 3/8 inch seam allowance.

Step 3
Turn the fleece tube inside out, with the right sides facing out.
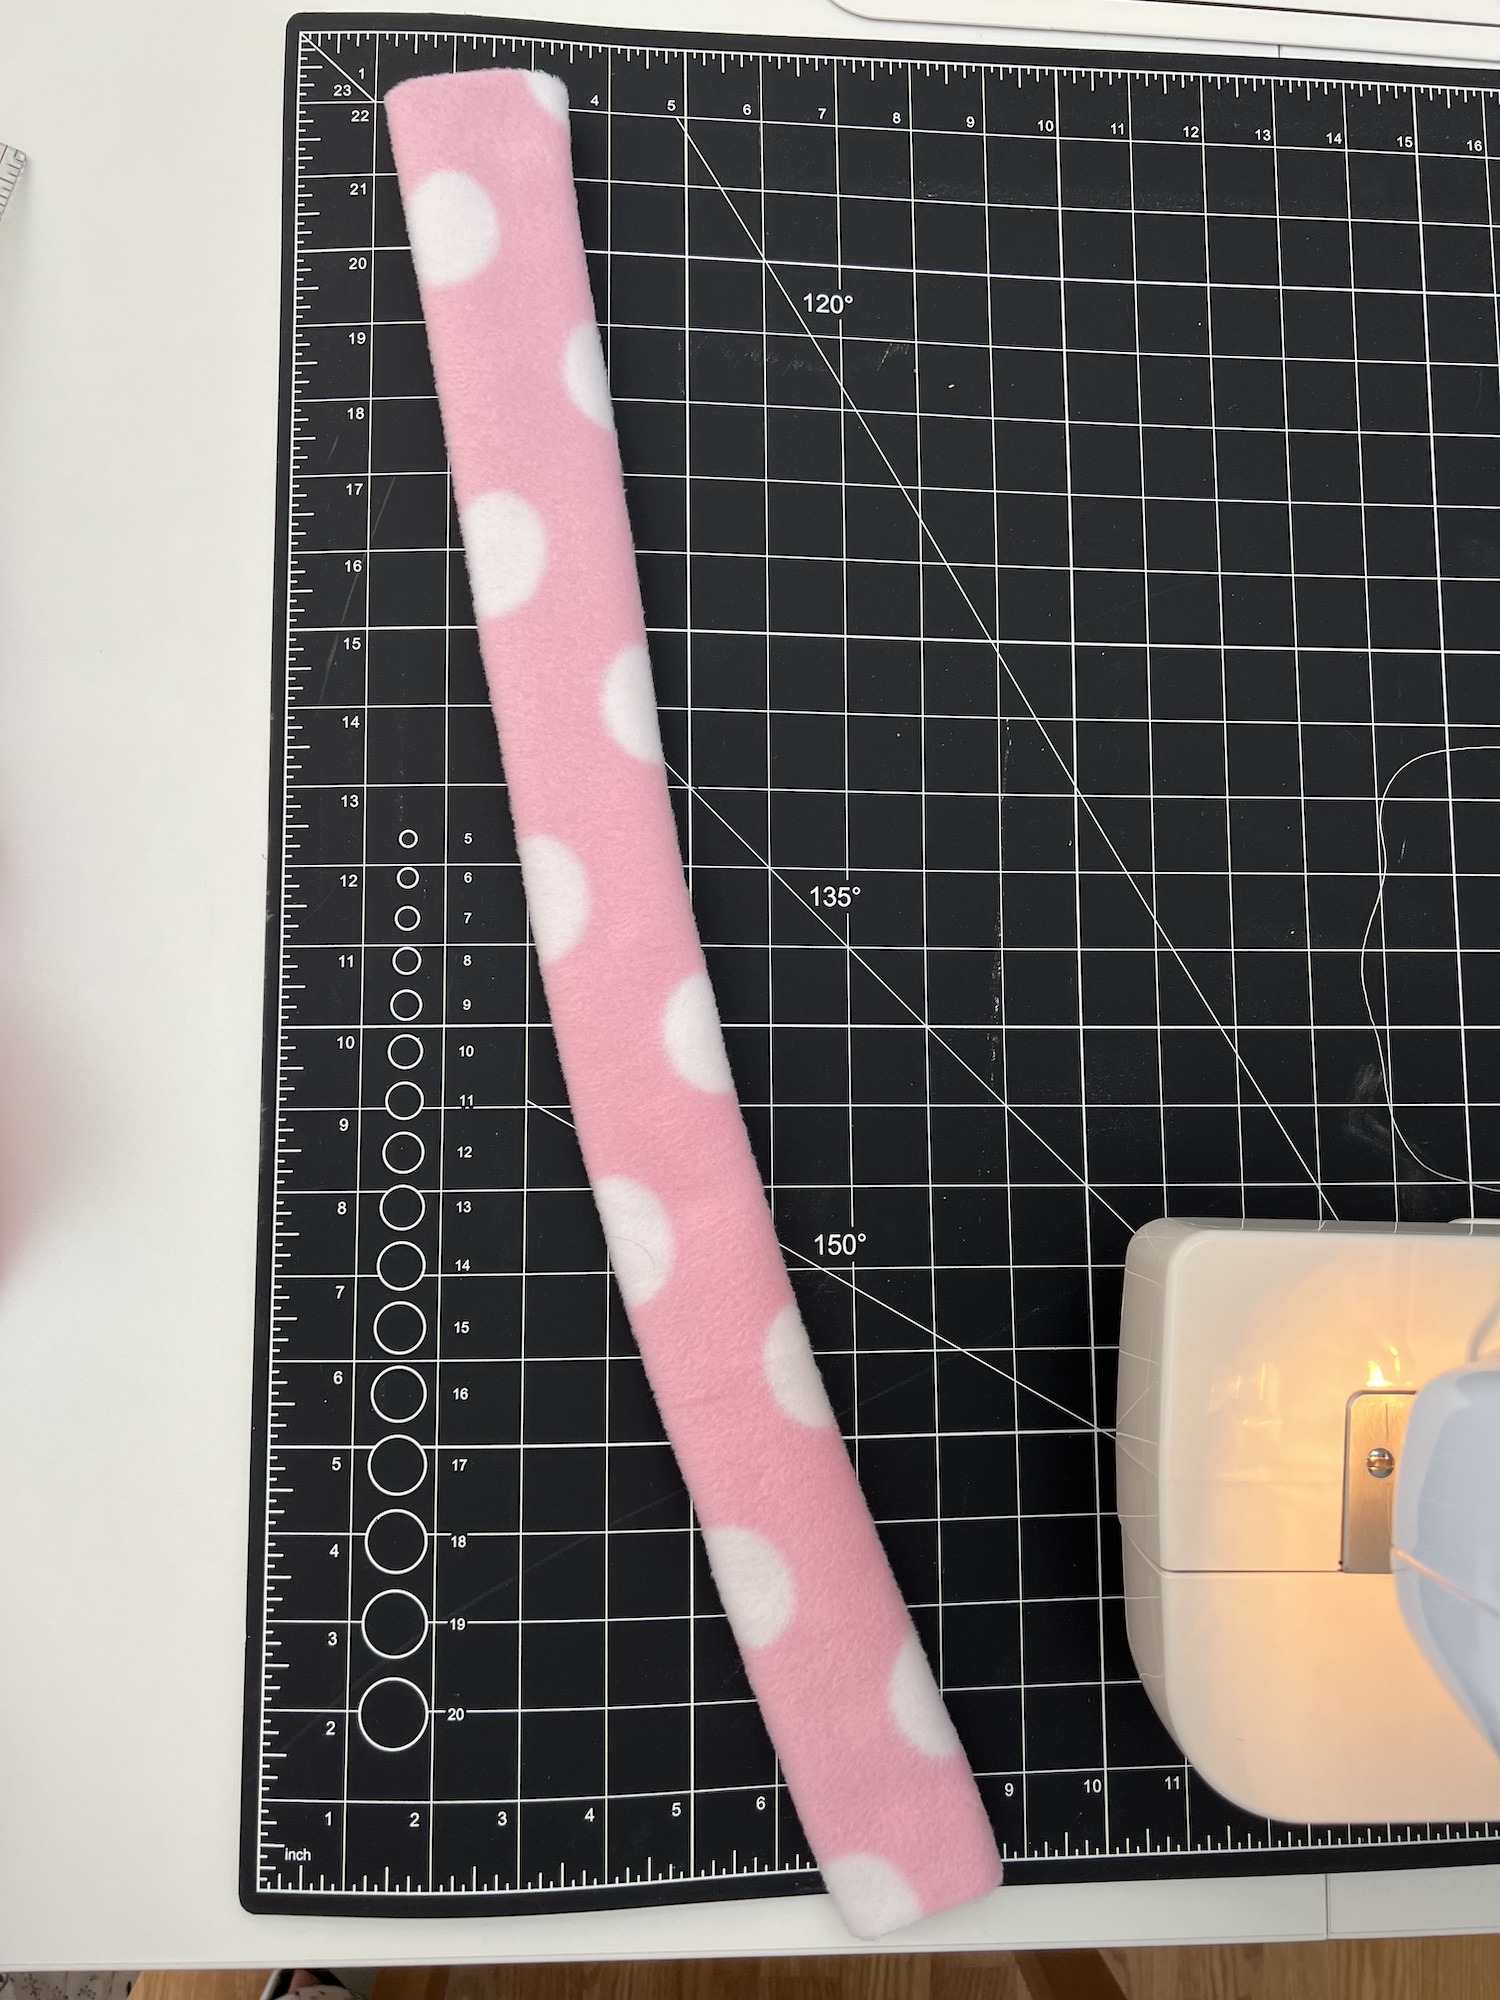
Step 4
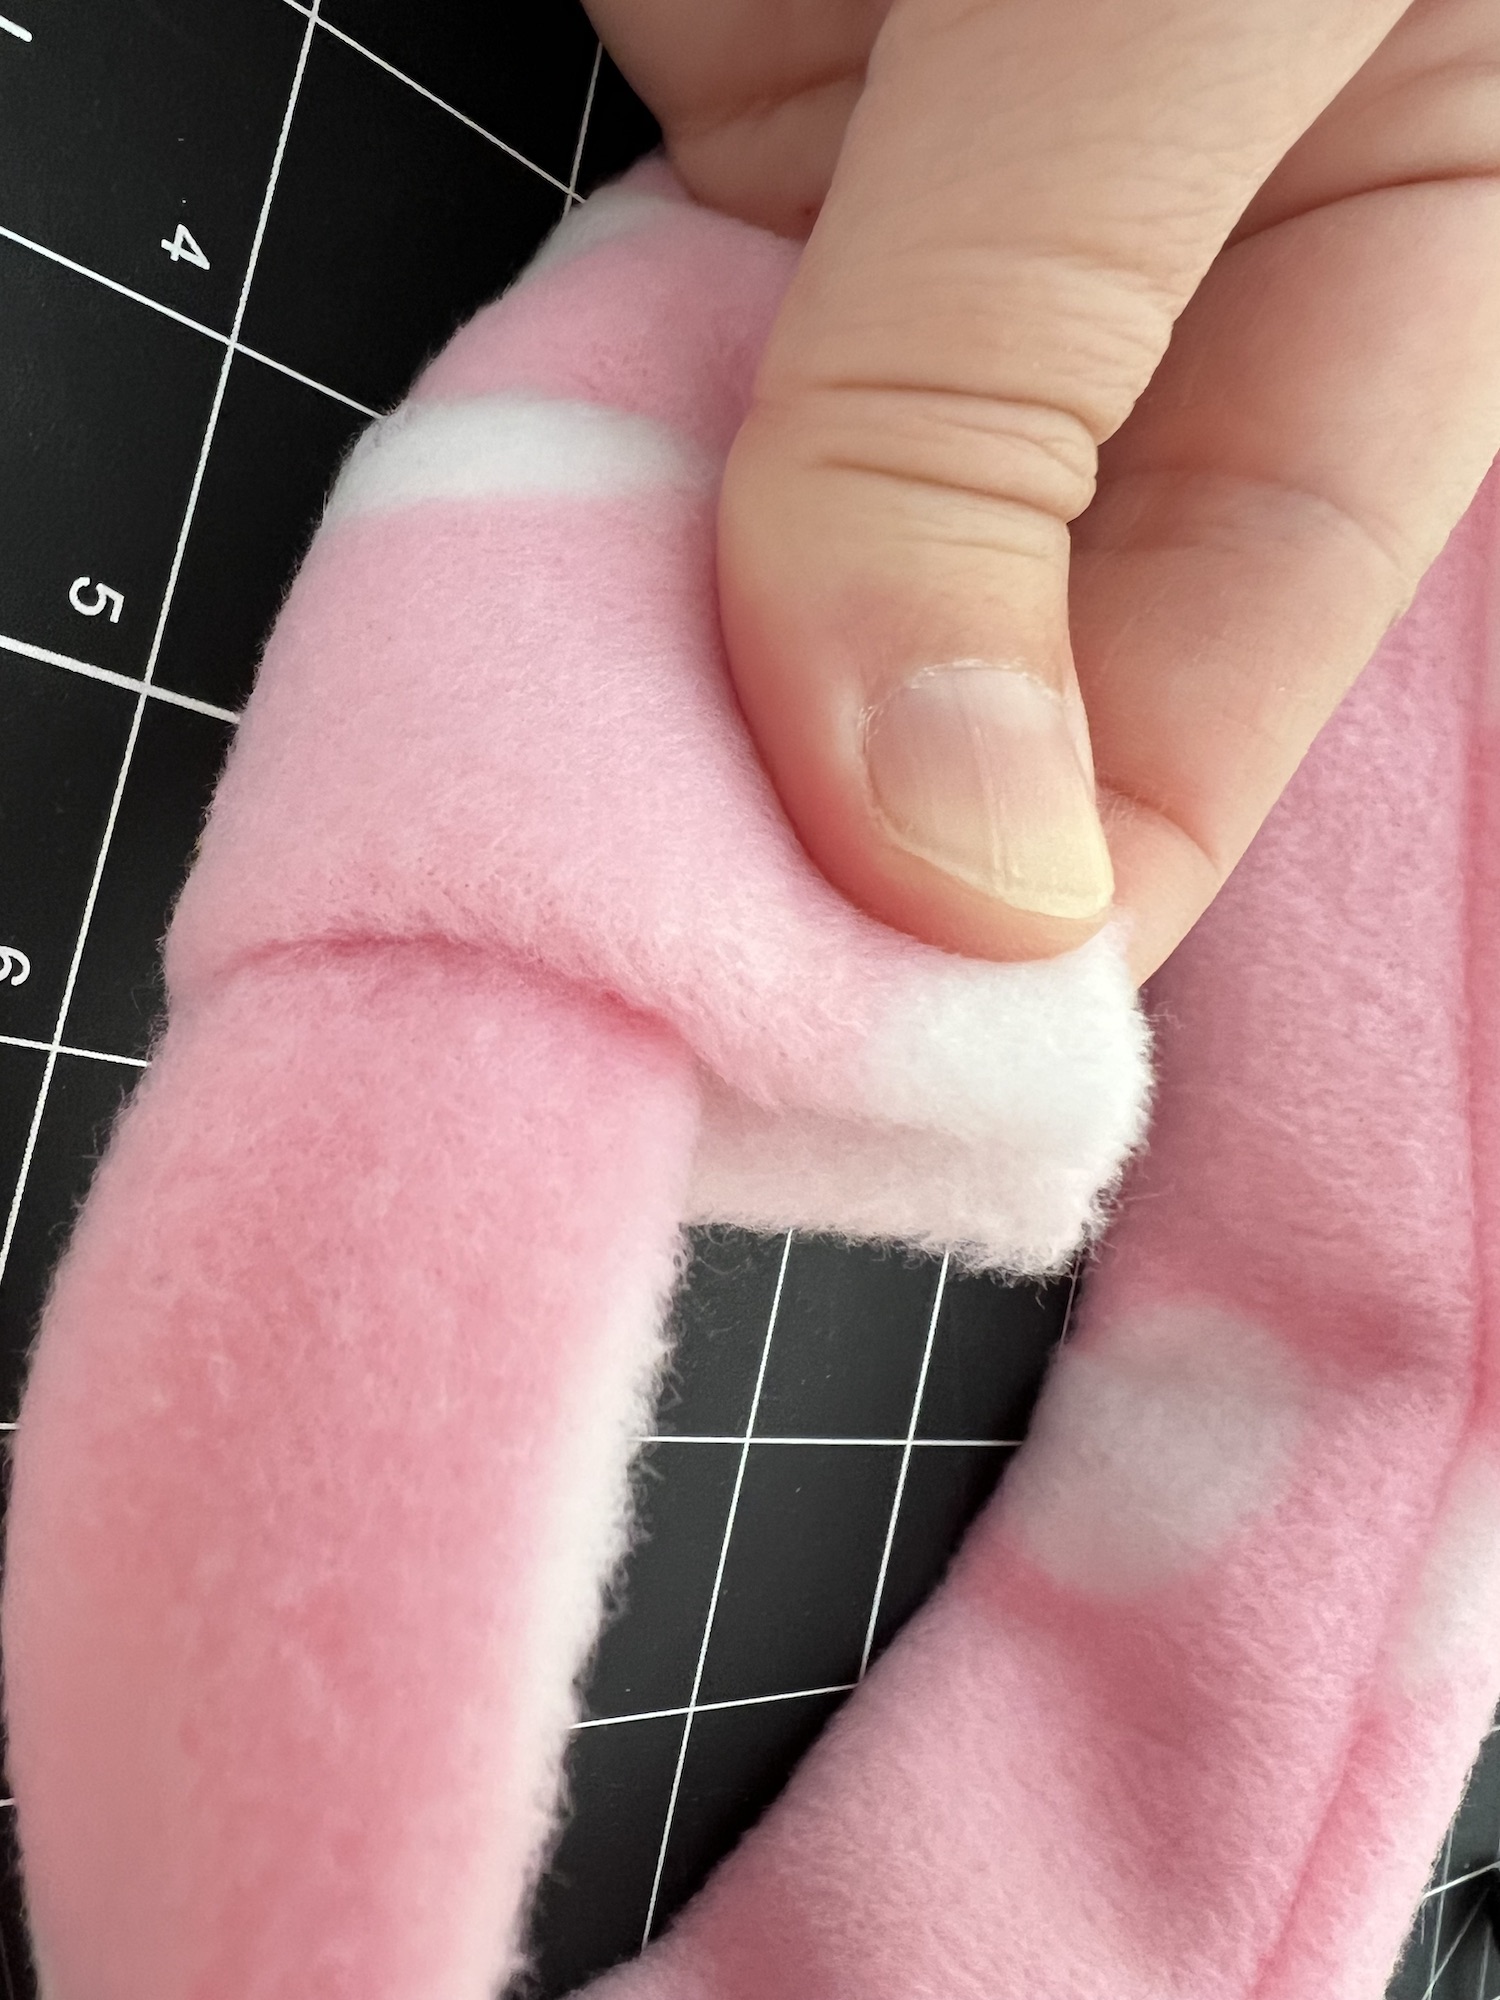
Insert one end of the tube into the other end about 1/2 inch. Match up the seams.
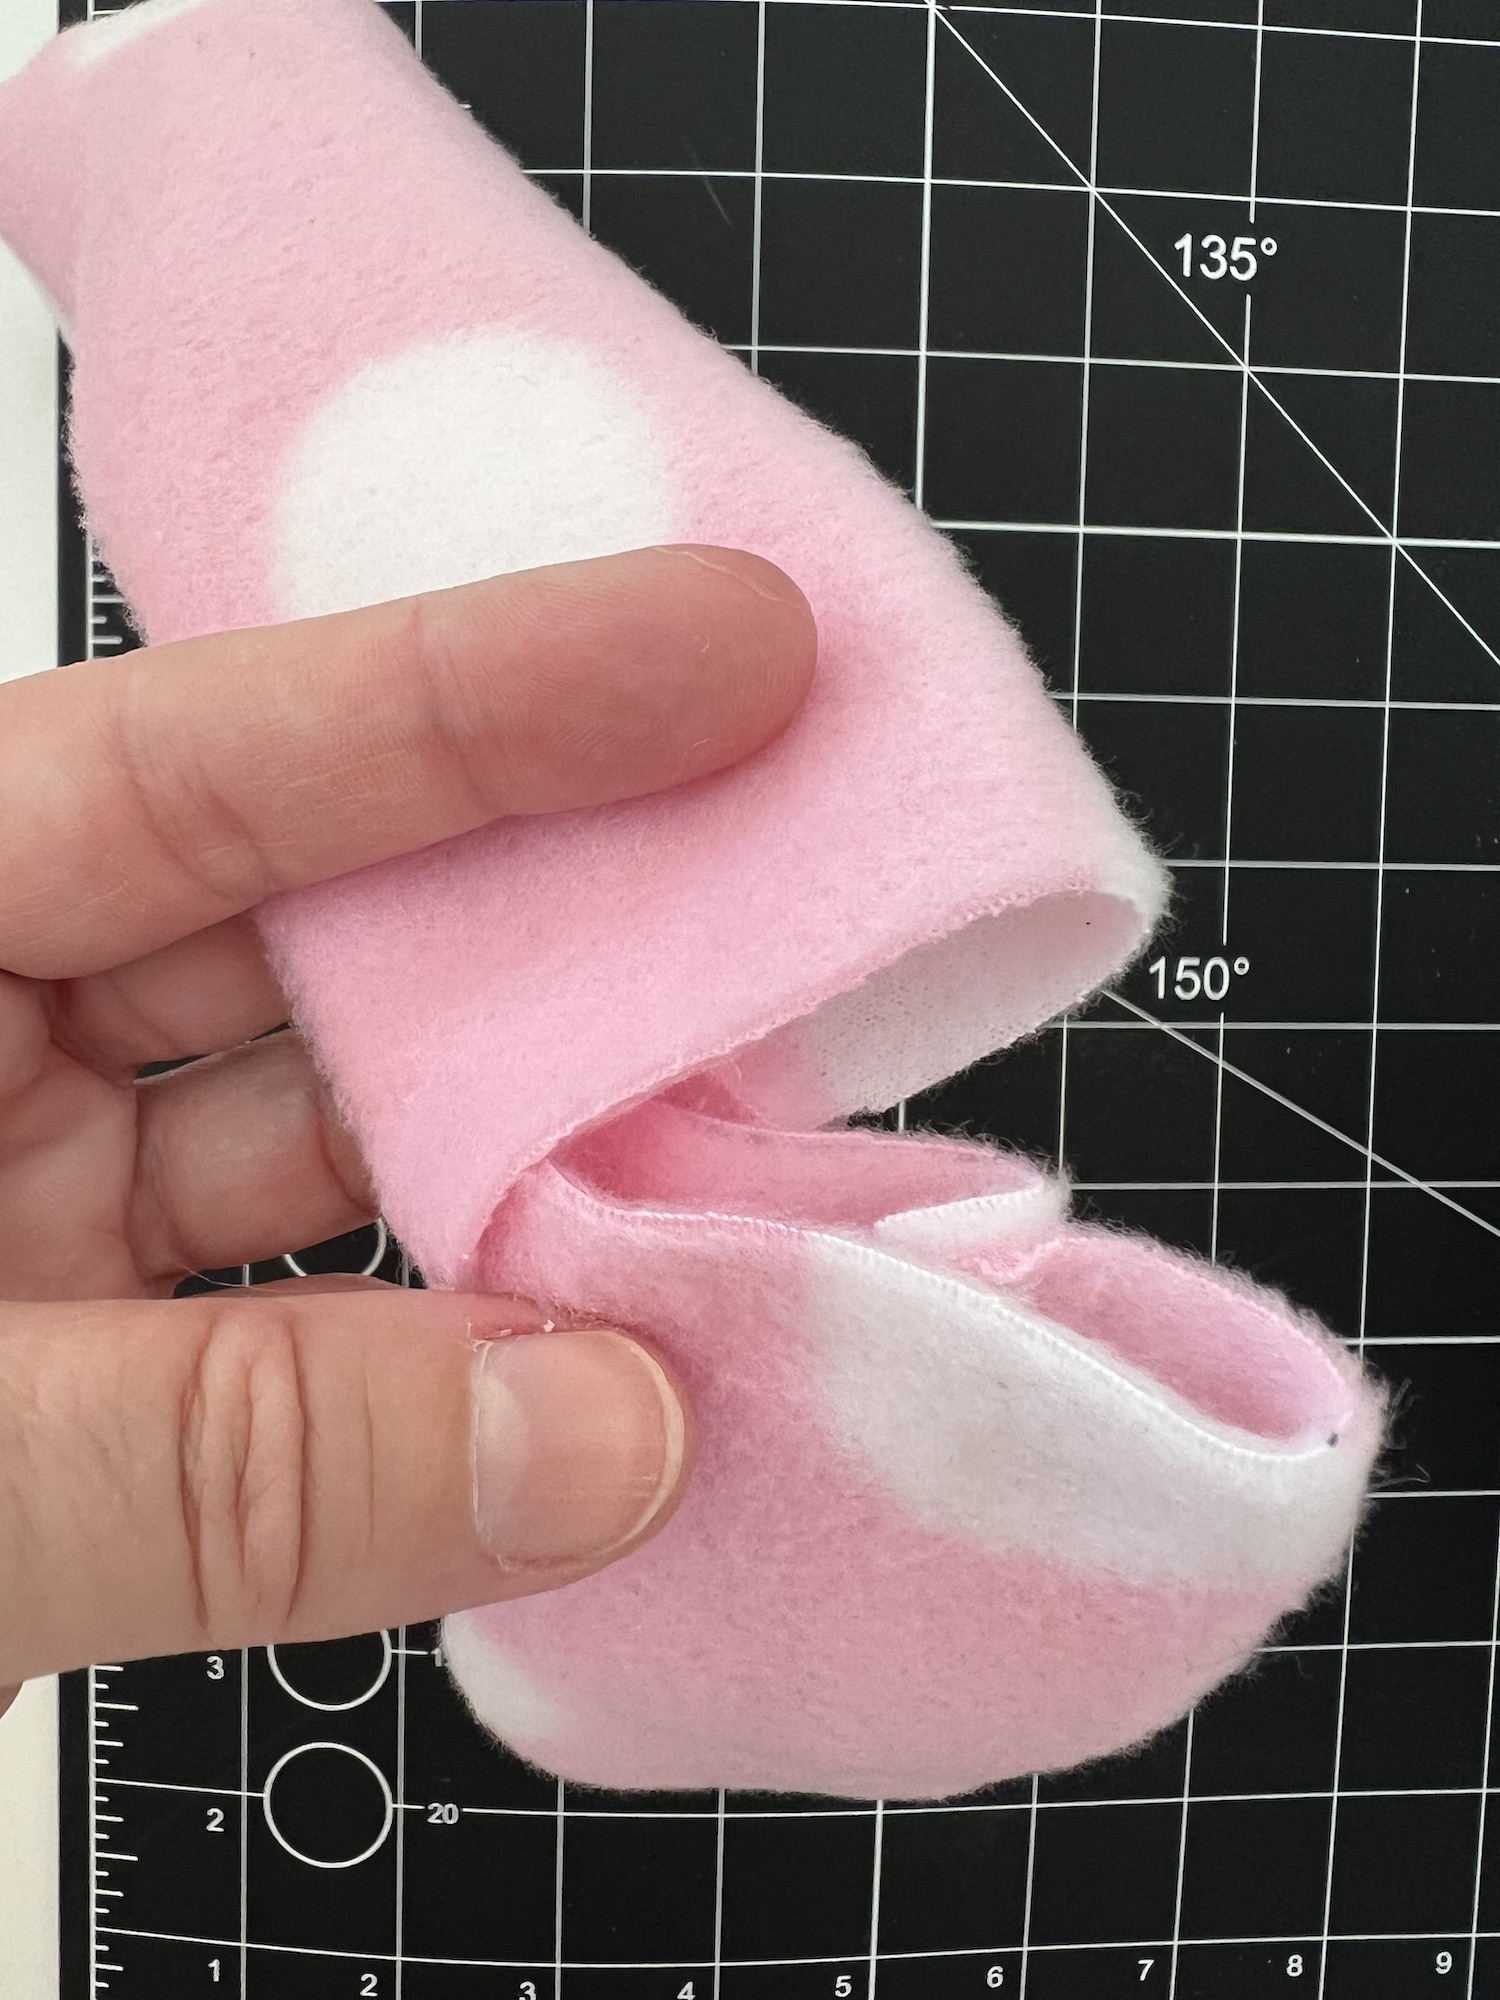
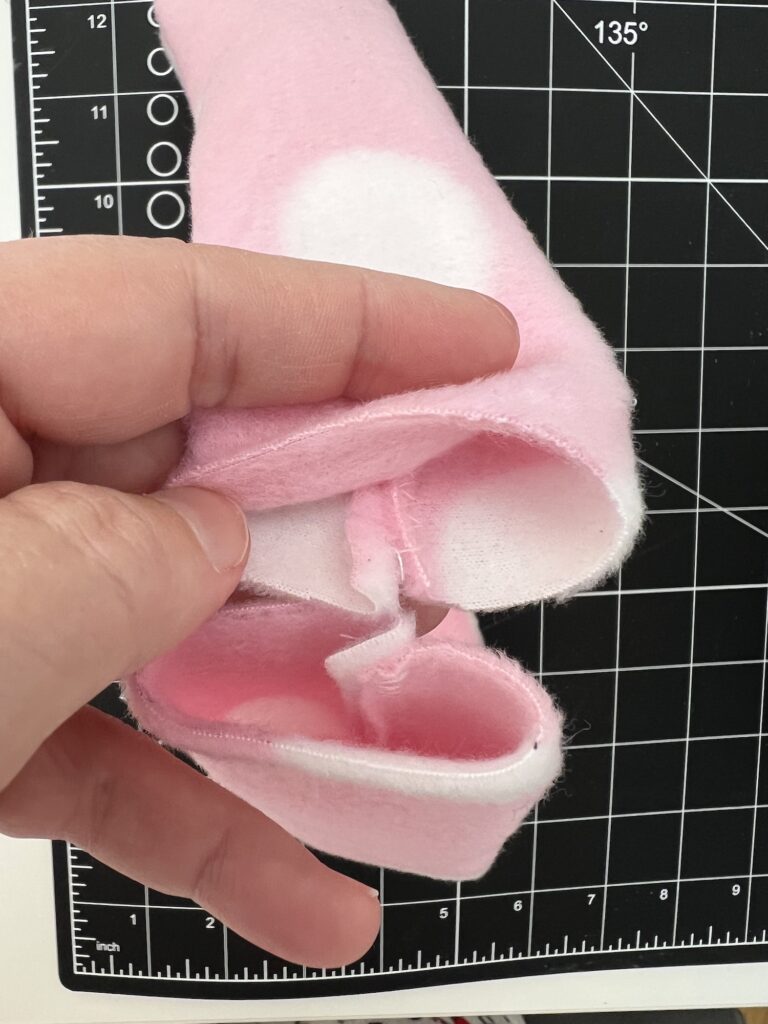
Stitch the tube closed by stitching along the cut edge using a zig-zag stitch and be sure to backstitch at the beginning and end of your stitching.
Step 5
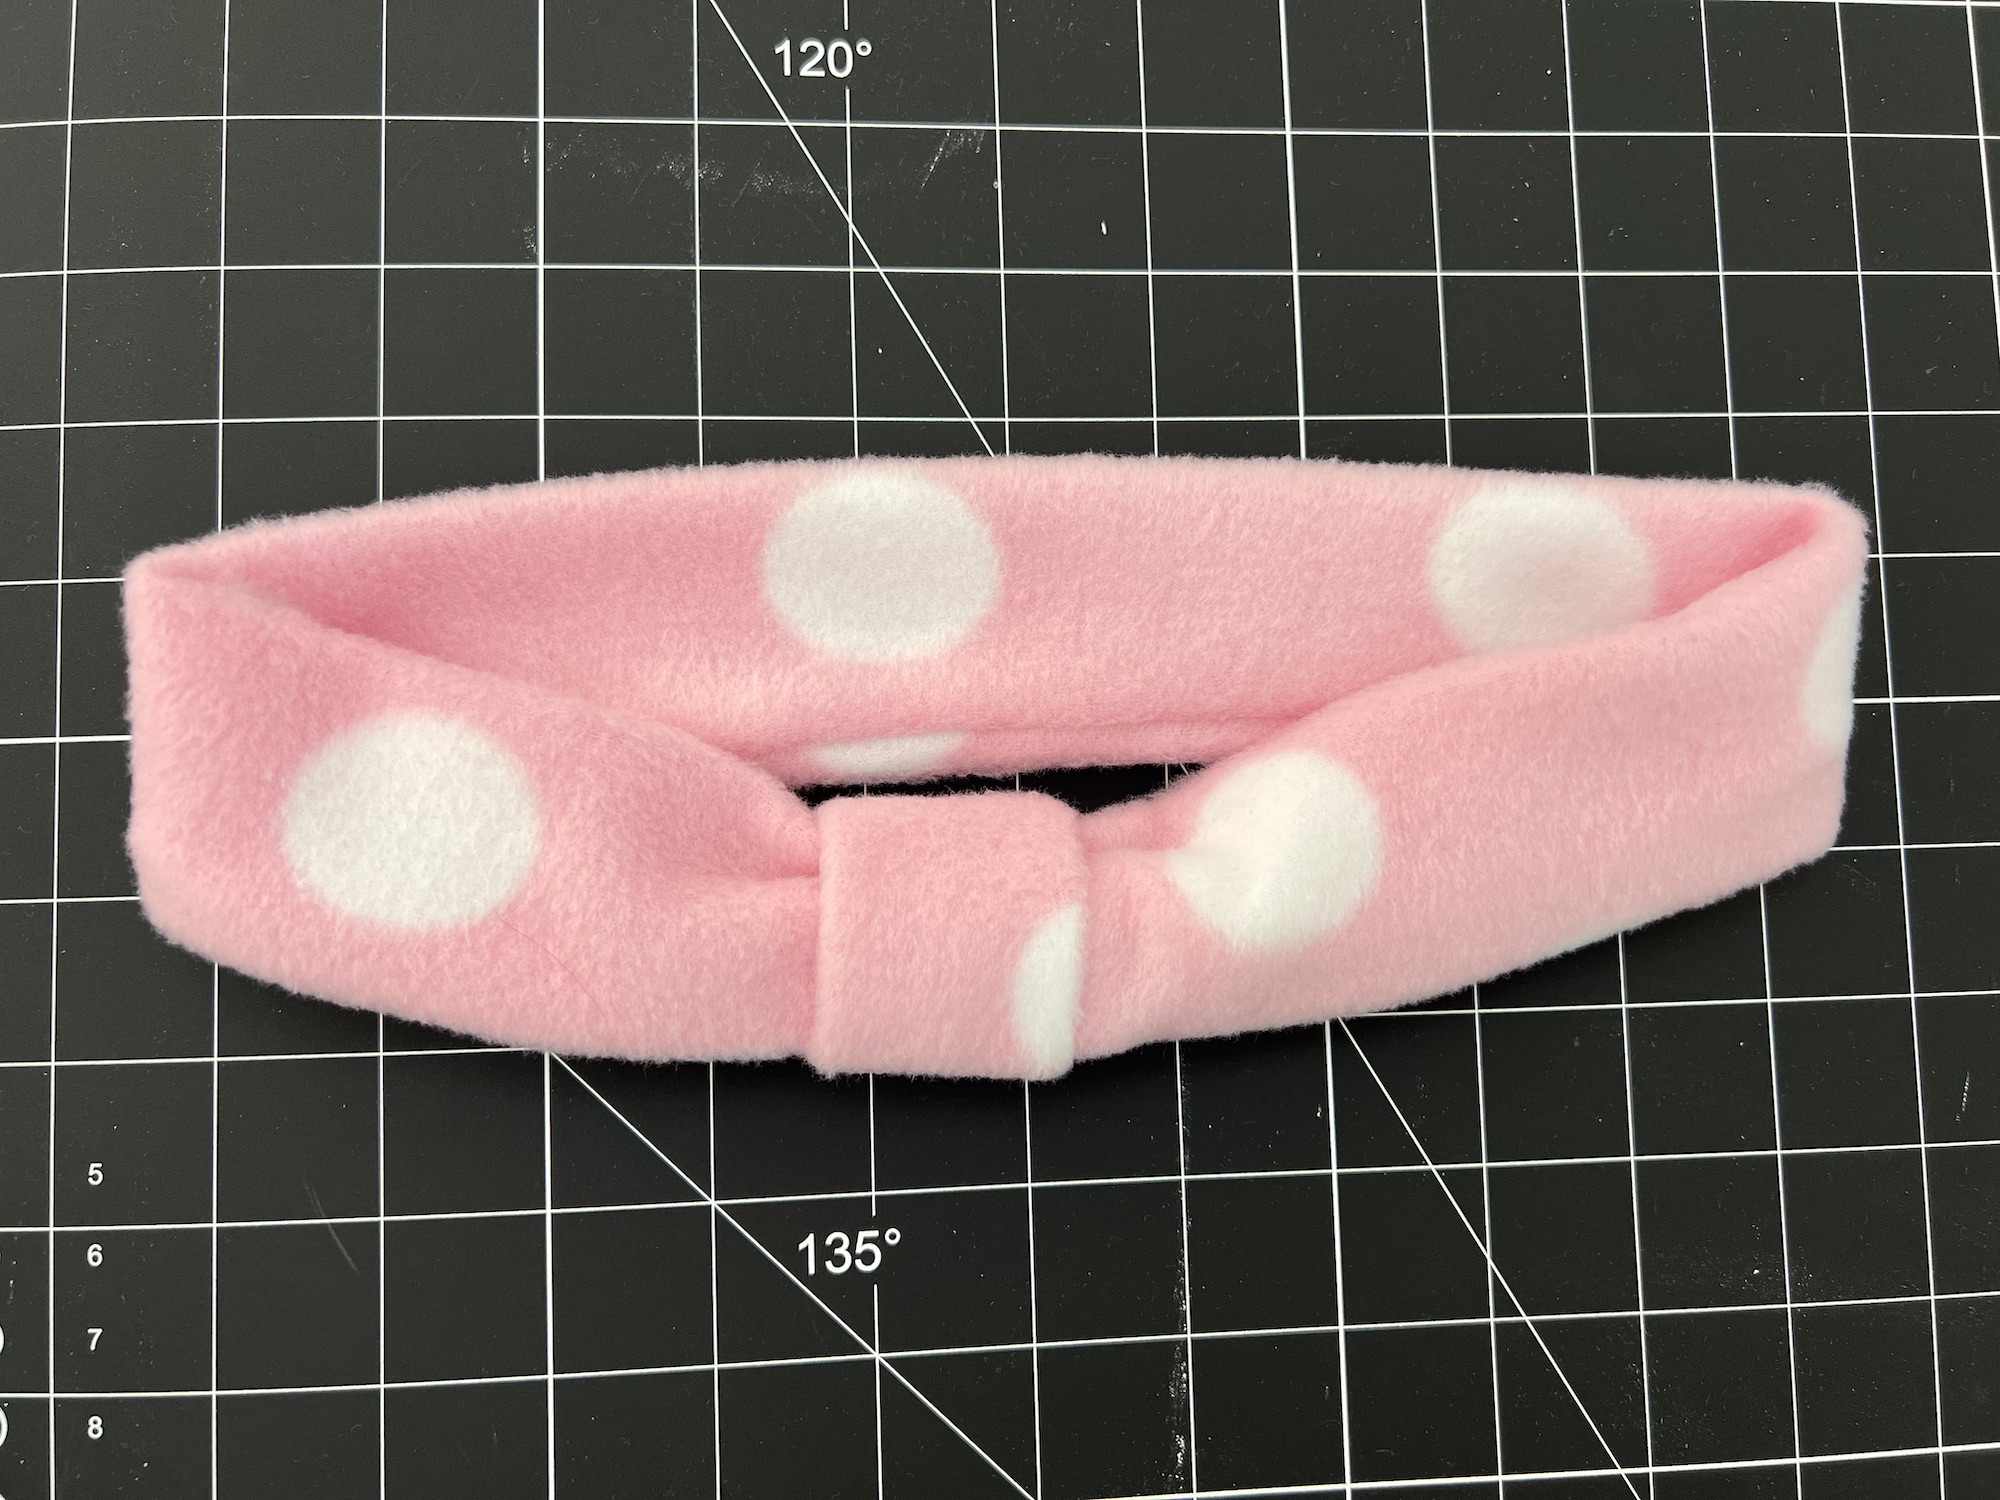
Cut a piece of fleece fabric 3 inches wide by 5 inches long.
With the wrong side facing up, fold over each edge towards the center, meeting in the middle, so that you now see the right sides of the fabric.

Step 6
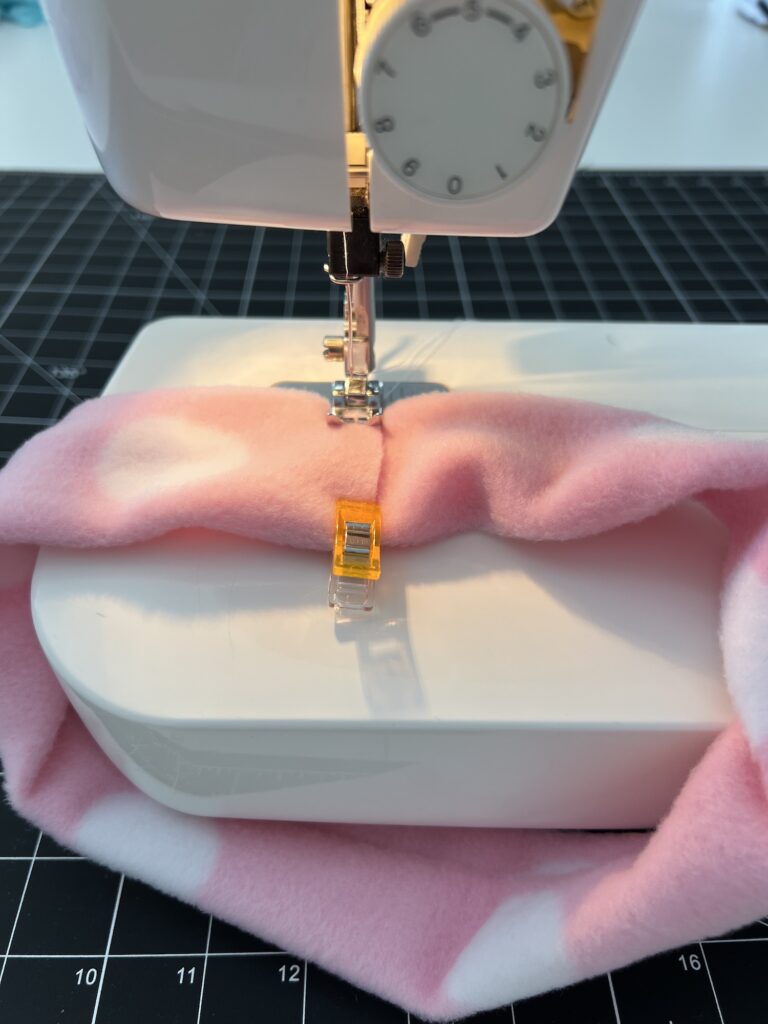
Wrap the folded piece of fleece around the sewn seam of the headband.

Pinch the fleece together to tighten the headband fabric as you would like. Then stitch closed near that point. I used a simple straight stitch, as this part does not need to stretch.
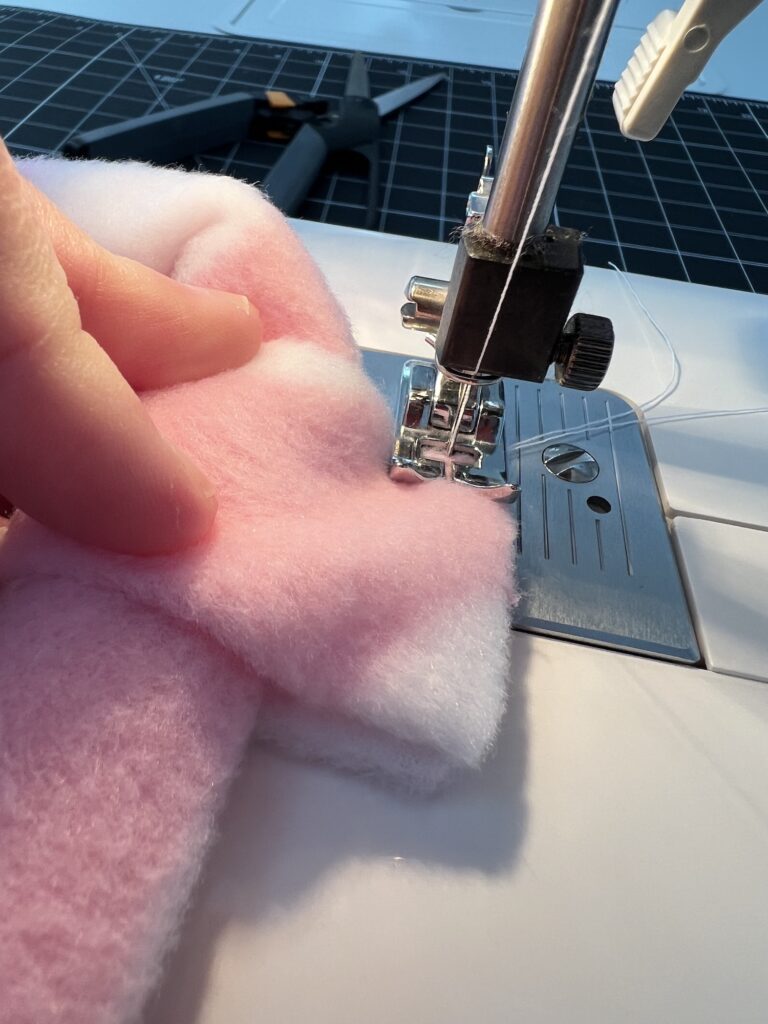
Be sure to squish the headband over as far as you can inside the folded tube so you don’t accidentally sew it into the decorative wrap.
Cut off excess fabric. Fleece does not fray, so you do not need to worry about finishing the seams.
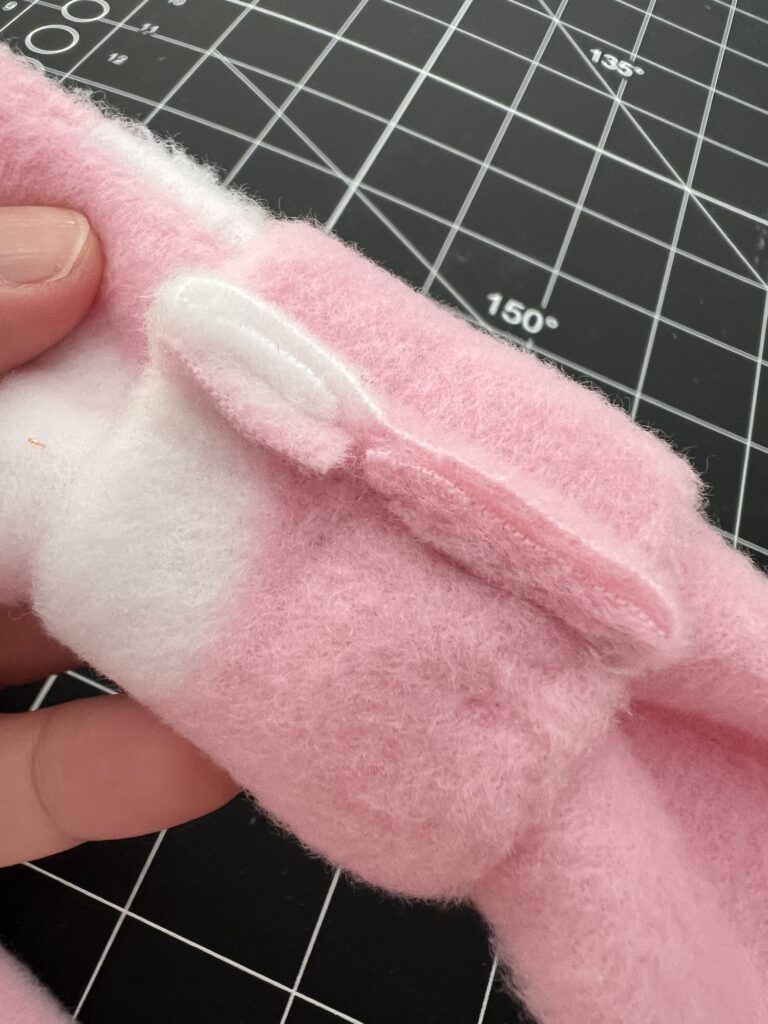
If you would like, you could add a few hand stitches to keep the wrap in place on the headband.

Helpful Tips I’ve Learned From Making These Fleece Ear Warmers
- The pink and white polka dot fleece and turquoise fleece were bought at Walmart on clearance. Did you know that you can buy fleece by the yard on Walmart online, as well?
- It can be very difficult trying to tell what is the right side and what is the wrong side of fleece fabric. The good news is that if you can’t tell while sewing the item, then it probably won’t matter with the finished item, right?
- If you really need to determine the right side of the fleece fabric and can’t tell based on the color of the pattern or the nap of the fabric, you can look at the selvedge seams. The selvedge will be rolling in towards the right side.
- Use a large zig-zag stitch rather than a smaller, tighter stitch. You want there to be enough give when this neck warmer is pulled over the head.
- Pinning or clipping the fabric is definitely a good idea! I found that the fleece fabric slid easily while sewing.
- I used a Sharpie to trace the lines on my fleece fabric because none of the cut parts would should. This was the easiest way to make marks on the fleece, compared to using chalk.
- Use fleece, not flannel fabric!
Save this idea to Pinterest to remember for later!
This is a great beginner sewing project that is easy to make for Operation Christmas Child Shoebox Gift Ideas or as DIY stocking stuffers!
It’s just one of our many sewing projects that cost less than $1 to make! Be sure to see our other inexpensive craft ideas!