Fillable Fabric Easter Eggs (Free Pattern + Video Tutorial)
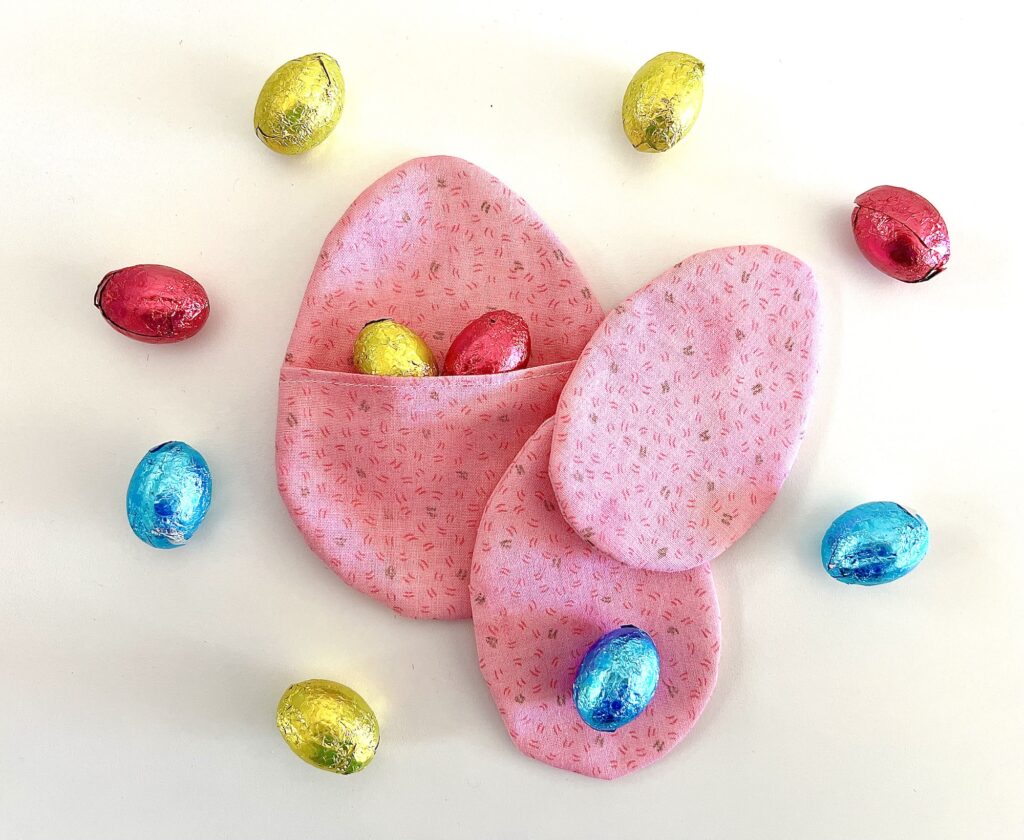
Fillable fabric Easter eggs are not only eco-friendly, they are also sentimental! Fabric eggs can be used year after year, becoming a cherished handmade Easter gift that can be passed down through generations.
These refillable fabric Easter eggs are easy Easter sewing projects that have so many benefits, including:
- Heirloom Handmade Easter decor
- Saves Money on Easter Eggs
- Plastic-Free
- Eco-Friendly
- Great Scrap Buster
- Fits Larger Easter basket gifts
- Saves storage space
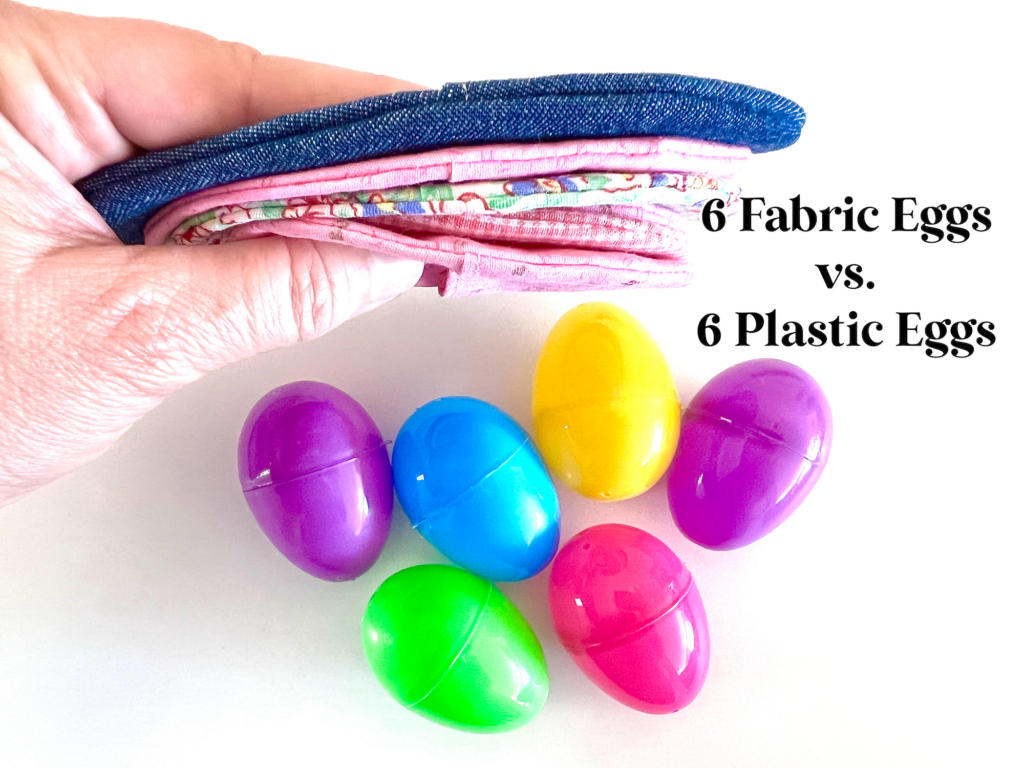
One of my favorite reasons to use fabric eggs is because they use a LOT less storage space than plastic eggs! The photo below shows that 6 fabric eggs can be stored laying flat, while the 6 plastic eggs take up so much room.
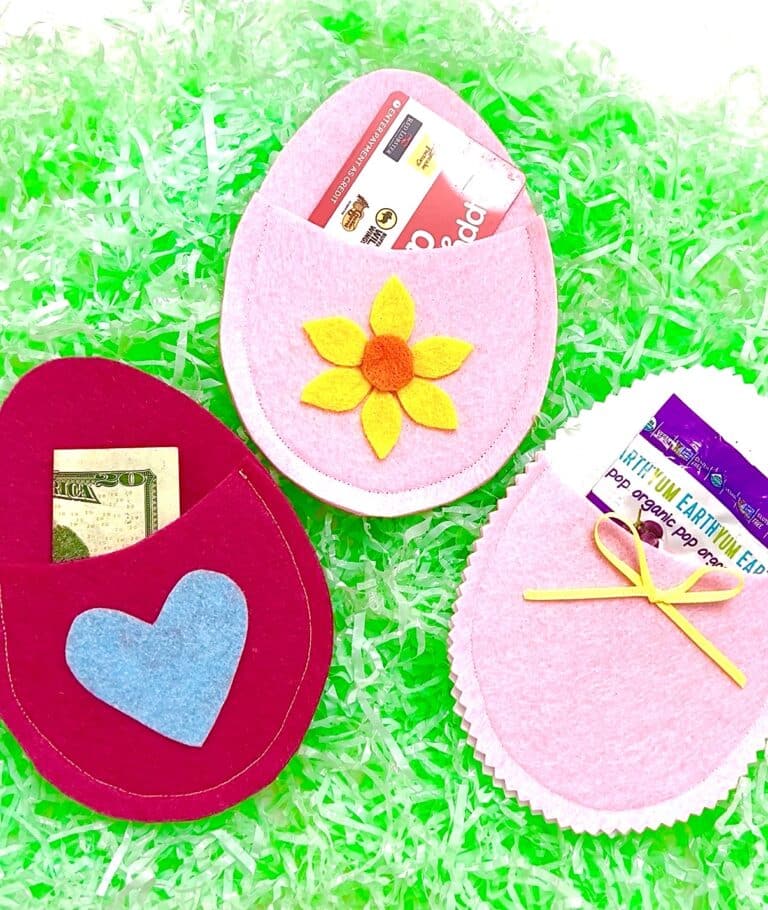
This same template can be made to use felt Easter eggs with a pocket, too!
How to Sew a Reusable Fabric Easter Egg
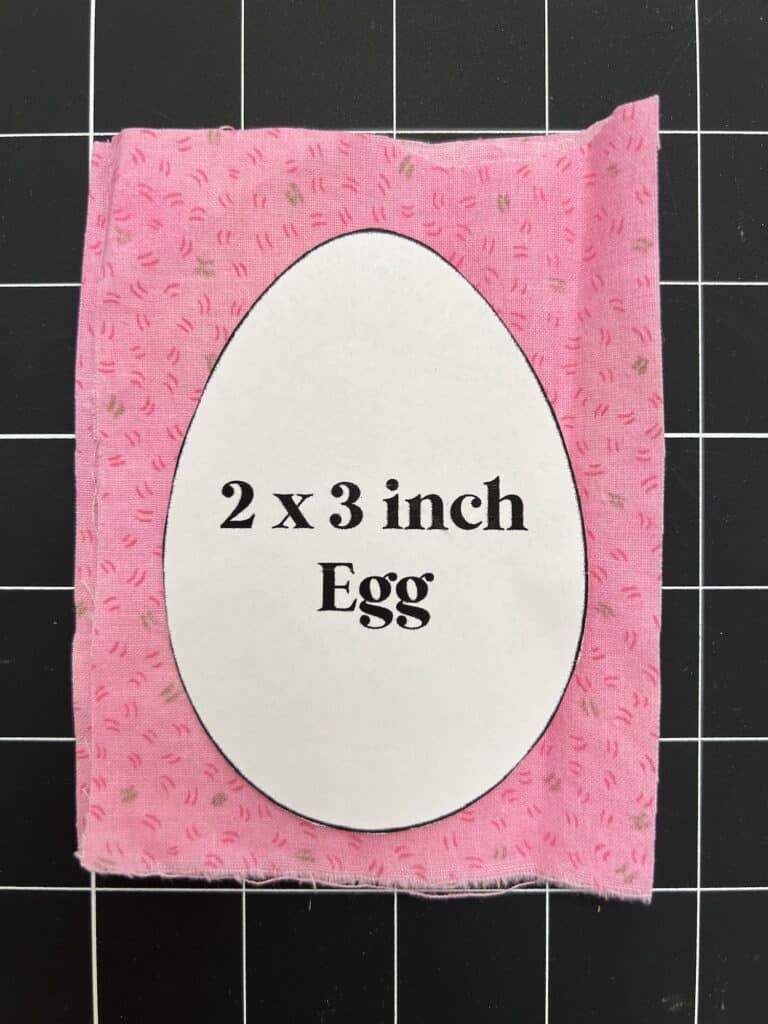
Our free sewing pattern has templates for eggs in the following sizes:
- 2 X 3 inches
- 3 X 4 inches
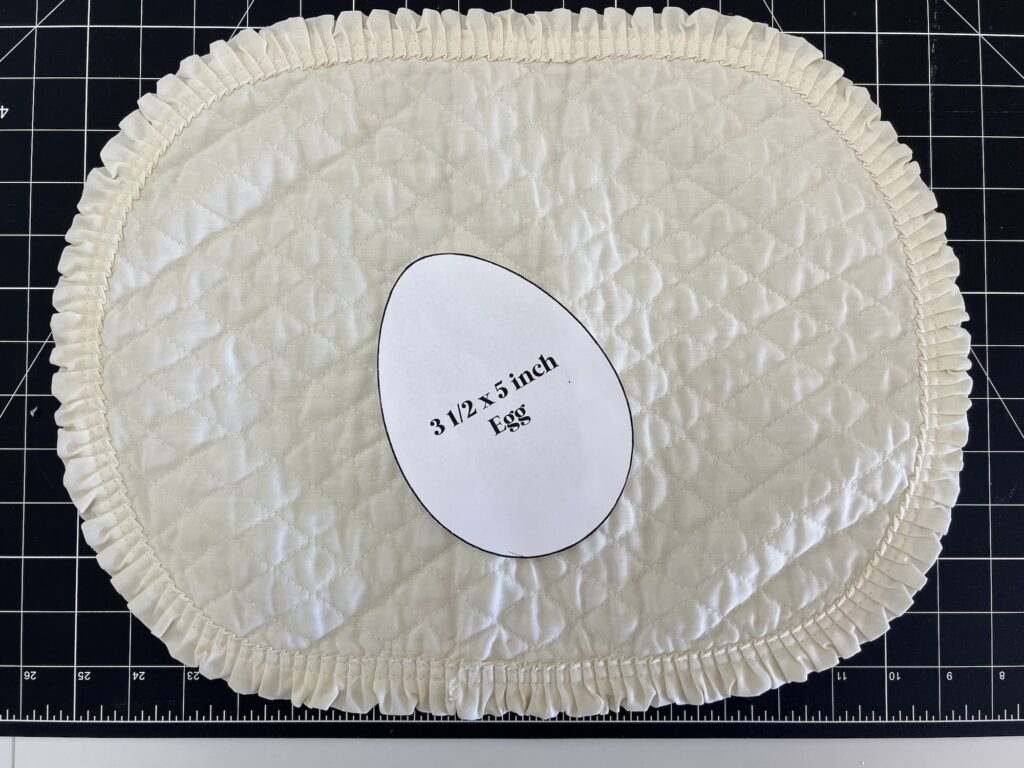
- 3 ½ X 5 inches
Supplies
- Free Fillable Fabric Easter Eggs Patterns
- Fabric
- Matching thread
- Pins
- Pinking shears (optional)
Directions
Download, print and cut out the free fillable Easter egg sewing pattern.
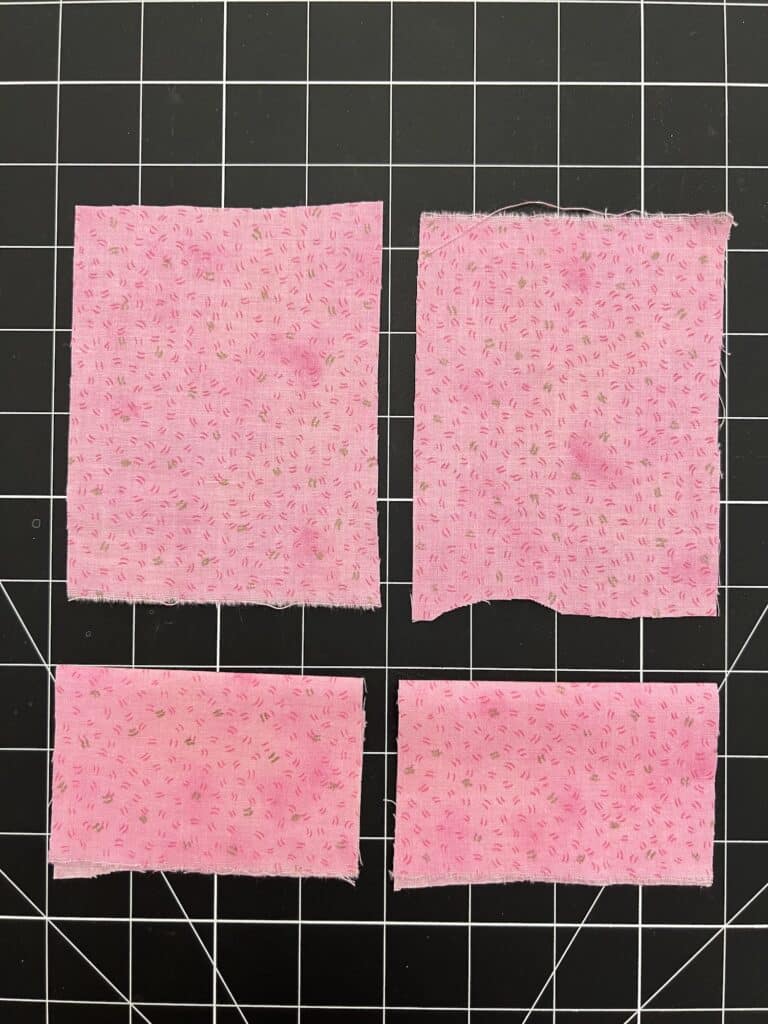
For a 3 X 4 inch egg, cut four 5 X 7 inch rectangles of fabric.
Note: The size of the fabric will vary depending on the size of the pattern. You will want to leave about 1 inch on the sides of the eggs, and about 2 inches on the top and bottom. You will cut the fabric much taller than the egg pattern because you will need to overlap the fabric to make the envelope closure.
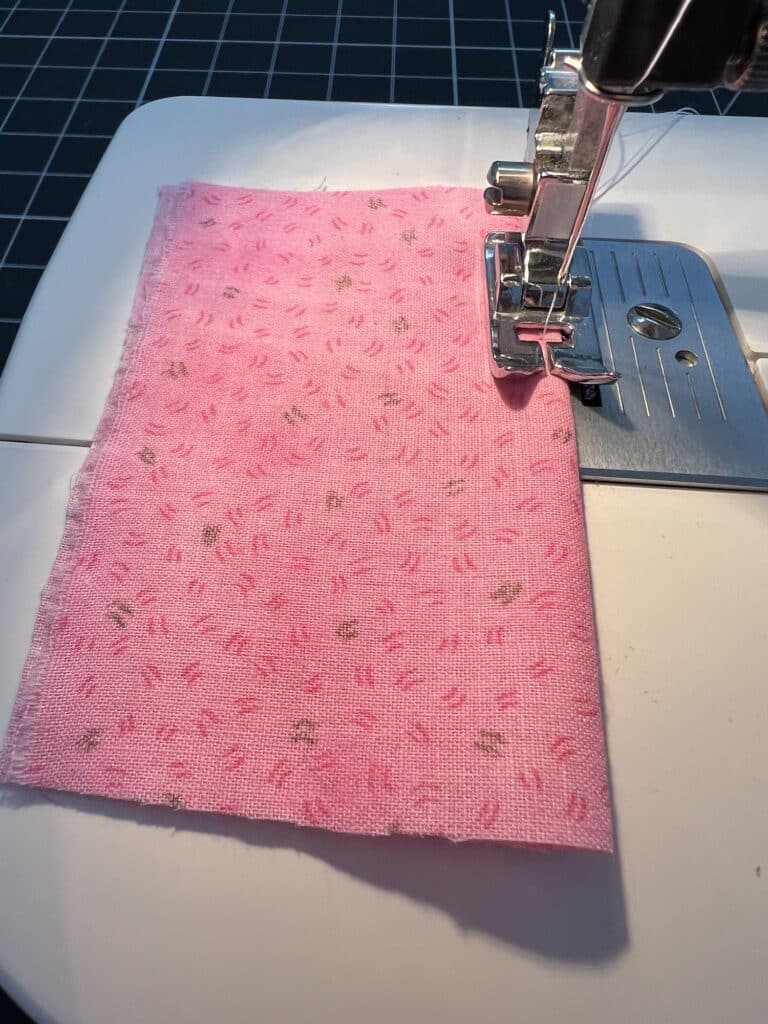
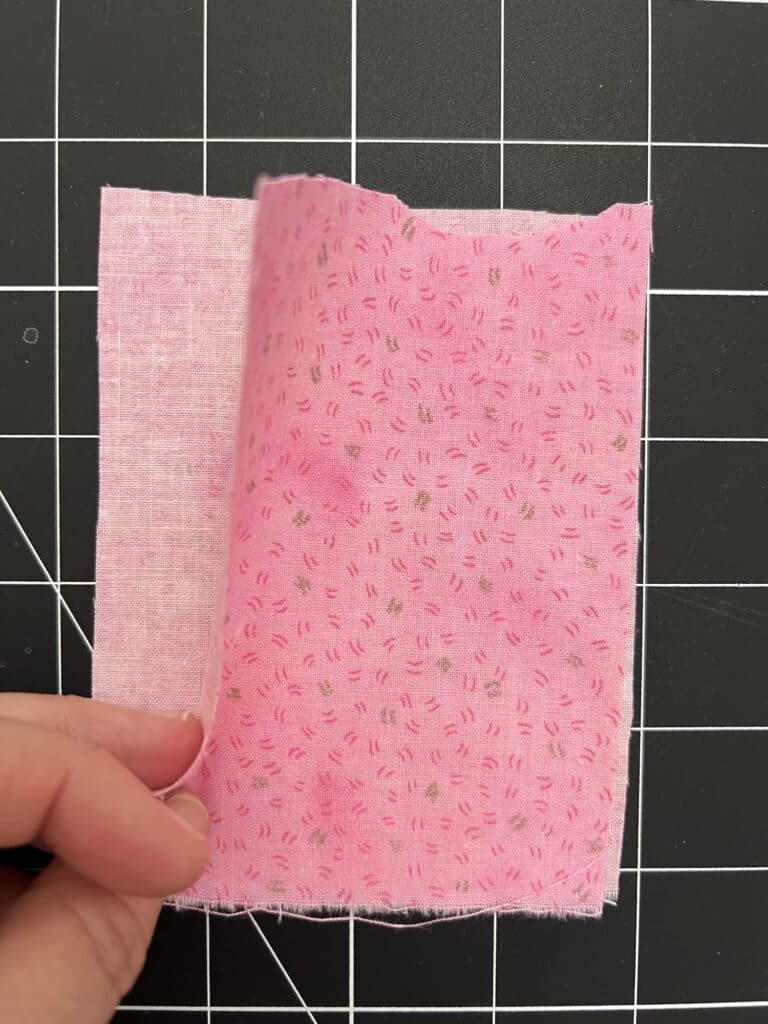
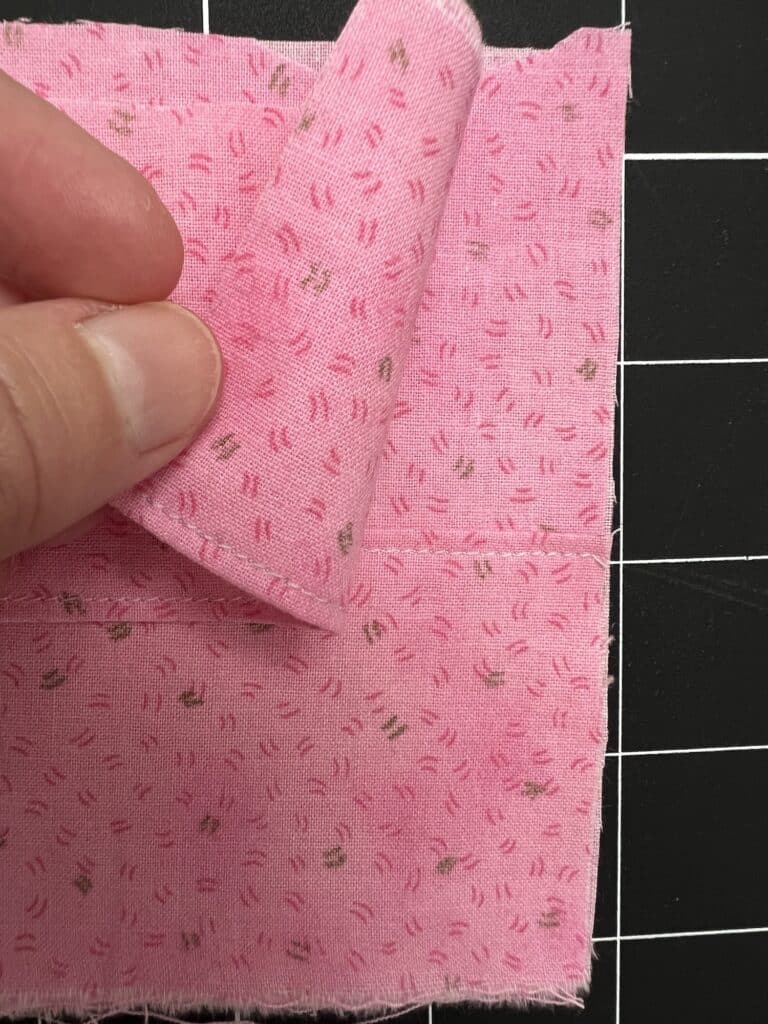
Take two of the rectangles and fold each in half lengthwise, with right sides facing out.
Sew along the folded edge, close to the fold, with a simple straight stitch. Repeat with both folded rectangles.

Place the two full-size rectangles with wrong sides together, right sides facing out.
Place one of the folded fabric pieces near the bottom of the two rectangles, matching the raw edges.
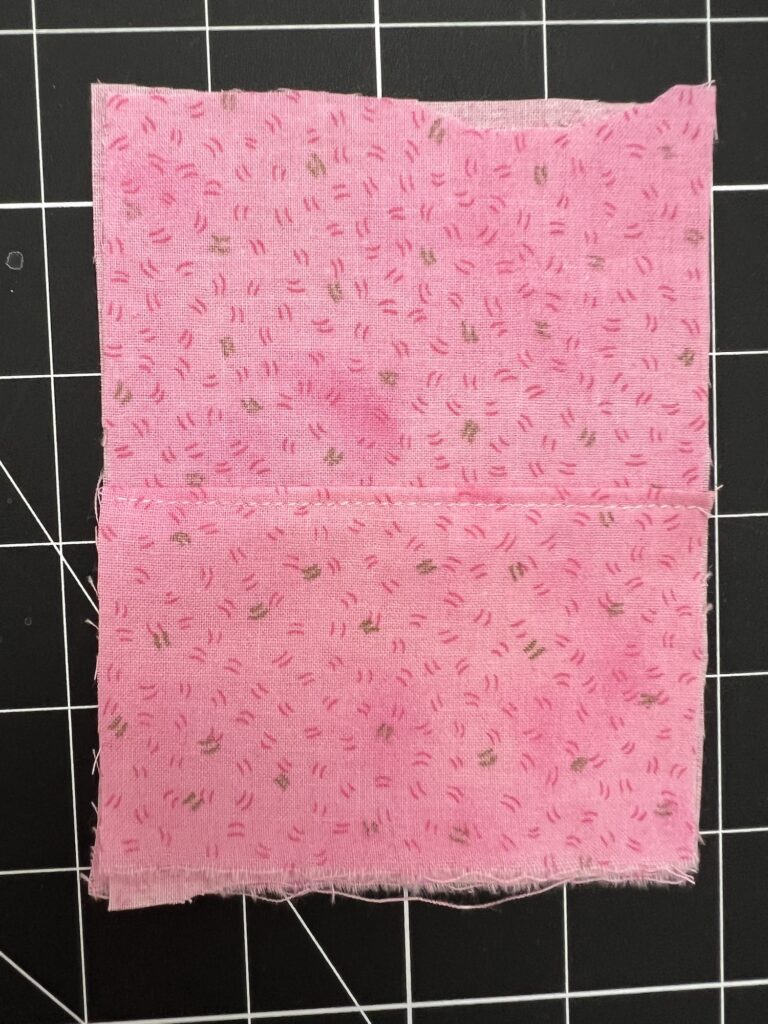
Lay the other folded rectangle on the top of the fabric pieces, overlapping the stitched folded edges by ½ inch or more.
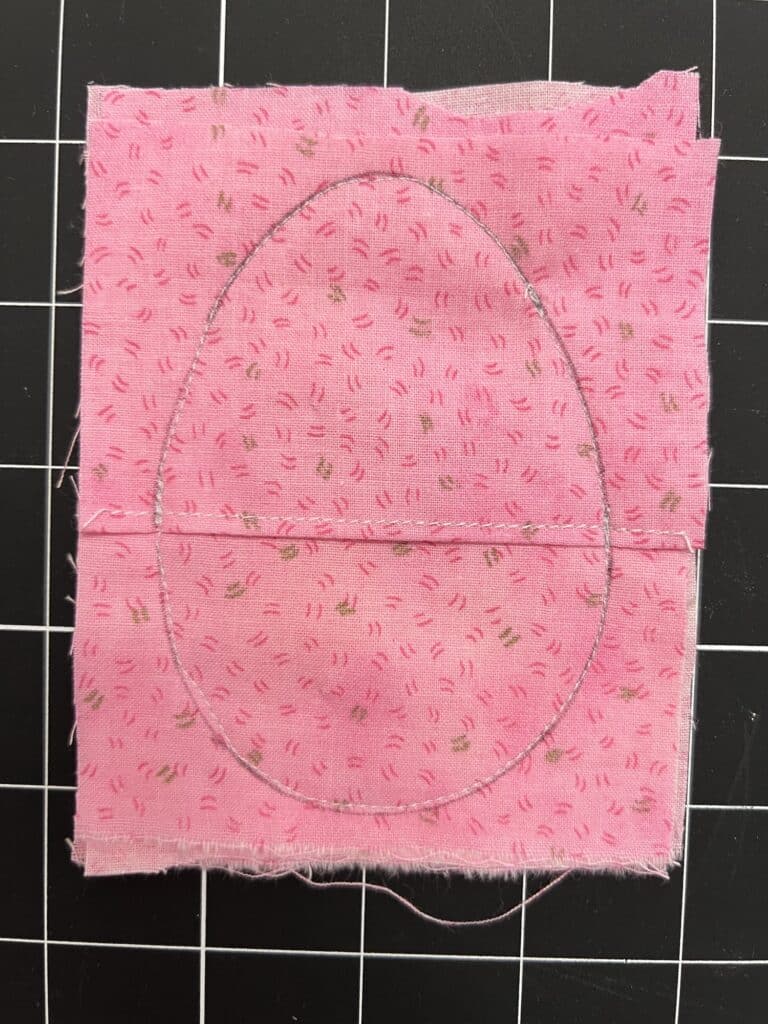
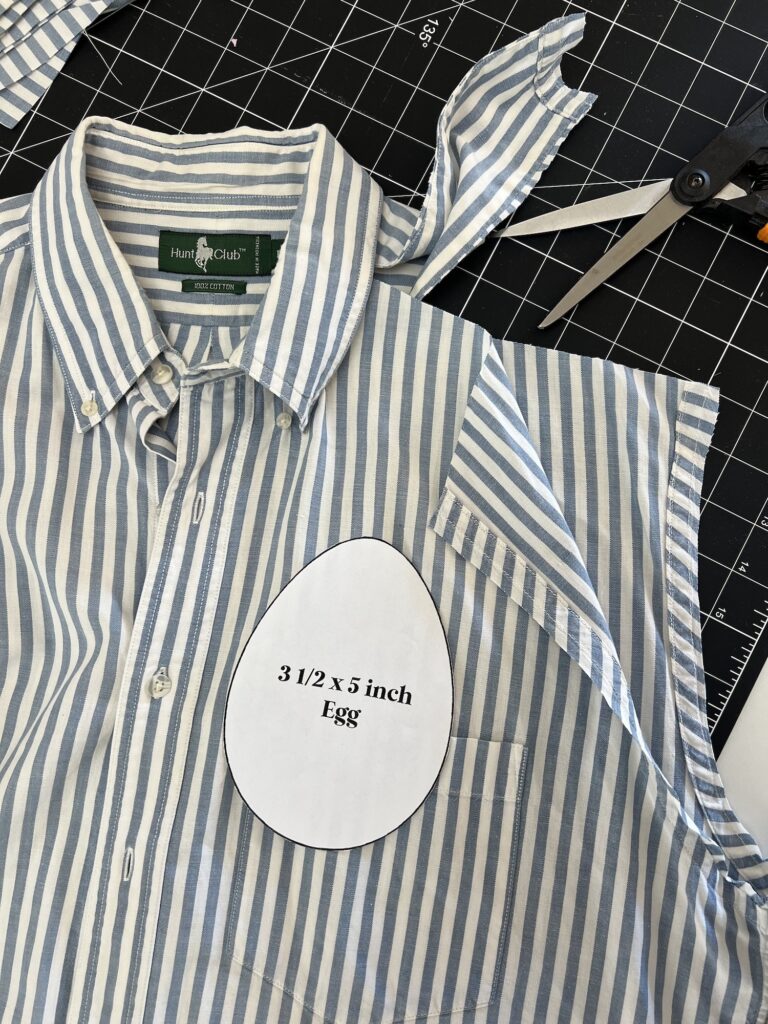
Position the egg pattern on the fabric, making sure that there is enough extra fabric around the pattern so that you can cut a seam allowance after stitching. If needed, adjust the amount of overlap of the fabric pieces.
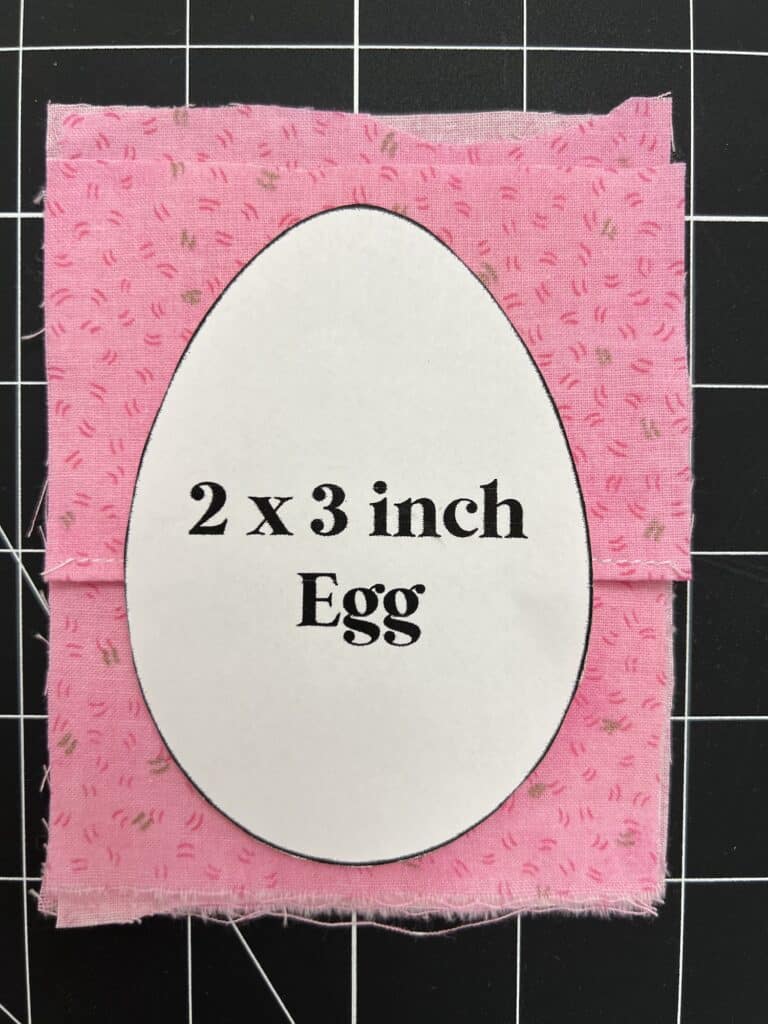
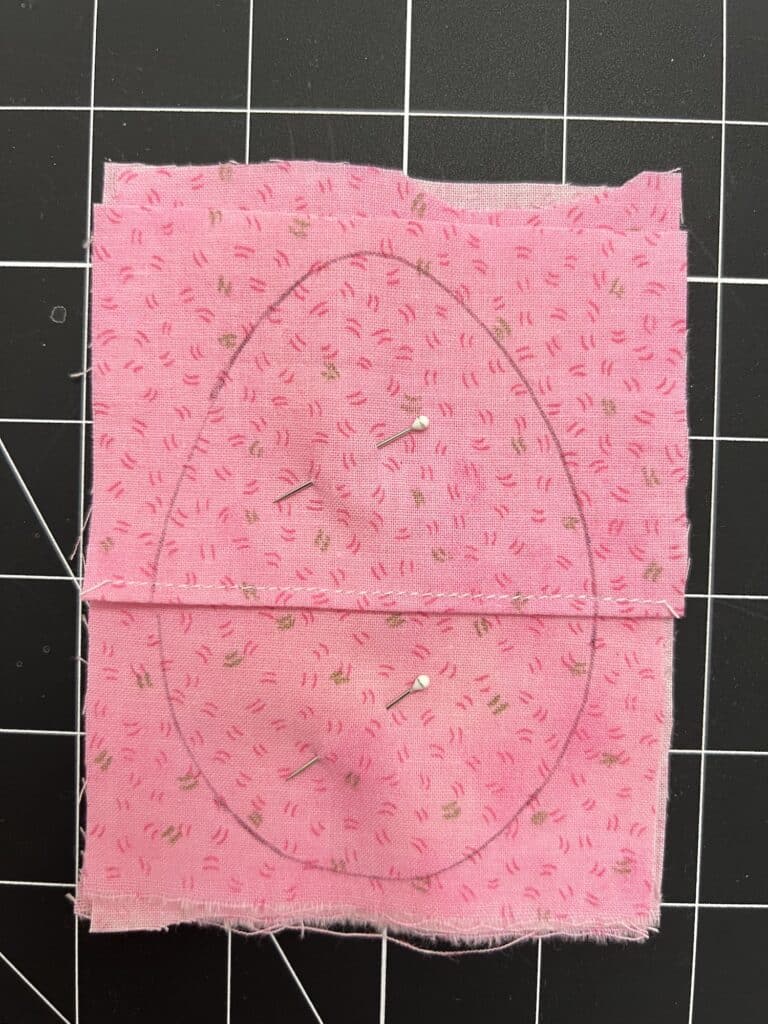
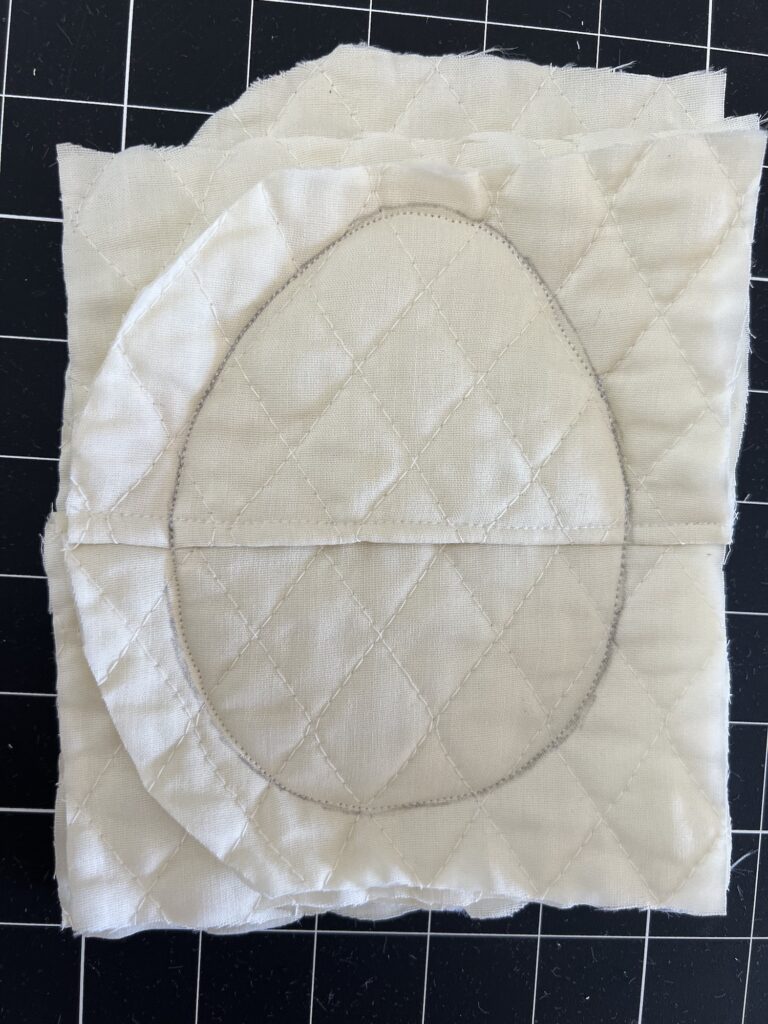
Trace around the egg pattern with a pen. (This mark will not be seen after sewing so it does not need to be chalk or disappearing ink.)
Pin the fabric pieces together, pinning inside the traced pattern.
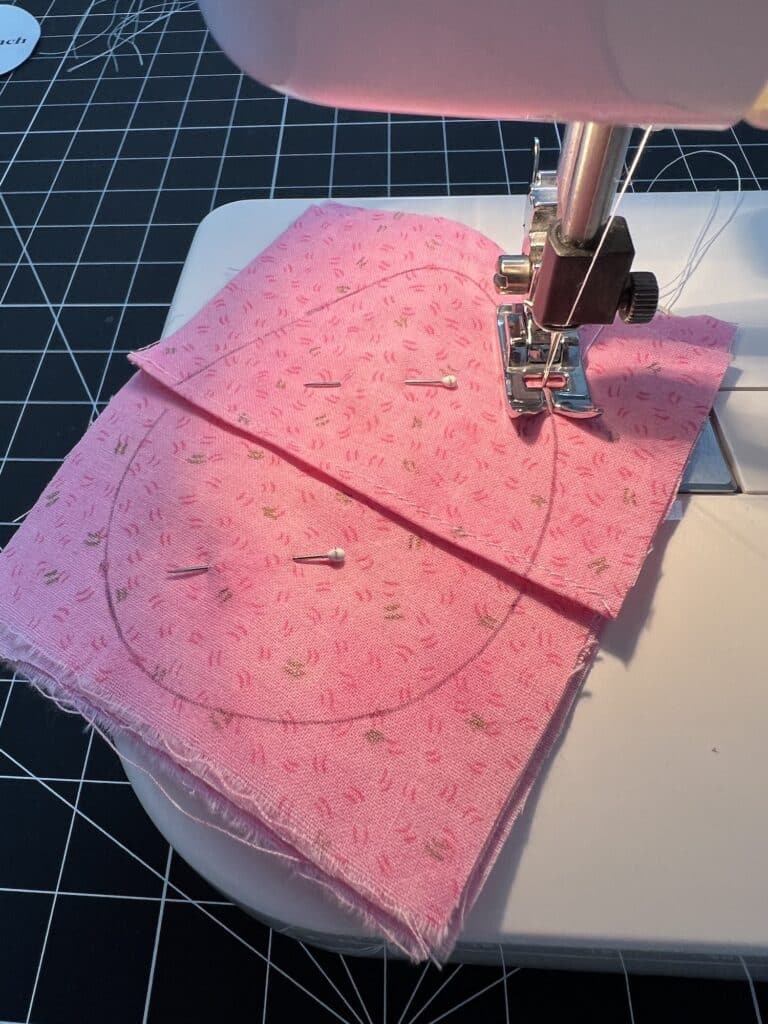
Sew along the traced pattern, sewing through all of the layers. Backstitch at the beginning and end of the stitching, as well as backstitching on the sides where the layers overlap to make the envelope closure.
Do not leave an opening in the stitching.
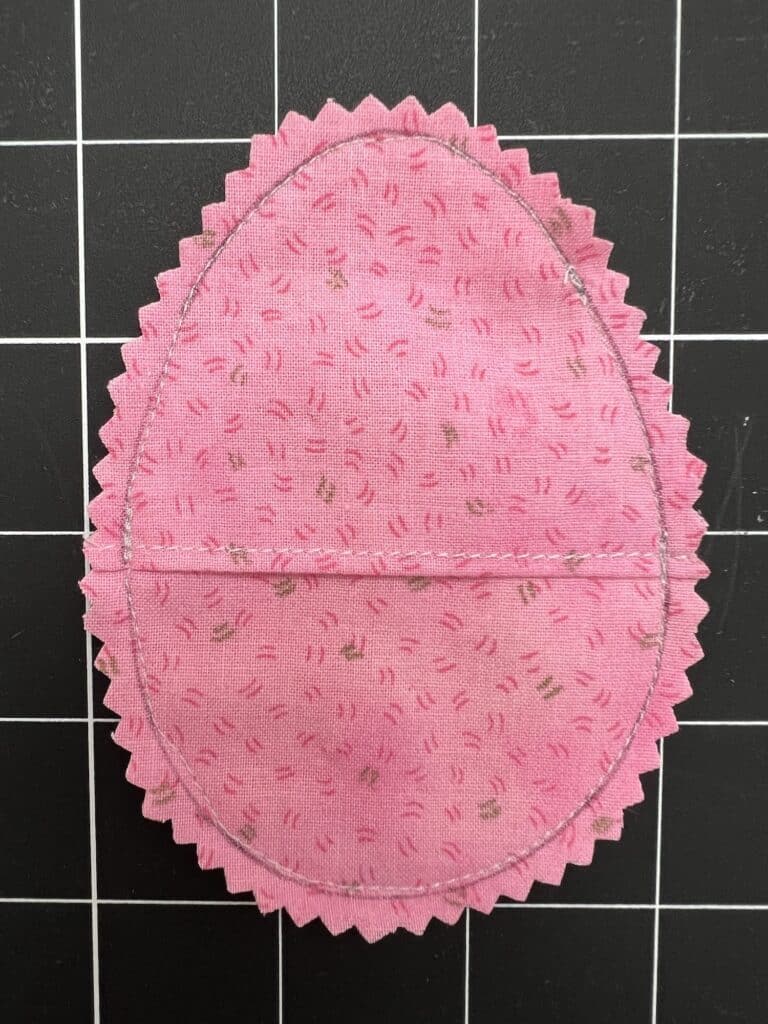
Cut around the stitched line, leaving about ¼ inch seam allowance between the stitching and where you cut.
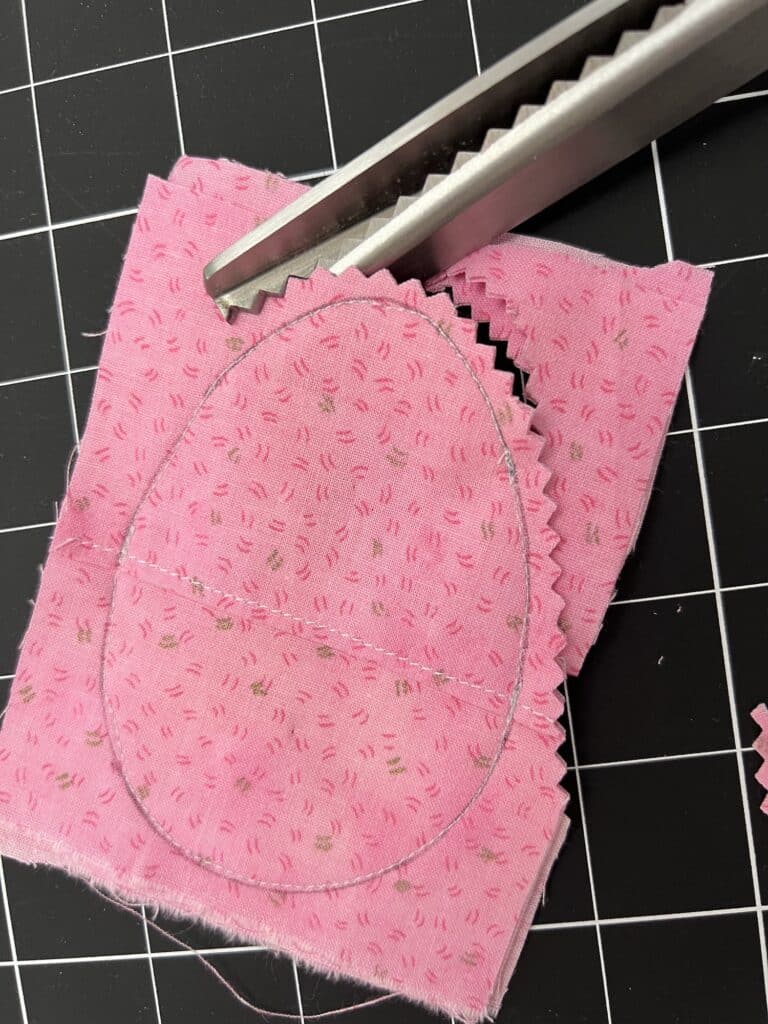
Pinking shears are ideal because they create triangles which will make it easier to turn the curved edges inside out. However, you could also use normal sewing scissors and then cut slits into the curved seam allowances.
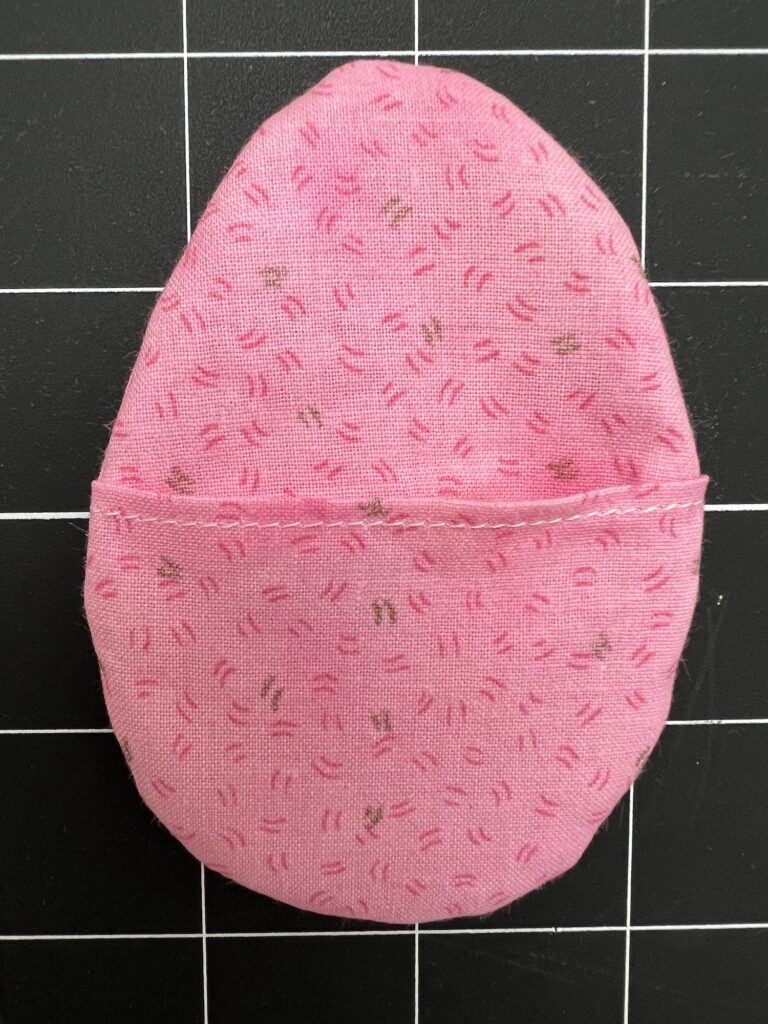
Turn the egg inside out. Push out the seams with your fingers or a turning tool.
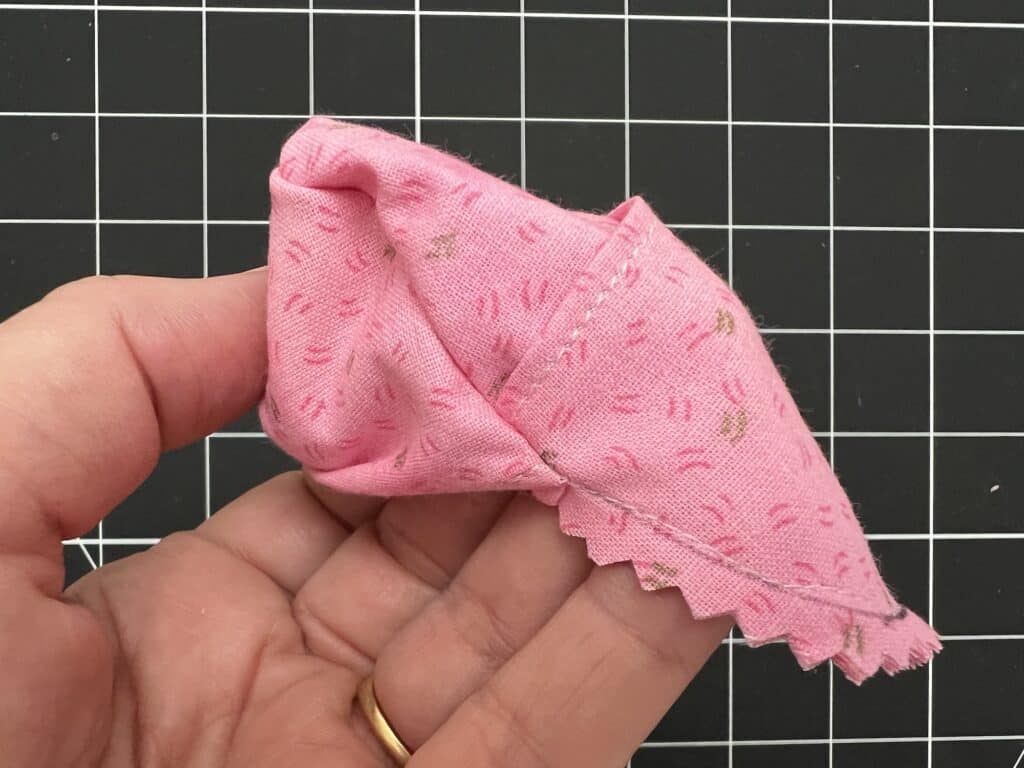
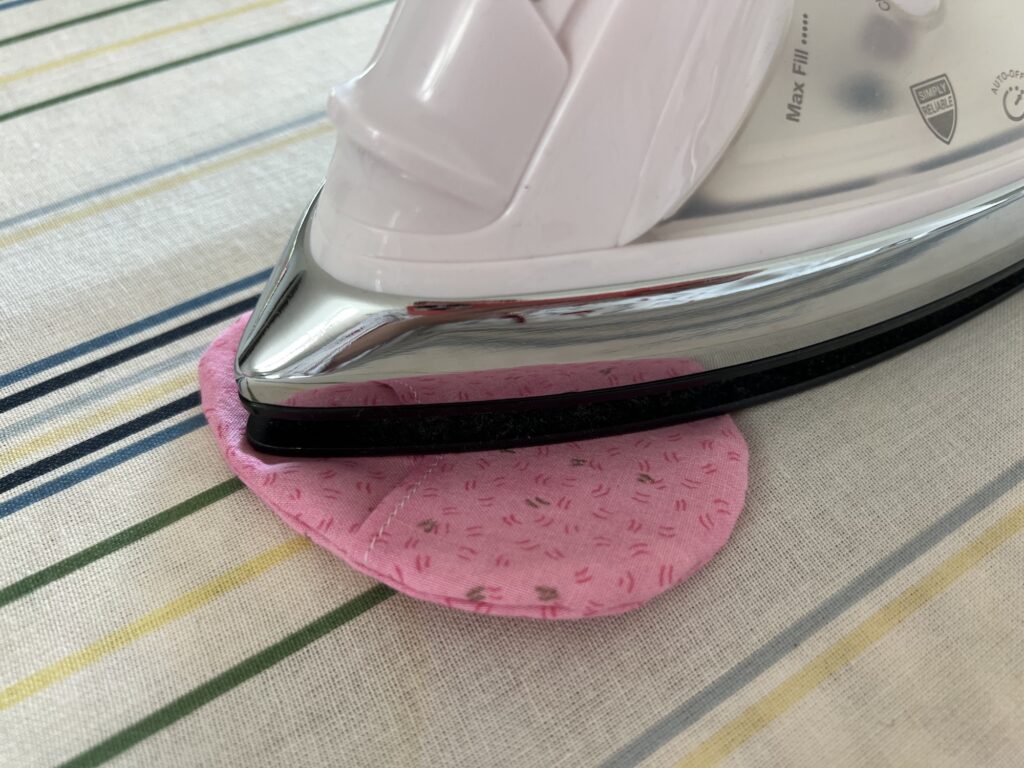
Iron the fabric egg, if desired.
Want to watch me make these fabric Easter eggs? See our YouTube video below:
Variations I Have Tried
This easy sewing project for fillable Easter eggs that are not plastic can be customized in so many ways!
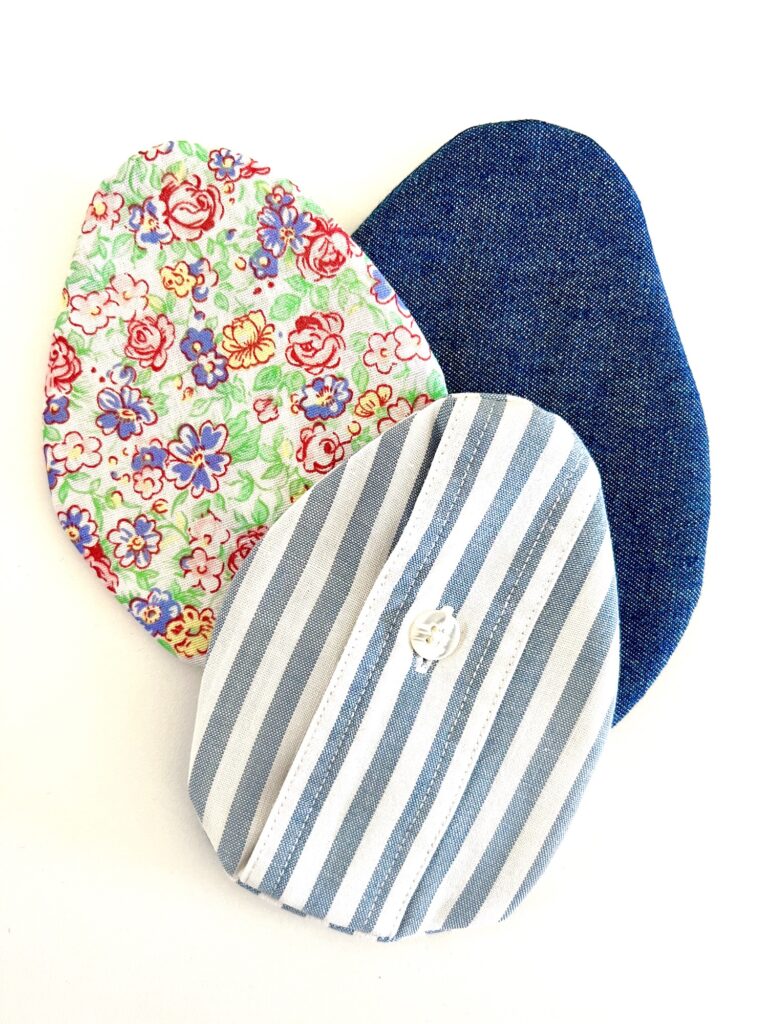
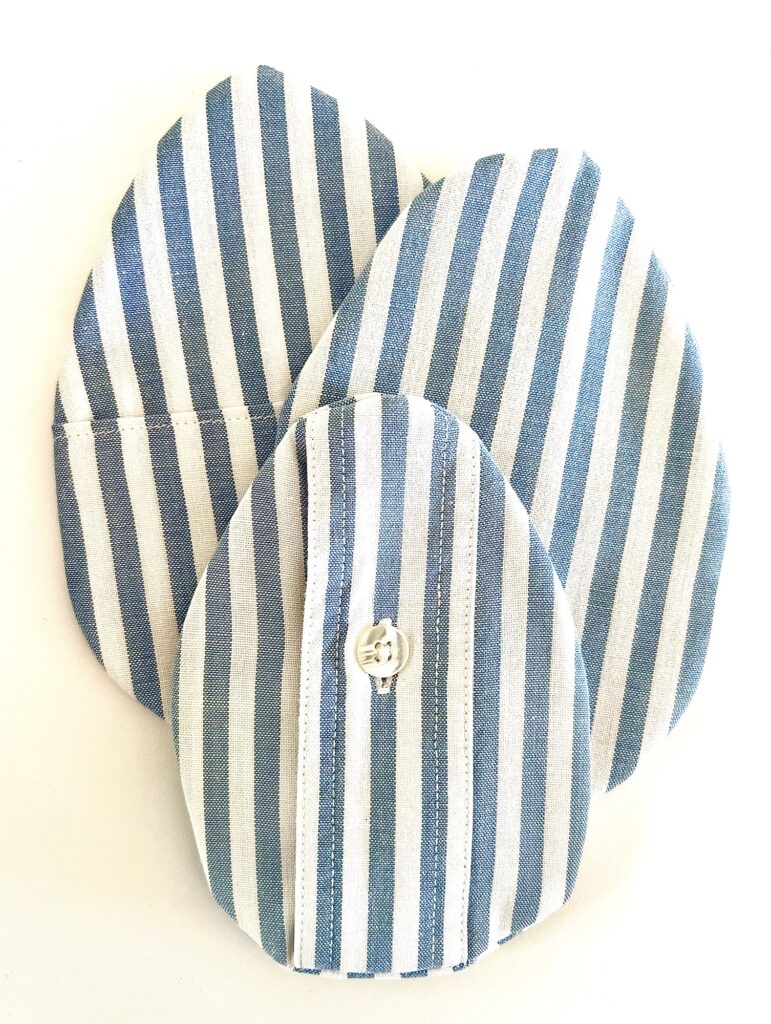
I used a men’s button down shirt to make several eggs. Positioning the egg pattern over the buttons creates a cute egg for boys and men.
I used a quilted placemat to make eggs in the same method. The eggs are thicker and quilted. You will need to make more of an overlap for the closure because they are so thick.
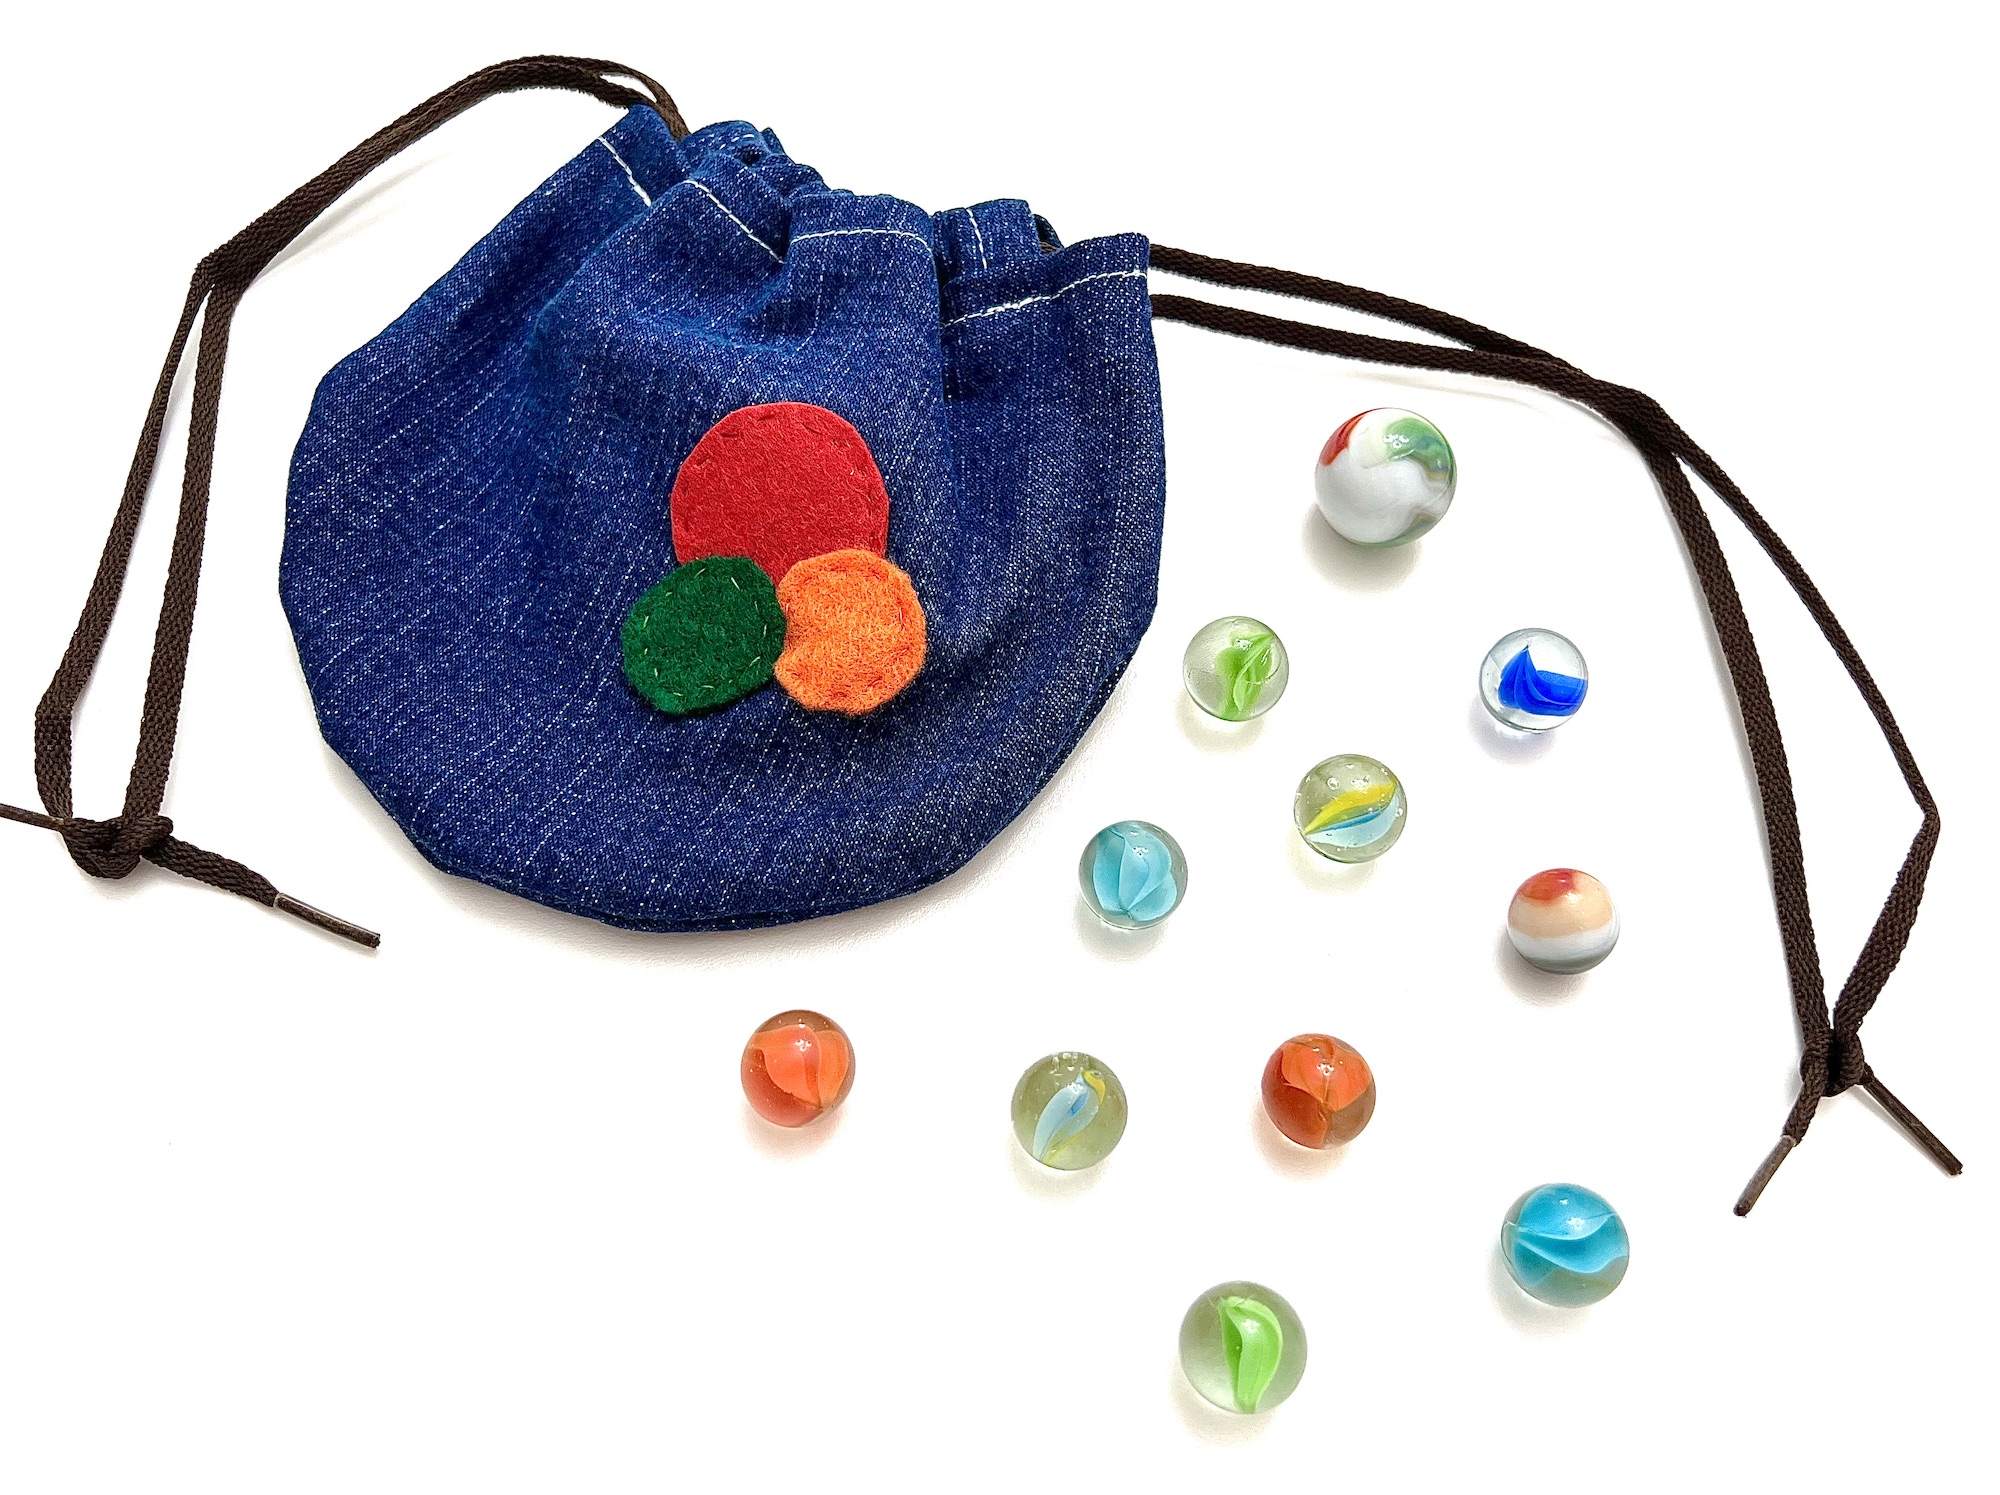
I have also used jeans and other clothing pieces for fabric.
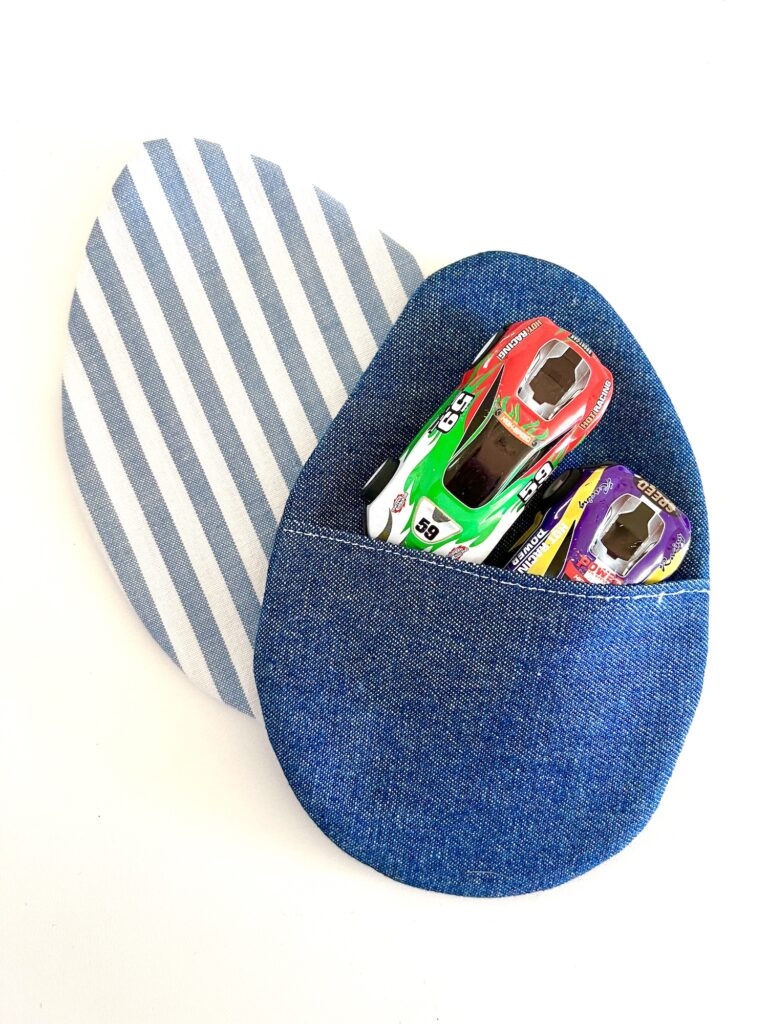
If you would like, you can use coordinating fabrics rather than one fabric print.
Pin this sewing project to remember for later!
Be sure to see these easy Easter sewing patterns, too:
- Fleece Easter Bunny (Make in 10 minutes!)
- Easter Candy Bags
- 21 Free Bunny Sewing Patterns

hi
Made these for church with help from a young boy who is visually impaired!they are beautiful!
Janet, I am so happy to hear your story! Glad that you had the extra special help!