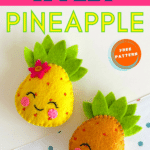
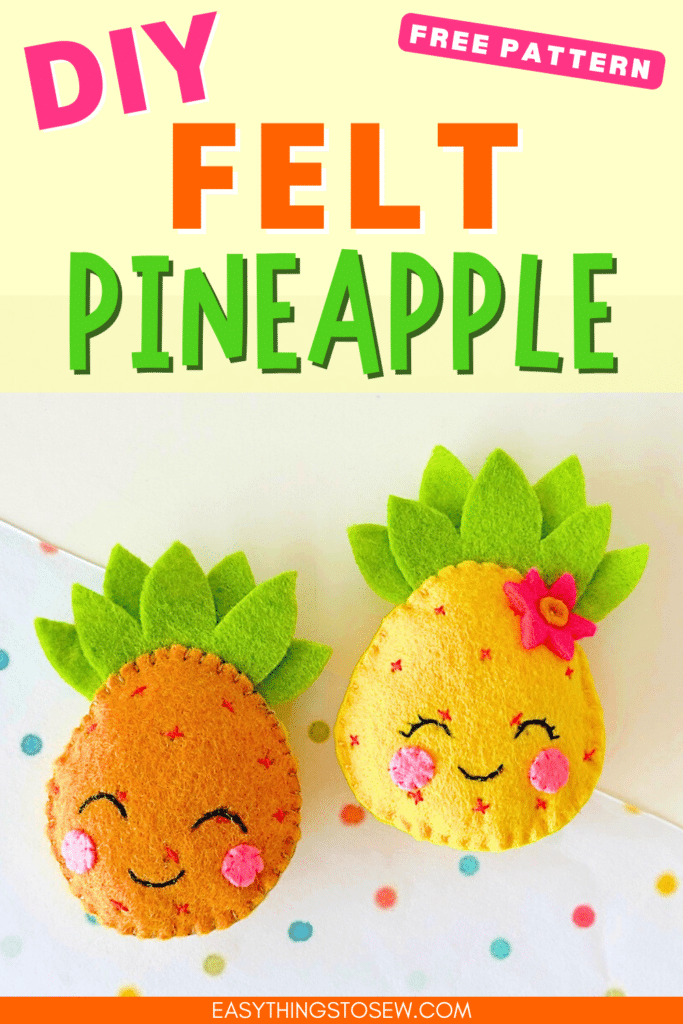
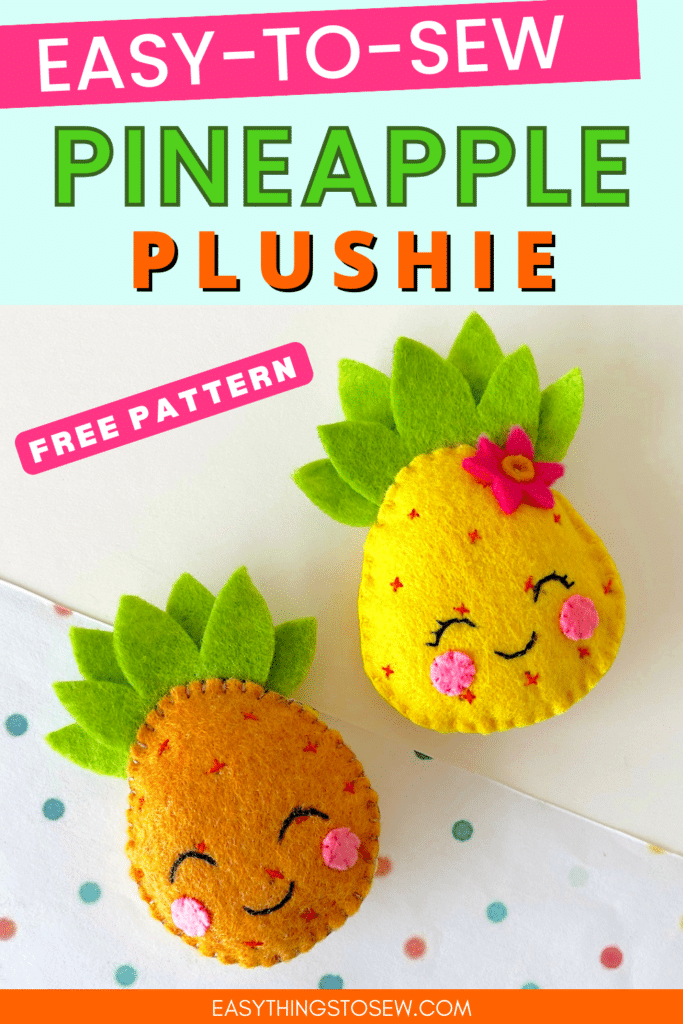
Felt Pineapple Plushies (Free Pattern)


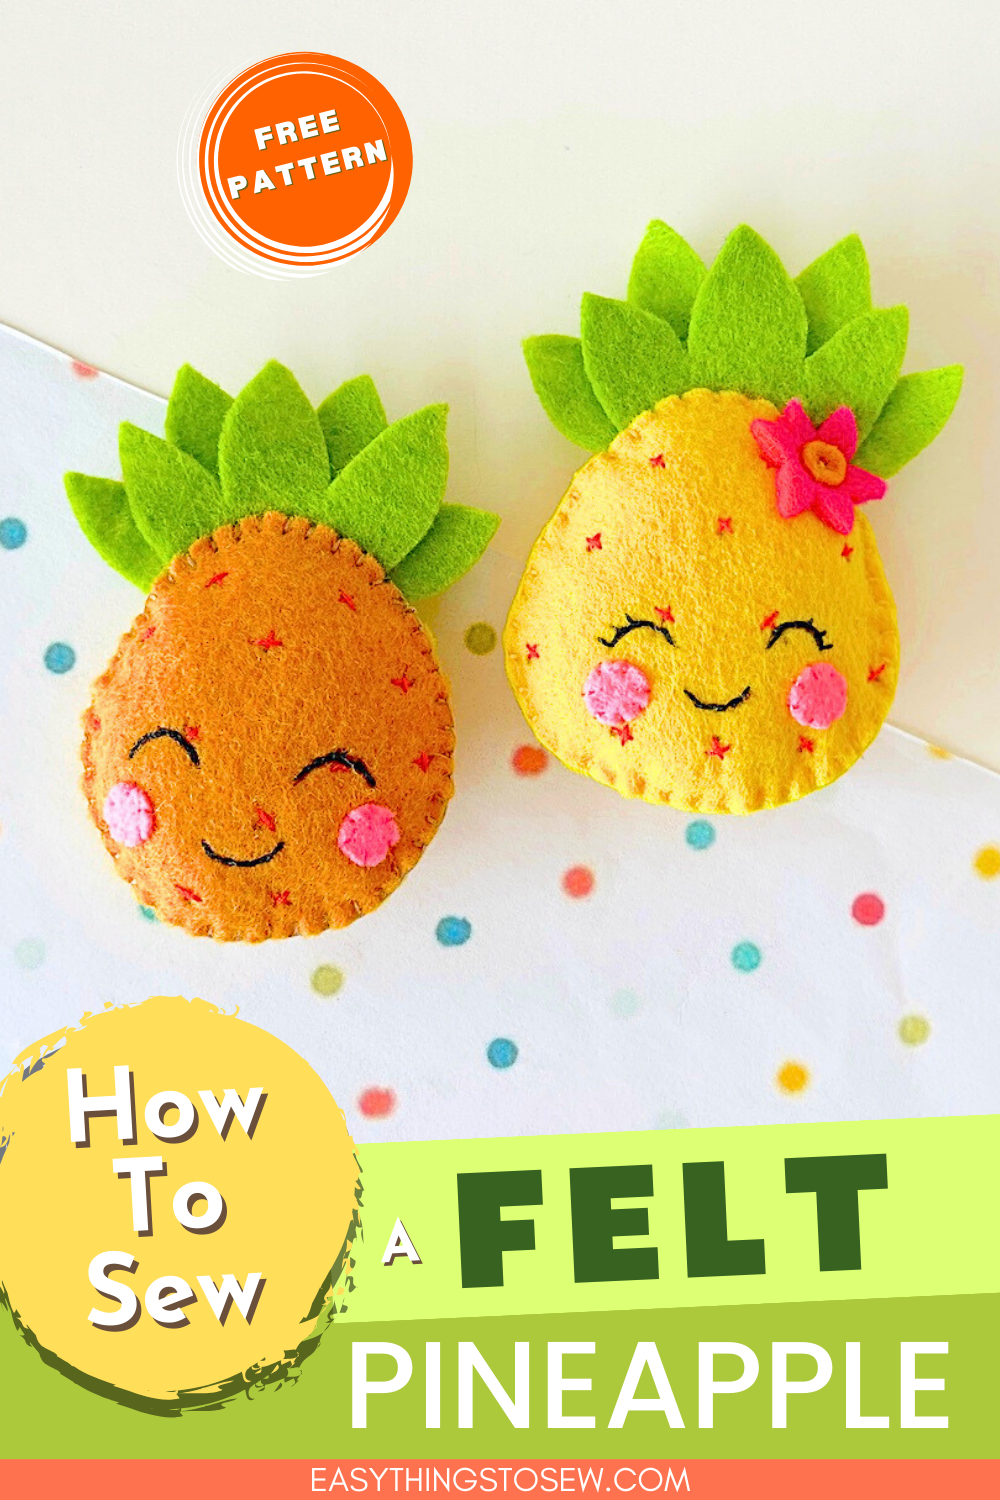
These cute felt pineapples are a fun hand sewing project using our free pattern and colorful felt fabrics.
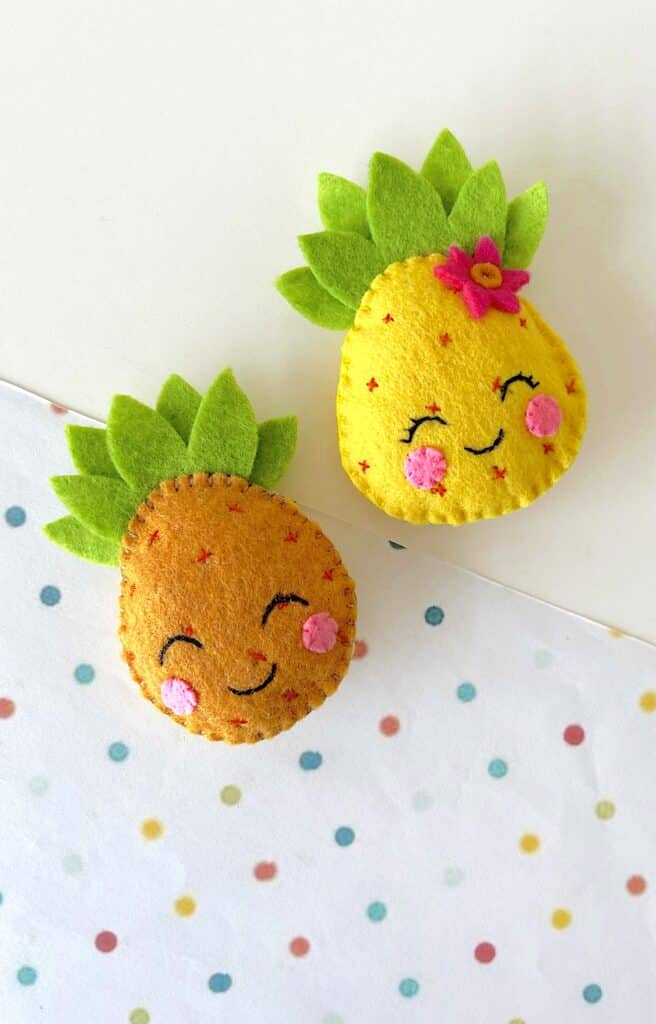
Our pineapple stuffies are perfect felt food for imaginative play.
These pineapple softies are a great summer sewing project, too!
How to Sew a Felt Pineapple
Supplies
- Free Felt Pineapple Pattern
- Colored felt fabrics (we used yellow, green, brown and pink)
- Matching Threads
- Hand Needle
- Fabric marking chalk or a pen
- Scissors (See our Guide to the Best Scissors for Cutting Felt)
- Polyfill, stuffing or scrap felt
Directions
Step 1
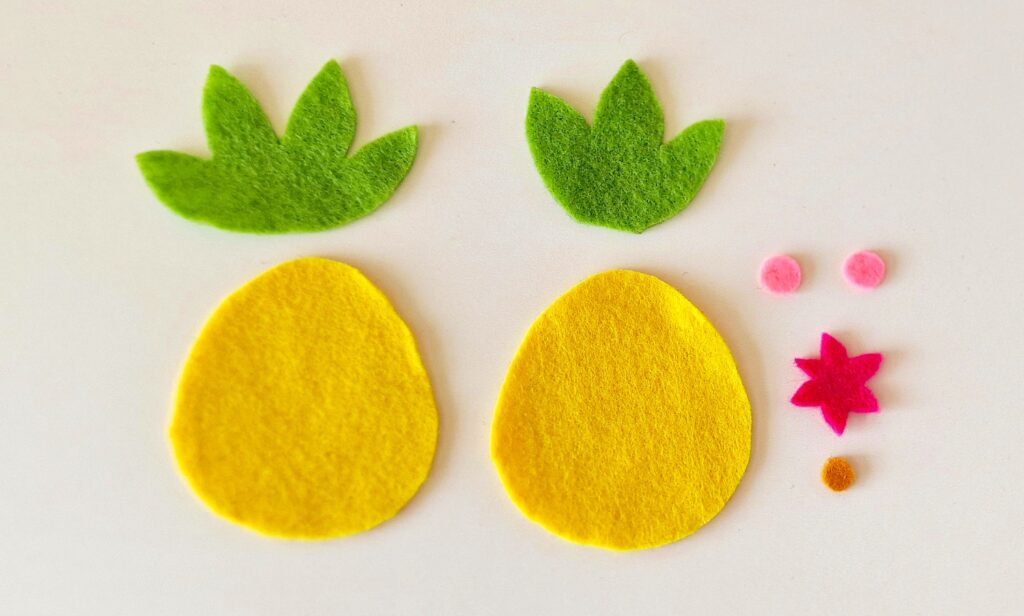
Download, print and cut out the free pineapple pattern.
Choose the felt colors for each template. These are the colors we selected:
- Pineapple bases (2): Yellow, though we also did a brown
- Leaves (2): Green
- Cheeks (2): Light Pink
- Flower: Dark Pink
- Middle of Flower: Orange
Trace the pattern pieces on the felt with a fabric marking chalk or a pen. Cut out the patterns, being sure to cut so that the markings aren’t showing on your finished pieces.
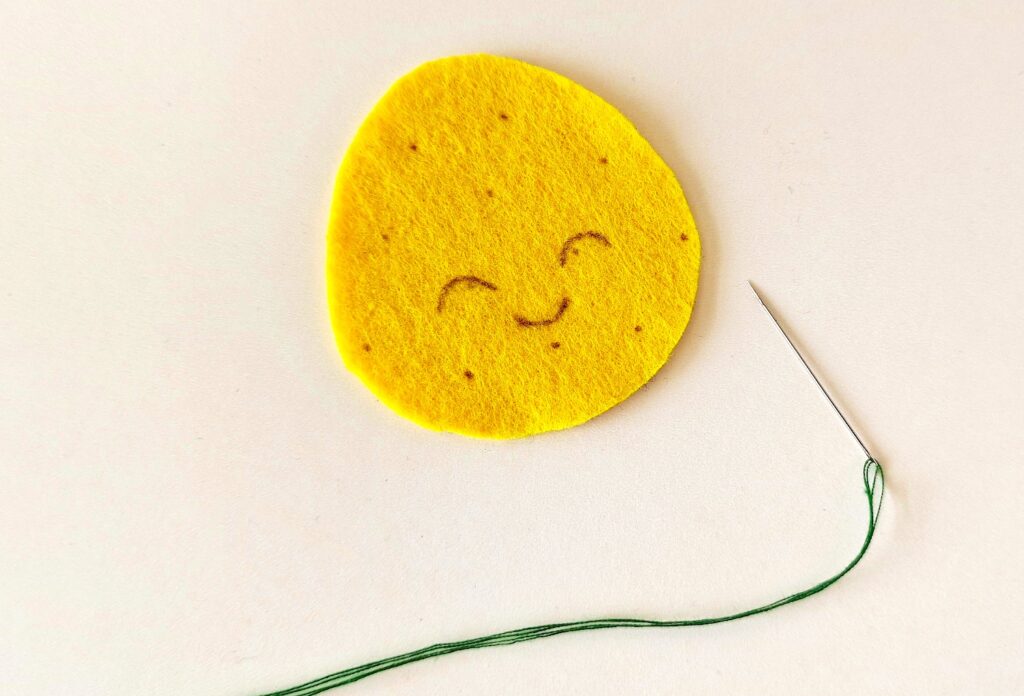
Step 2
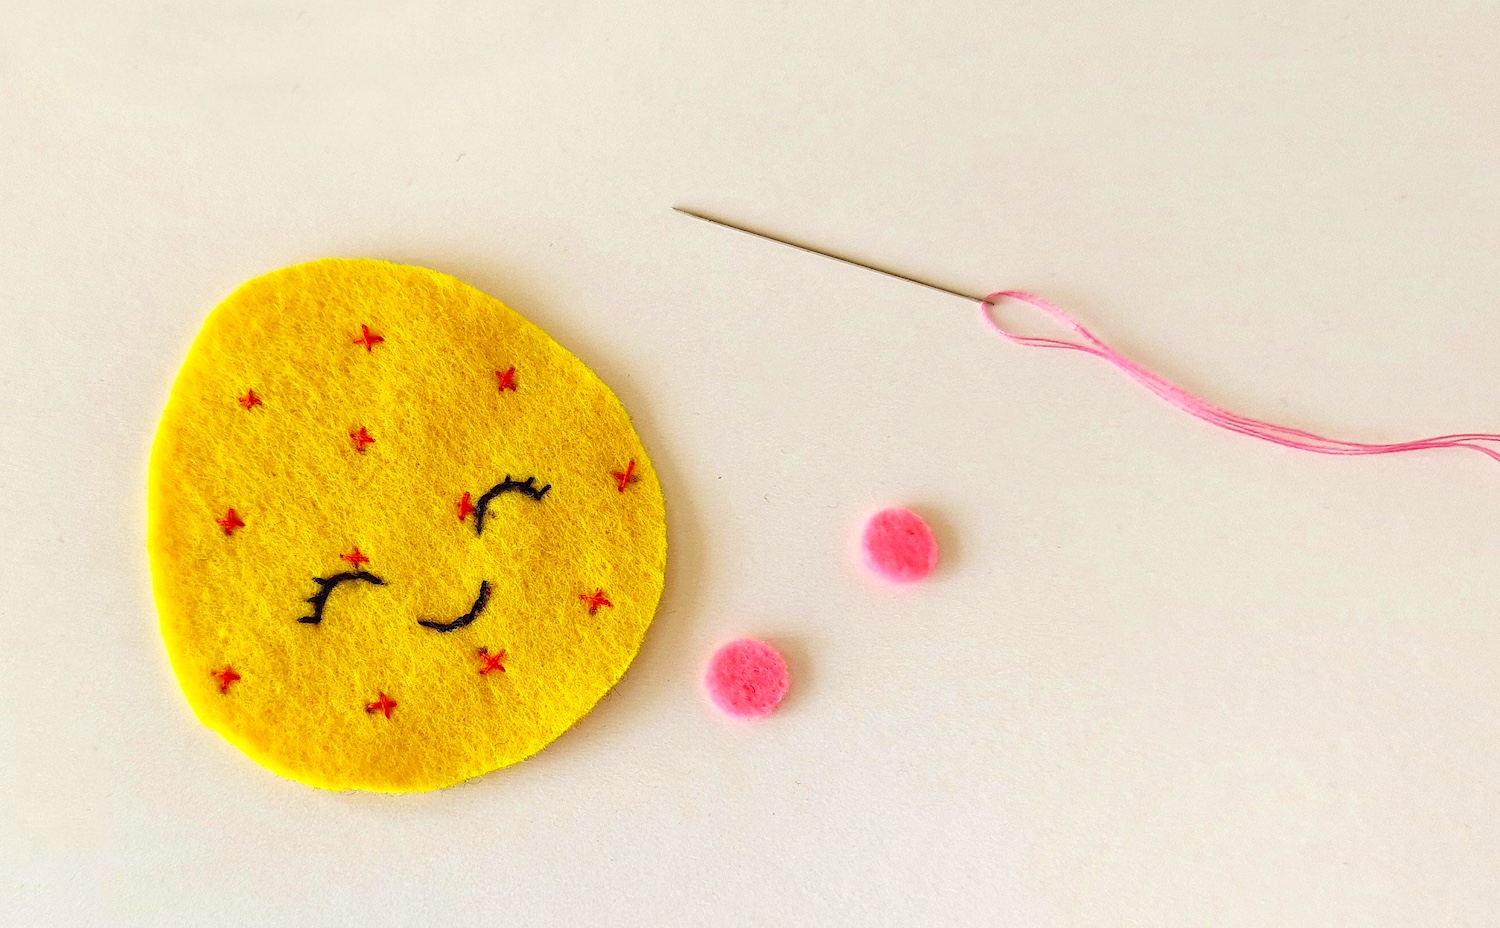
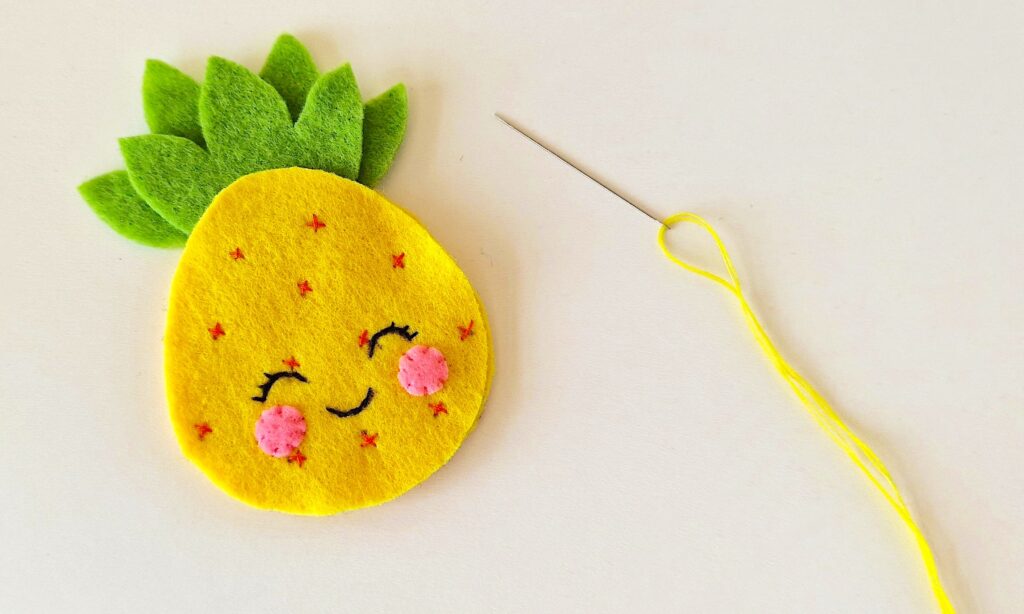
On one of the pineapple base cutouts use a fabric marker to draw the eyes, mouth and the spots.
The eyes are upside down arches or “smiles.” The dots should be in a random pattern across the pineapple face.
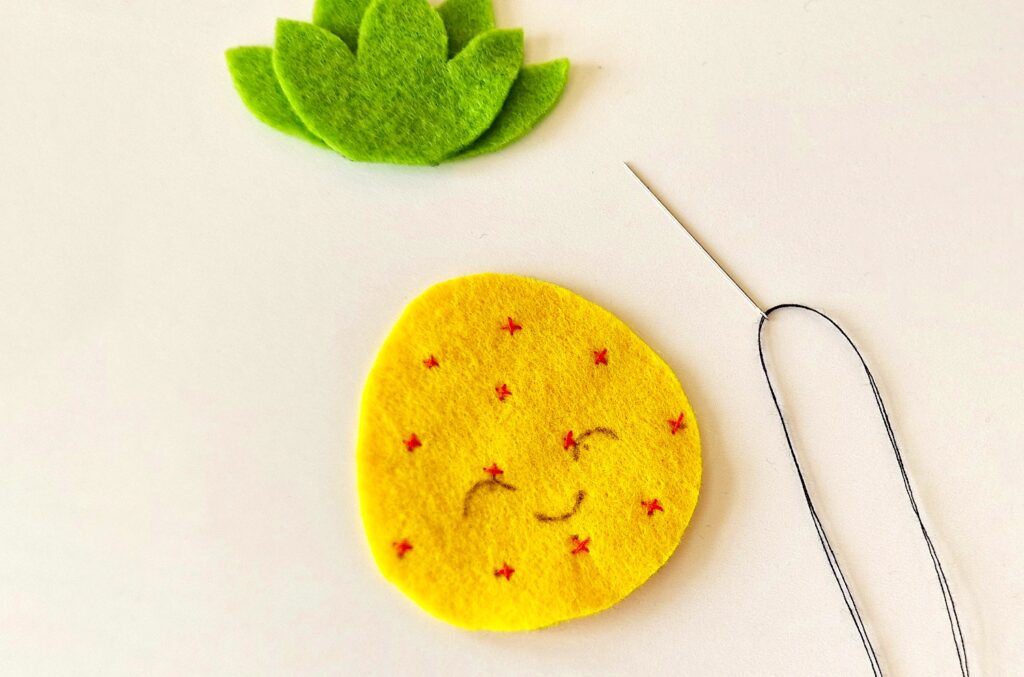
Step 3
Thread a needle with a contrasting color of thread. We used red thread, however brown thread would also look good. Tie 2-3 knots at the end.
Bring the needle in from the back of the pattern piece so that the knot is hidden. Then stitch small x-shapes over each spot.
Once you have covered each dot with an x, bring the needle to the back of the pineapple and knot 2-3 times to secure, then cut off the excess thread.
Step 4
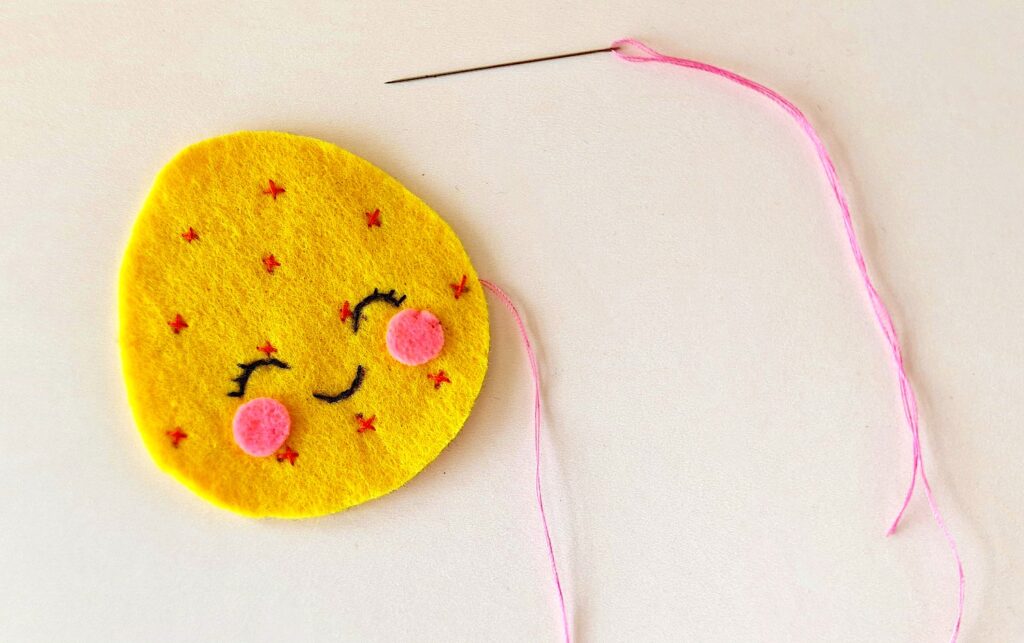
Now thread the needle with black thread. Knot the end and bring through from the back.
Stitch over the eyes and mouth with basic straight stitches. We added a few eyelashes on each eye.
Once finished, bring the needle to the back, tie 2-3 knots and then cut off the excess thread.
Step 5
Now thread the needle with pink thread. Knot the end and bring through from the back.
Place a circle cheek cutout underneath each eye to the side of the mouth. Stitch around the felt circle with basic straight stitches.
Once finished, bring the needle to the back, tie 2-3 knots and then cut off the excess thread.
Step 6
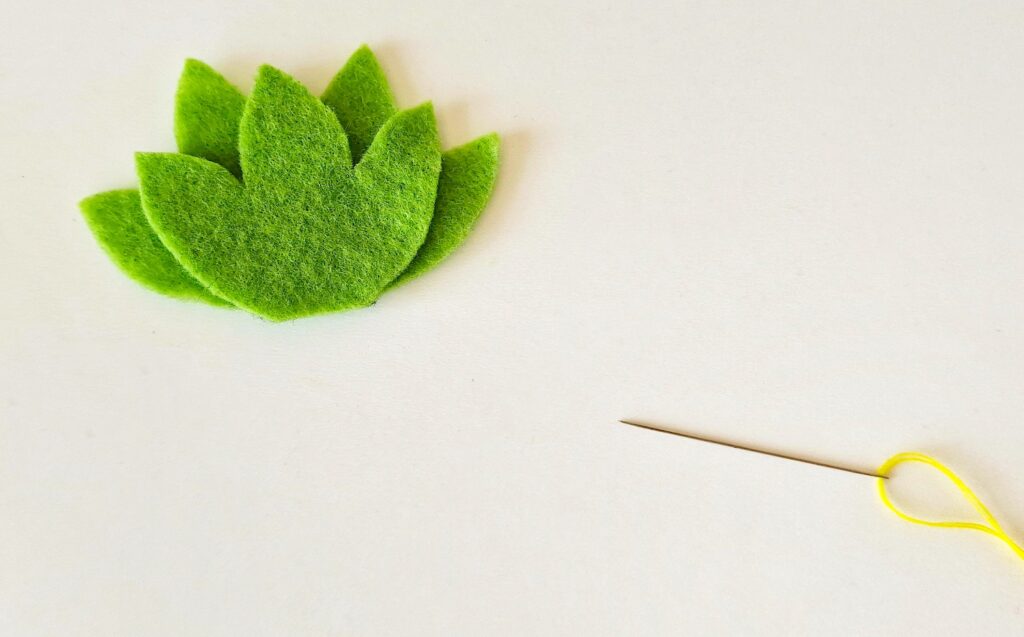
Take the 2 leaf cutouts and place the small one on the top of the big one.
Place the stacked leaves on the top of the plain pineapple cutout, slightly overlapping the top part of the pineapple base.
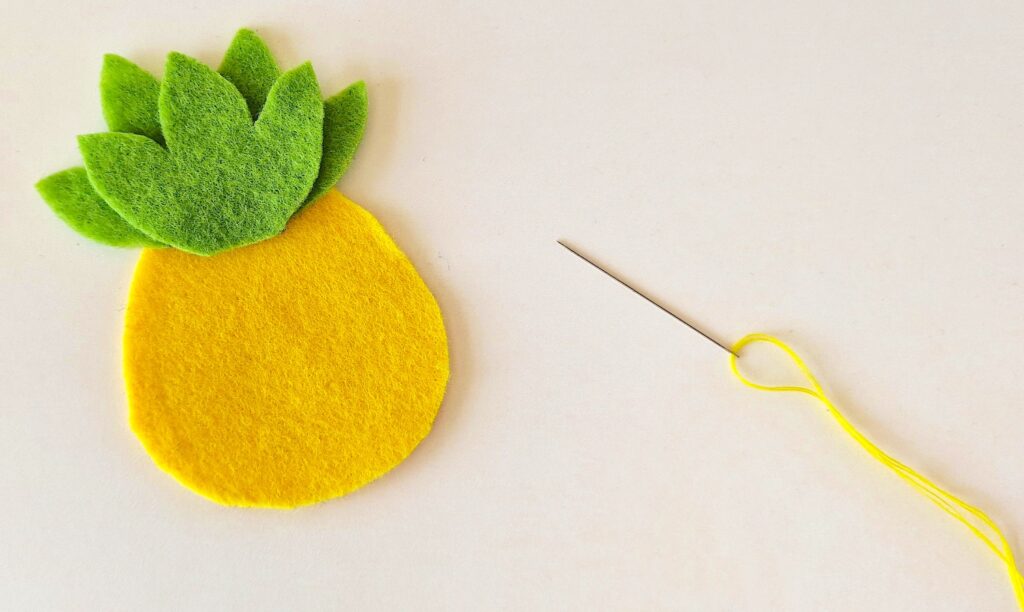
Place the stitched pineapple base on the top of the plain one, keeping the leaf patterns between both bases.
Step 7
Now place the flower center on top of the flower cutout, then place the flower near the overlapped parts of the leaf and base patterns.
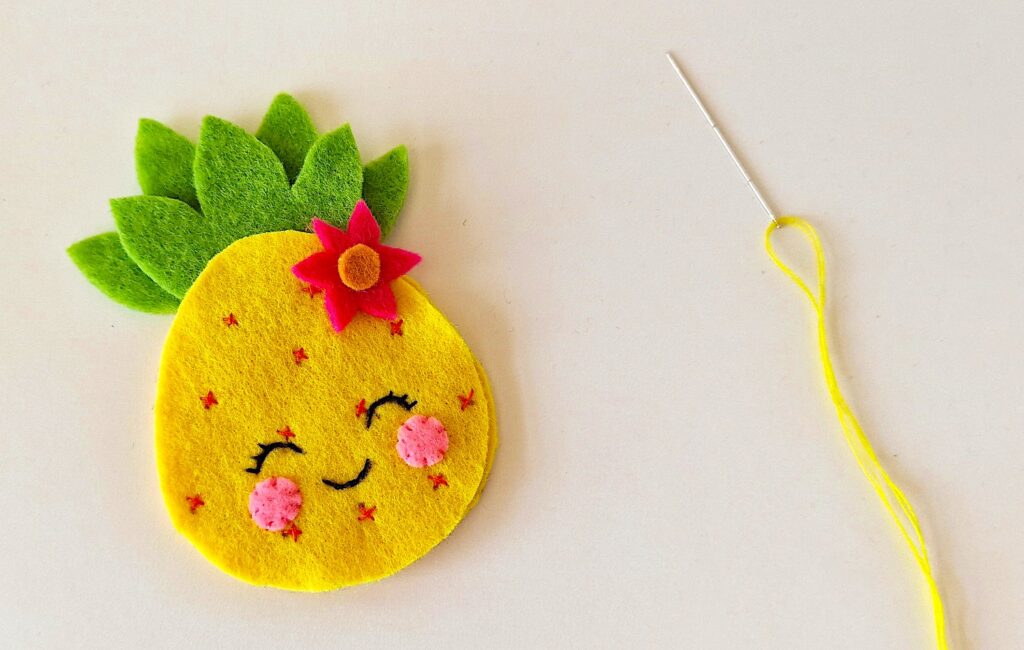
Secure the middle of the flower with a simple cross stitch using a coordinating thread, or you can use a drop of glue.
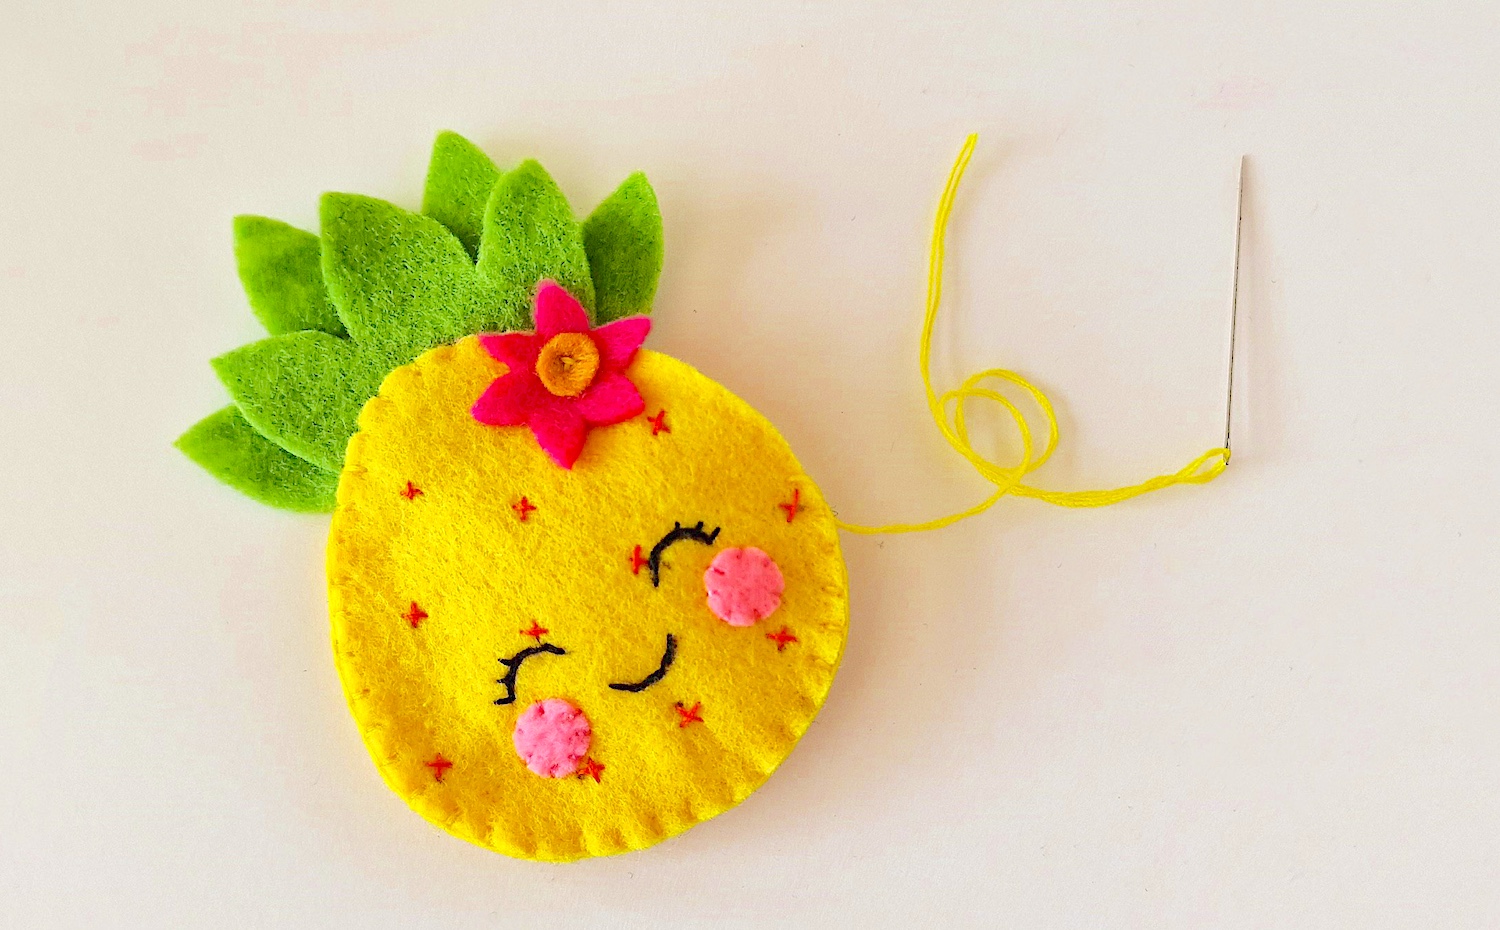
Thread the needle with yellow thread, tying 2-3 knots at the bottom.
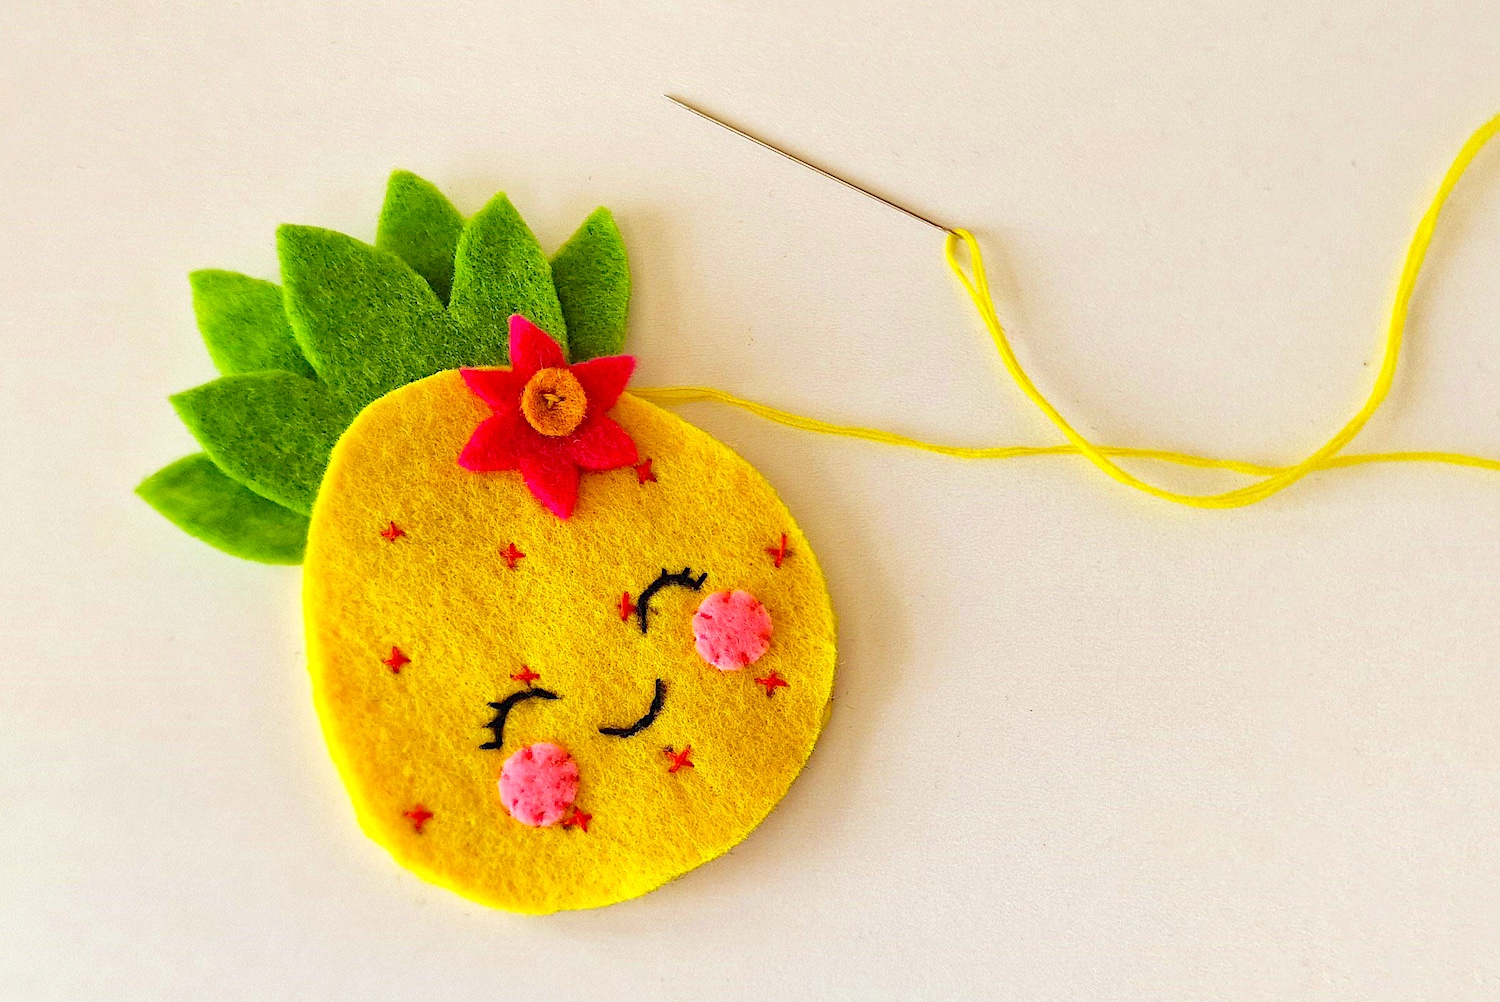
Step 8
Bring the needle up from the back, keeping the knot in the back of the pineapple. Use a simple stitch to start sewing around the base of the pineapple, stitching through all of the layers to secure.
Keep a small opening for stuffing the felt pineapple.
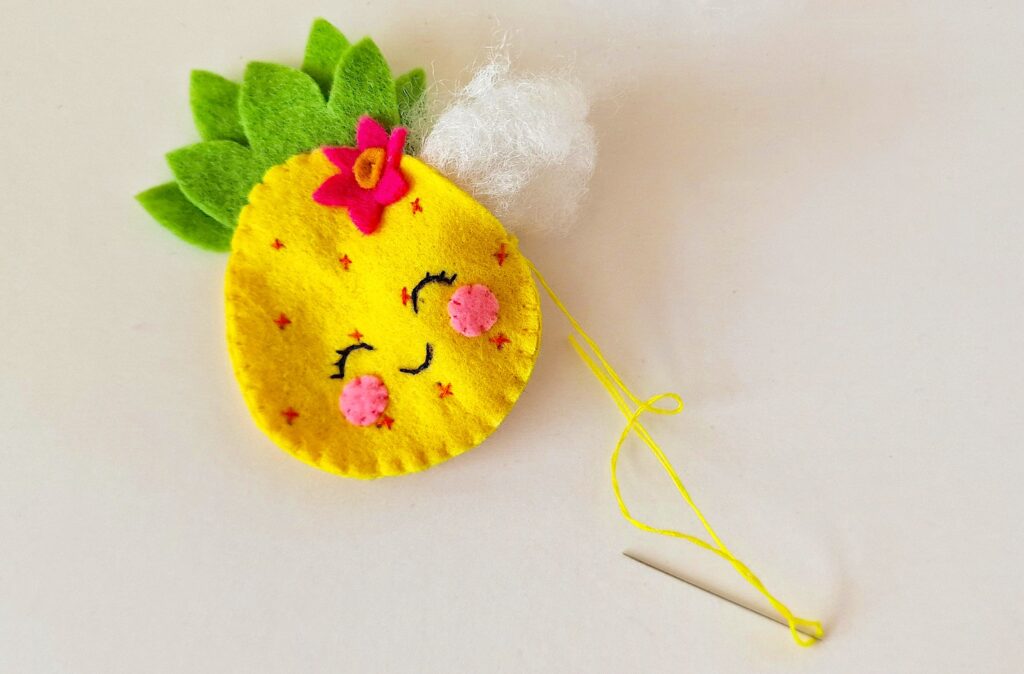
Step 9
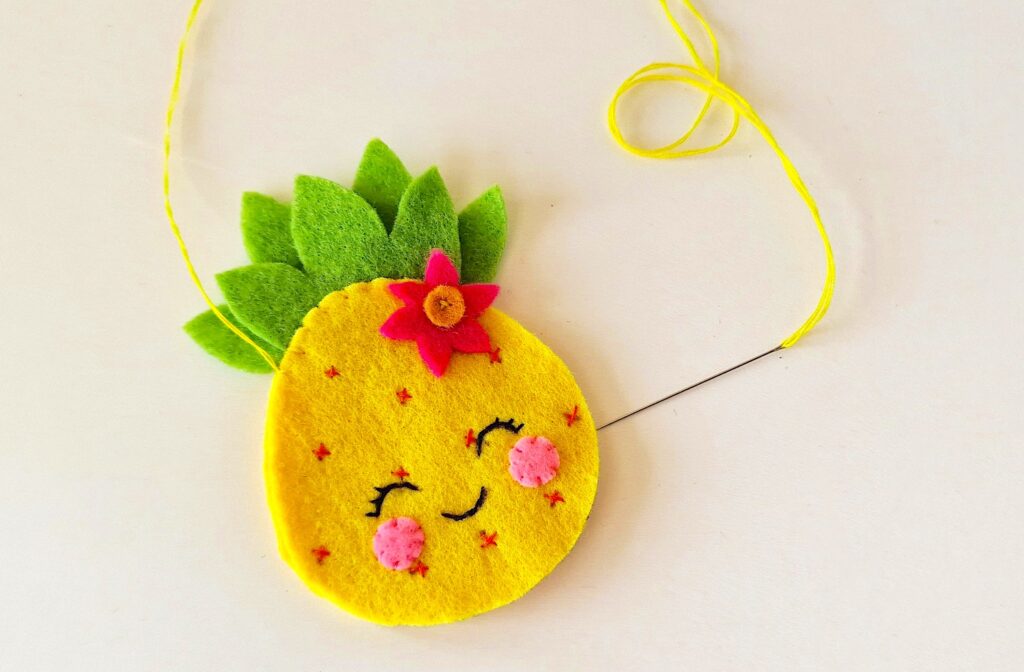
Add a small amount of Polyfill, cotton or scrap felt through the small opening.
Step 10
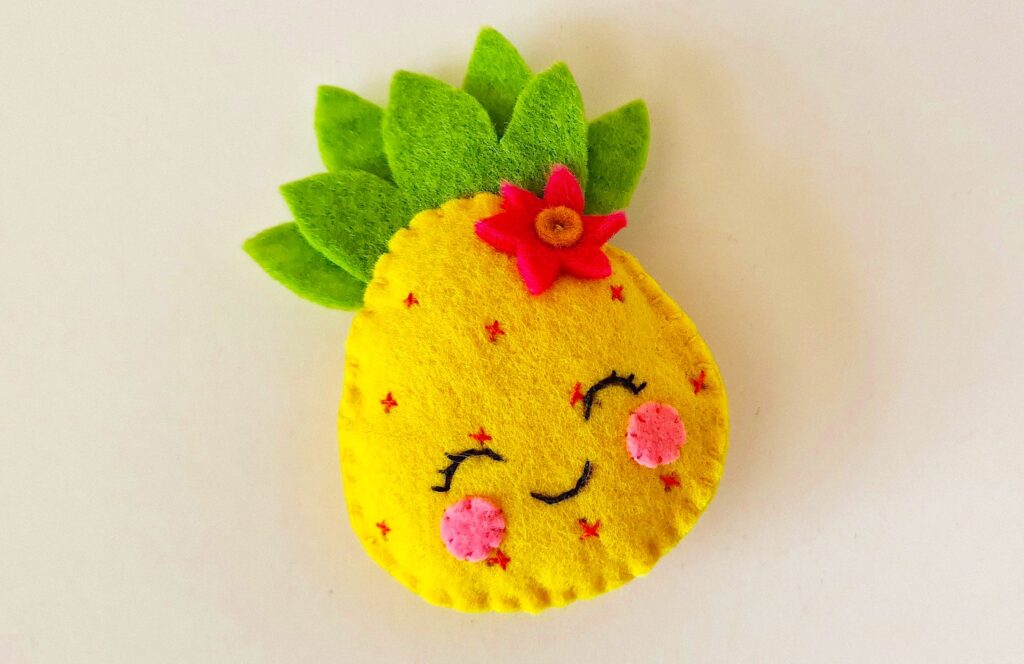
Once stuffed, close the opening by continuing to stitch it closed in the same method as before.
Bring the needle to the back of the pineapple and tie 2-3 knots to secure. Then cut off the extra thread.
Want to save this felt pineapple pattern? Pin it to a sewing or craft board on Pinterest.
For more felt food crafts, see these ideas next: