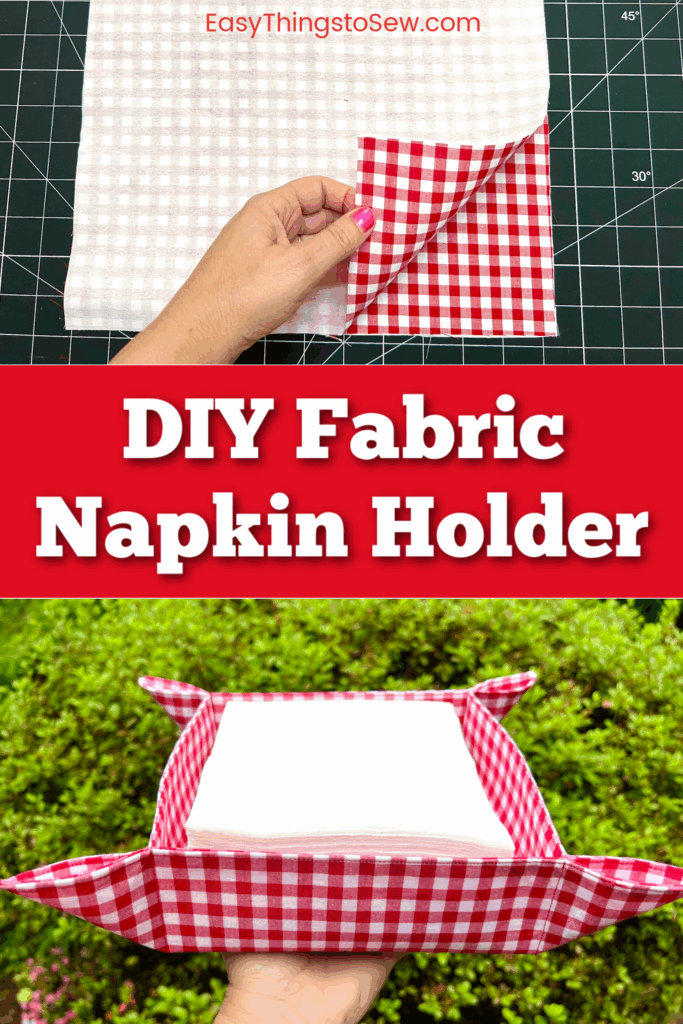
DIY Fabric Napkin Holder
A handmade fabric napkin holder is a great way to organize napkins (also known as serviettes) for picnics, buffets and holiday dinners.
This quick and easy beginner sewing project can be made with fabric squares and interfacing.
While we used classic red and white gingham check for a picnic, you could use elegant fabric for holiday dinners and buffets, such as Thanksgiving, Christmas, Easter, bridal showers and baby showers.
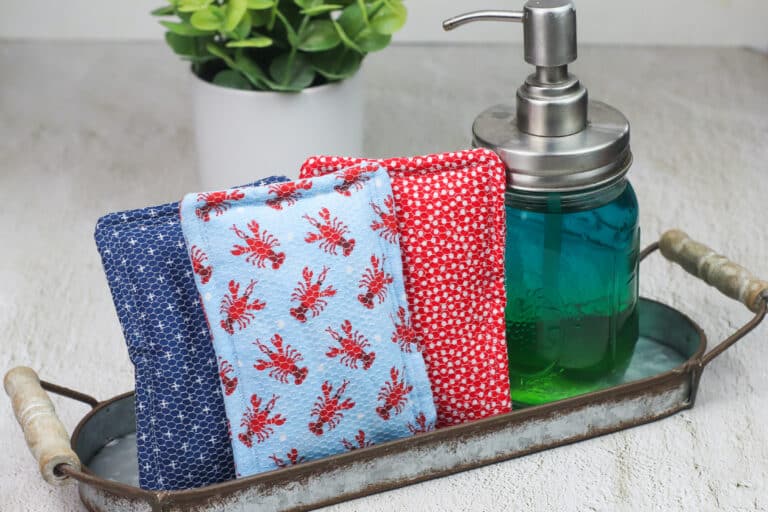
You may want to make some dish mat baskets, too, to hold condiment bottles, utensils, paper plates, etc.
Want to save this idea for later? Pin It on Pinterest and come back to it when you are ready to sew!
Supplies
- Two Fabric Squares (12.5 X 12.5 inches / 32 X 32 cm)
- Two Fusible Interfacing Squares, I used Pellon 808 (12.5 X 12.5 inches / 32 X 32 cm)
- Disappearing Ink Pen OR Straight Pins
- Common sewing supplies (sewing machine, matching thread, scissors, turning tool)
Directions
Step 1
Cut fabric and interfacing pieces.
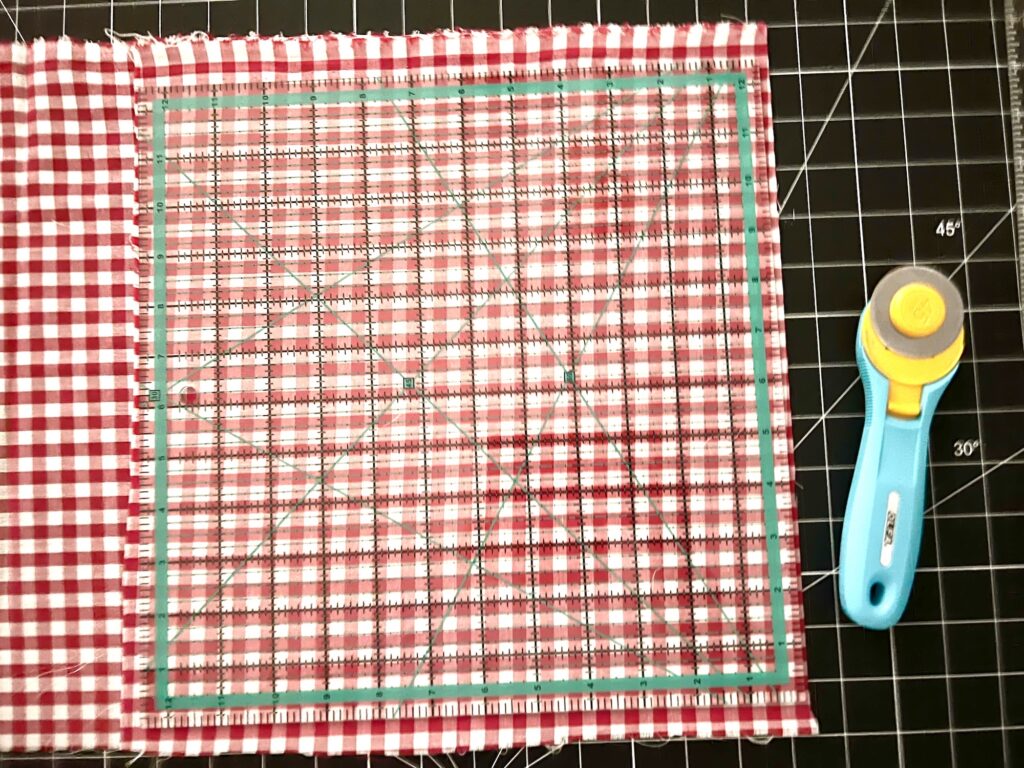
I have found that plastic quilting rulers to save so much time and stress when measuring fabric! I used the 12.5 X 12.5 inch ruler to easily cut the fabric with a rotary cutter and mat.
Step 2
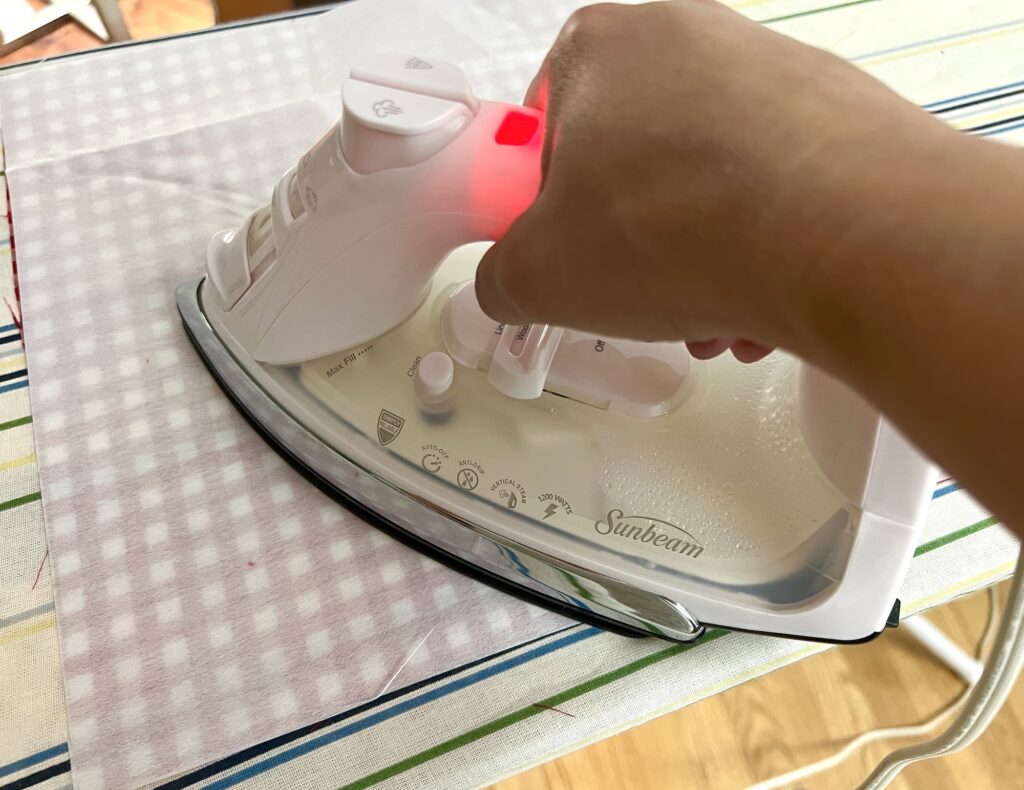
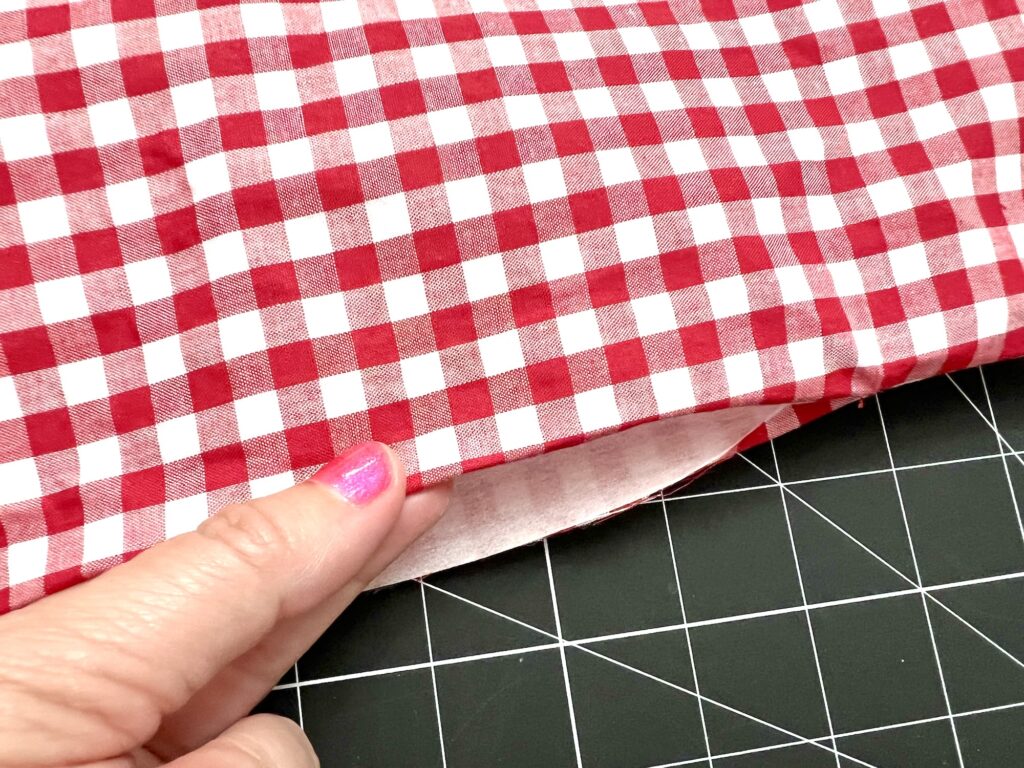
Fuse one piece of interfacing to the wrong side (back side) of a piece of fabric using manufacturer’s directions. The shiny side will be facing down onto the wrong side of the fabric.
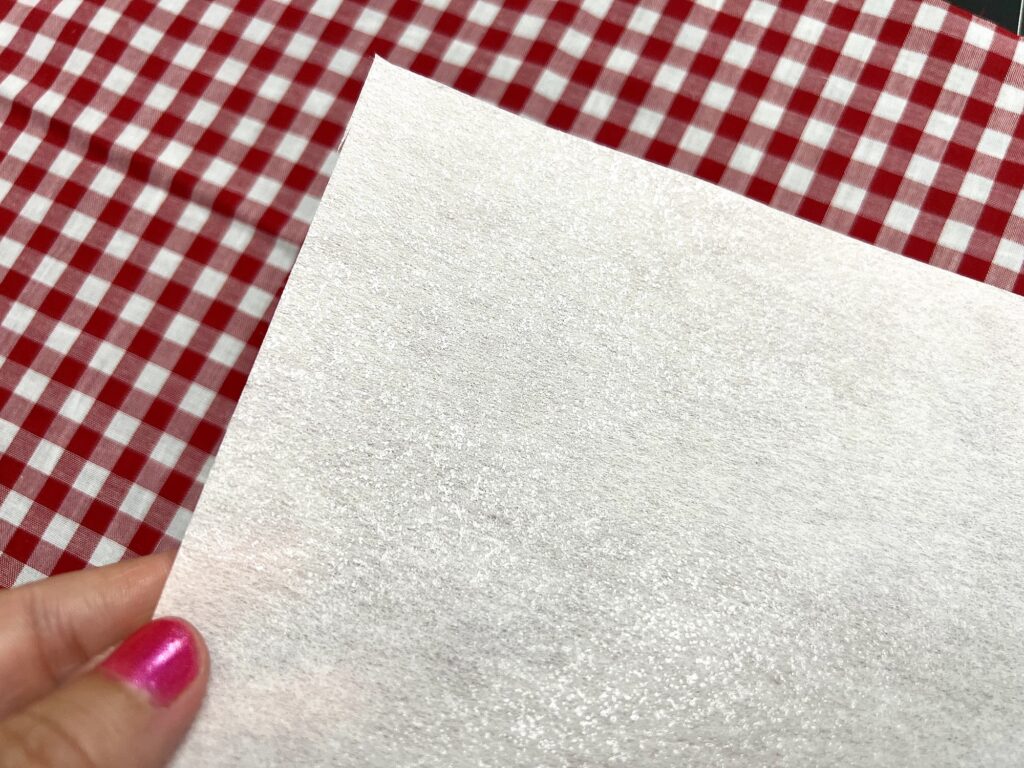
Repeat with the other fabric square.
Helpful Tip: Don’t move or slide the iron as you are pressing the interfacing to the fabric. This causes puckering. For most types of fusible interfacing, just press down the iron on one spot for 8-10 seconds, then pick it up and put it down on another spot without dragging it. See our Beginner’s Guide to Interfacing for even more helpful tips.
Step 3
Place the fabric squares right sides together.
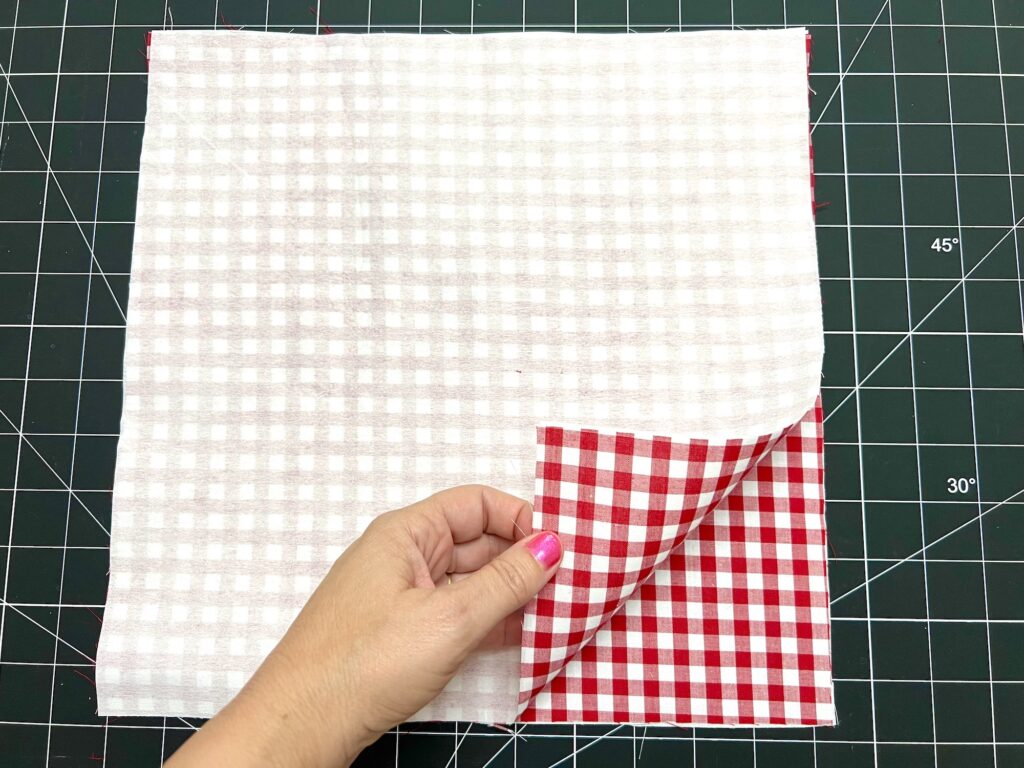
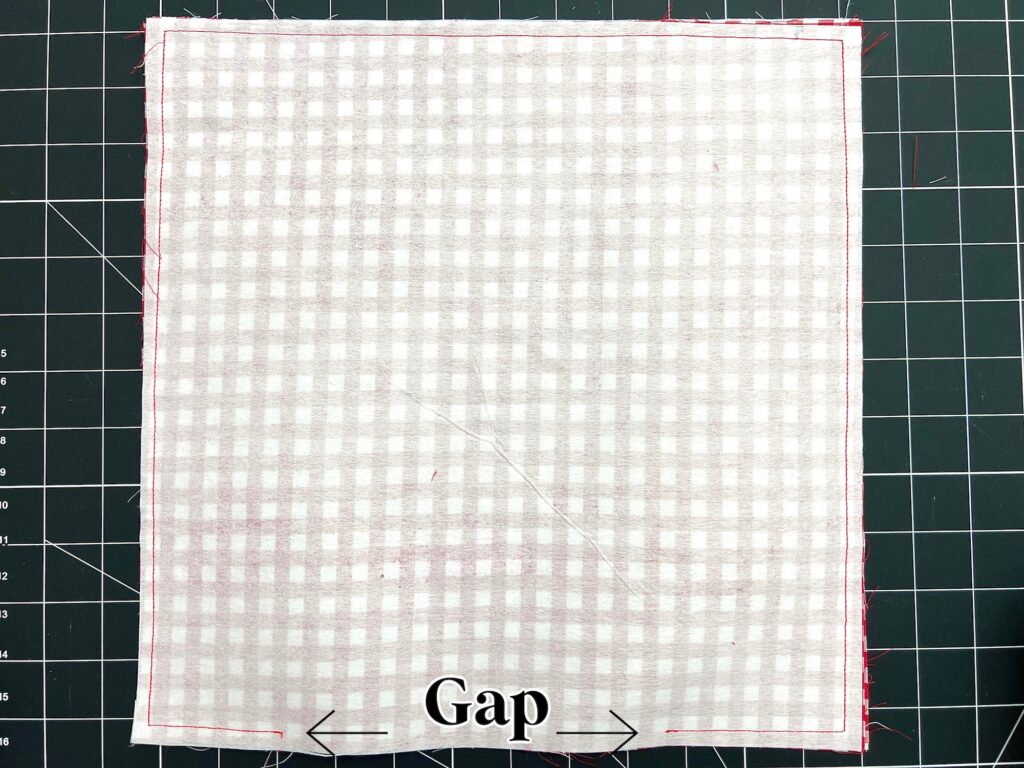
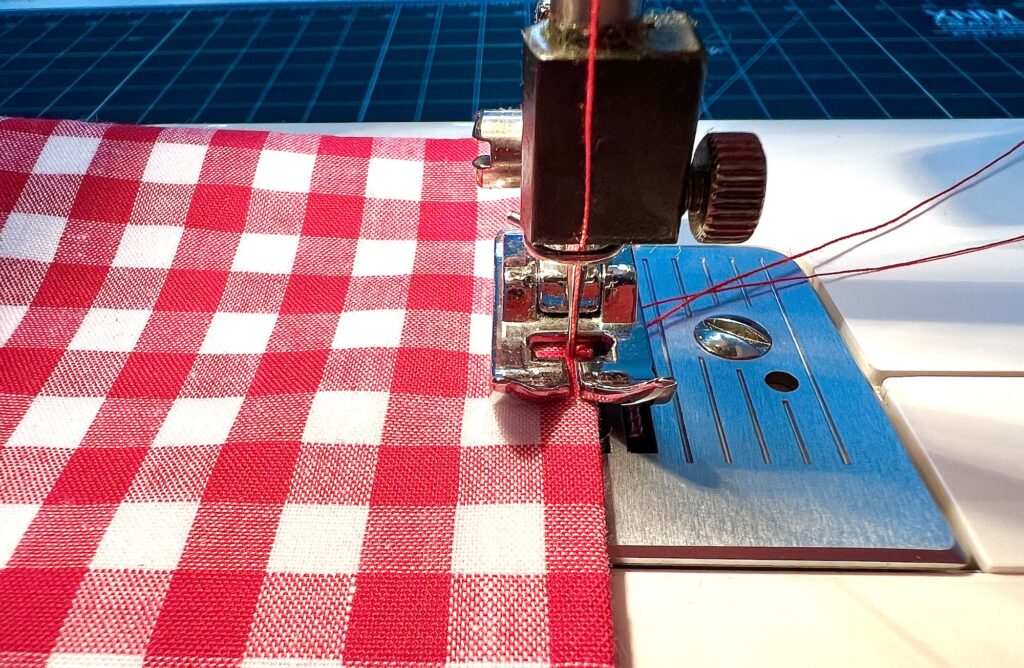
Stitch around the edges using a ¼ inch seam allowance. Pivot at the corners by making sure the needle is in the fabric, then pick up your presser foot, turn the fabric 90 degrees, and then lower your presser foot back down and continue stitching.
Leave a 3-4 inch gap on one side. Backstitch at the beginning and end of your stitching!
Step 4
Clip the corners to reduce the bulk on the corners. Instead of cutting diagonally across the edge, I like to make long straight cuts on an angle on each side to get rid of more bulk.
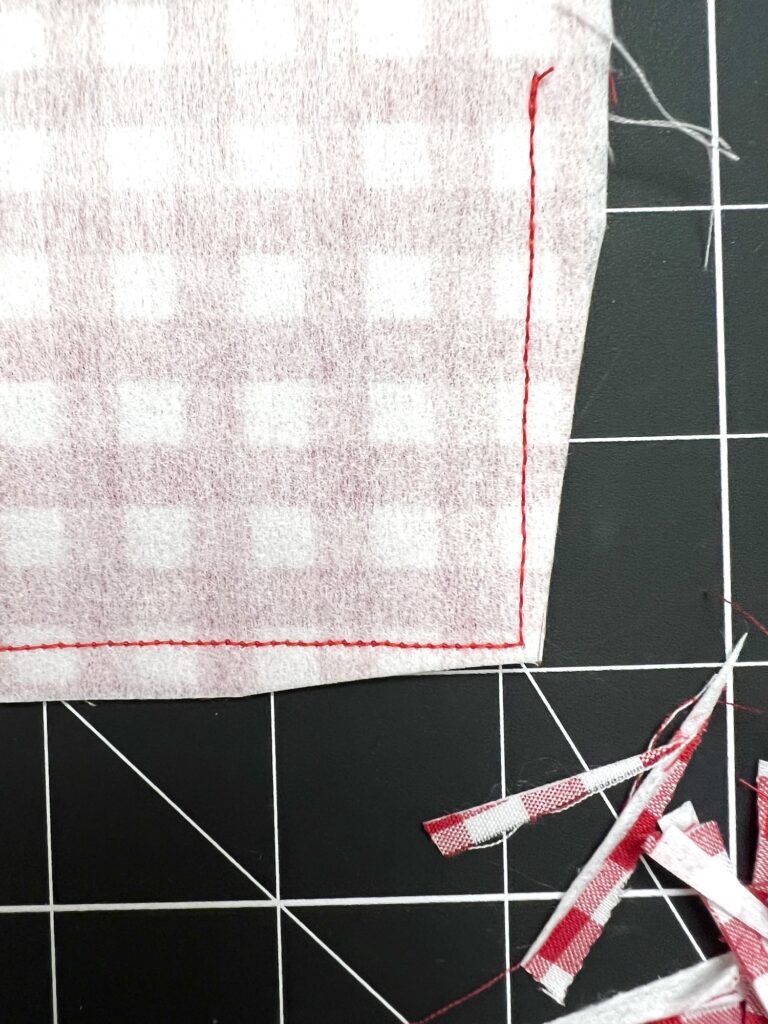
Be sure not to cut the stitching!
Step 5
Turn the fabric squares inside out, pushing the fabric through the open gap.
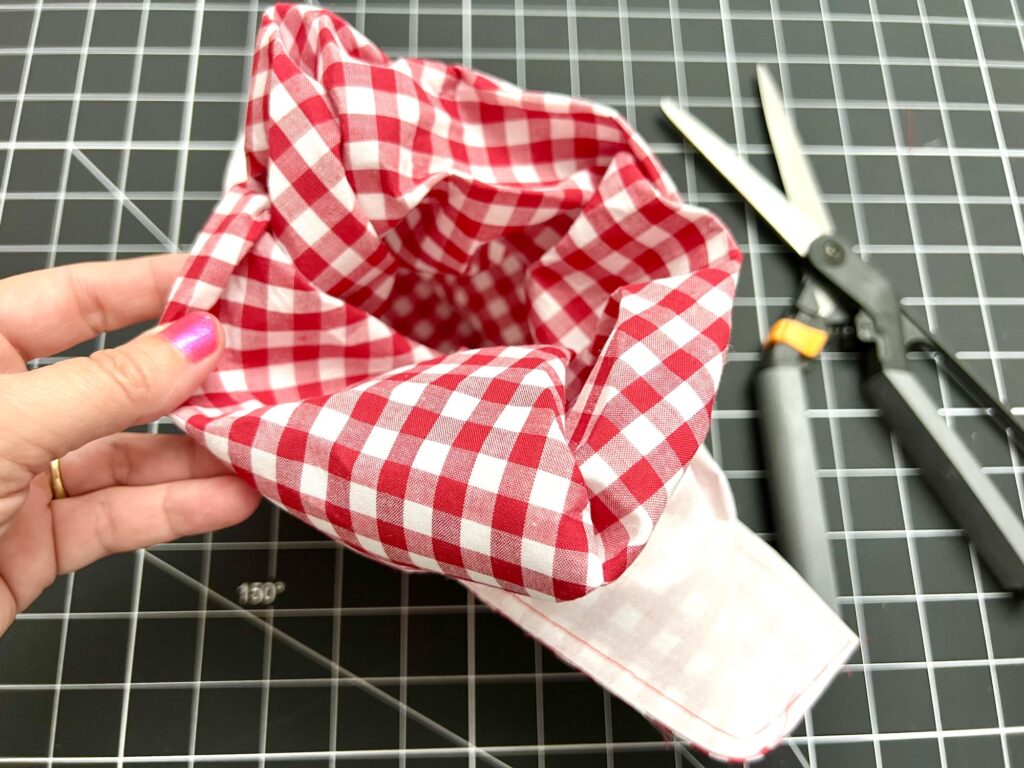
Use a turning tool to push out the corners to make sure they are straight and crisp.
Step 6
Press the fabric with a hot iron to remove wrinkles and to create crisp edges.
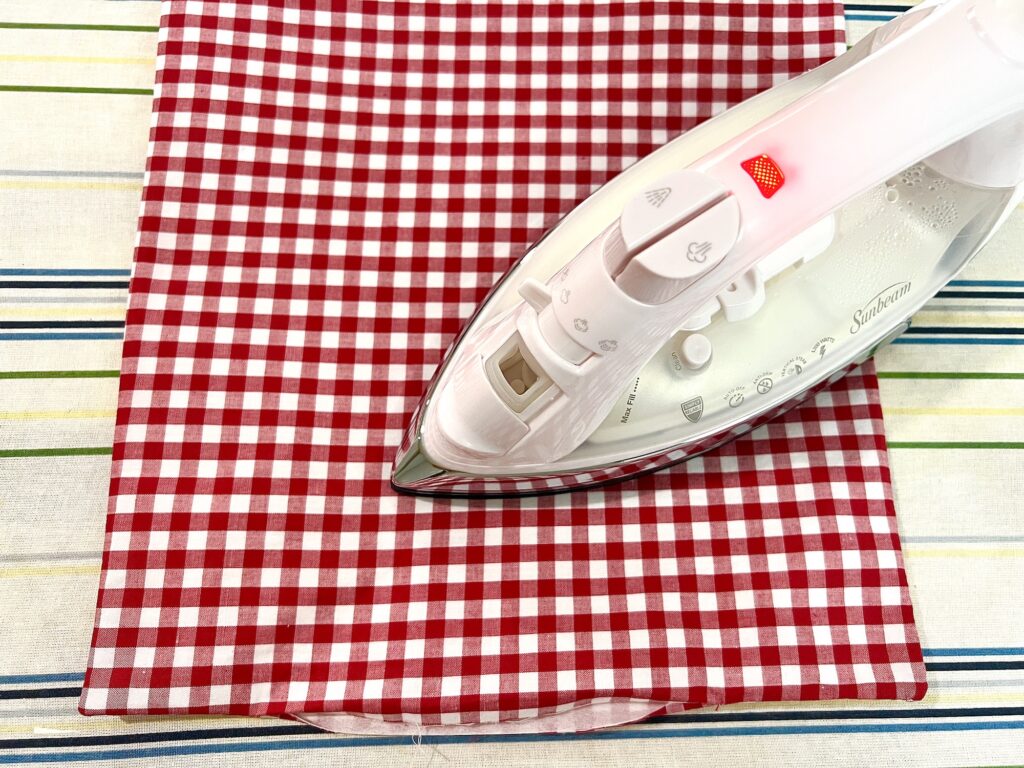
You do not need to worry about sliding the iron on the fabric now because the interfacing is already fused.
While pressing, turn under the open seam allowance by ¼ inch to match the rest of the straight edge.
Step 7
Top stitch around the entire square, using about an 1/8 inch seam allowance (just sew close to the edge without going over the edge). Be sure to secure the open seam gap while stitching.

Step 8
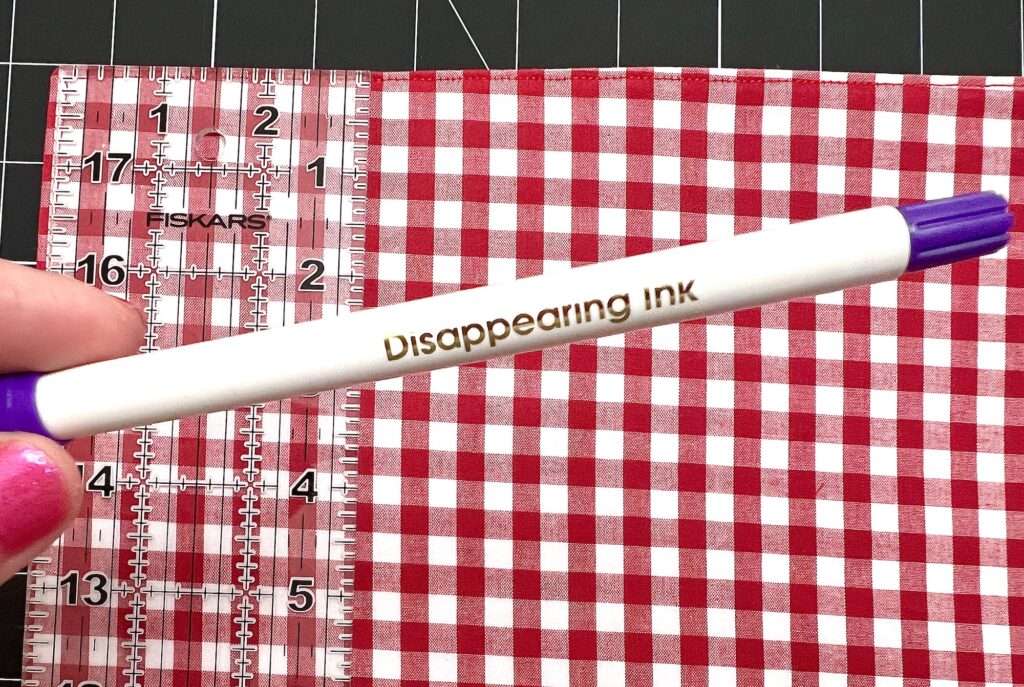
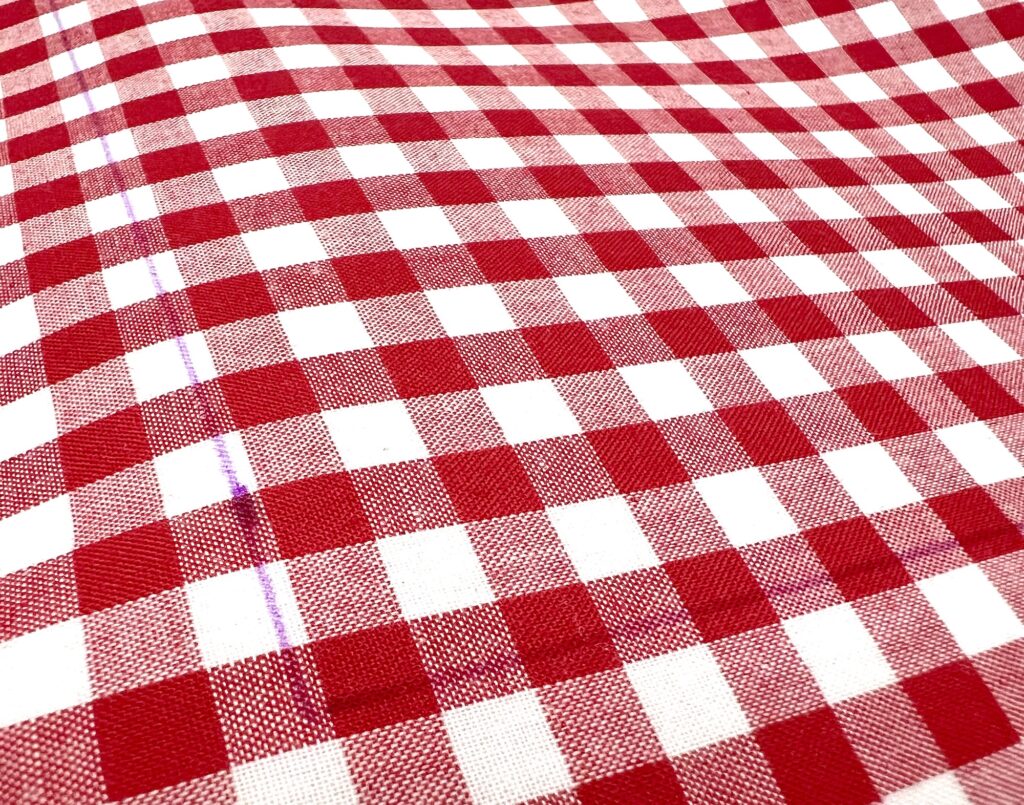
Using a disappearing ink pen made for sewing (either an air/water soluble pen or a heat disappearing pen), measure and mark 2 ½ inches in from all of the edges.
You will need to use a disappearing ink because you will see the fabric that you mark on. Tailor’s chalk, ink or pencil will be visible because it won’t be hidden in a seam allowance.
Alternatively, you could use straight pins to mark the measurements.
You will be drawing a smaller square inside the outer edges.
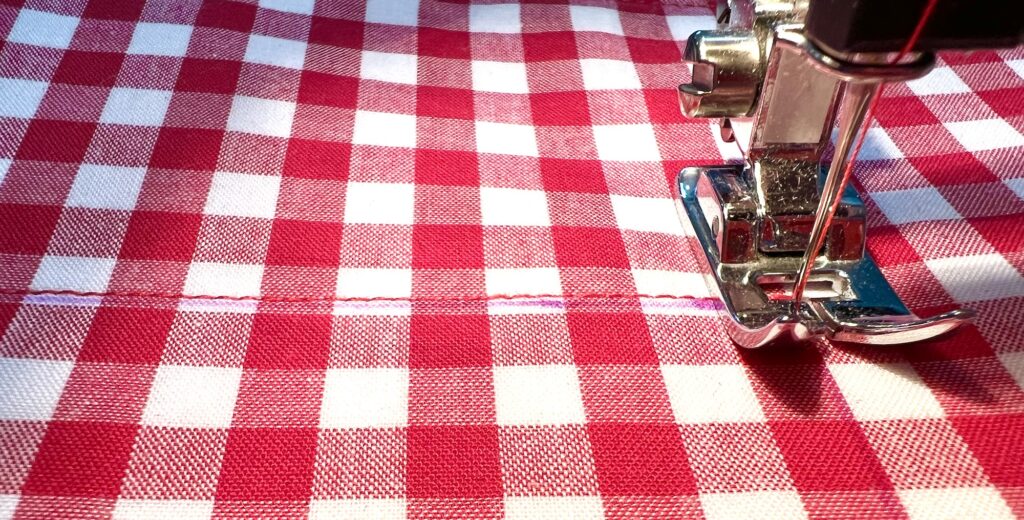
Step 9
Top stitch along this line, pivoting in the corners.
Remove the markings with water or heat, if you used those types of pens.
If you would like, you can fold each side of the fabric square inward along the topstitching of the inner square line and press with a hot iron to get crisp folded edges.
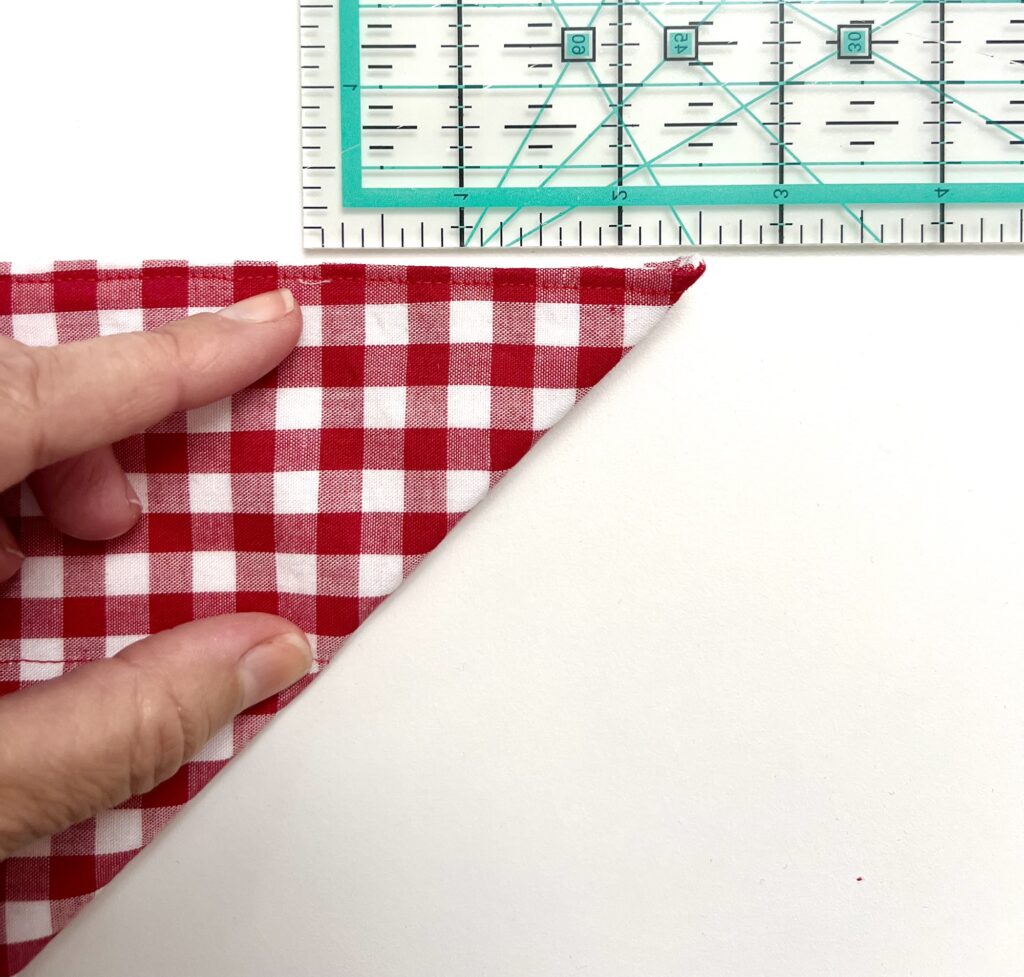
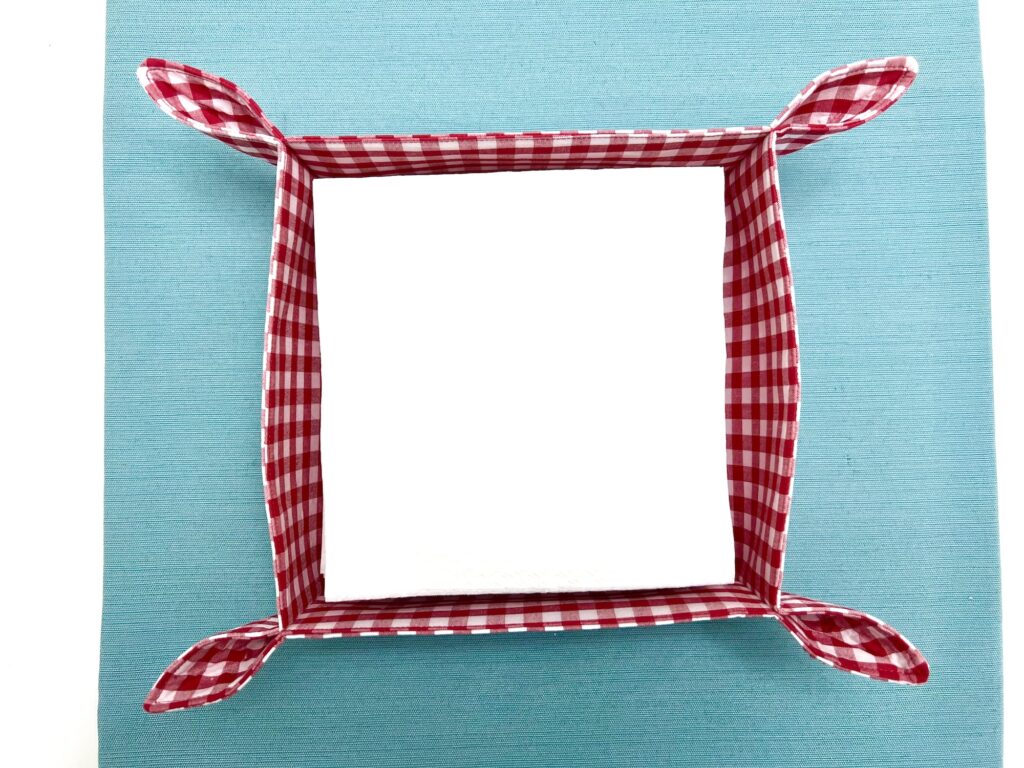
Step 10
Fold the square into a triangle, matching the straight edges on one corner. Measure in 2.5 inches from the outer edge and make a mark.
Draw a straight line from the 2.5 inch mark down to the point of the topstitching.
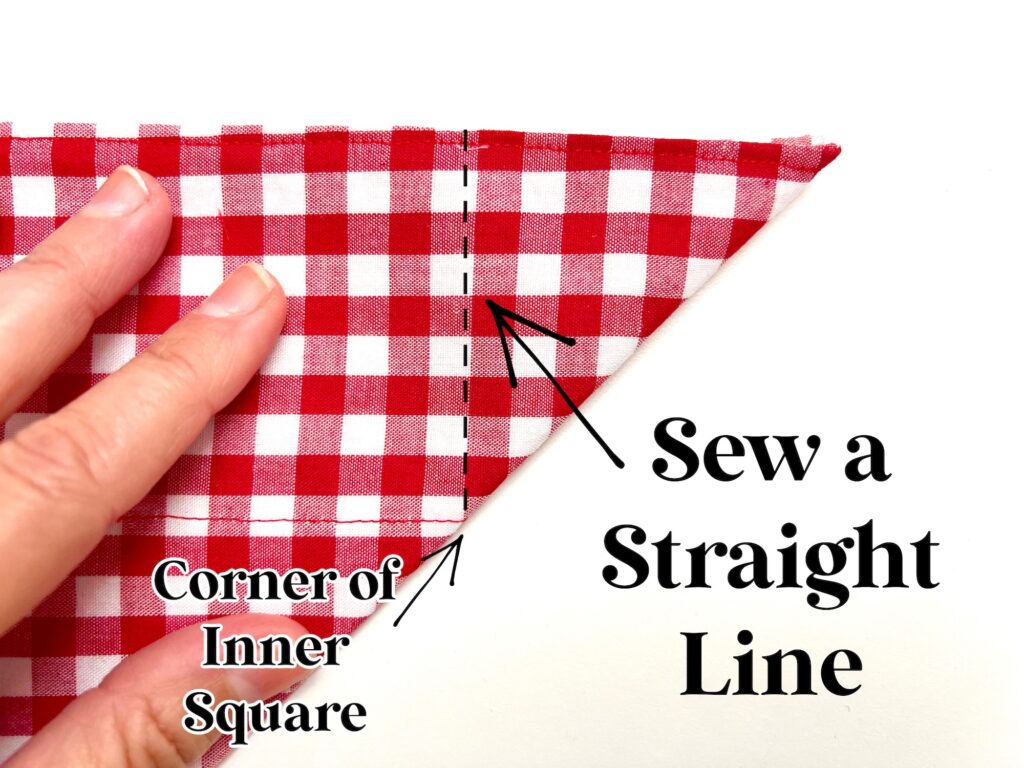
Sew along this line, backstitching at the beginning and end.
Repeat on all four corners.
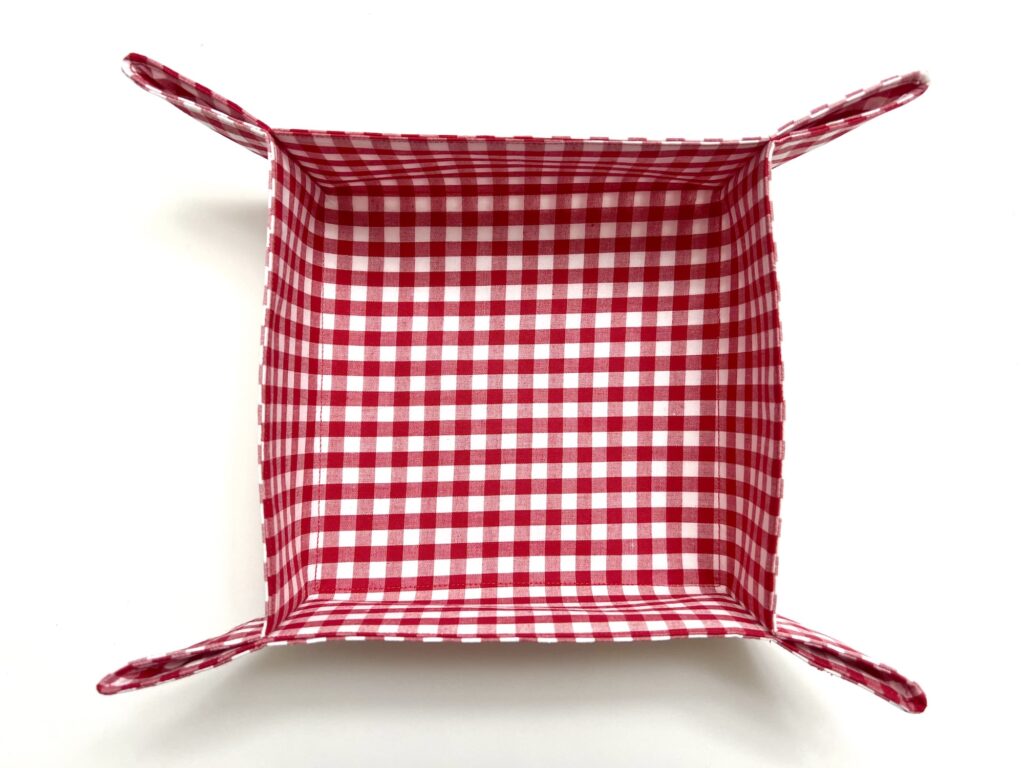
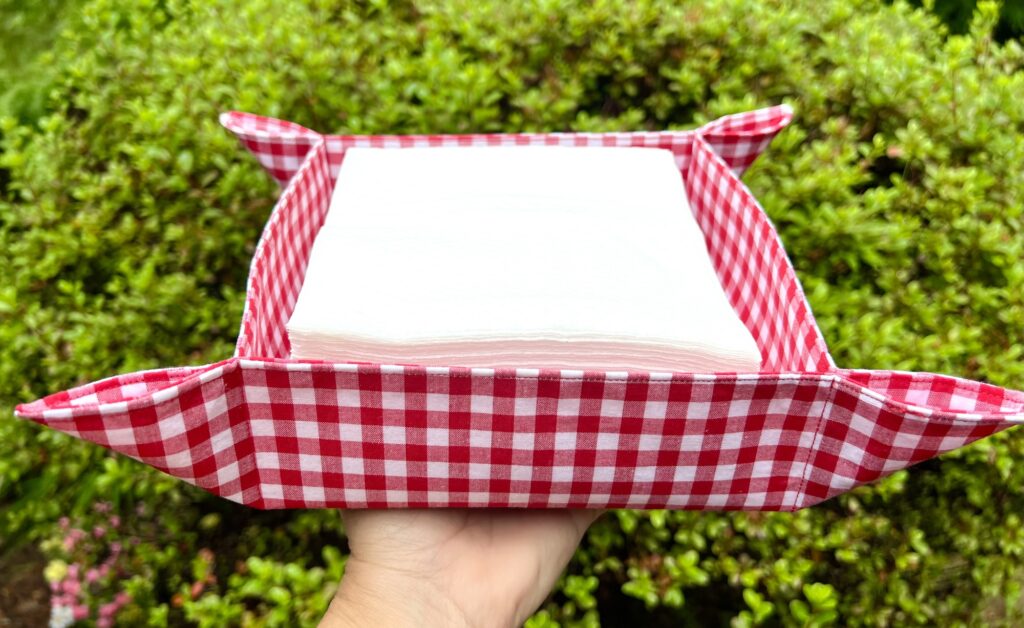
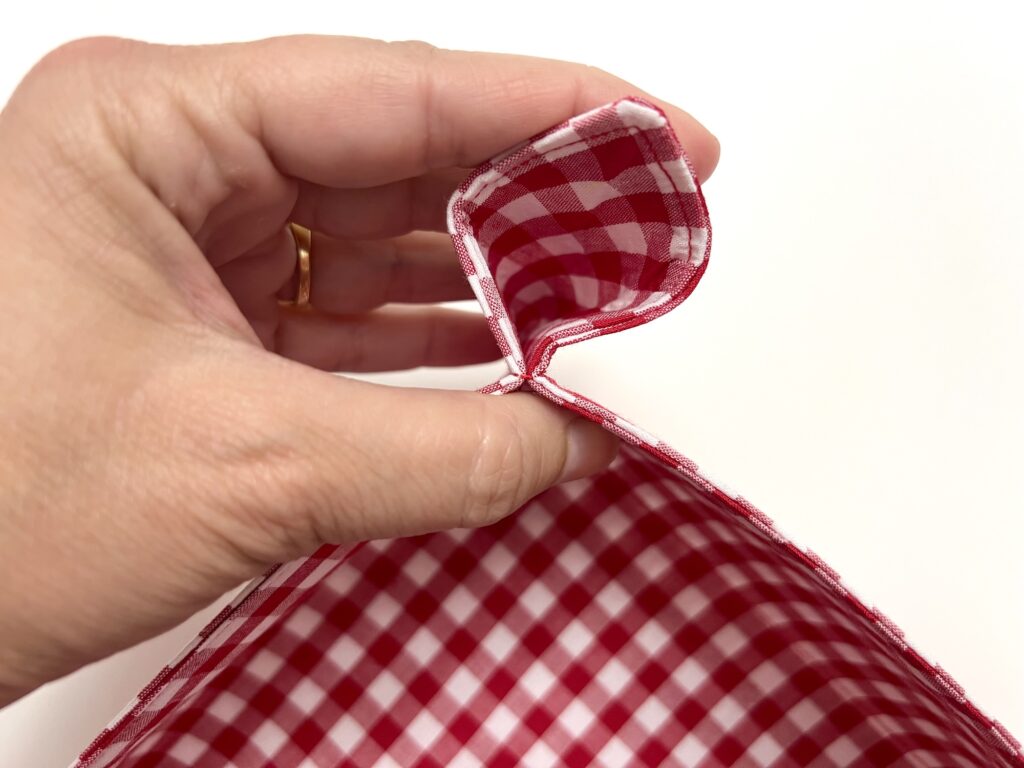
And you are done! If you like the look of the flat corners, just leave the tray as it is.
Otherwise, squeeze the corner edges together to open up the fabric corners.
This size will fit most standard paper napkins. I fit between 50-60 napkins in this tray.
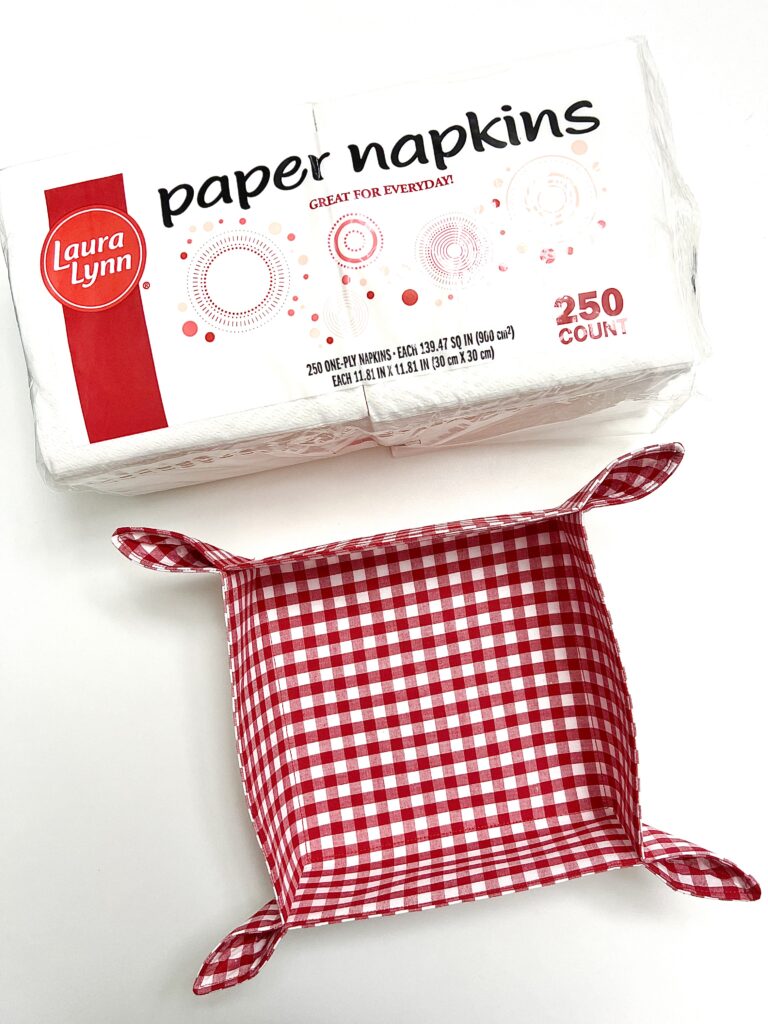
However, you can make the square smaller or bigger to fit the napkins you are using. You can even adjust the sides to be more shallow or deep depending on your needs.
Pin This Sewing Project to Pinterest to save for later!
This is just one of our easy Summer Sewing Projects!