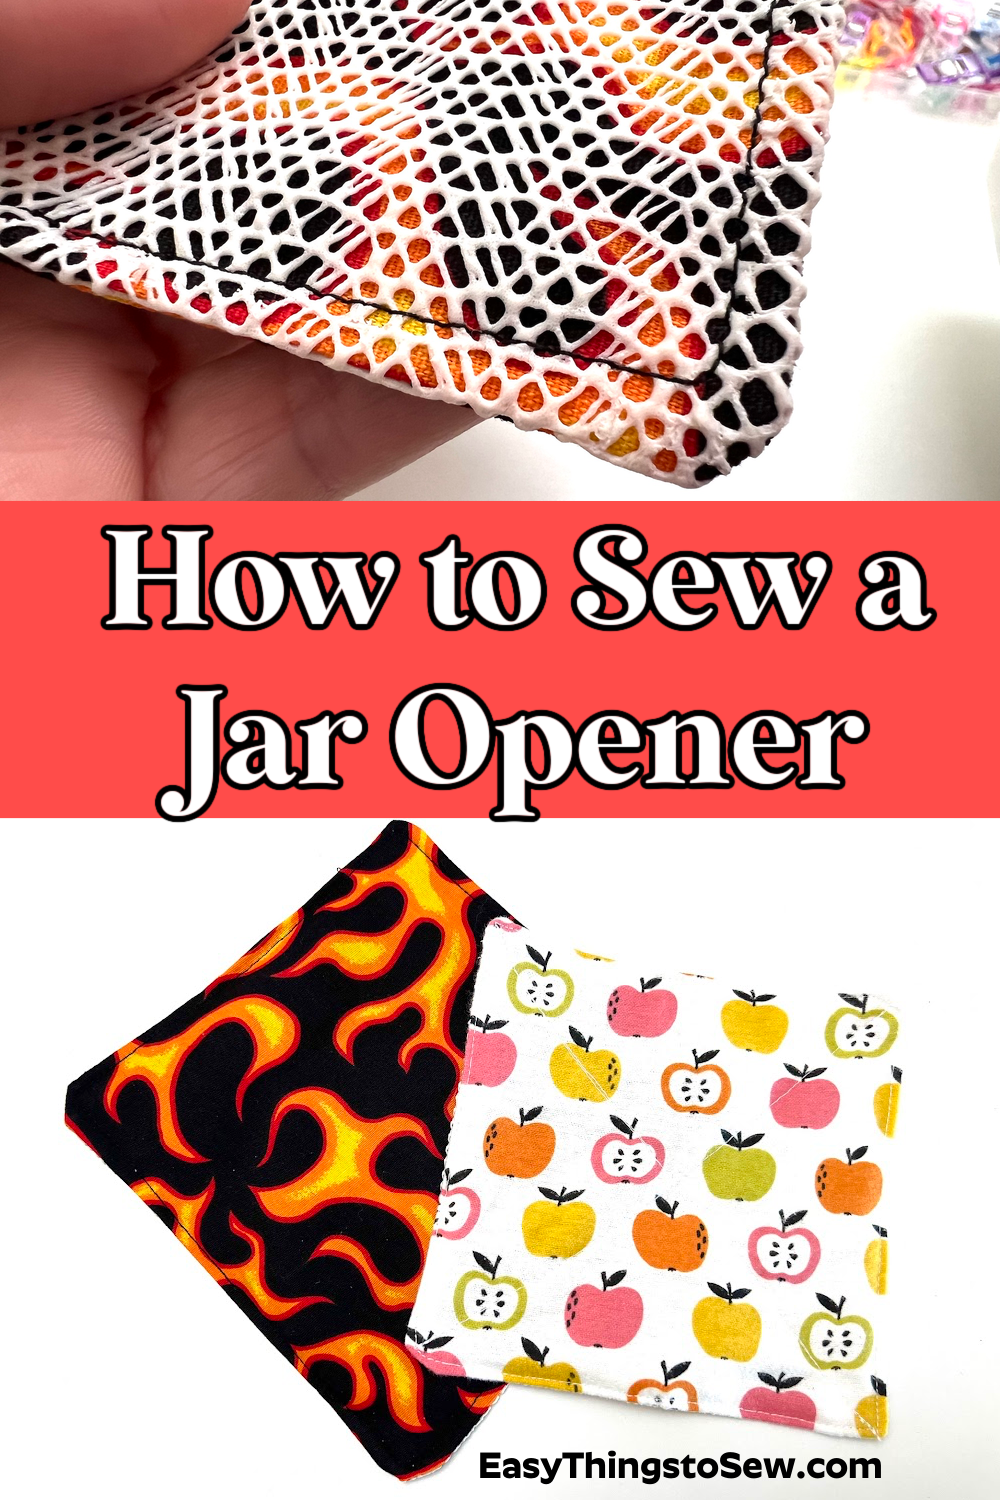
DIY Jar Opener: Easy Beginner Sewing Project (with Video)
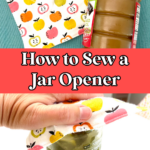
This easy DIY jar opener is an easy sewing project perfect for beginners! Using simple stitches and inexpensive materials, you can quickly make a jar gripper in 15 minutes or less!
Materials Used
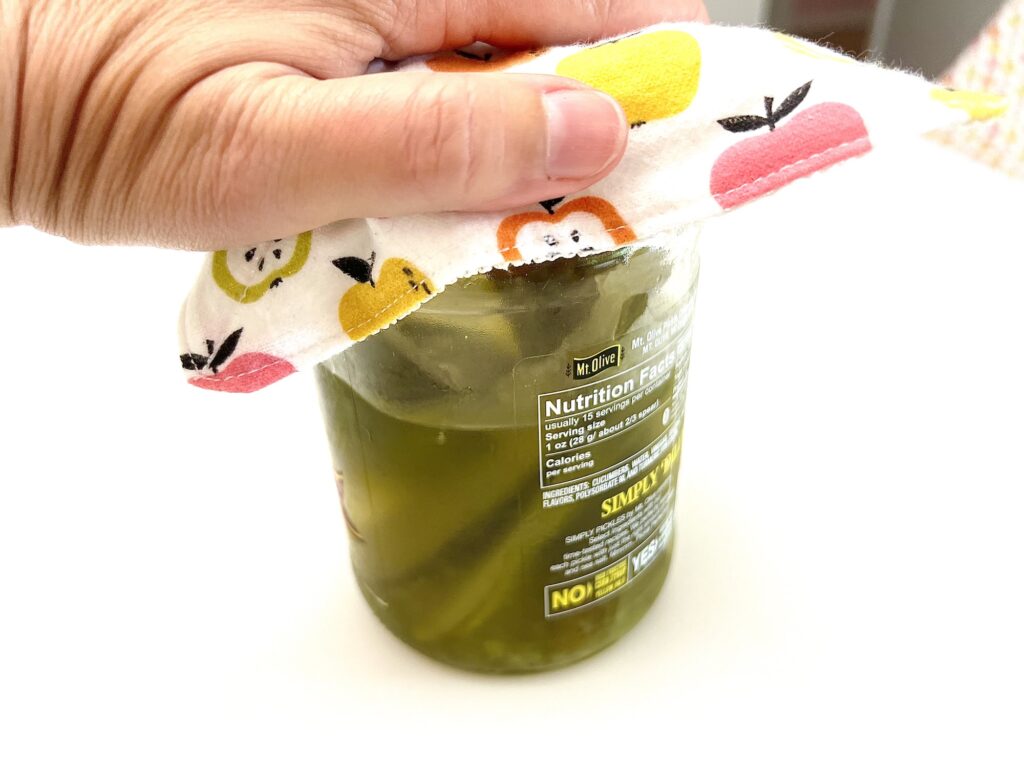
A jar opener uses fabric as well as a grippy material, such as shelf liner or rug grips.
I used shelf liner from the Dollar Tree. It comes in a variety of colors so you can mix and match with your fabric.
One roll of the Dollar Tree shelf liner can make 8-9 jar lid openers (depending on your square size) for just $1.25.
Rug grip is similar to shelf liner and can be used, as well.
I used the leftover rug gripper to make these pill bottle openers, too!
Perfect Craft Fair Items
DIY Jar Openers are PERFECT items to make to sell at craft fairs! You can make several in an hour and the low price of the materials lets you keep more money as profit.
Here is the estimated cost to make one jar opener:
- Fabric: $3.99/yd = .20 cents per square
- Shelf Liner: $1.25/roll = .17 cents per square
Total cost is 0.37 cents per jar opener if using only one piece of fabric; 0.57 cents per item if using two pieces of fabric.
I’ve seen these jar openers priced for $3-5 at craft fairs and online shops.
Watch my YouTube video below to see how I made two different styles of jar openers:
This is just one of our many sewing projects that cost less than $1.
How to Make a Jar Opener
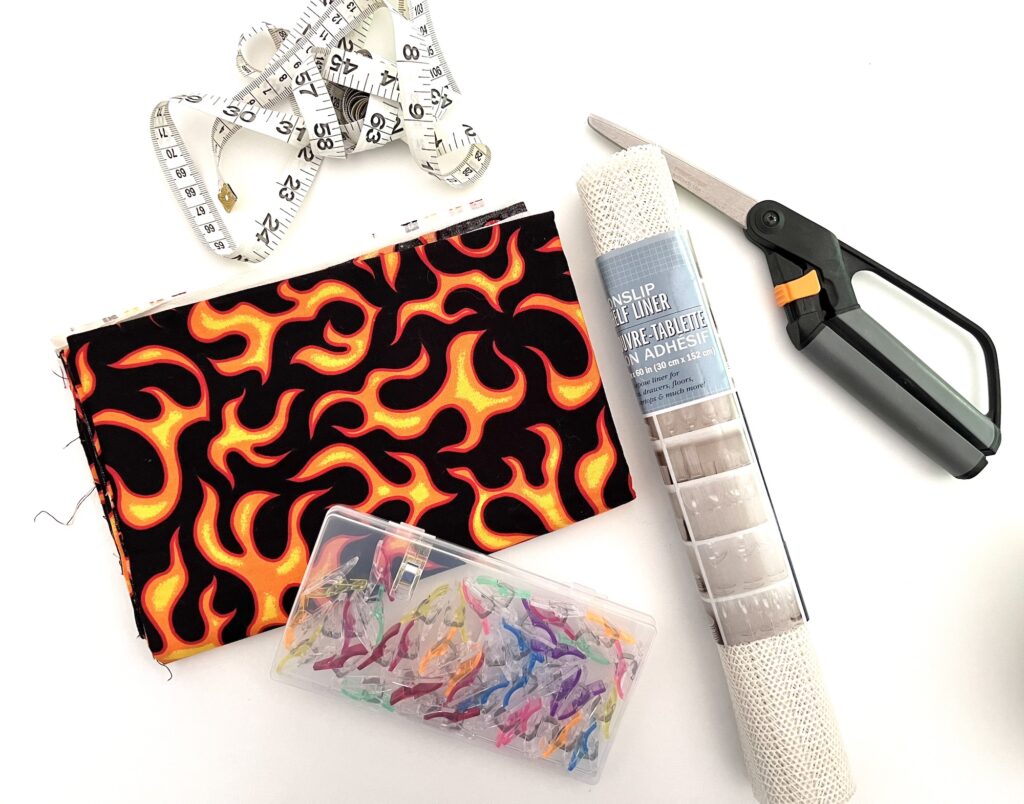
The flame fabric I used was part of this awesome thrift store fabric haul. However, this fabric is similar.
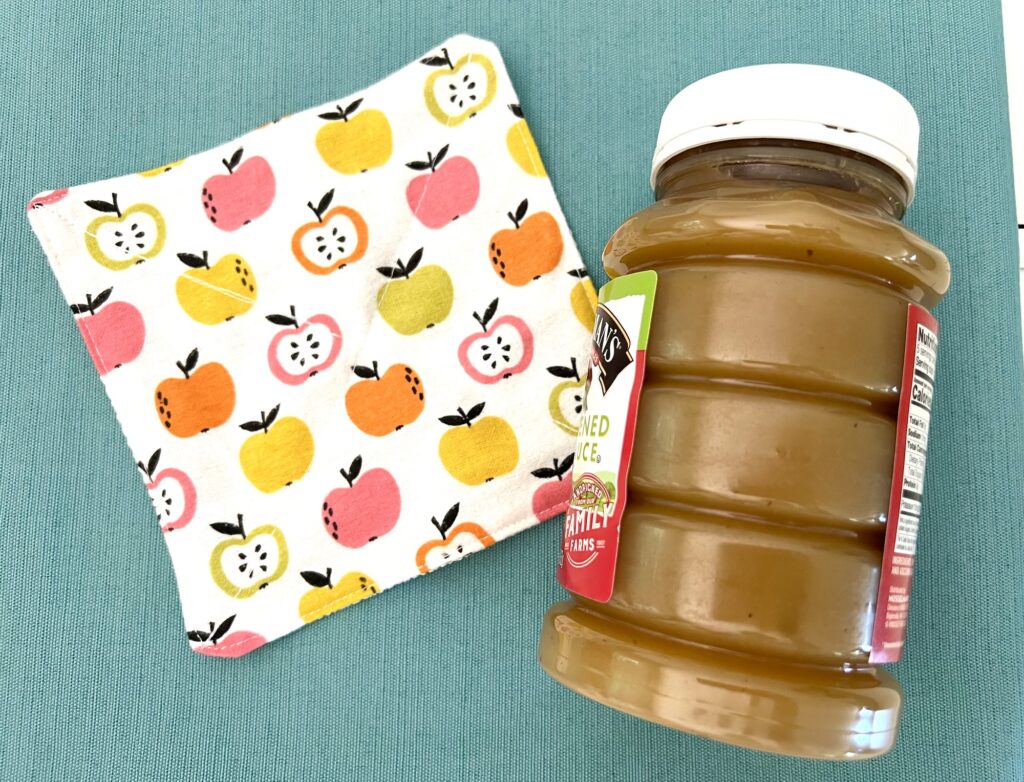
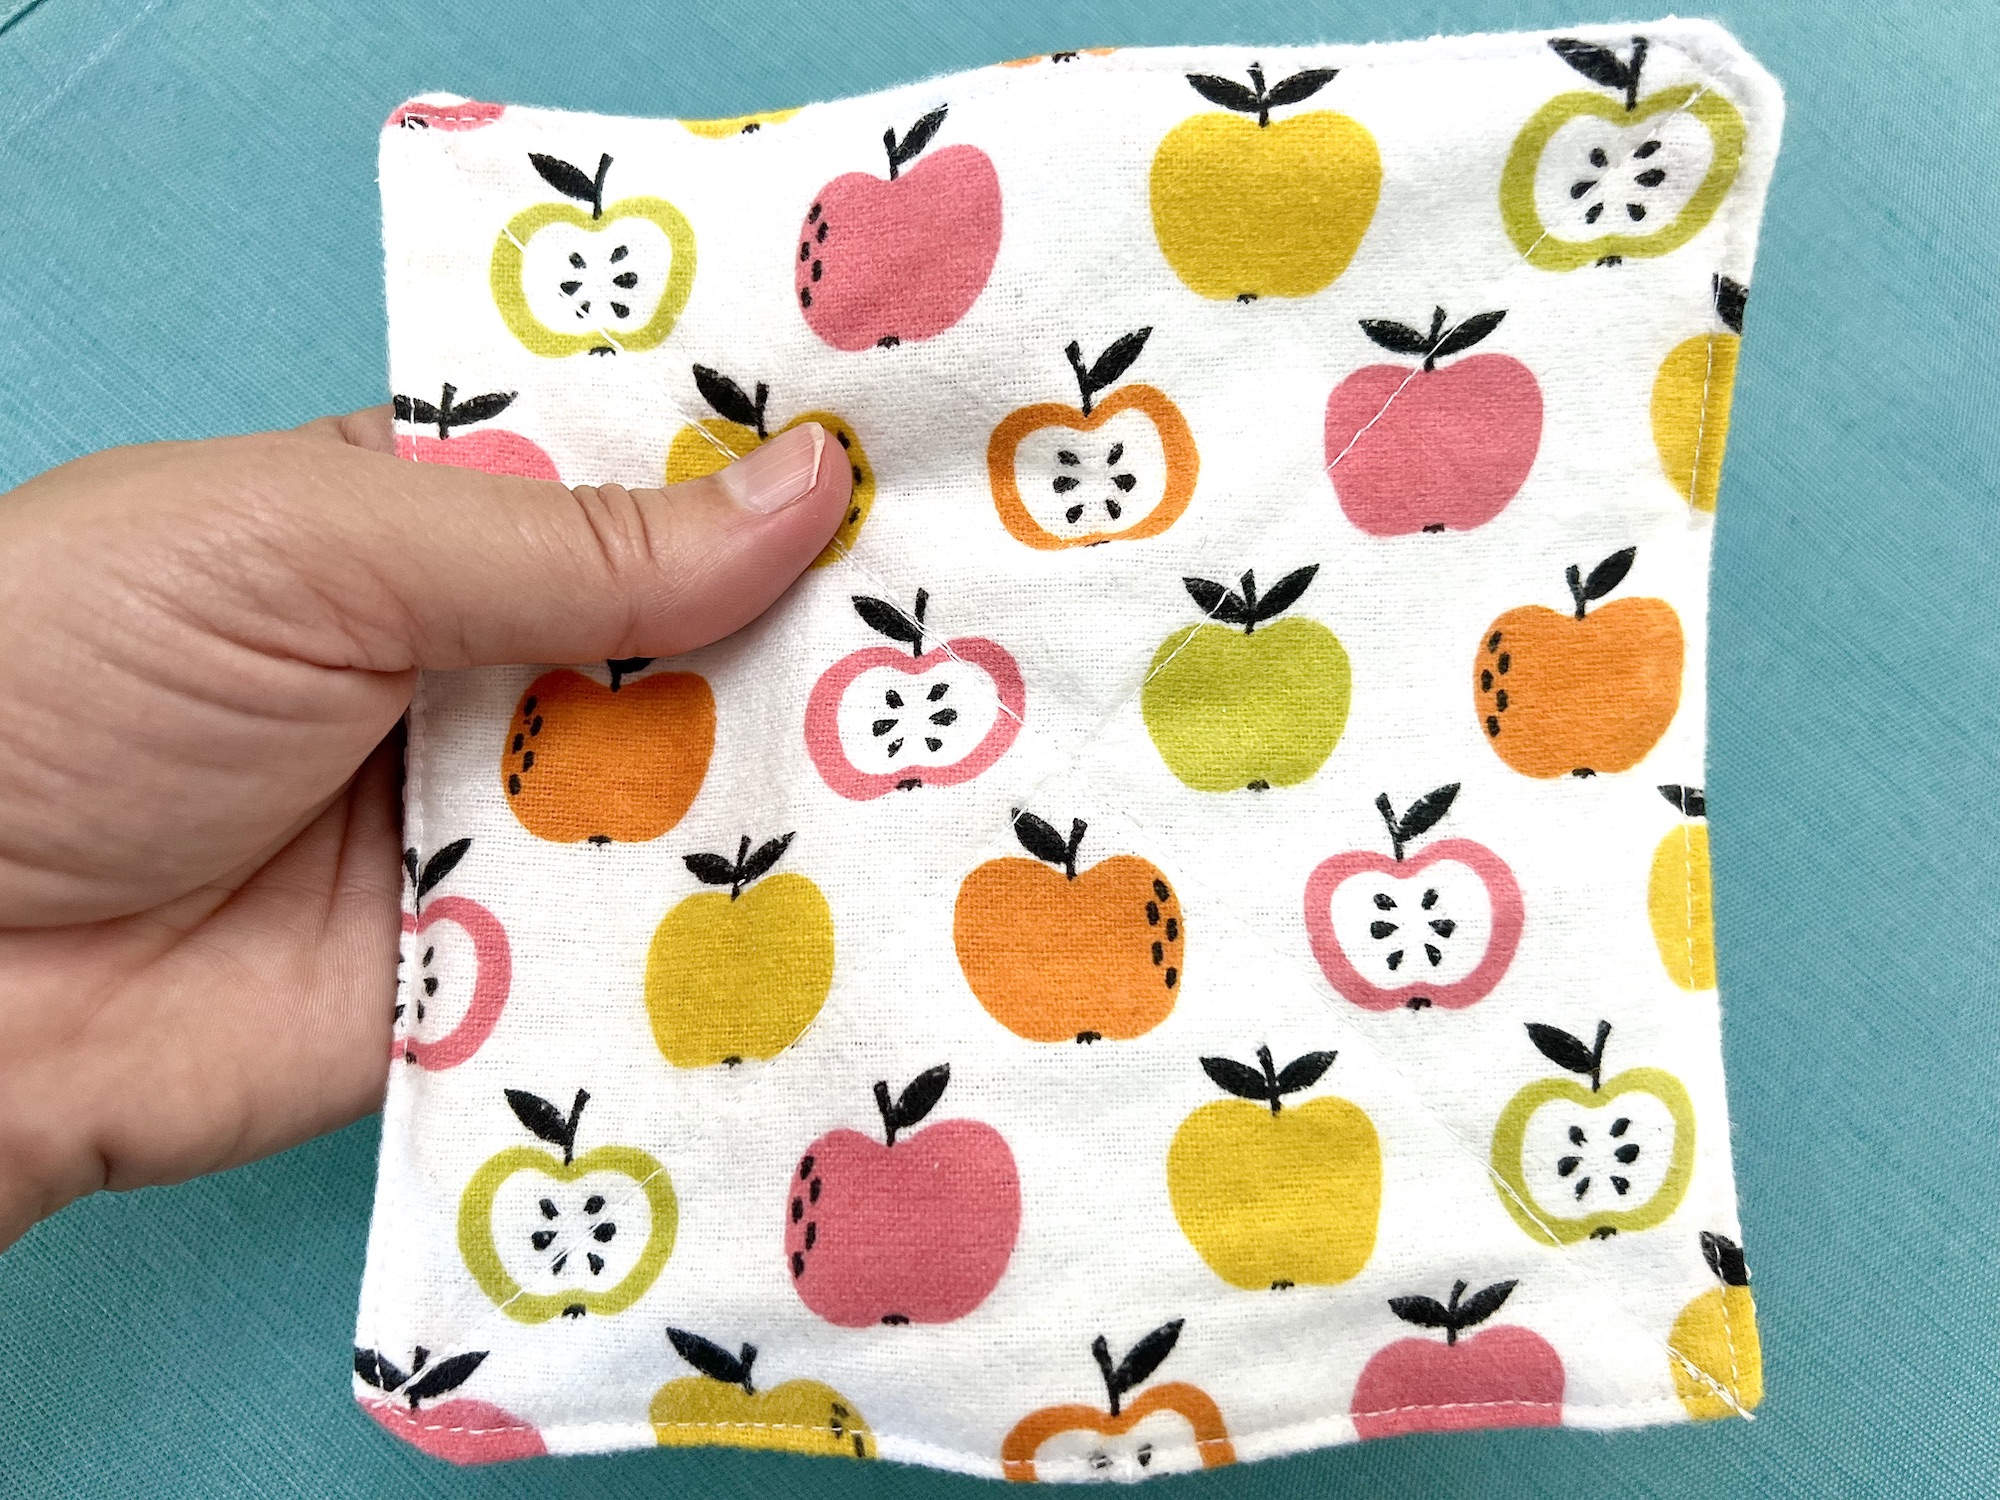
I bought the flannel apple fabric at Joanns.
Supplies
- Two 7 in X 7 in (18 X 18 cm) fabric squares
- 7 in X 7 in Shelf Liner or Rug Grip
- Sewing Clips
- Thread
- Sewing Machine
- Turning Tool (optional)
Directions
Step 1
Cut two squares of fabric to be 7 inches by 7 inches (18 cm X 18 cm). You can cut smaller squares if you would like, but make them at least 6 inches wide and tall.
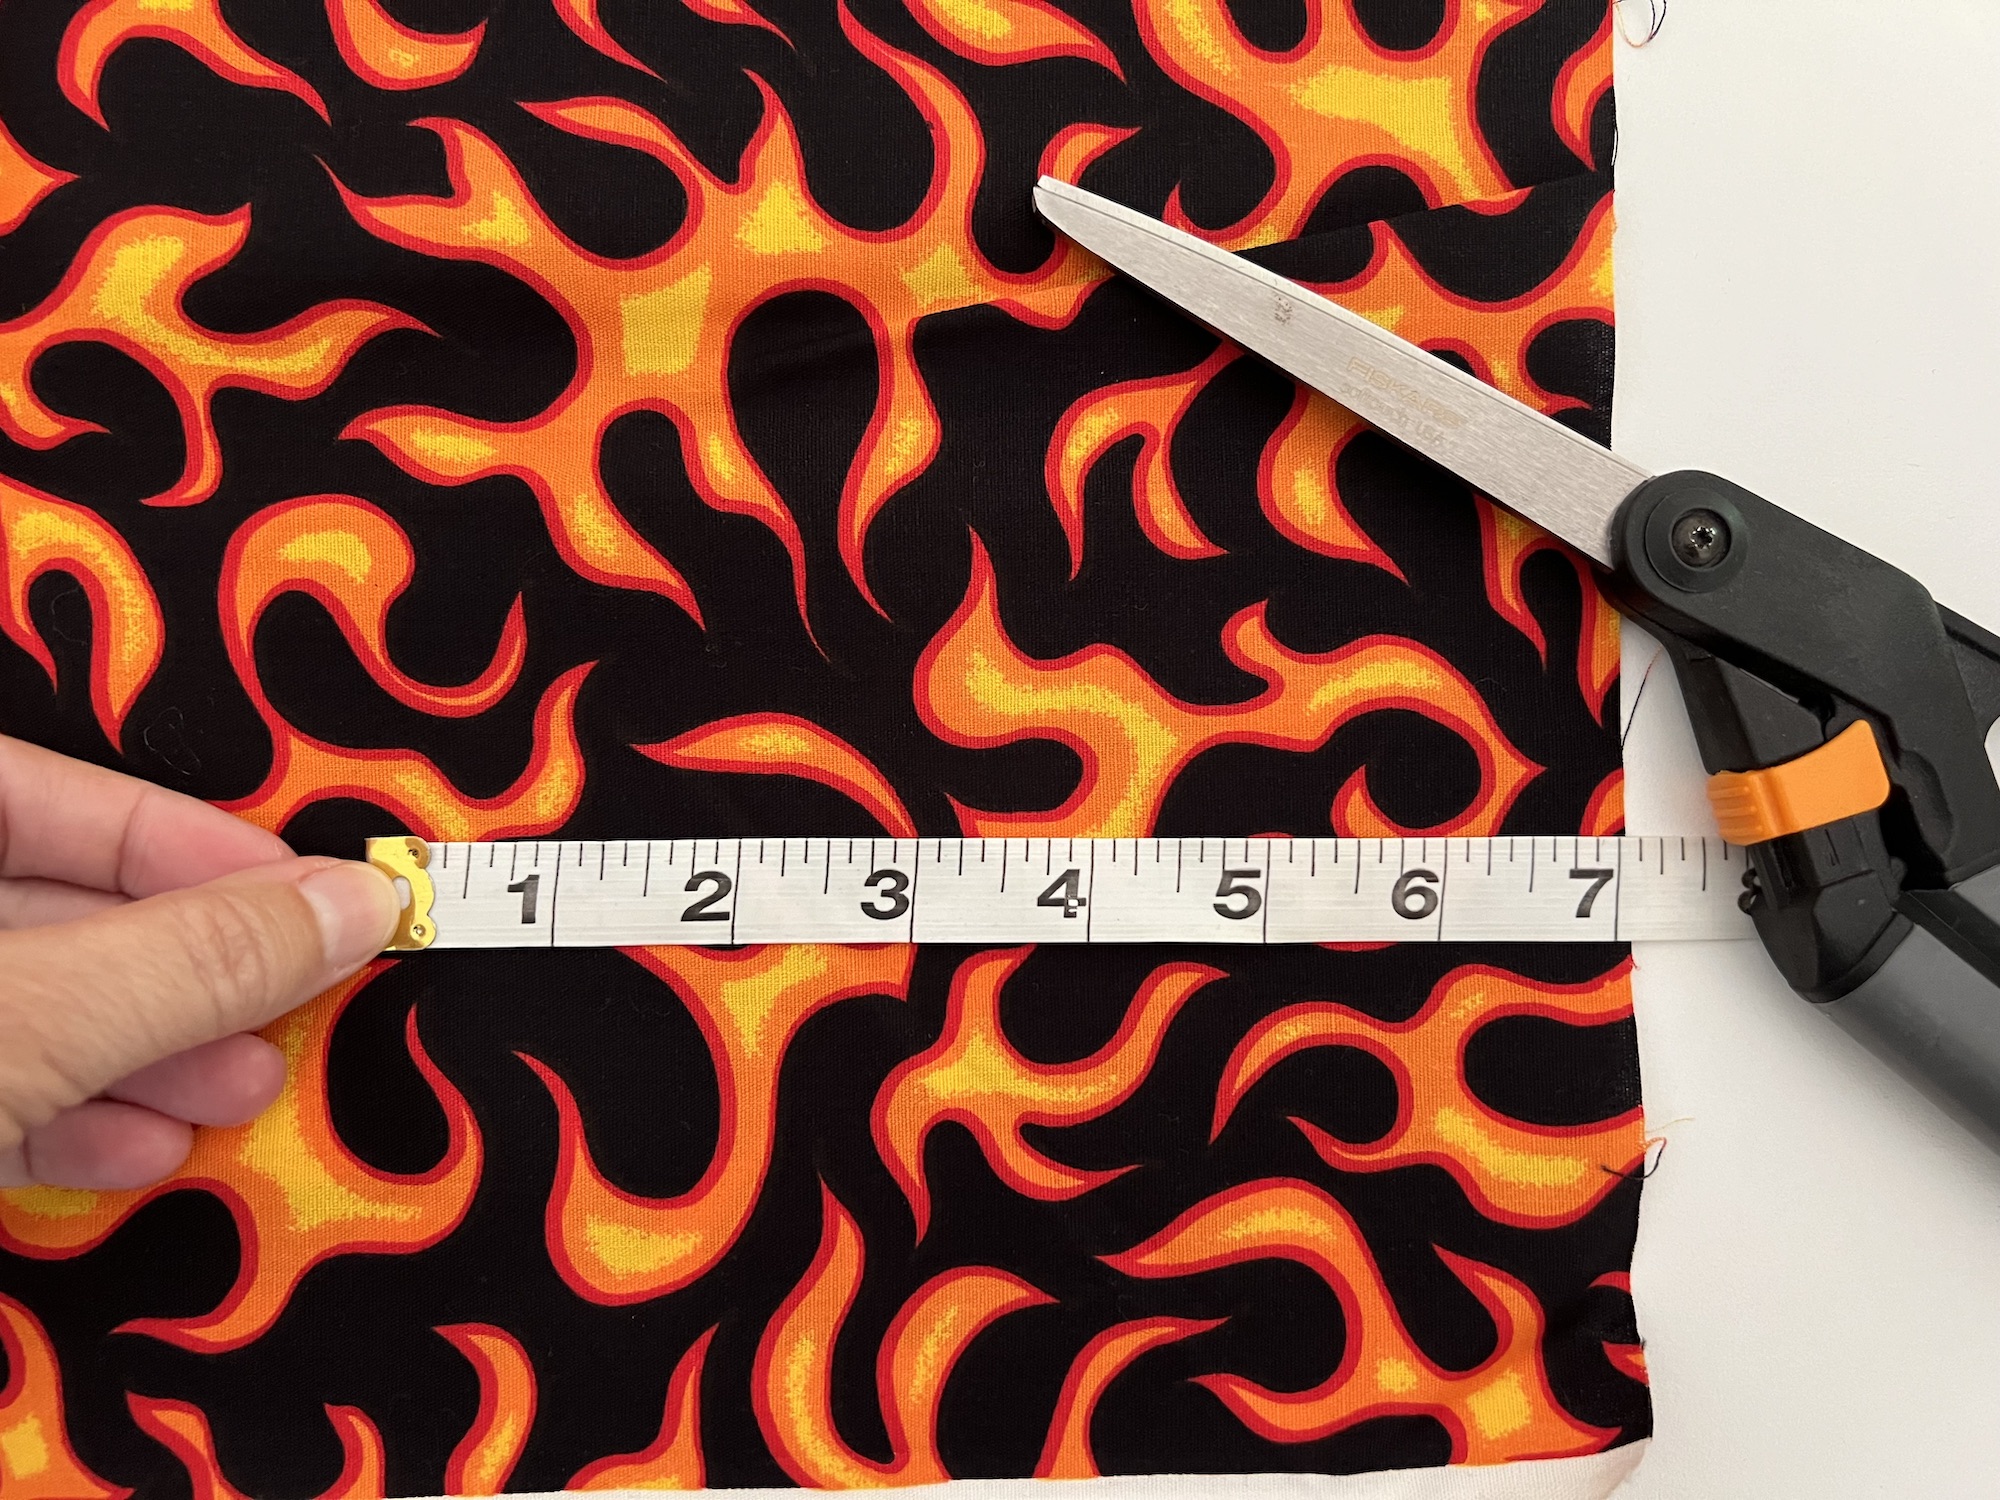
Cut one 7 inch X 7 inch piece of shelf liner or rug grip (or whatever size you make your fabric).
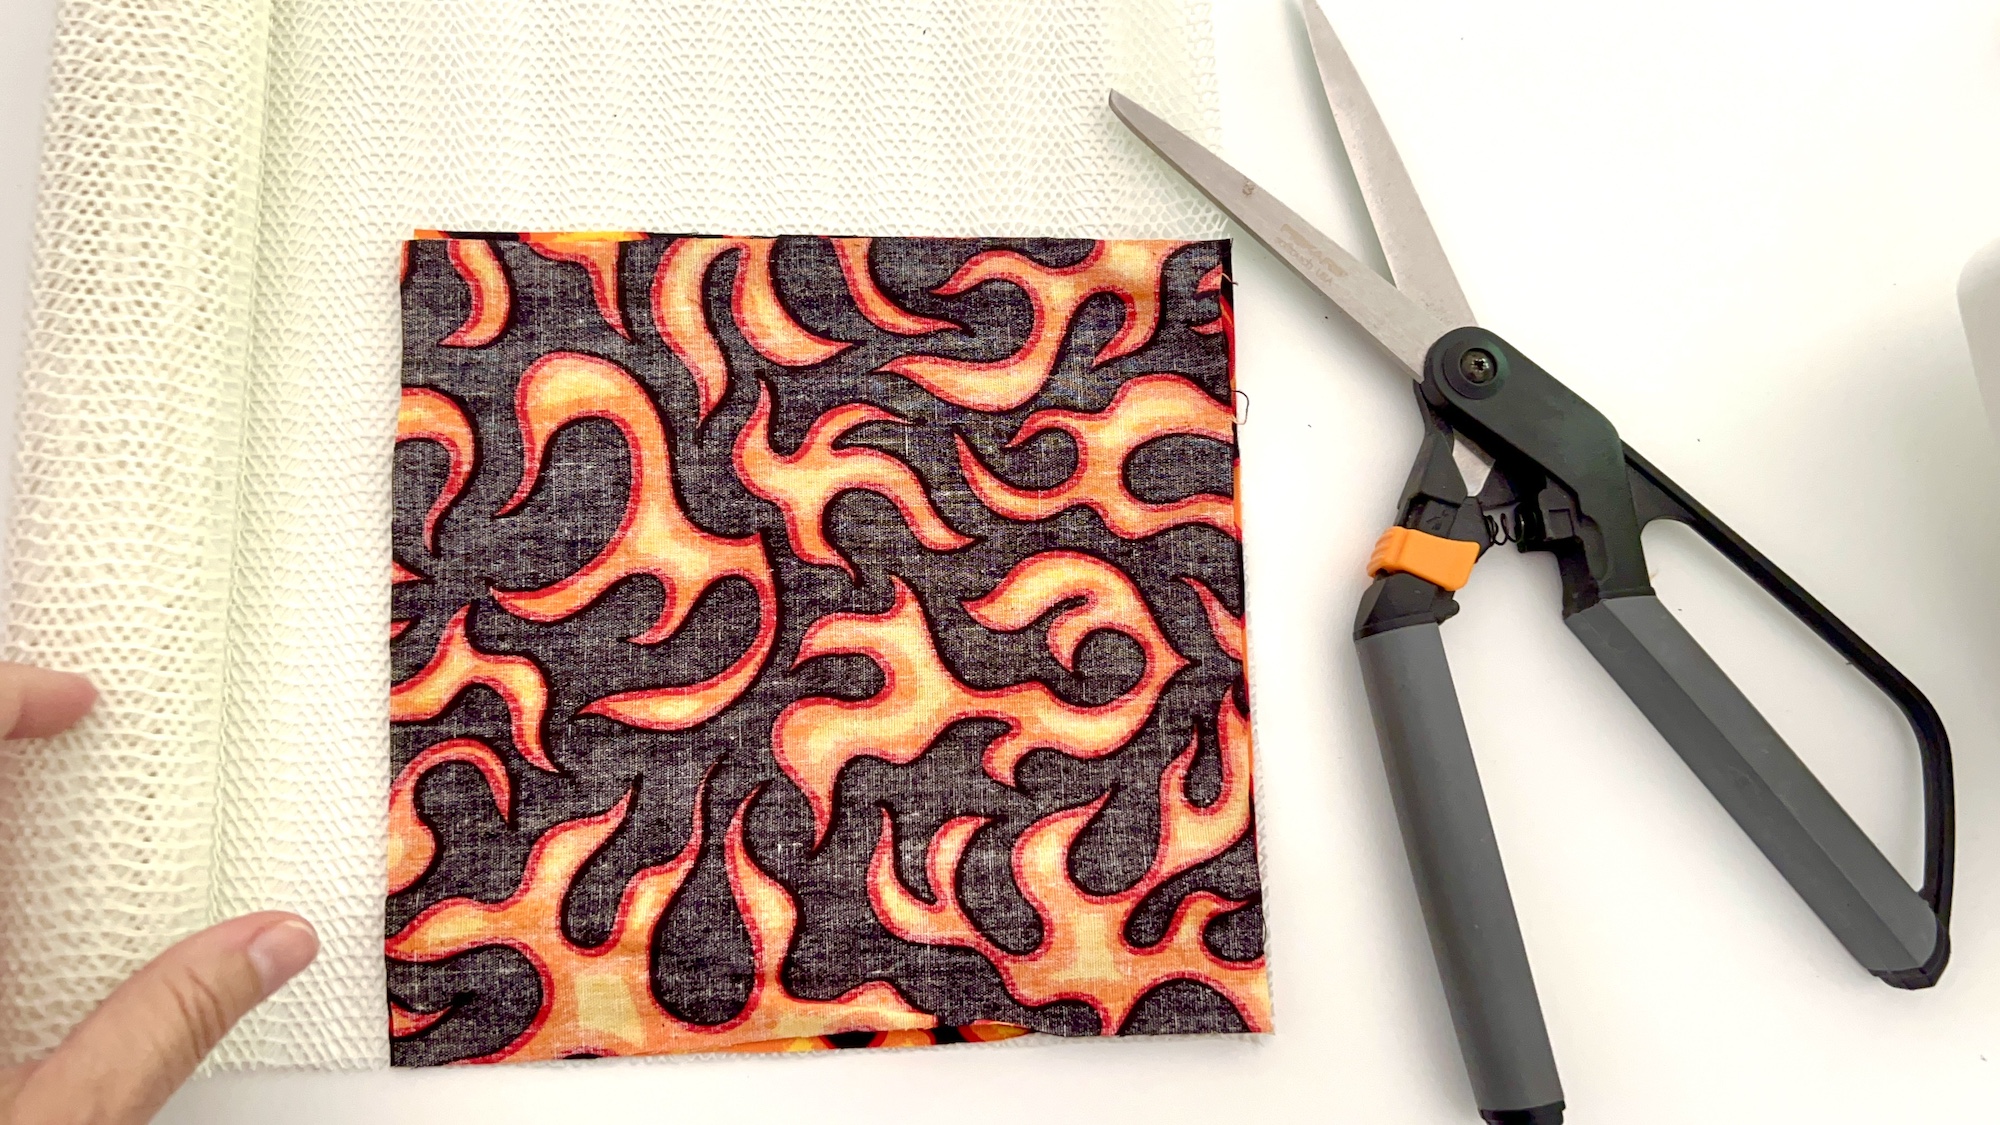
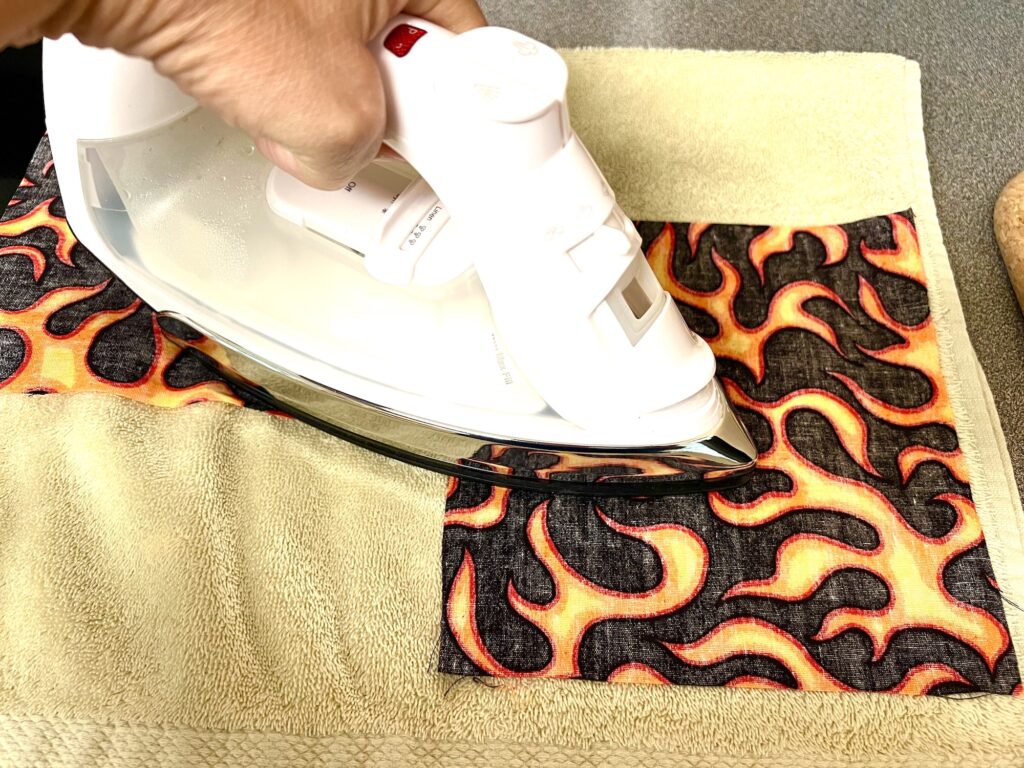
Now is a good time to press out any wrinkles in your fabric.
Step 2
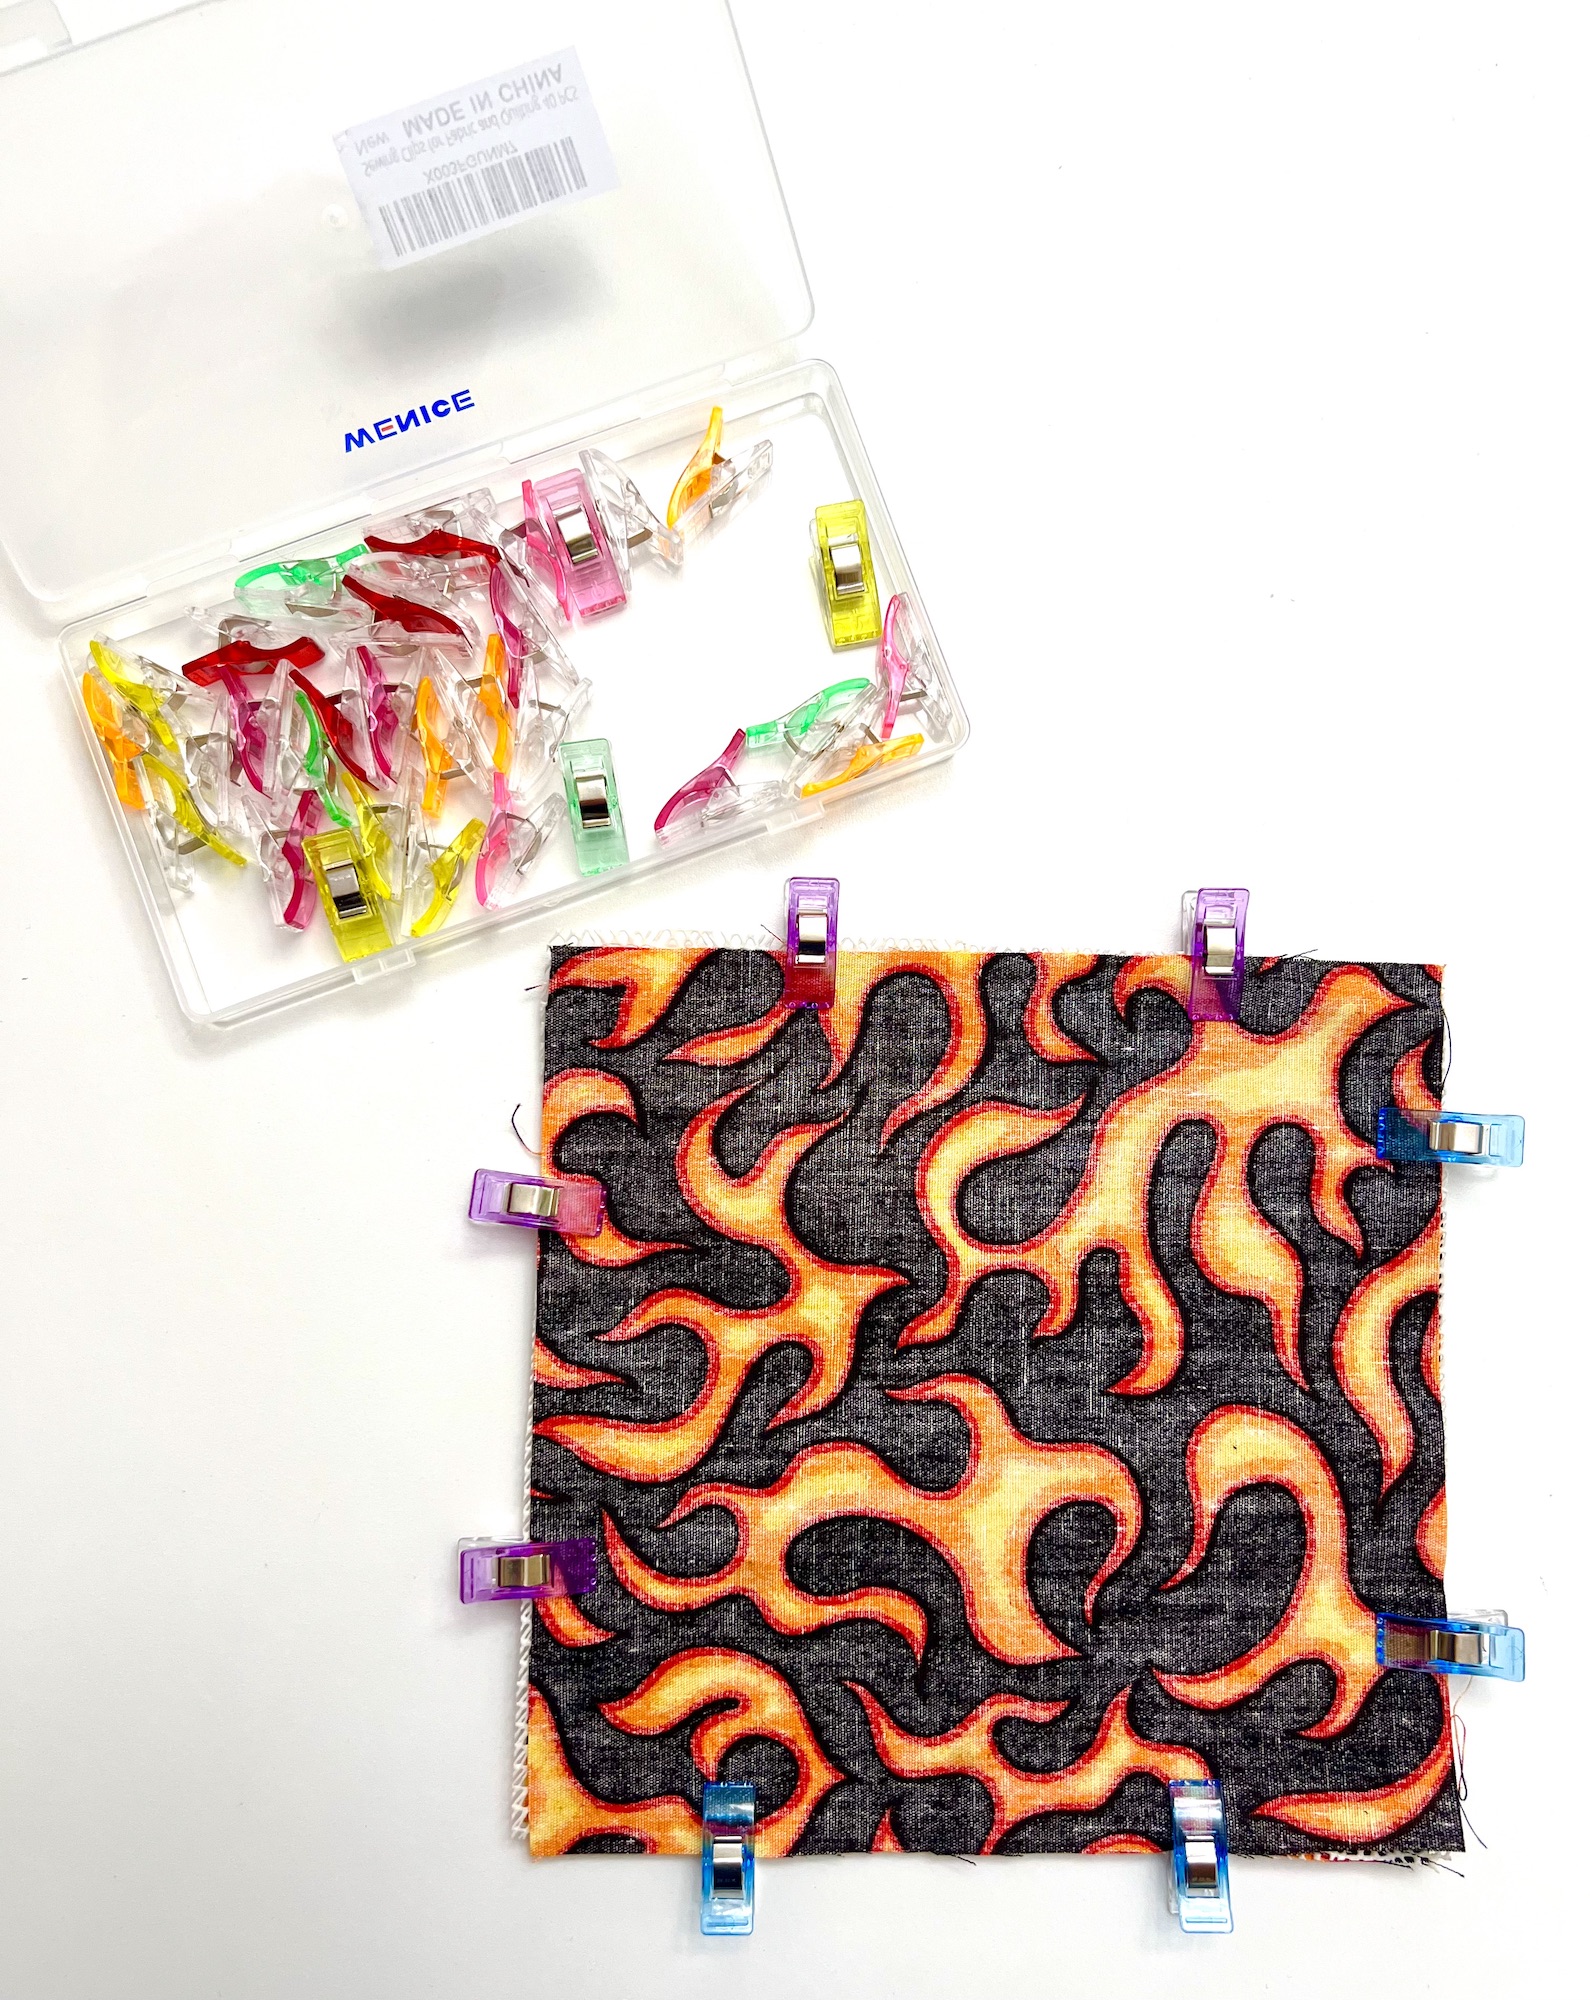
Layer the fabric and shelf liner in the following way:
- Fabric piece with pretty side (right side) facing up
- Shelf liner
- Fabric piece with pretty side (right side) facing down
Secure the edges together using sewing clips or pins. Allow a 3-4 inch gap on one side so that you can turn the fabric inside out after sewing.
Step 3
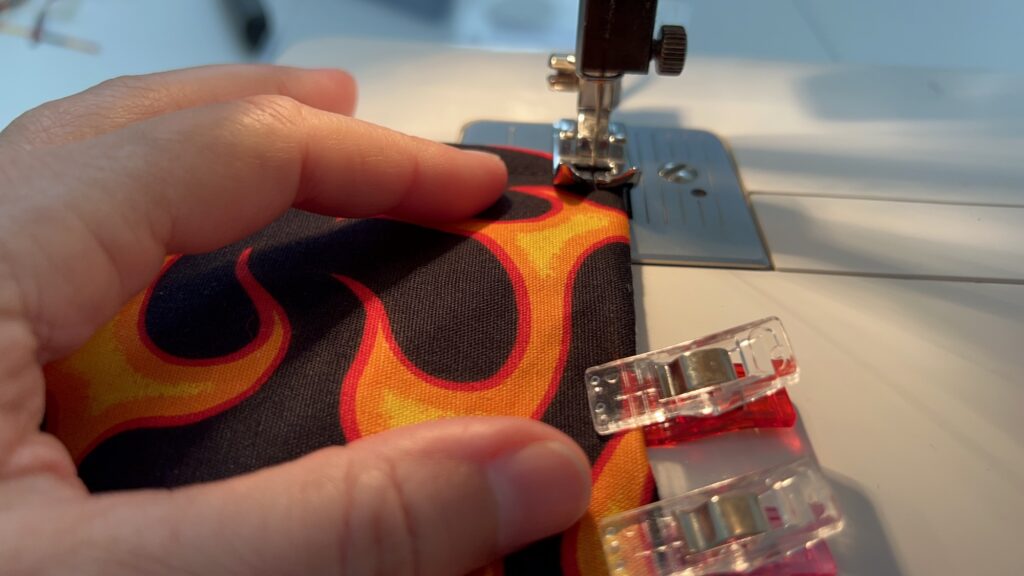
Sew around all of the edges of the square using a ¼ inch seam allowance. Be sure to leave a 3-4 inch gap that is not sewn shut.
Backstitch at the beginning and end of your stitching line to reinforce the seams.
When you get to a corner of the square, be sure that the needle is inserted in the fabric, then lift up the presser foot and move the fabric 90 degrees. Put the presser foot back down and continue stitching a straight line.
Step 4
Clip the corners to remove excess bulk. Be sure not to cut the stitching, but get close to the stitched corner.
If you would like, you can remove more excess by trimming the seam allowances to be about 1/8 inch wide. If you trim the seam allowances, be sure to leave the open seam allowance area with a larger width so that it is easy to turn under in the next step.
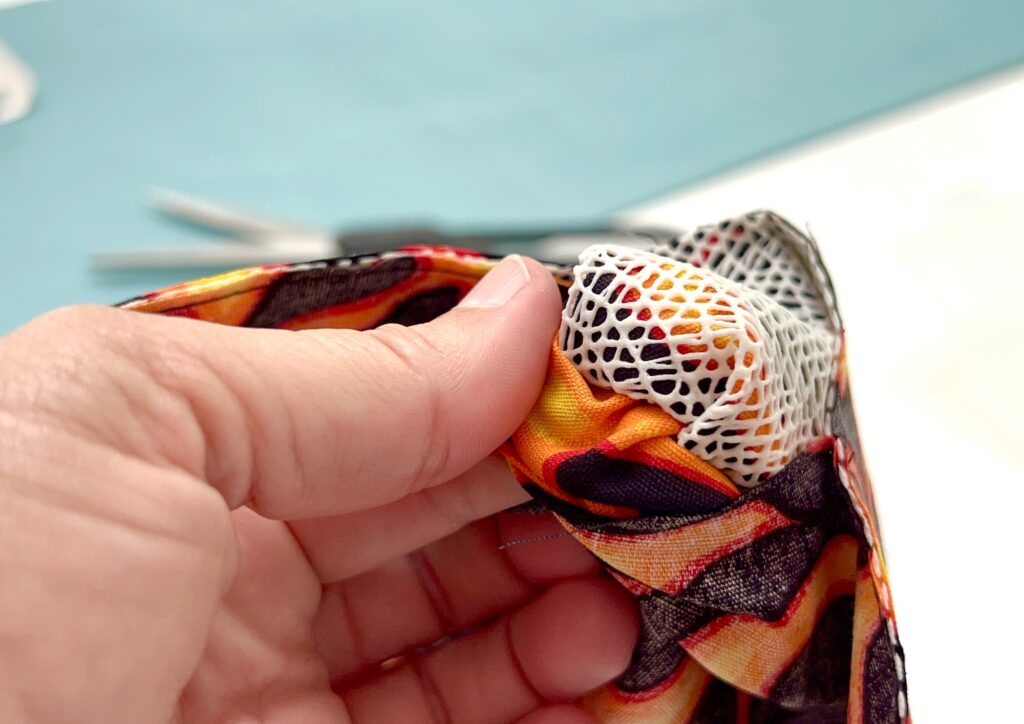
Turn the square inside out, with the shelf liner being on one side and the fabric on the other after it is turned.
Use a turning tool or your finger to press out each of the four corners.
Step 5
Turn under the open seam allowances and tuck in the unfinished edges inward. Clip together to hold in place.
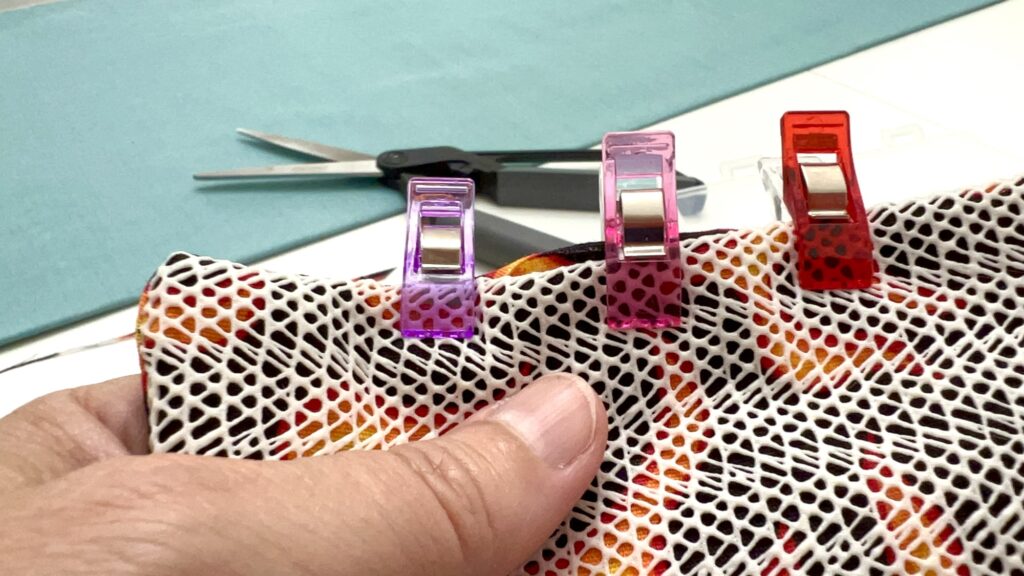
Top-stitch around the outer edge of the square, with the fabric side facing up (not the shelf liner side). Sew close to the edge of the jar opener, about 1/8 inch. Be sure to close the open seam allowance as you are top-stitching.

Step 6 (Optional)
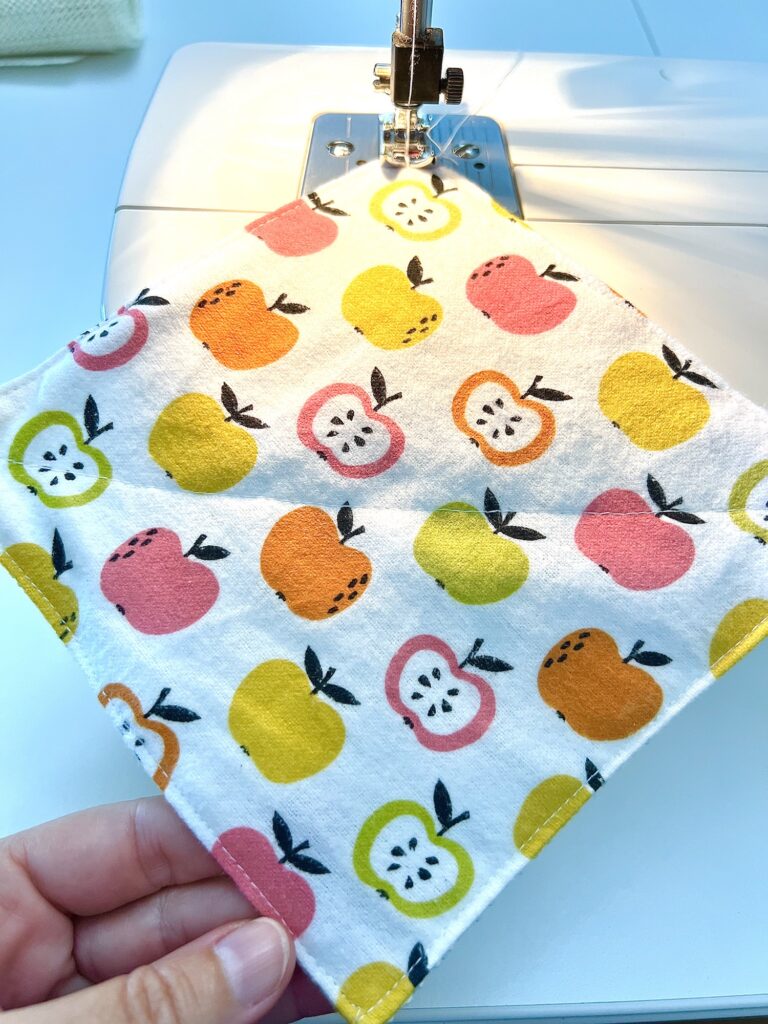
You can stitch a large “X” across the jar opener to prevent the fabric from bunching up. Start in one corner and stitch a straight line diagonally to the opposite corner. Then repeat on the other side.
Do I Need to Use Two Pieces of Fabric?
No, you don’t have to use two square pieces of fabric for this project. I tried it with just one piece and it works fine.
Using two pieces of fabric is great if you don’t like the look of the “wrong” side of the fabric that will be showing through the shelf liner.
However, many fabrics are pretty on both the right and the wrong sides. Or your shelf liner may not be very see-through and you don’t need to add a lining.

How Can I Get the Shelf Liner to Slide More Easily?
When the shelf liner or rug grip is laying down on the sewing machine, it can be a little bit difficult to slide as you are sewing.
I didn’t have much of a problem using the shelf liner from the Dollar Tree, however other people complain about the grip not allowing them to move the fabric easily underneath the needle.
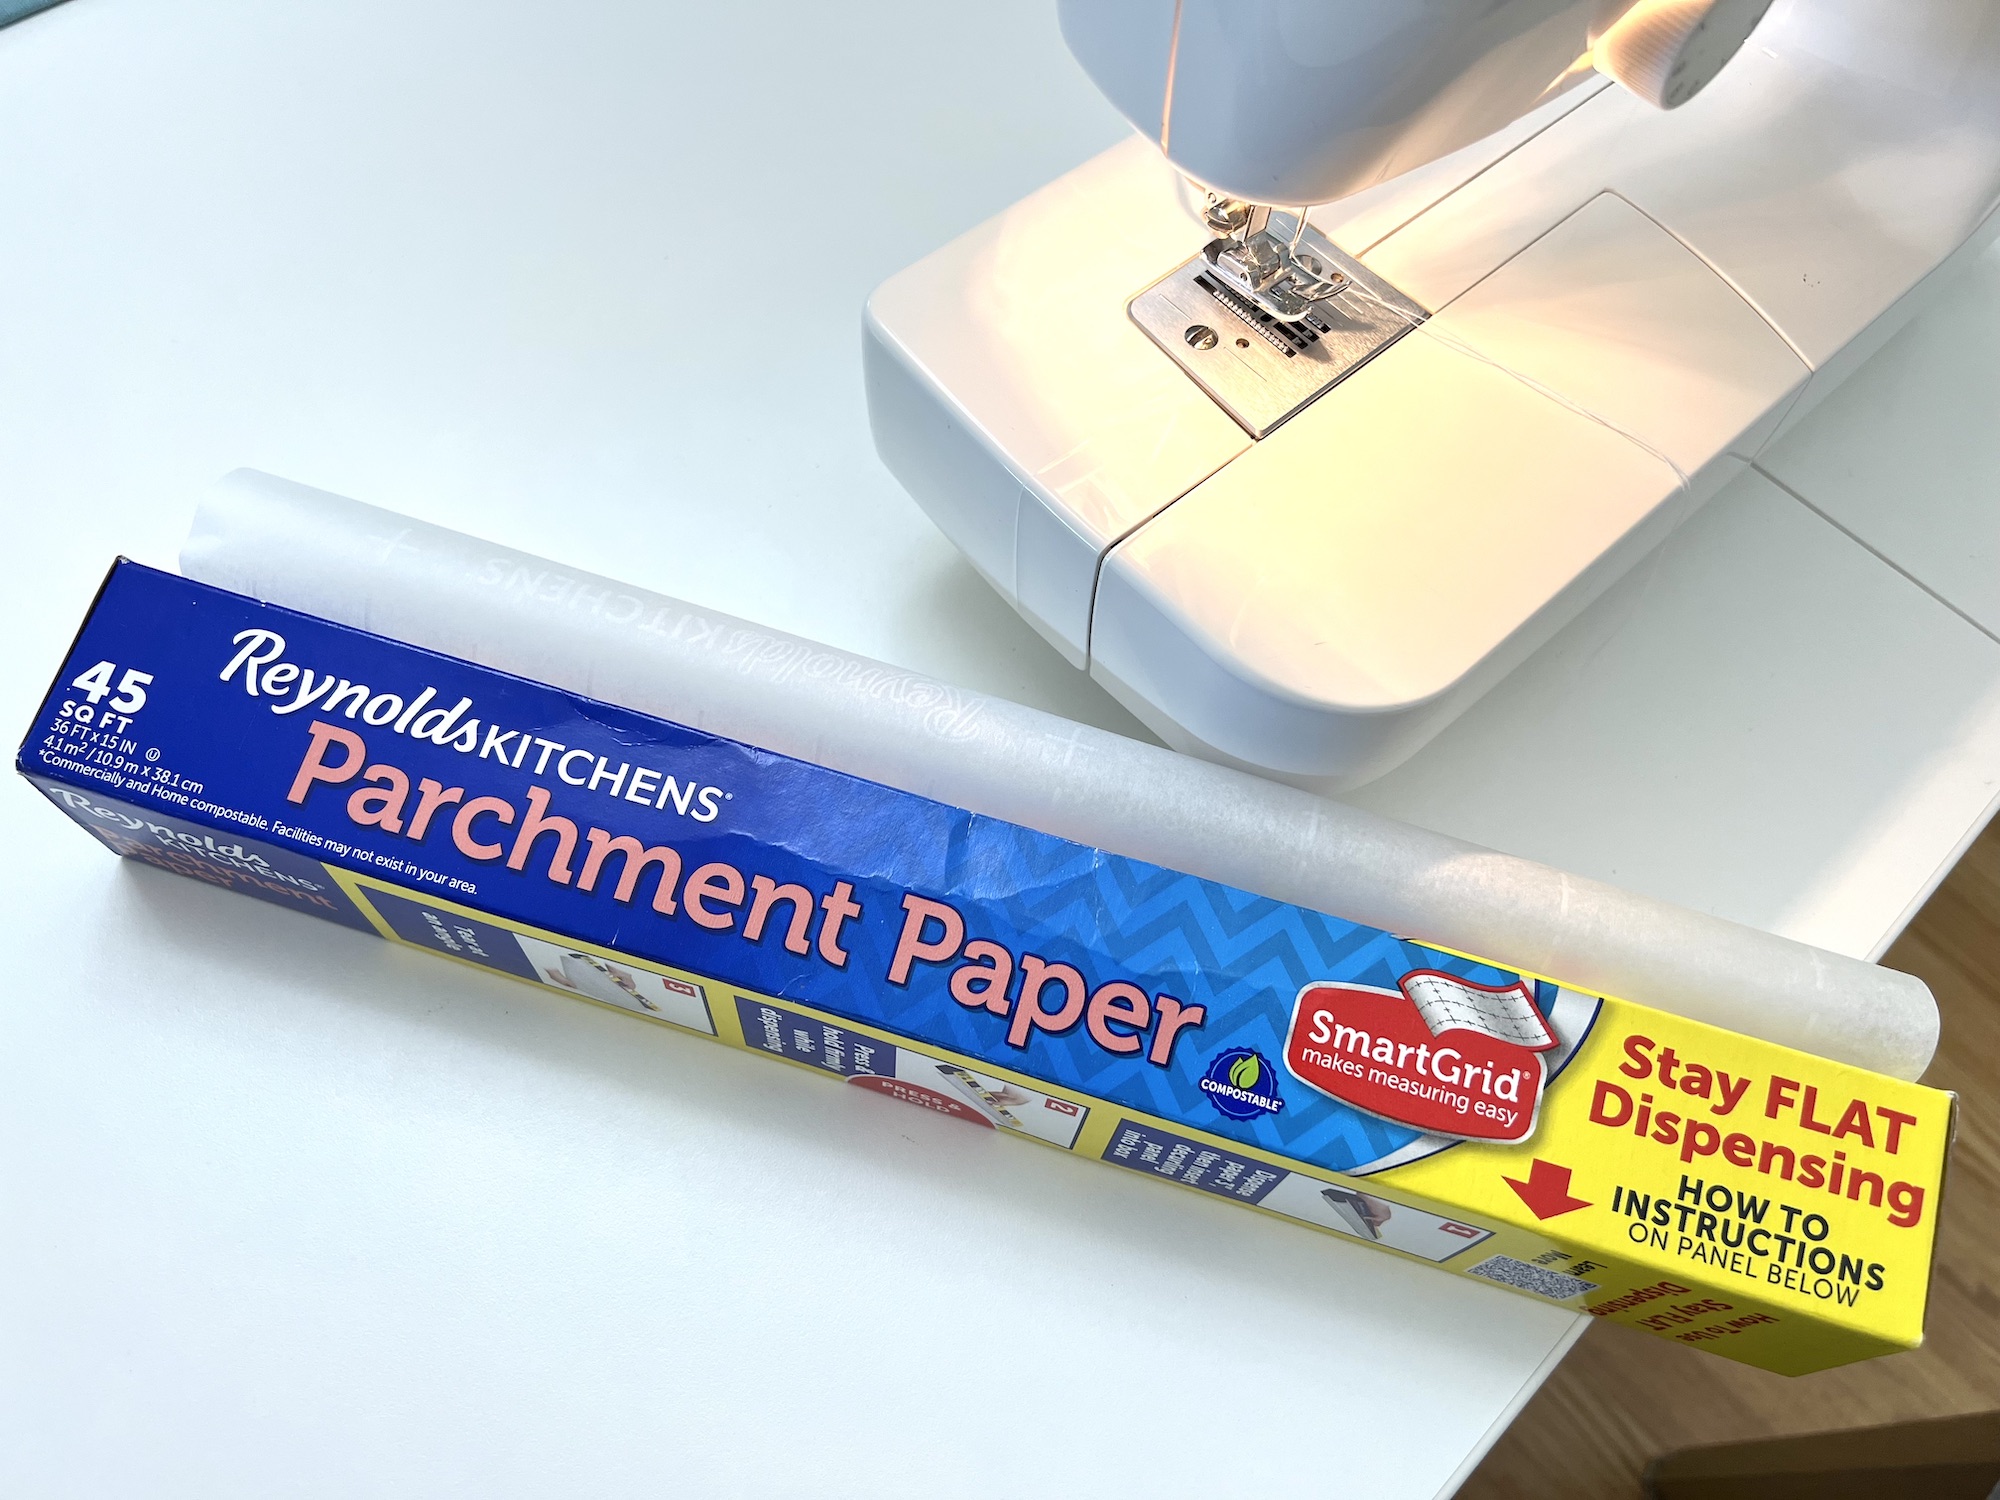
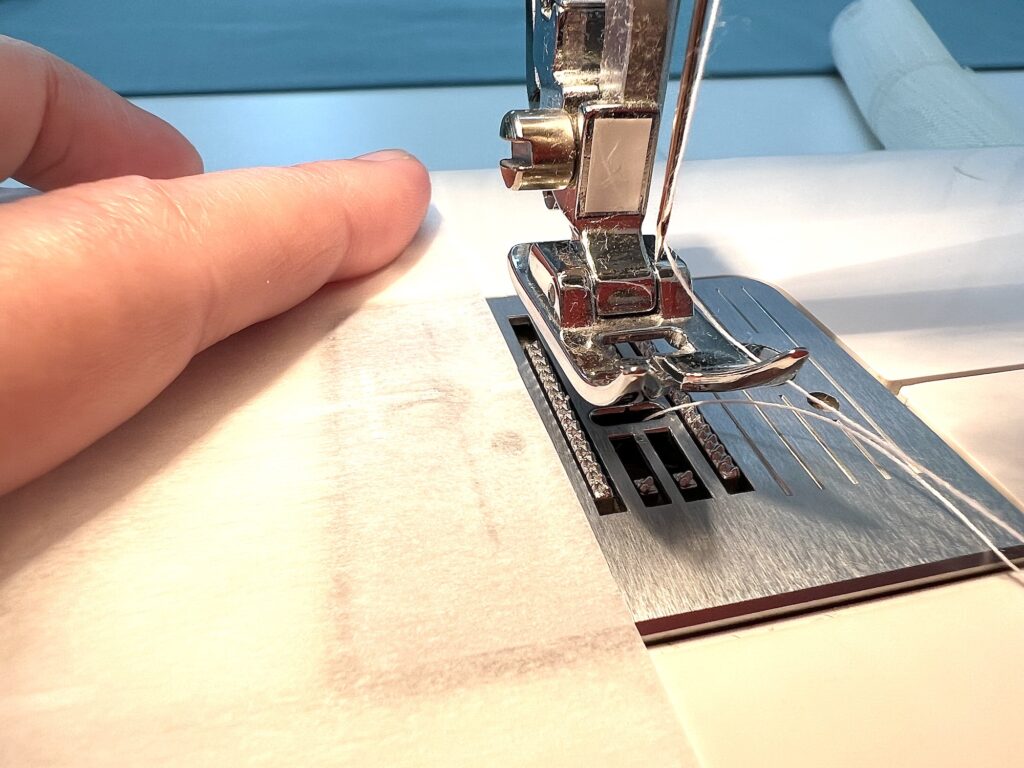
If you have a problem, lay a piece of parchment paper or tissue paper on the left hand side of your sewing machine up to the metal plate where your needle inserts into your fabric. Then tape down the parchment paper or tissue paper with painter’s tape or another type of tape that can be easily removed.
Helpful Tips I Learned From Sewing This Project
- You can use any size of square that you would like. Six inches is the smallest I would cut, because with the seam allowances after that, you will be making a very small square that might not cover a jar lid.
- If you have larger hands, you may want to make an even larger jar lid opener. Try a square of 8 inches X 8 inches.
- Stitching a large X through the lid opener prevents the fabric from bunching up and looking weird after multiple uses. However, this is a purely aesthetic thing and doesn’t help open the jars any more easily.
Want to save this idea for later? Just Pin It to Pinterest or add it to Flipboard.
This easy sewing project is just one of the many DIY projects we have for your home. See these ideas next:
you would also find it easier to sew with a walking foot.
Batik fabric doesn’t have a ‘wrong side’, nor does woven fabric, so you wouldn’t have to be concerned about a wrong side showing.
I can see these being very popular at any open market! Plus, once you make a couple of these you can start pumping them out fairly quickly!
Definitely! They are so popular! And using those types of fabrics definitely saves a little bit of time when making them, too.
You can use any tear-away backing to lay under the mesh so it’ll sew without sticking. Just tear away the backing when you’re done sewing.
Thanks for sharing!
What is the tear away backing to use so mesh doesn’t stick when sewing?
You can use parchment paper.