DIY Bunting Banner (Fourth of July, Memorial Day)
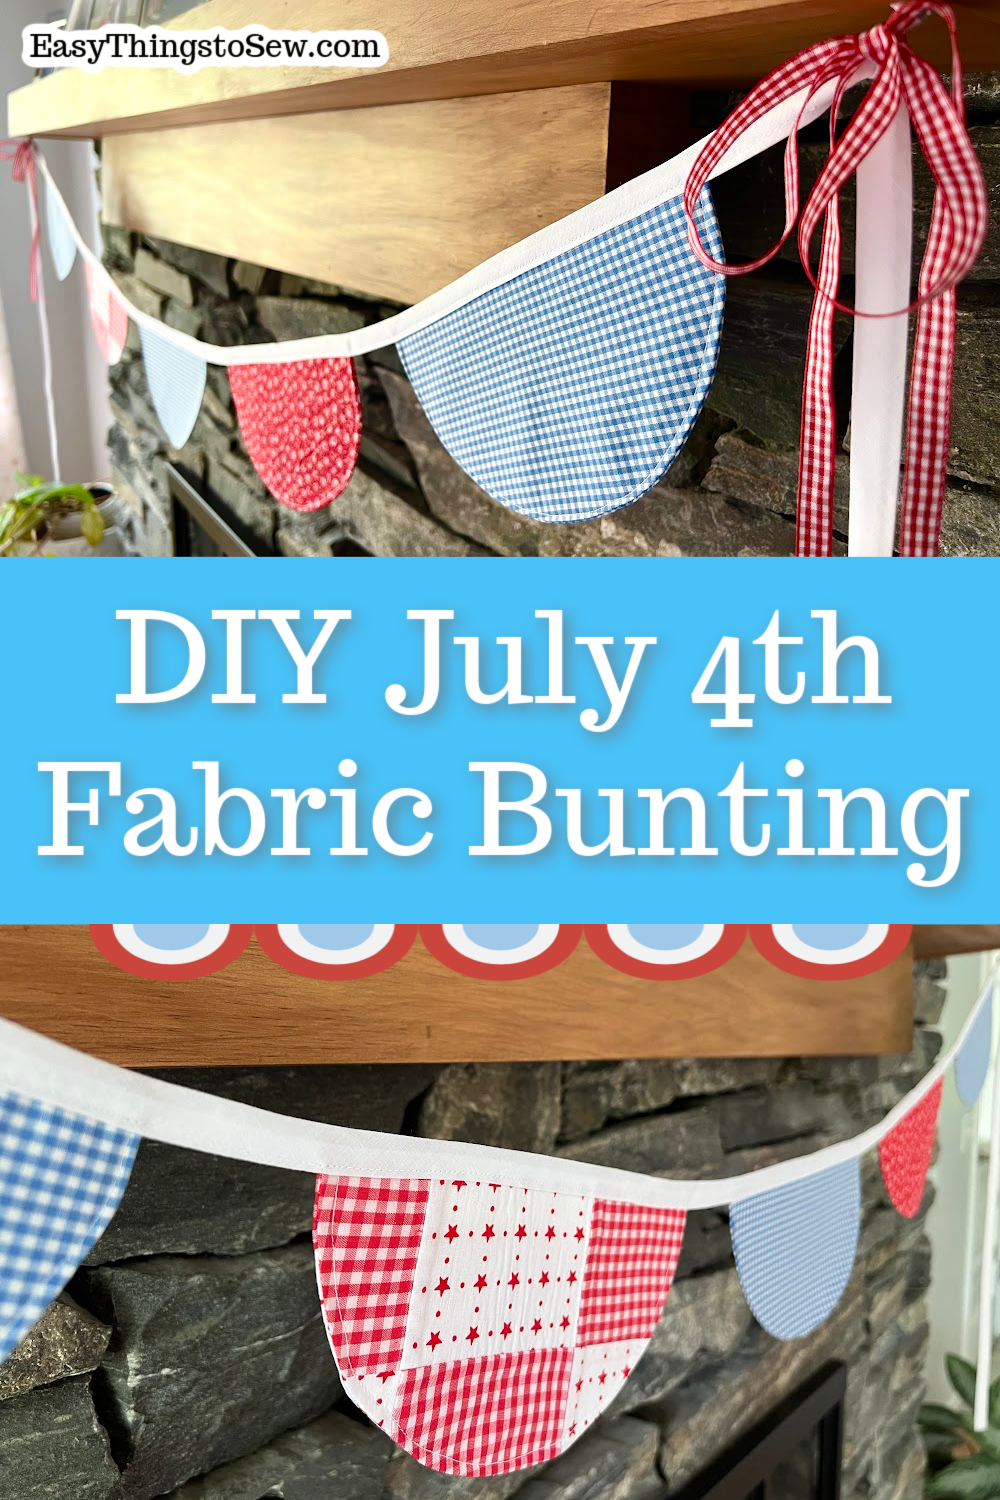
This easy fabric bunting banner adds custom decor to your party celebrations. Our simple DIY bunting banner does not need a pattern and can be made with any fabric colors and patterns!
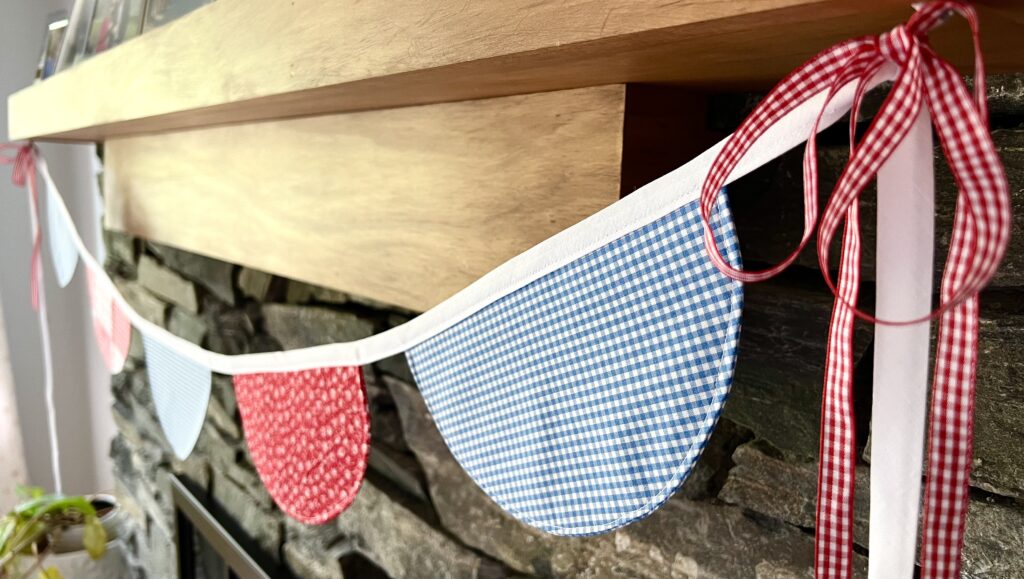
This reusable party decoration can be used every year for holidays, birthdays and other special occasions. If you take good care of it, it can even be handed down from generation to generation.

What Type of Fabric to Use
Cotton quilting fabric is the best choice for making a fabric banner. It holds its shape well with a lightweight interfacing, plus there are a variety of colors, patterns and prints to work with.
Other sturdy fabrics, such as denim or upholstery fabric, would also work well.
Avoid satin and velour fabrics because they will not hold their shape well, unless you attach a very thick interfacing to the fabric.
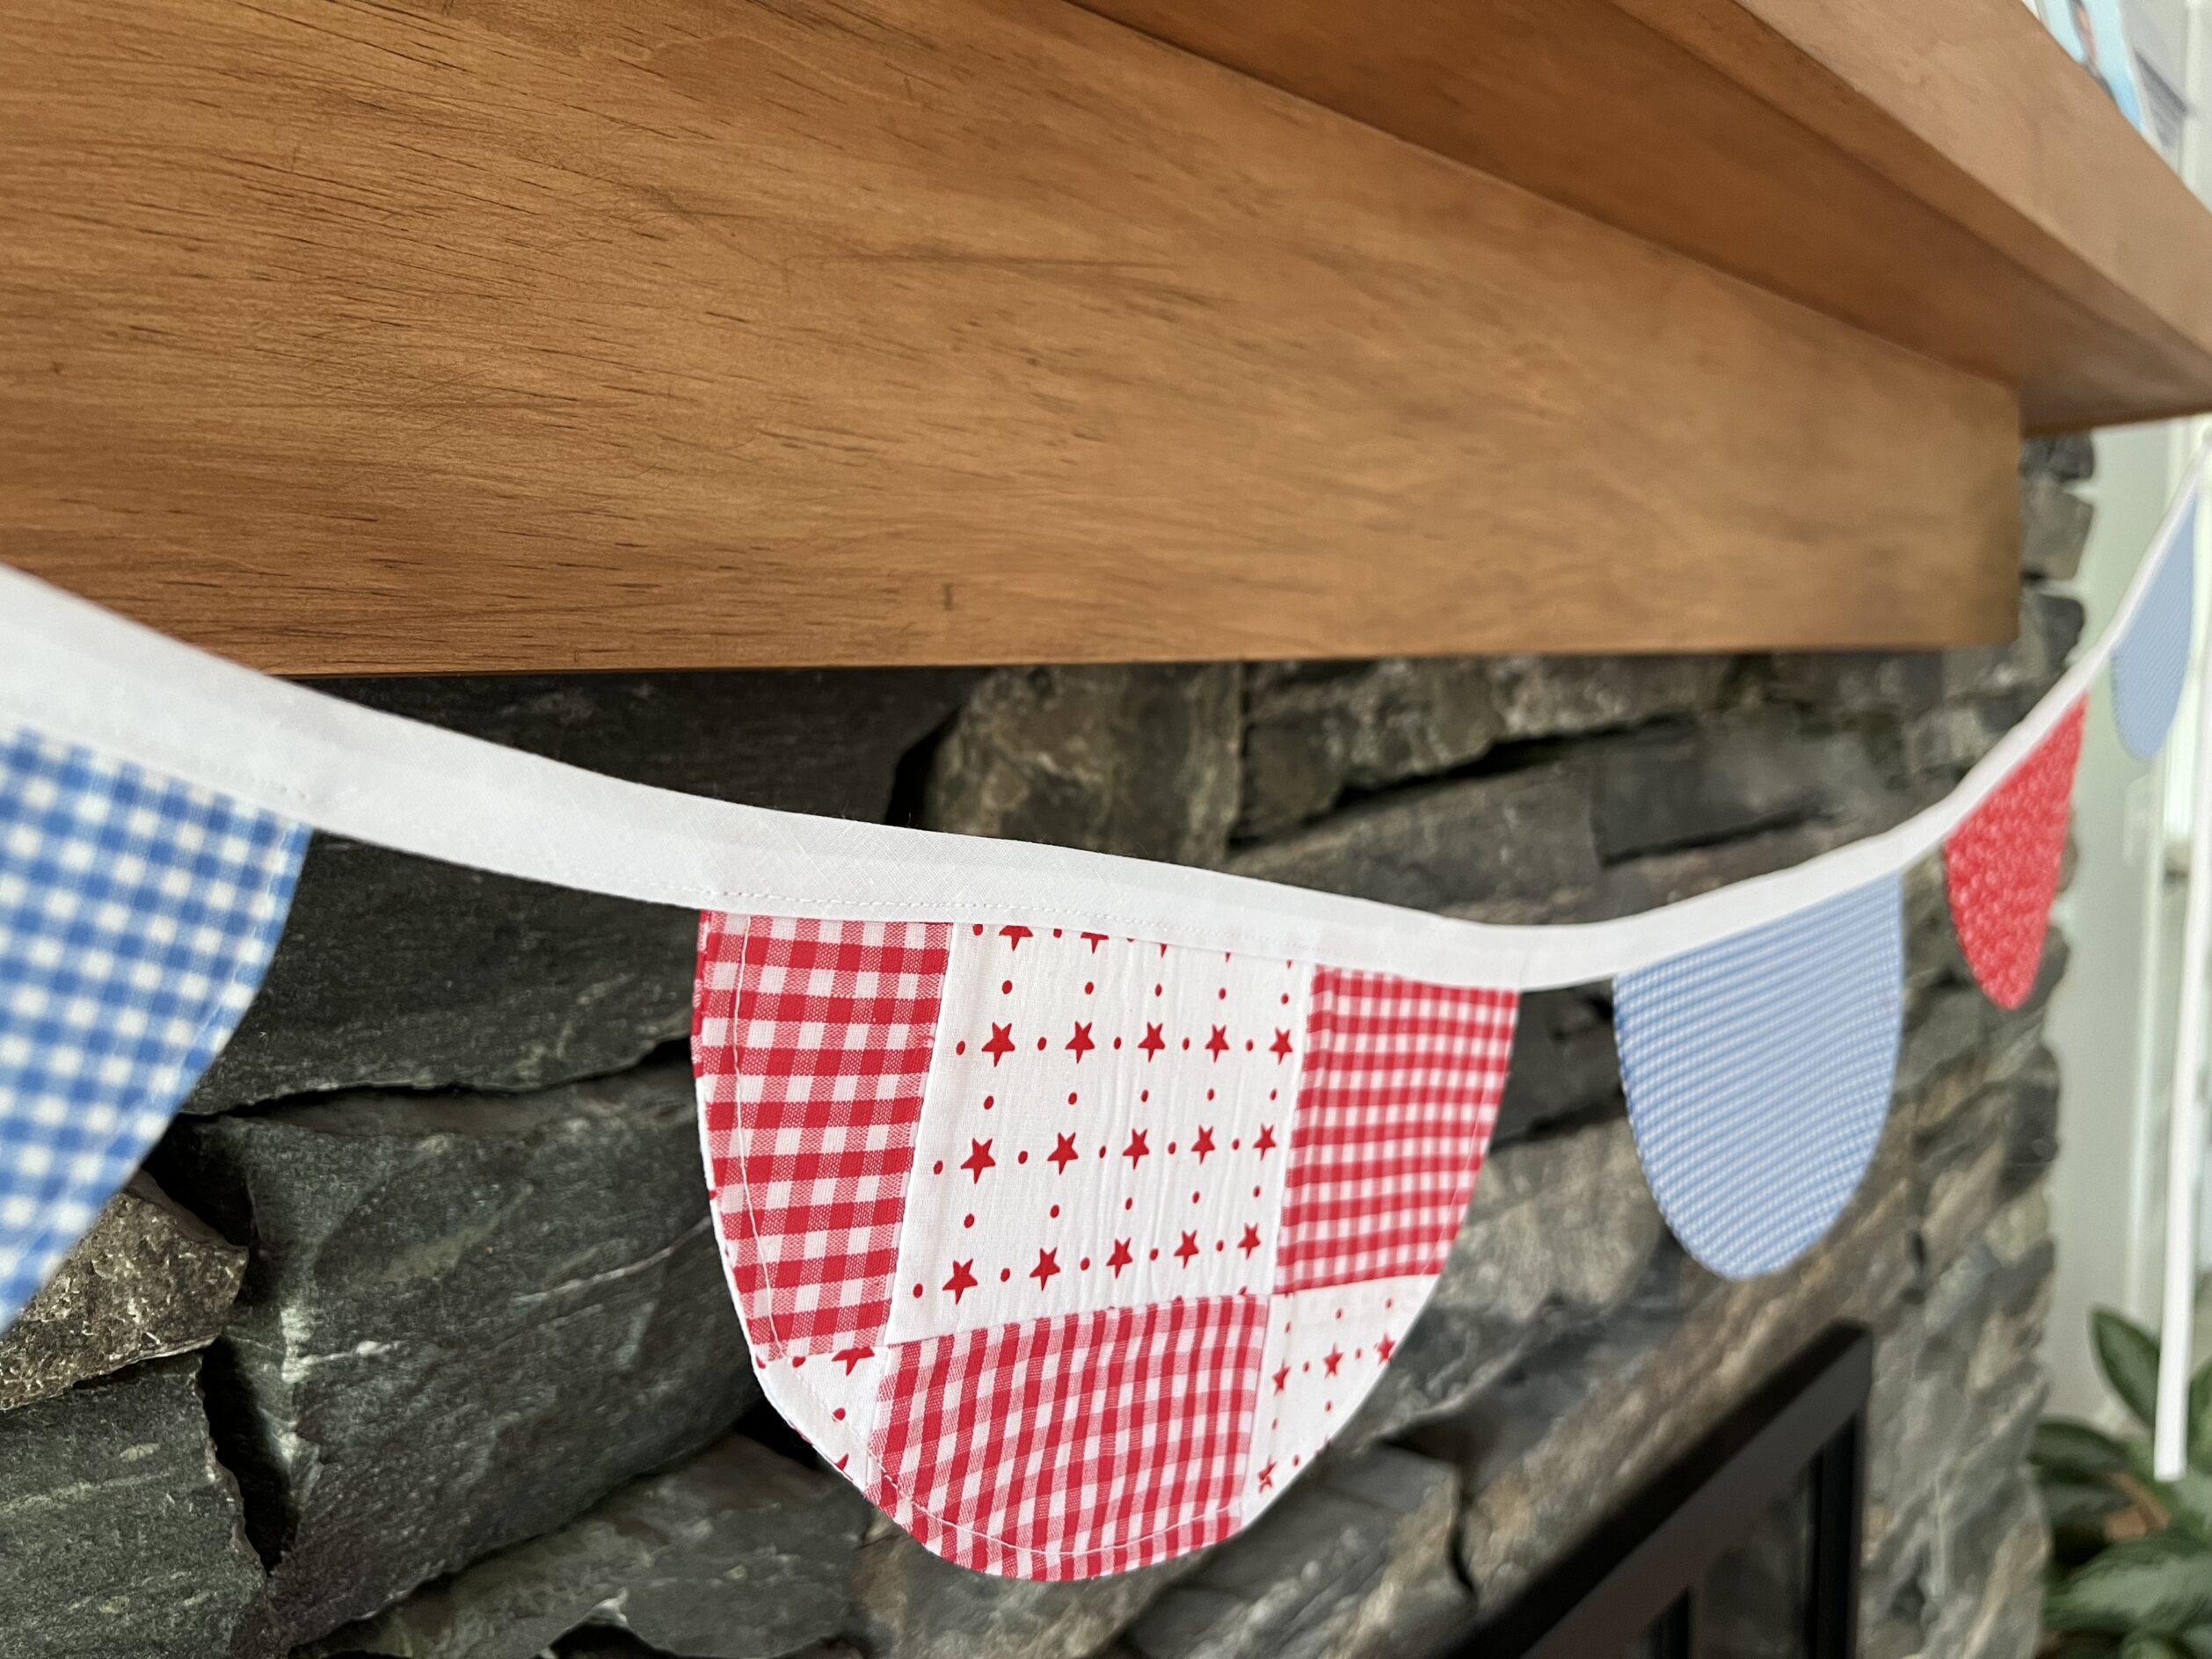
I used a variety of fabrics in complimentary colors of red, white and blue for this patriotic bunting. One of the fabrics I used was from a section of quilt.
Using Interfacing
You will definitely want to use interfacing with this project to give the bunting some shape.
If you have never used interfacing, don’t worry! It is very easy to work with and relatively inexpensive. See our Complete Guide to Interfacing to learn more about this stiffening material and how to apply it.
I used Pellon Fusible Featherweight interfacing, though you could use a heavier weight if you prefer. Sew-in interfacing is also an option, but you would want to cut the circles in the same size as the fabric and not trim the interfacing to be smaller, as discussed in Step 2.
No time to craft right now? No worries! Just Pin This to Save for Later!
DIY Fabric Bunting Banner
A video tutorial can be found at the end of these instructions.
Supplies
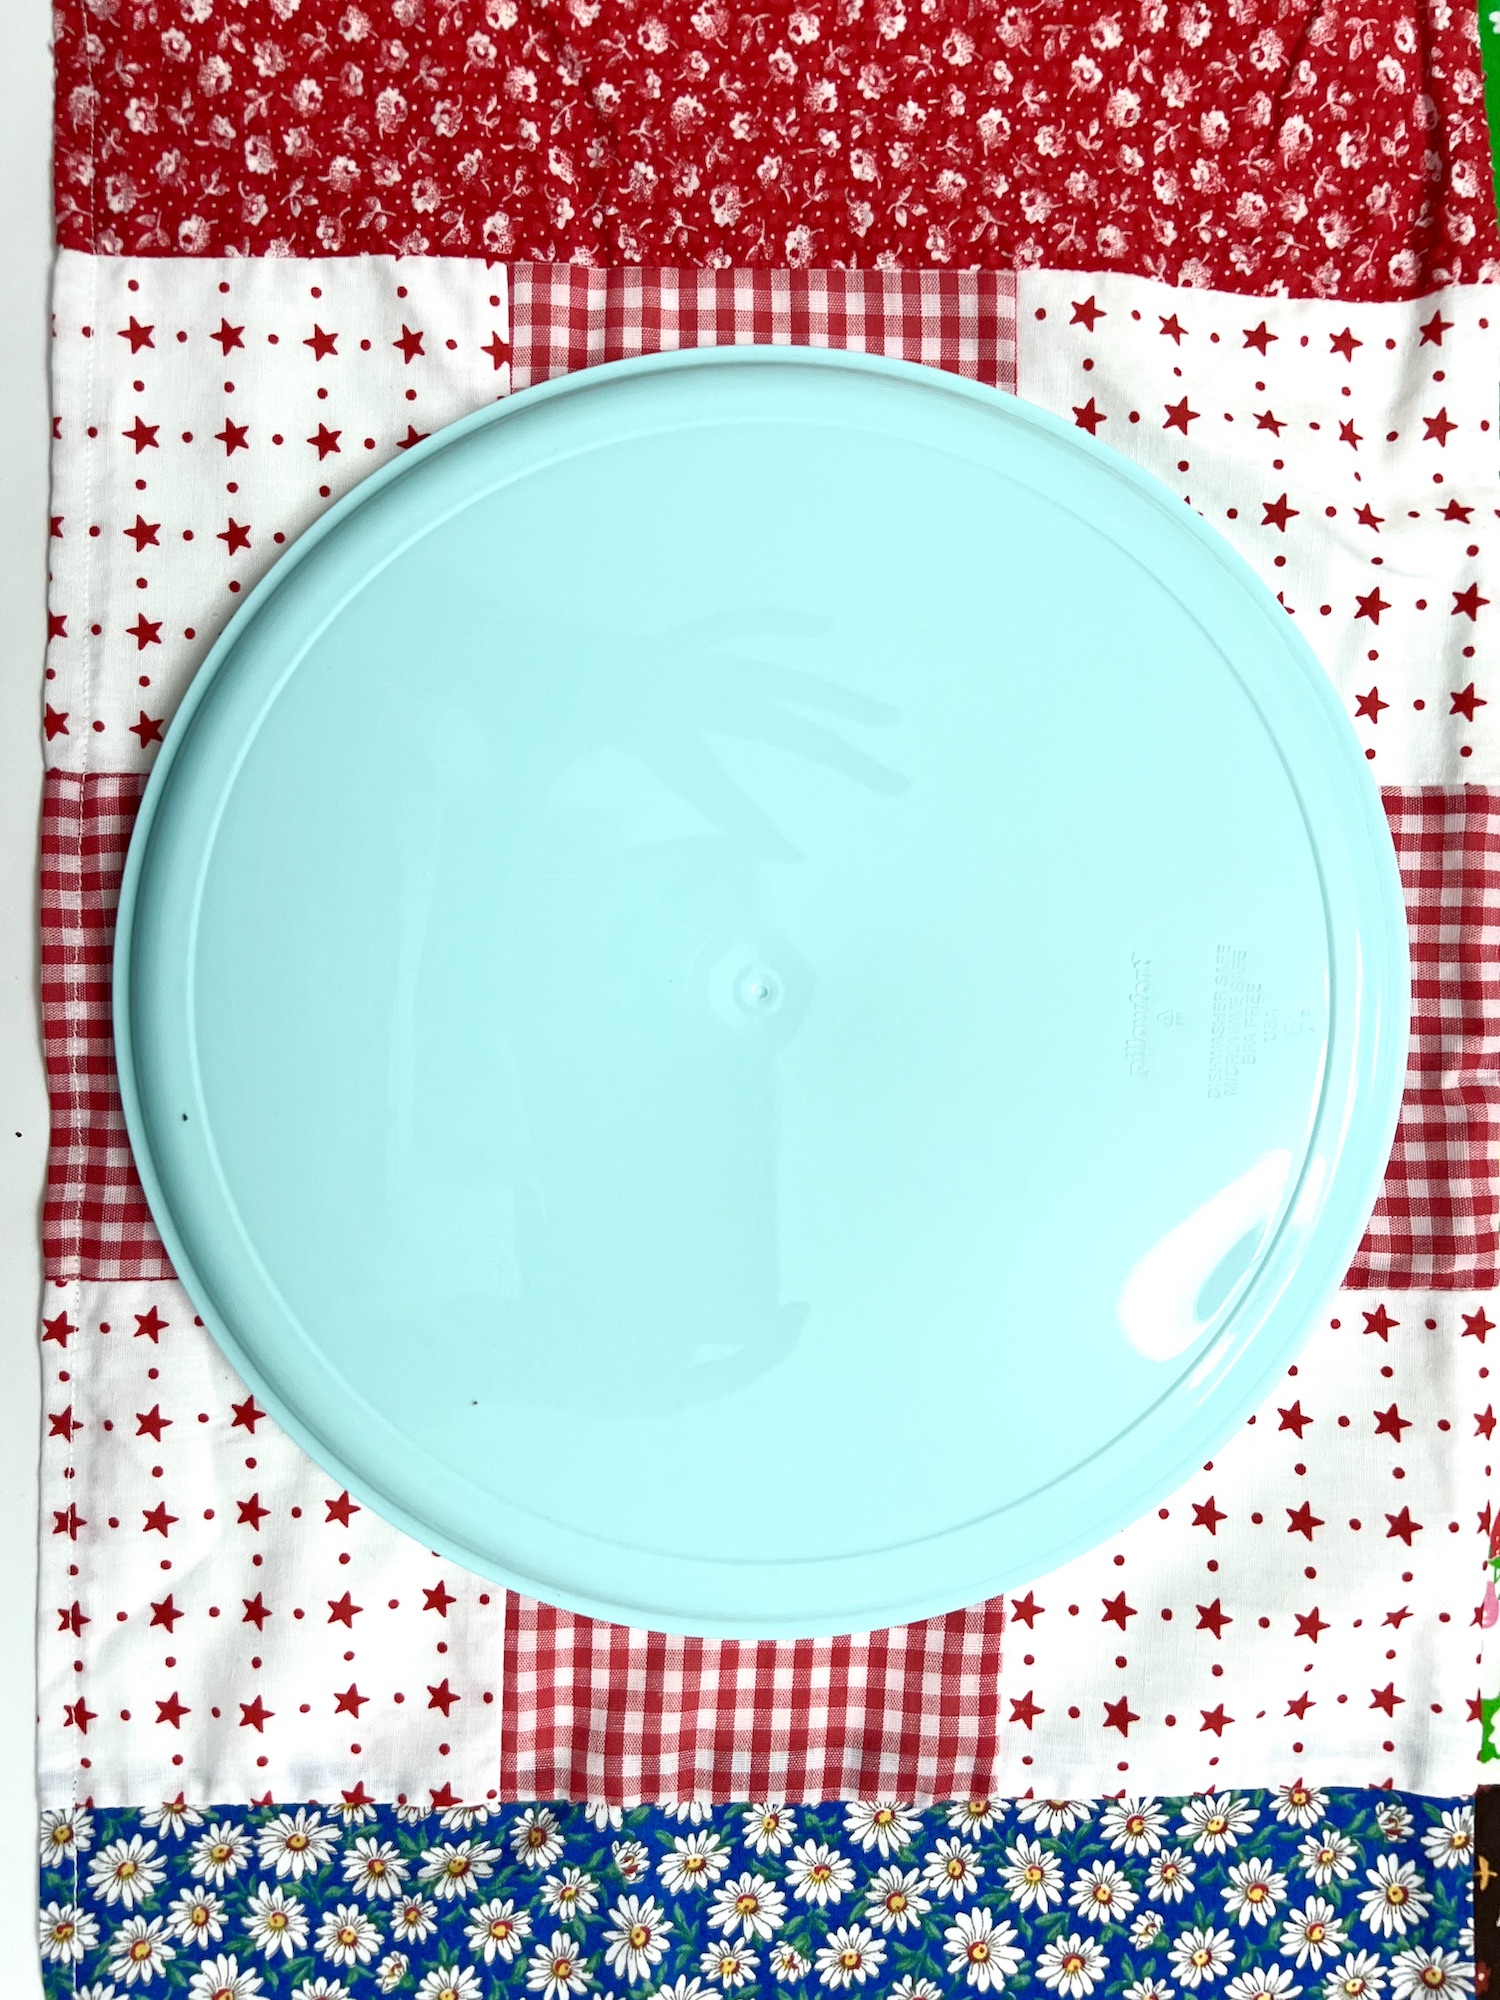
- Plate to Use as Template (I used a 9.5 inch / 24 cm plate)
- Fabric (variety of colors and patterns)
- Matching Thread
- Fusible Interfacing
- Extra Wide Bias Tape (I used one package of 3 yards / 9 feet)
- Scissors
Directions
Step 1
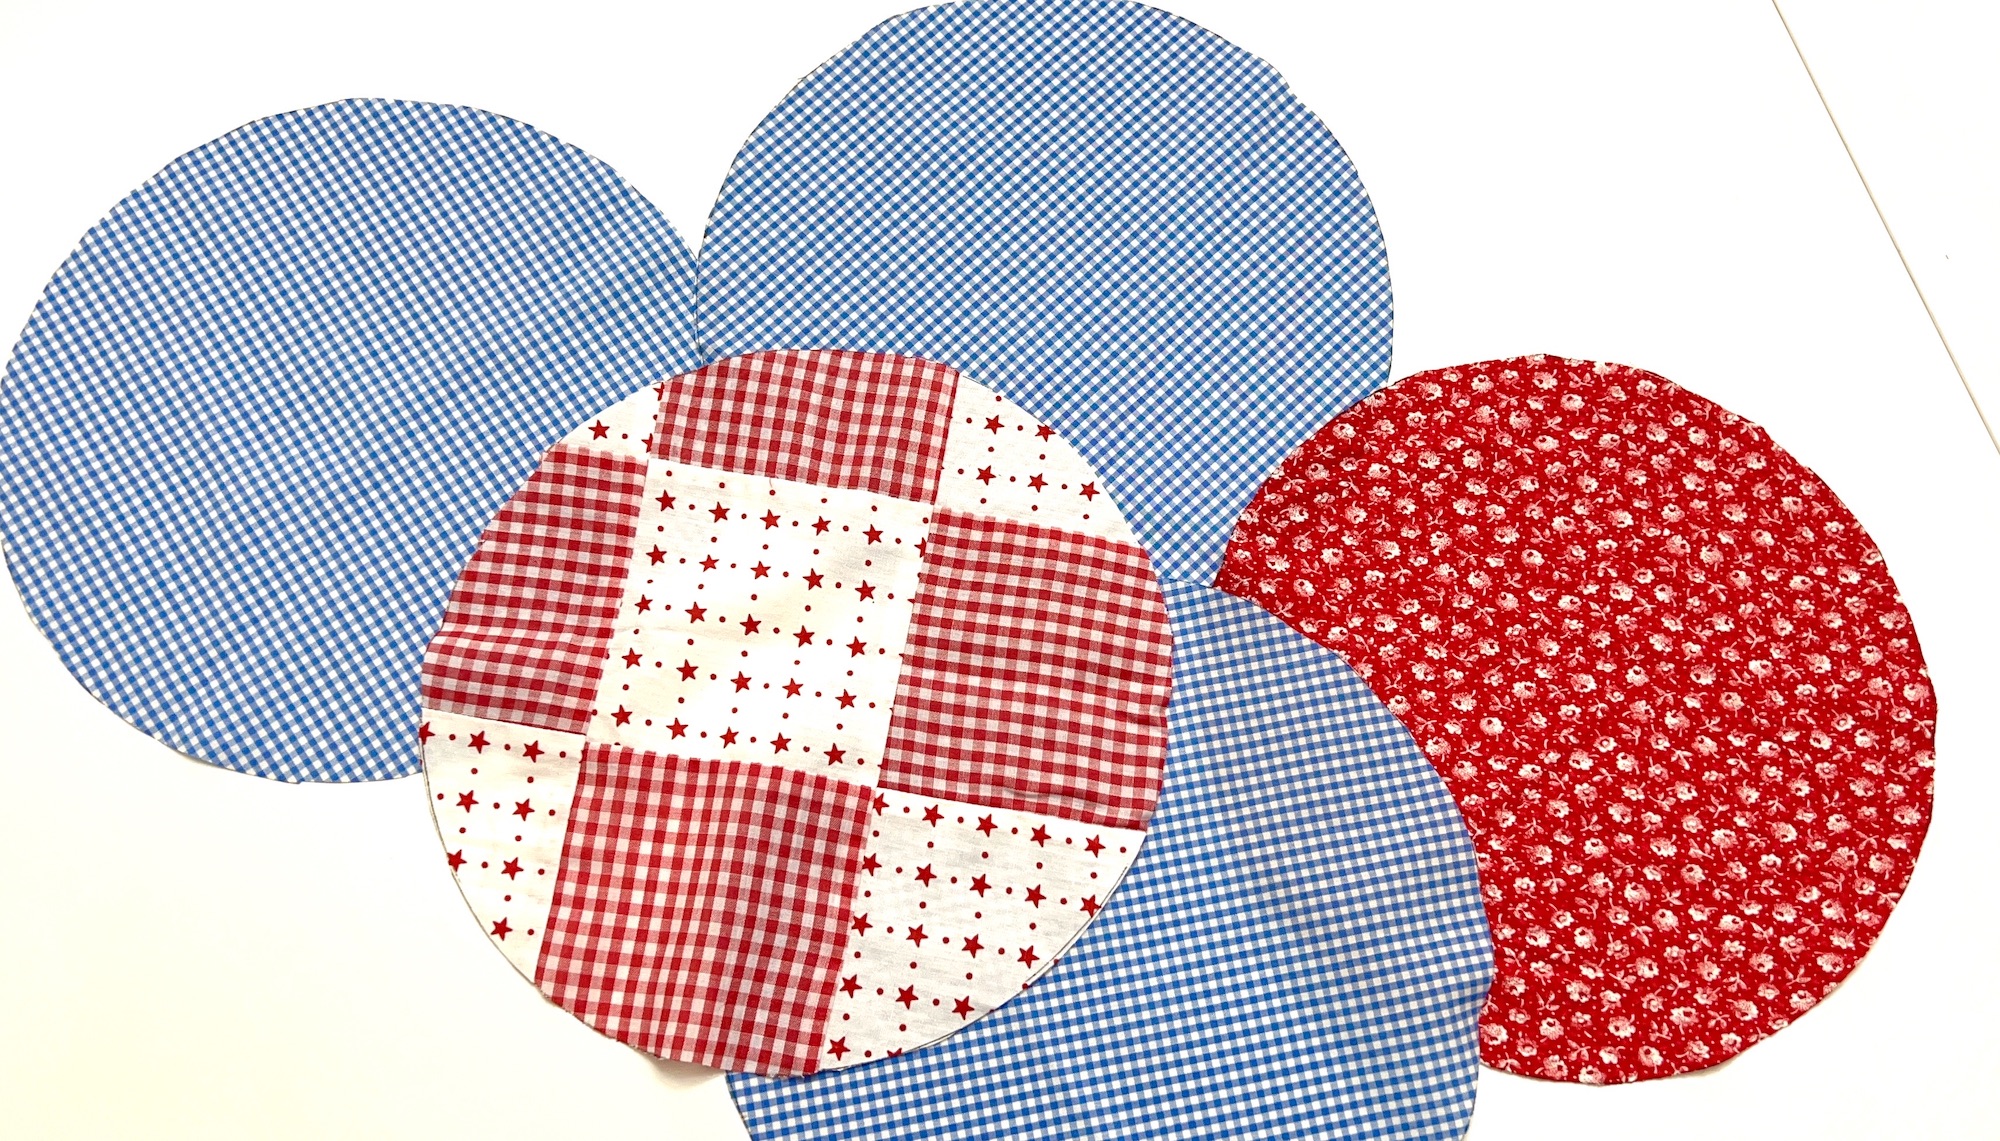
Using your plate as a template, trace circles on selected fabrics. Cut out with scissors.
Step 2
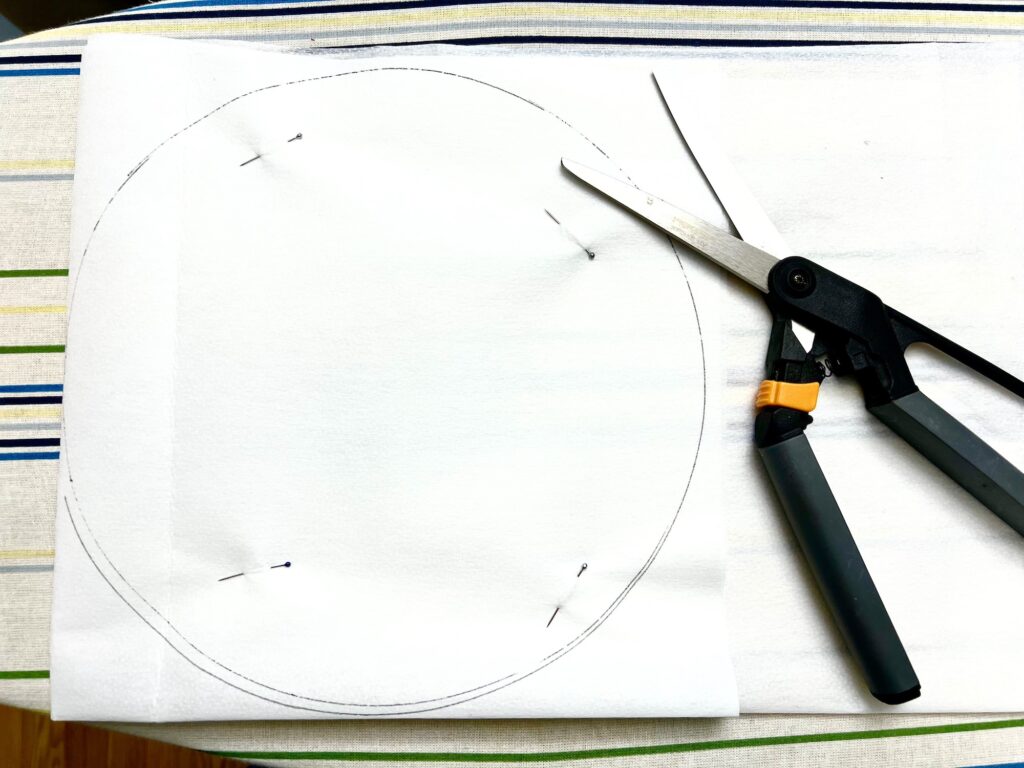
Using the plate again, cut out circles on the interfacing. Cut as many interfacing circles as you have fabric circles.
Helpful Tip: I folded the interfacing in half and then in half again and pinned it together. Then I traced my plate and was able to cut out four circles at the same time.
Now trim each interfacing circle to cut off about 1/4 inch from the edge. You can do this more easily by folding the circle in half and then half again. Then trim around the edge about 1/4 inch (doesn’t have to be perfect).
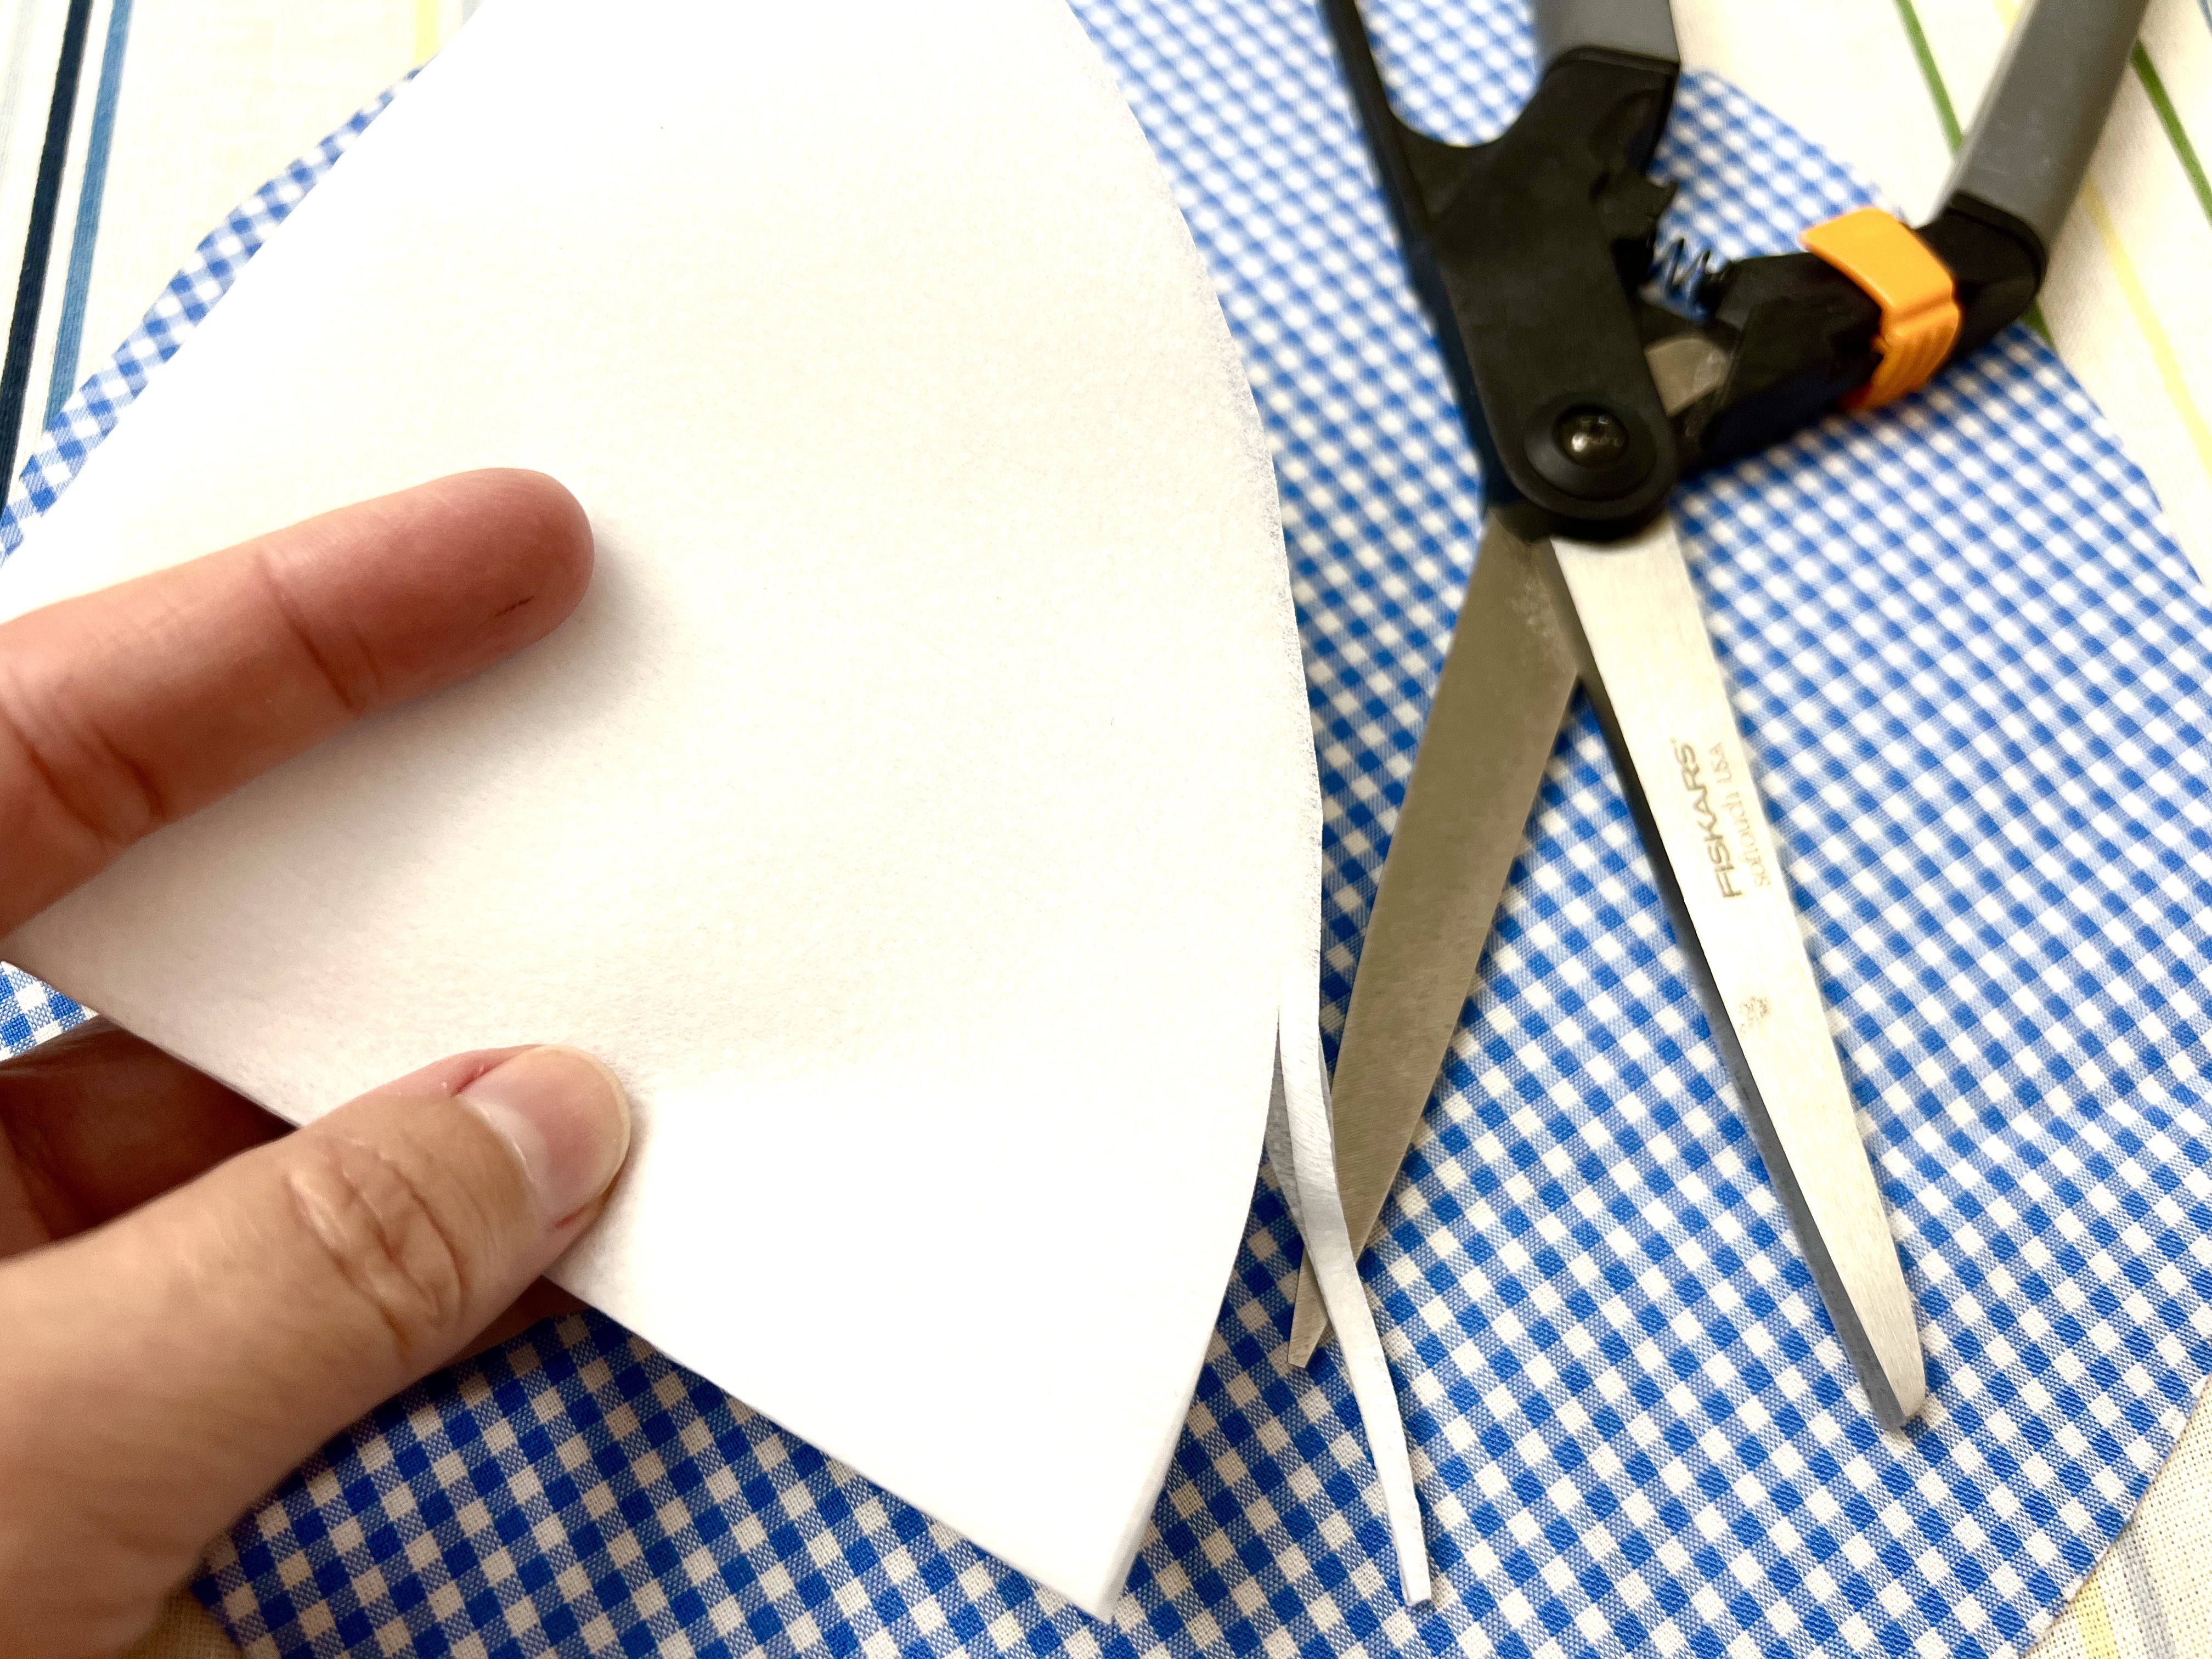
Note: You could make a template with a circle that is about 1/2 inch less in diameter compared to your plate. Then you wouldn’t need to trim the interfacing after cutting the circles.
Step 3
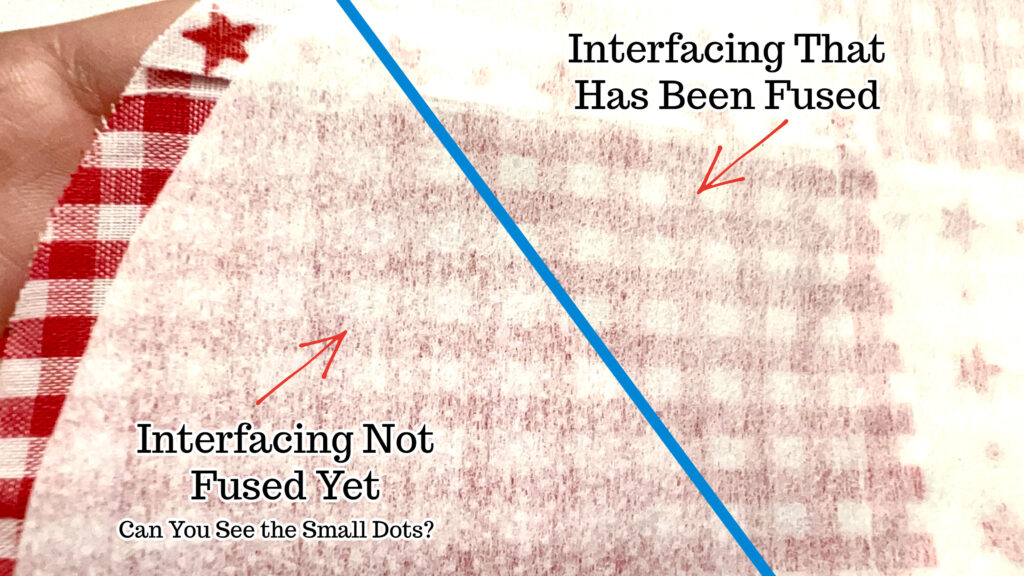
Center the interfacing in the middle of the fabric. Lay the fusible interfacing down with the fusible side (usually has small tiny dots that are slightly textured) down on the fabric.
Fuse one interfacing circle to the wrong side (back side) of each of the fabric circles.
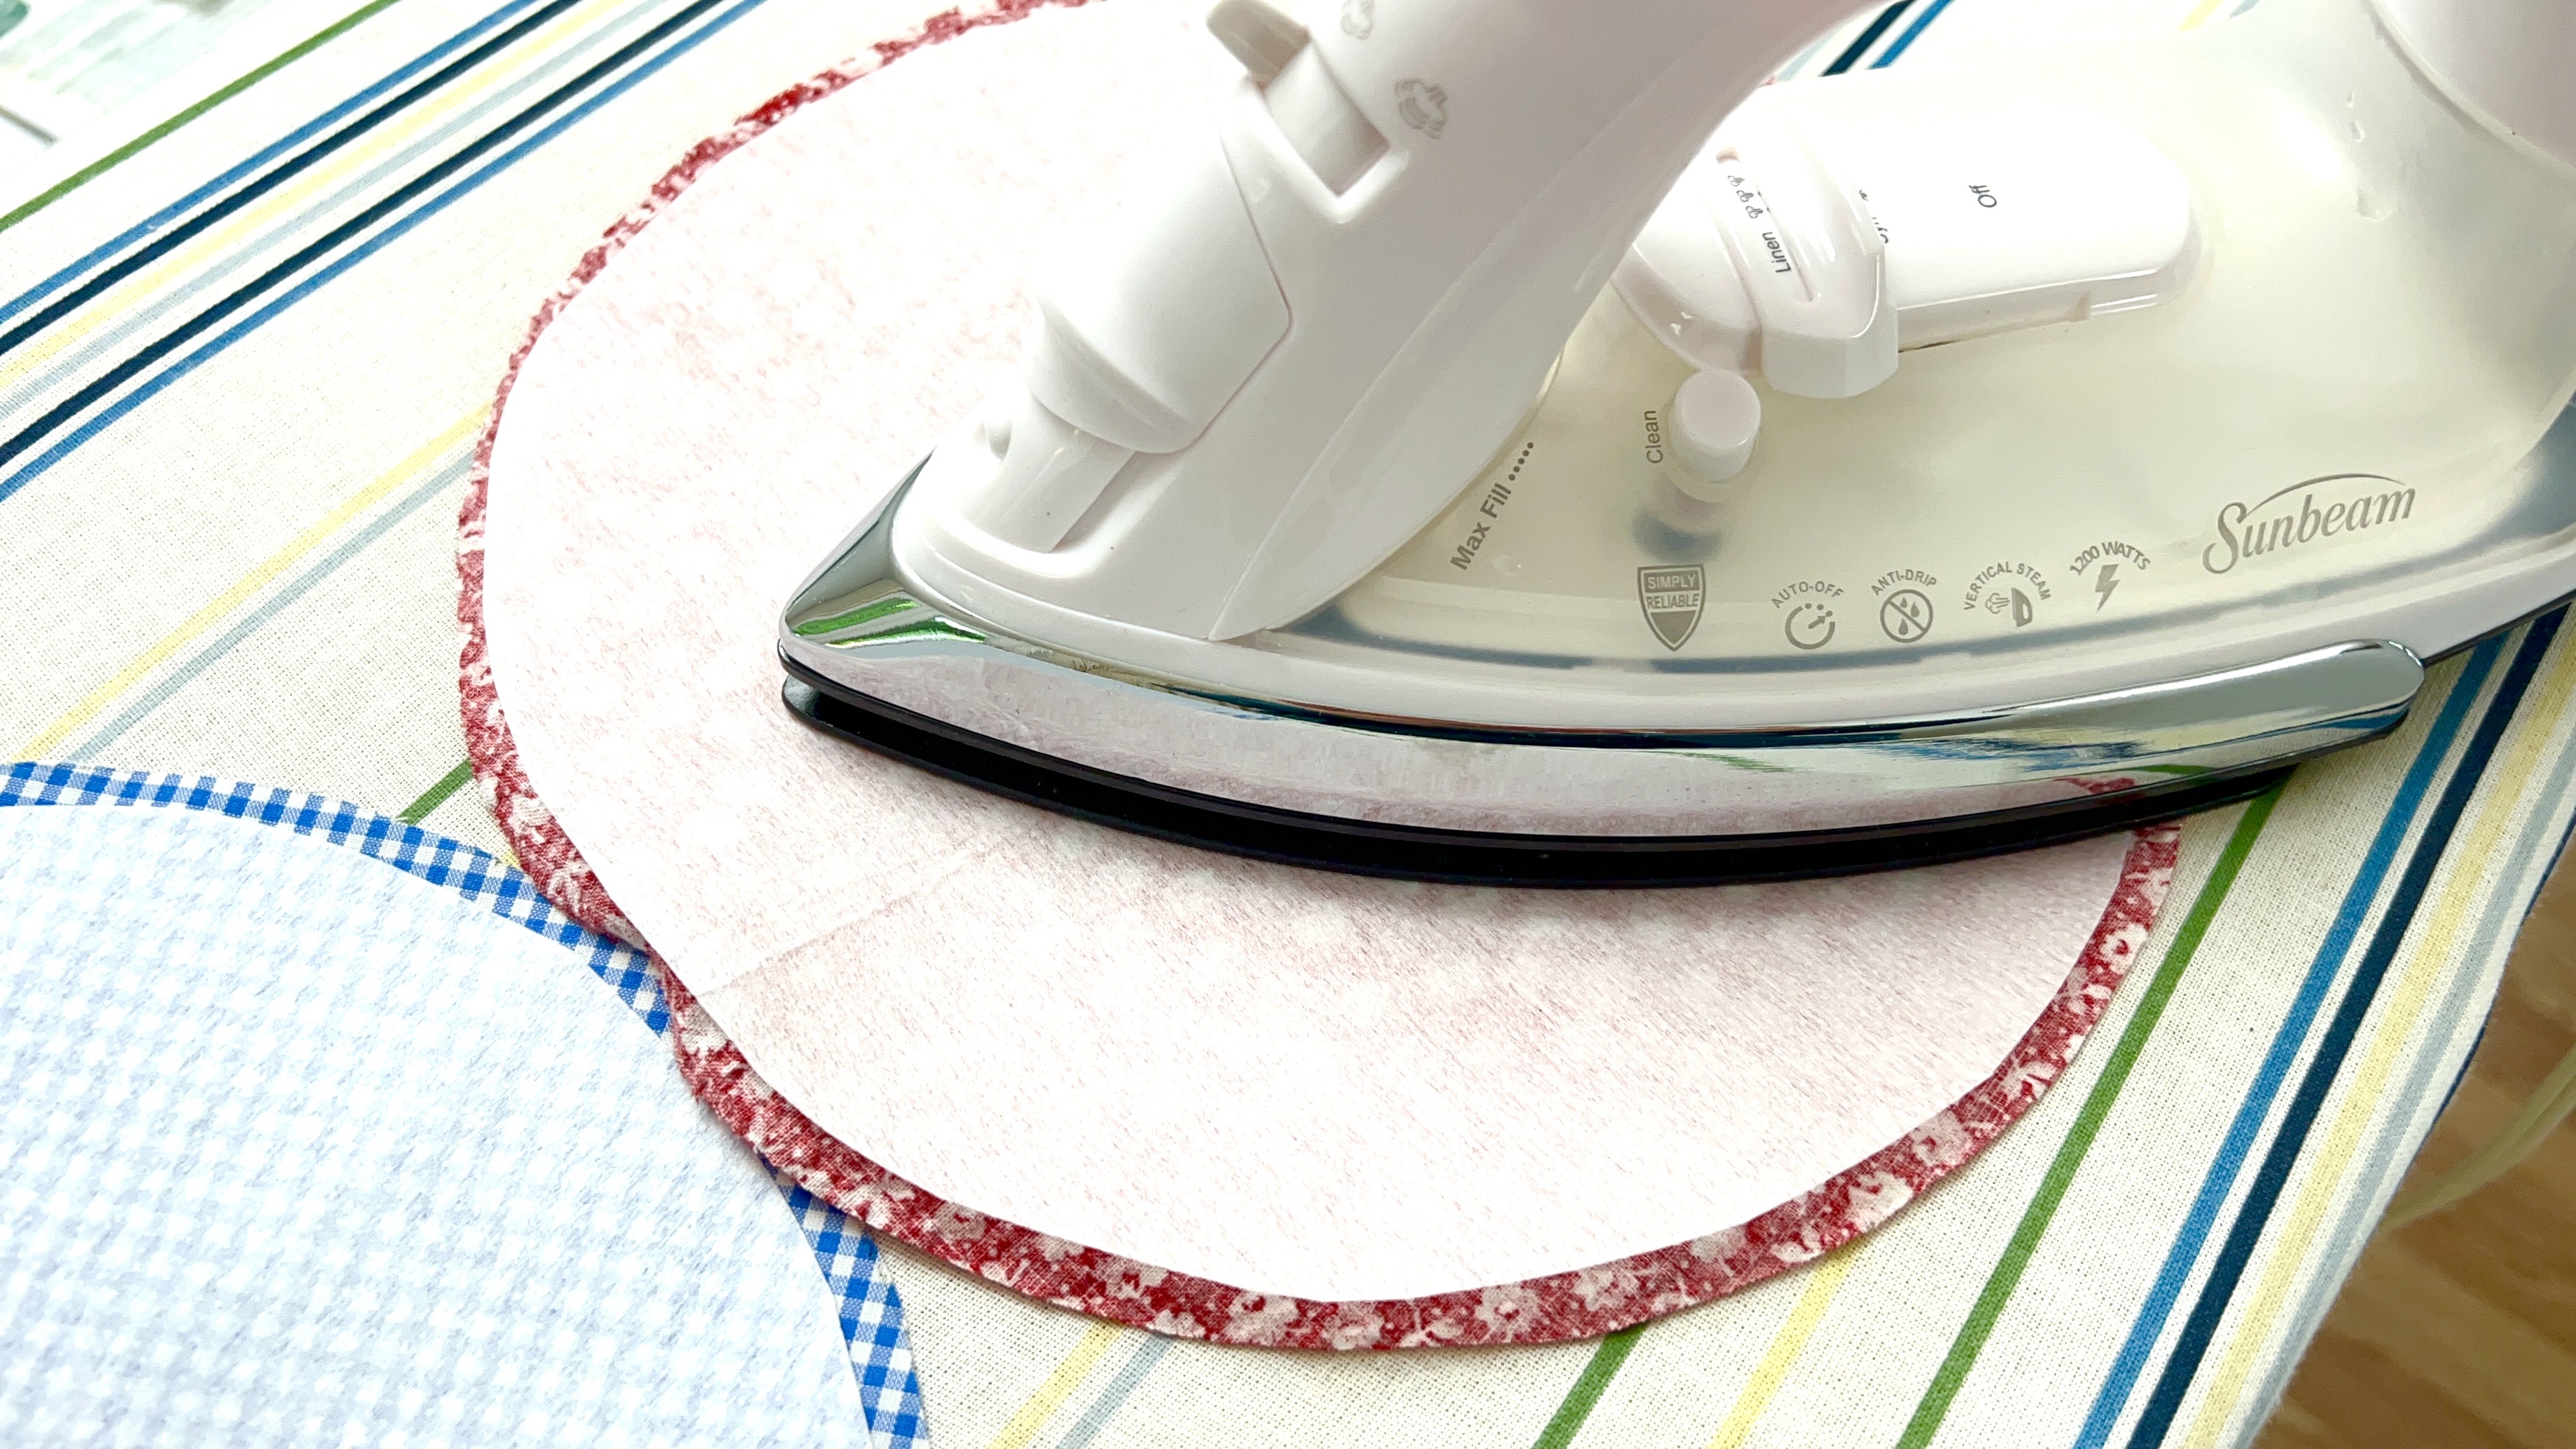
For best results, press the iron down for about 10 seconds on the interfacing and then lift up and press another section in the same way rather than moving the iron across the fabric.
(I moved my iron in a sliding method a few times and my fabric puckered on my interfacing in the areas where I didn’t pick up the iron and place it in a different position.)
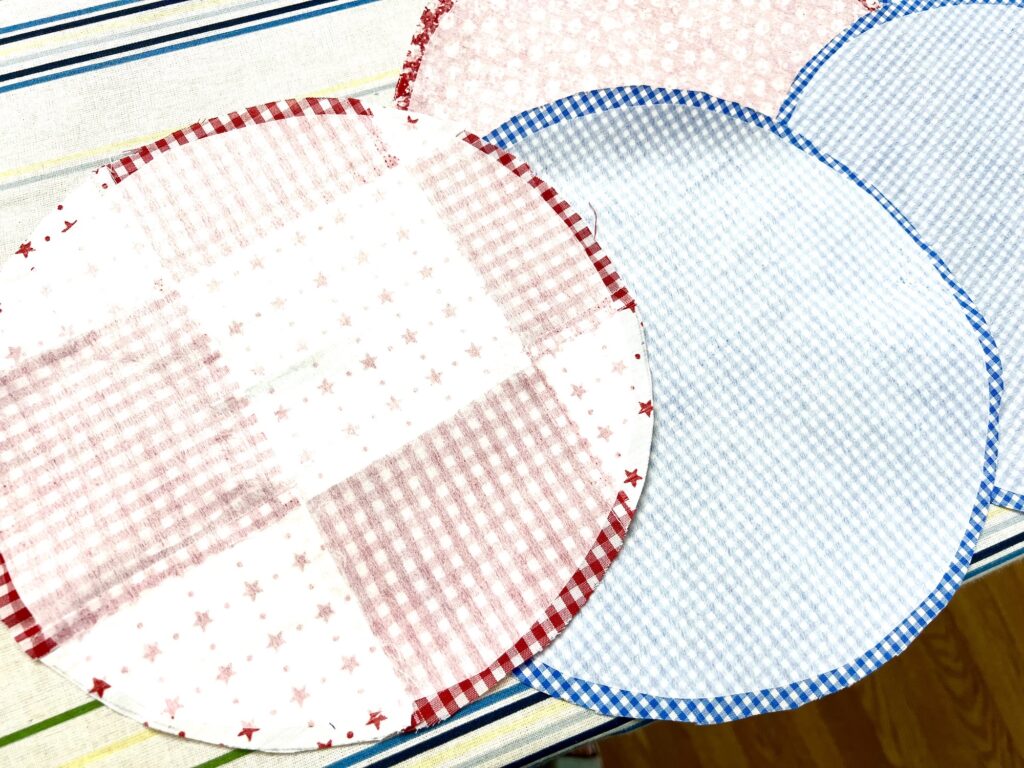
Allow the fabric to cool, then check to make sure that you’re interfacing attached to the fabric. Fusible interfacing will have polka dots on it until the interfacing is fused, then it turns a solid color, as seen in the photo below.
Step 4
Cut each circle in half.
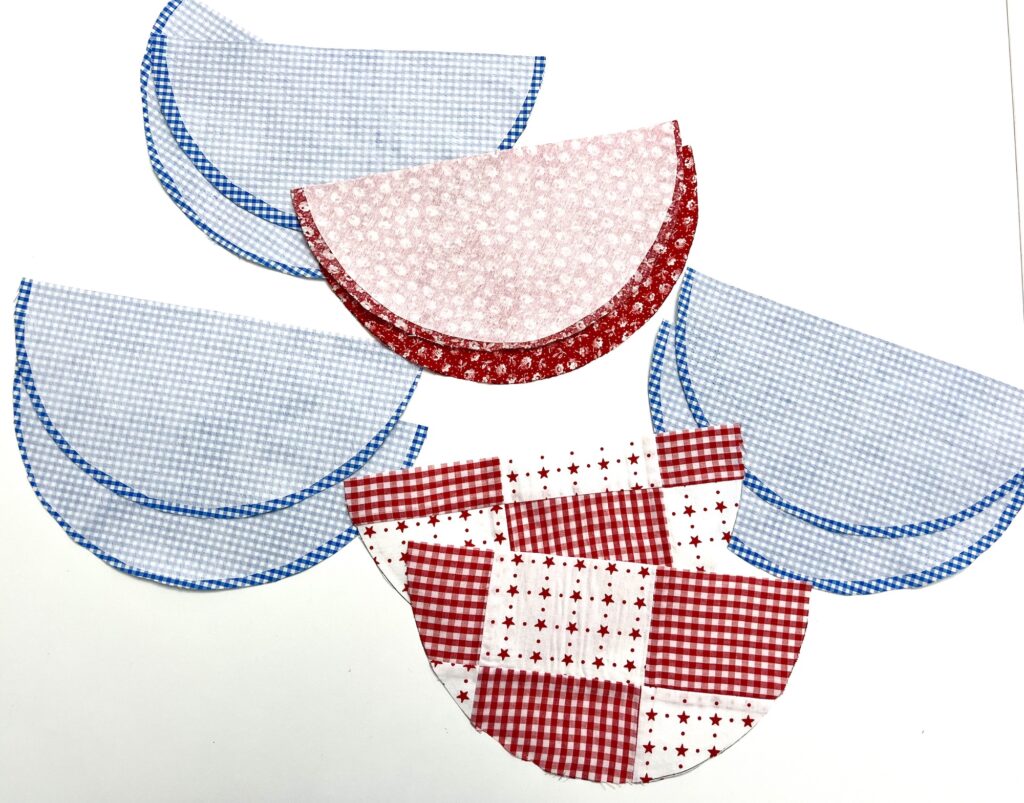
Helpful Tip If you are using a print with an up and down directional pattern, make sure that you cut the fabric so that the print is facing the correct way. You want the pattern to displayed correctly when the long flat end of the half circle is on the top.
Place each of the two half circles on top of each other with right sides facing together. Do this for each fabric circle that you cut.
Step 5
Sew along the outer curved edge of the half circle, being sure to back stitch at the beginning and end of your stitching. Use a 1/4 inch seam allowance.
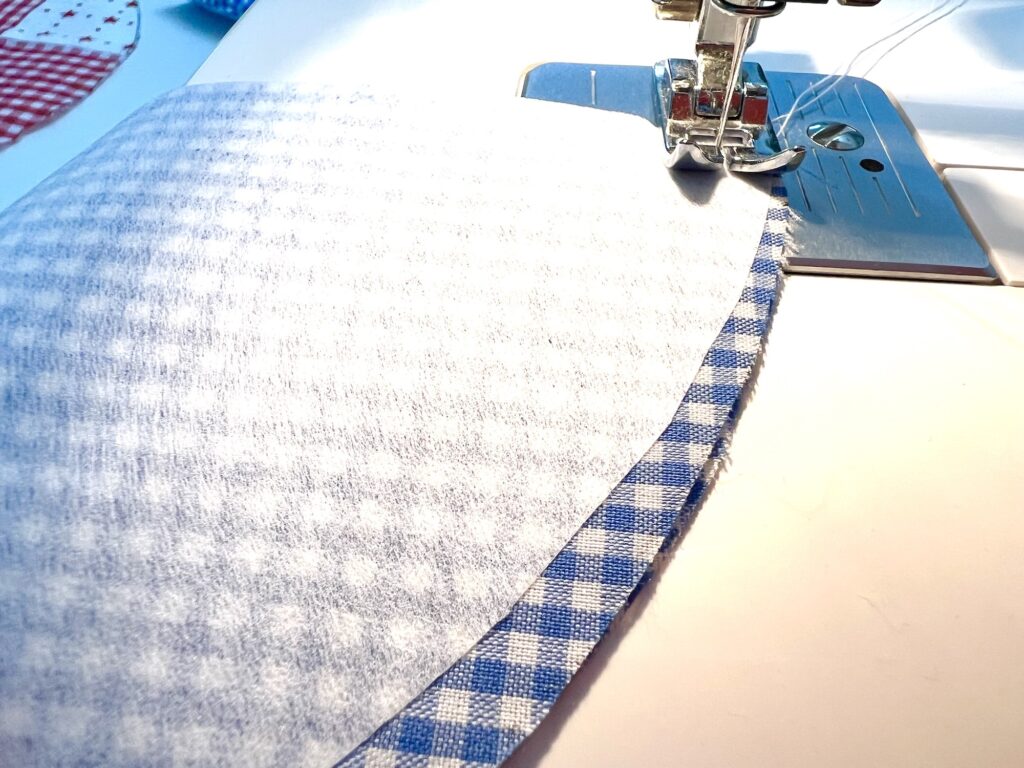
It is okay if you sew over the interfacing and it is okay if you are not sewing over the interfacing. It won’t matter that much.
Repeat for each circle.
Trim the seams to be close to the stitching, about 1/8 inch. You will trim off the excess so that the bulky seams don’t need to be notched, as is often the case when making circles.
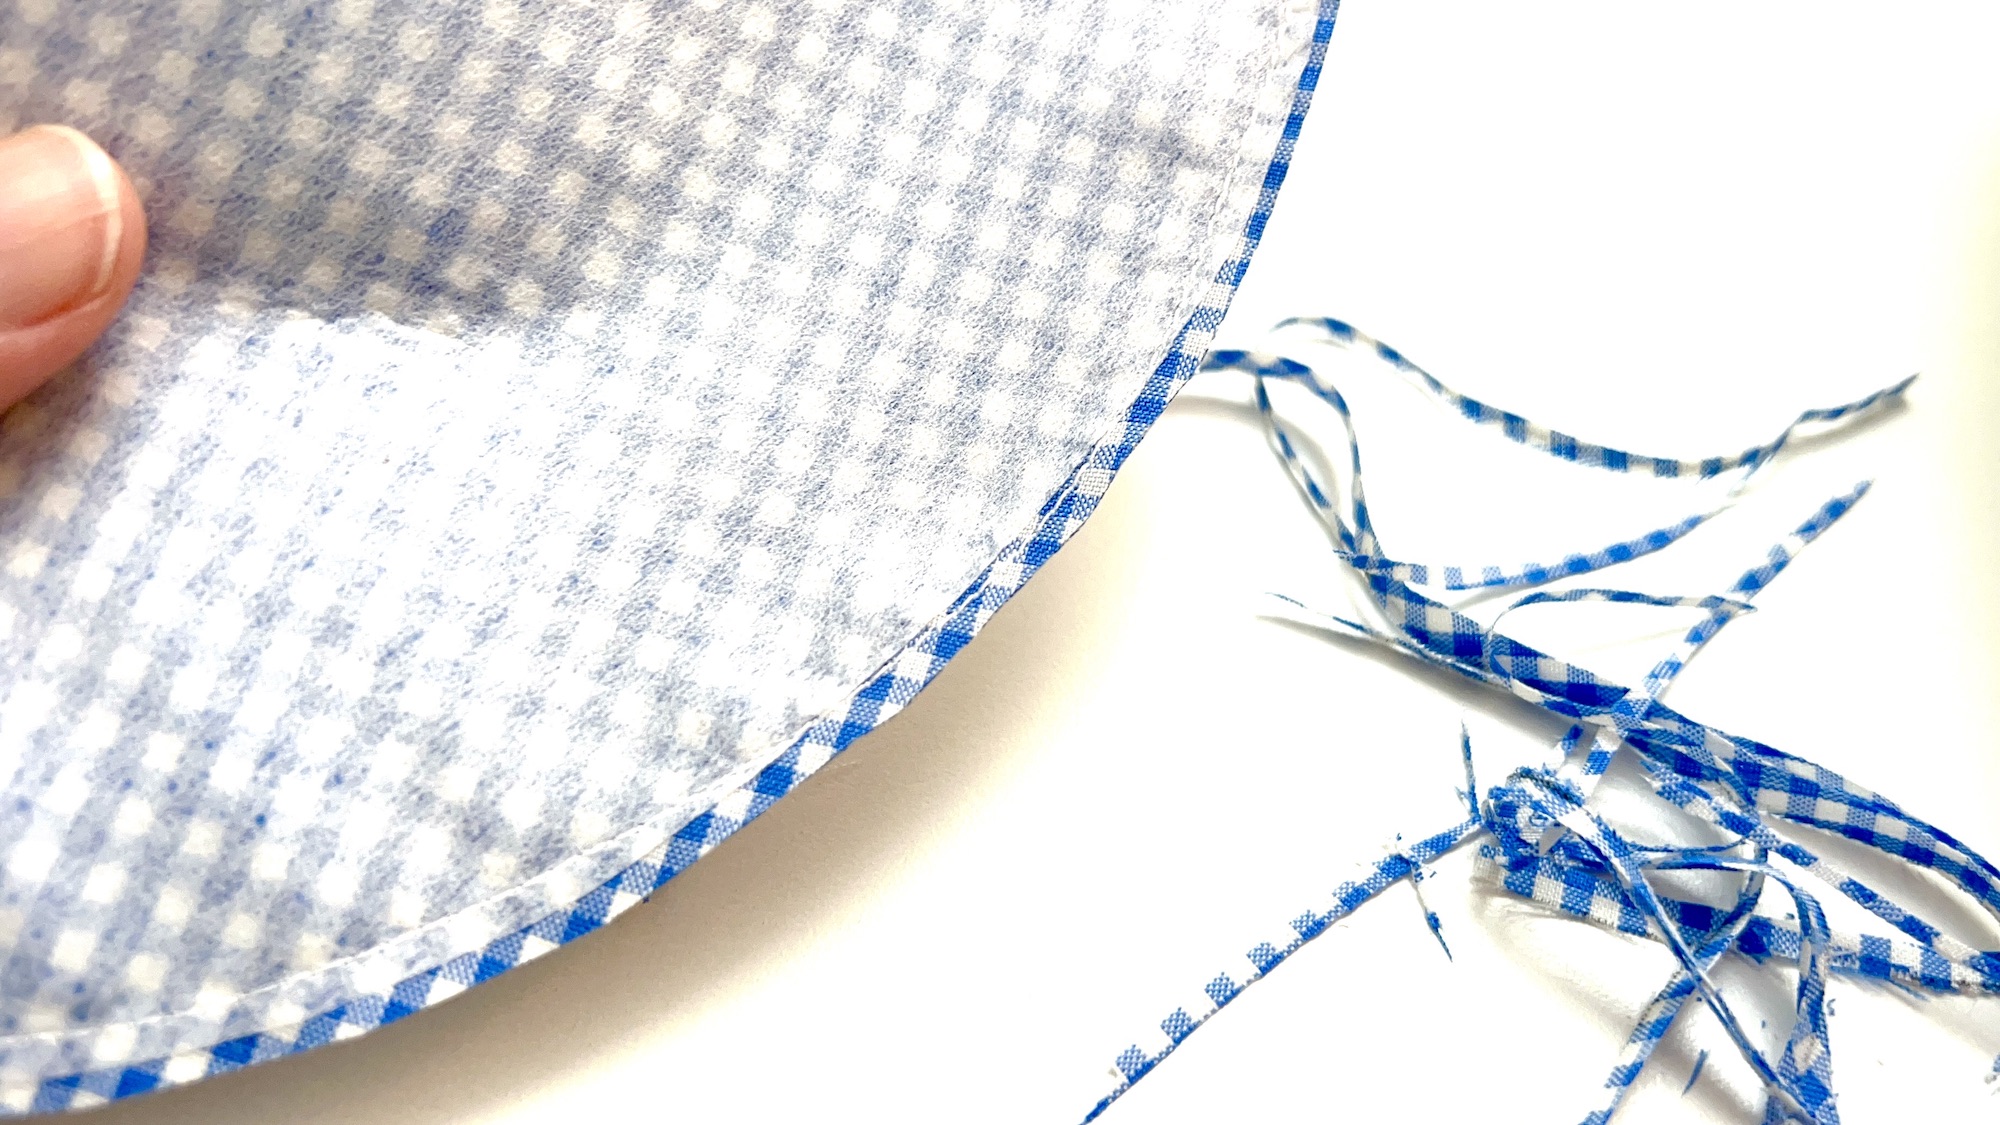
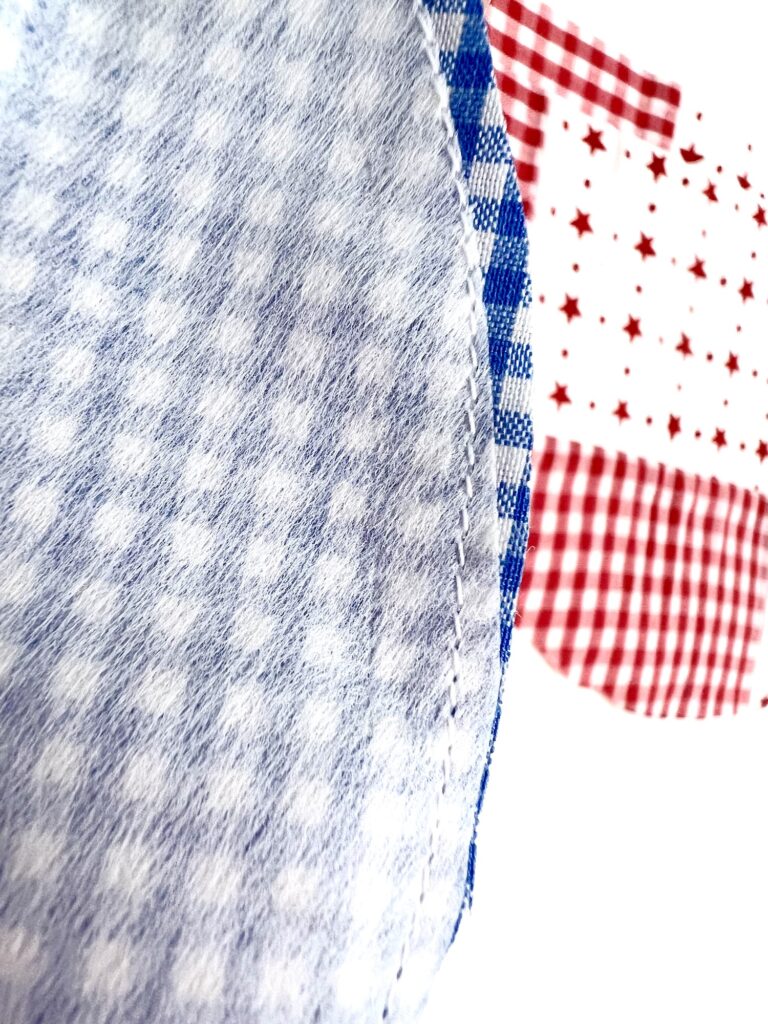
Step 6
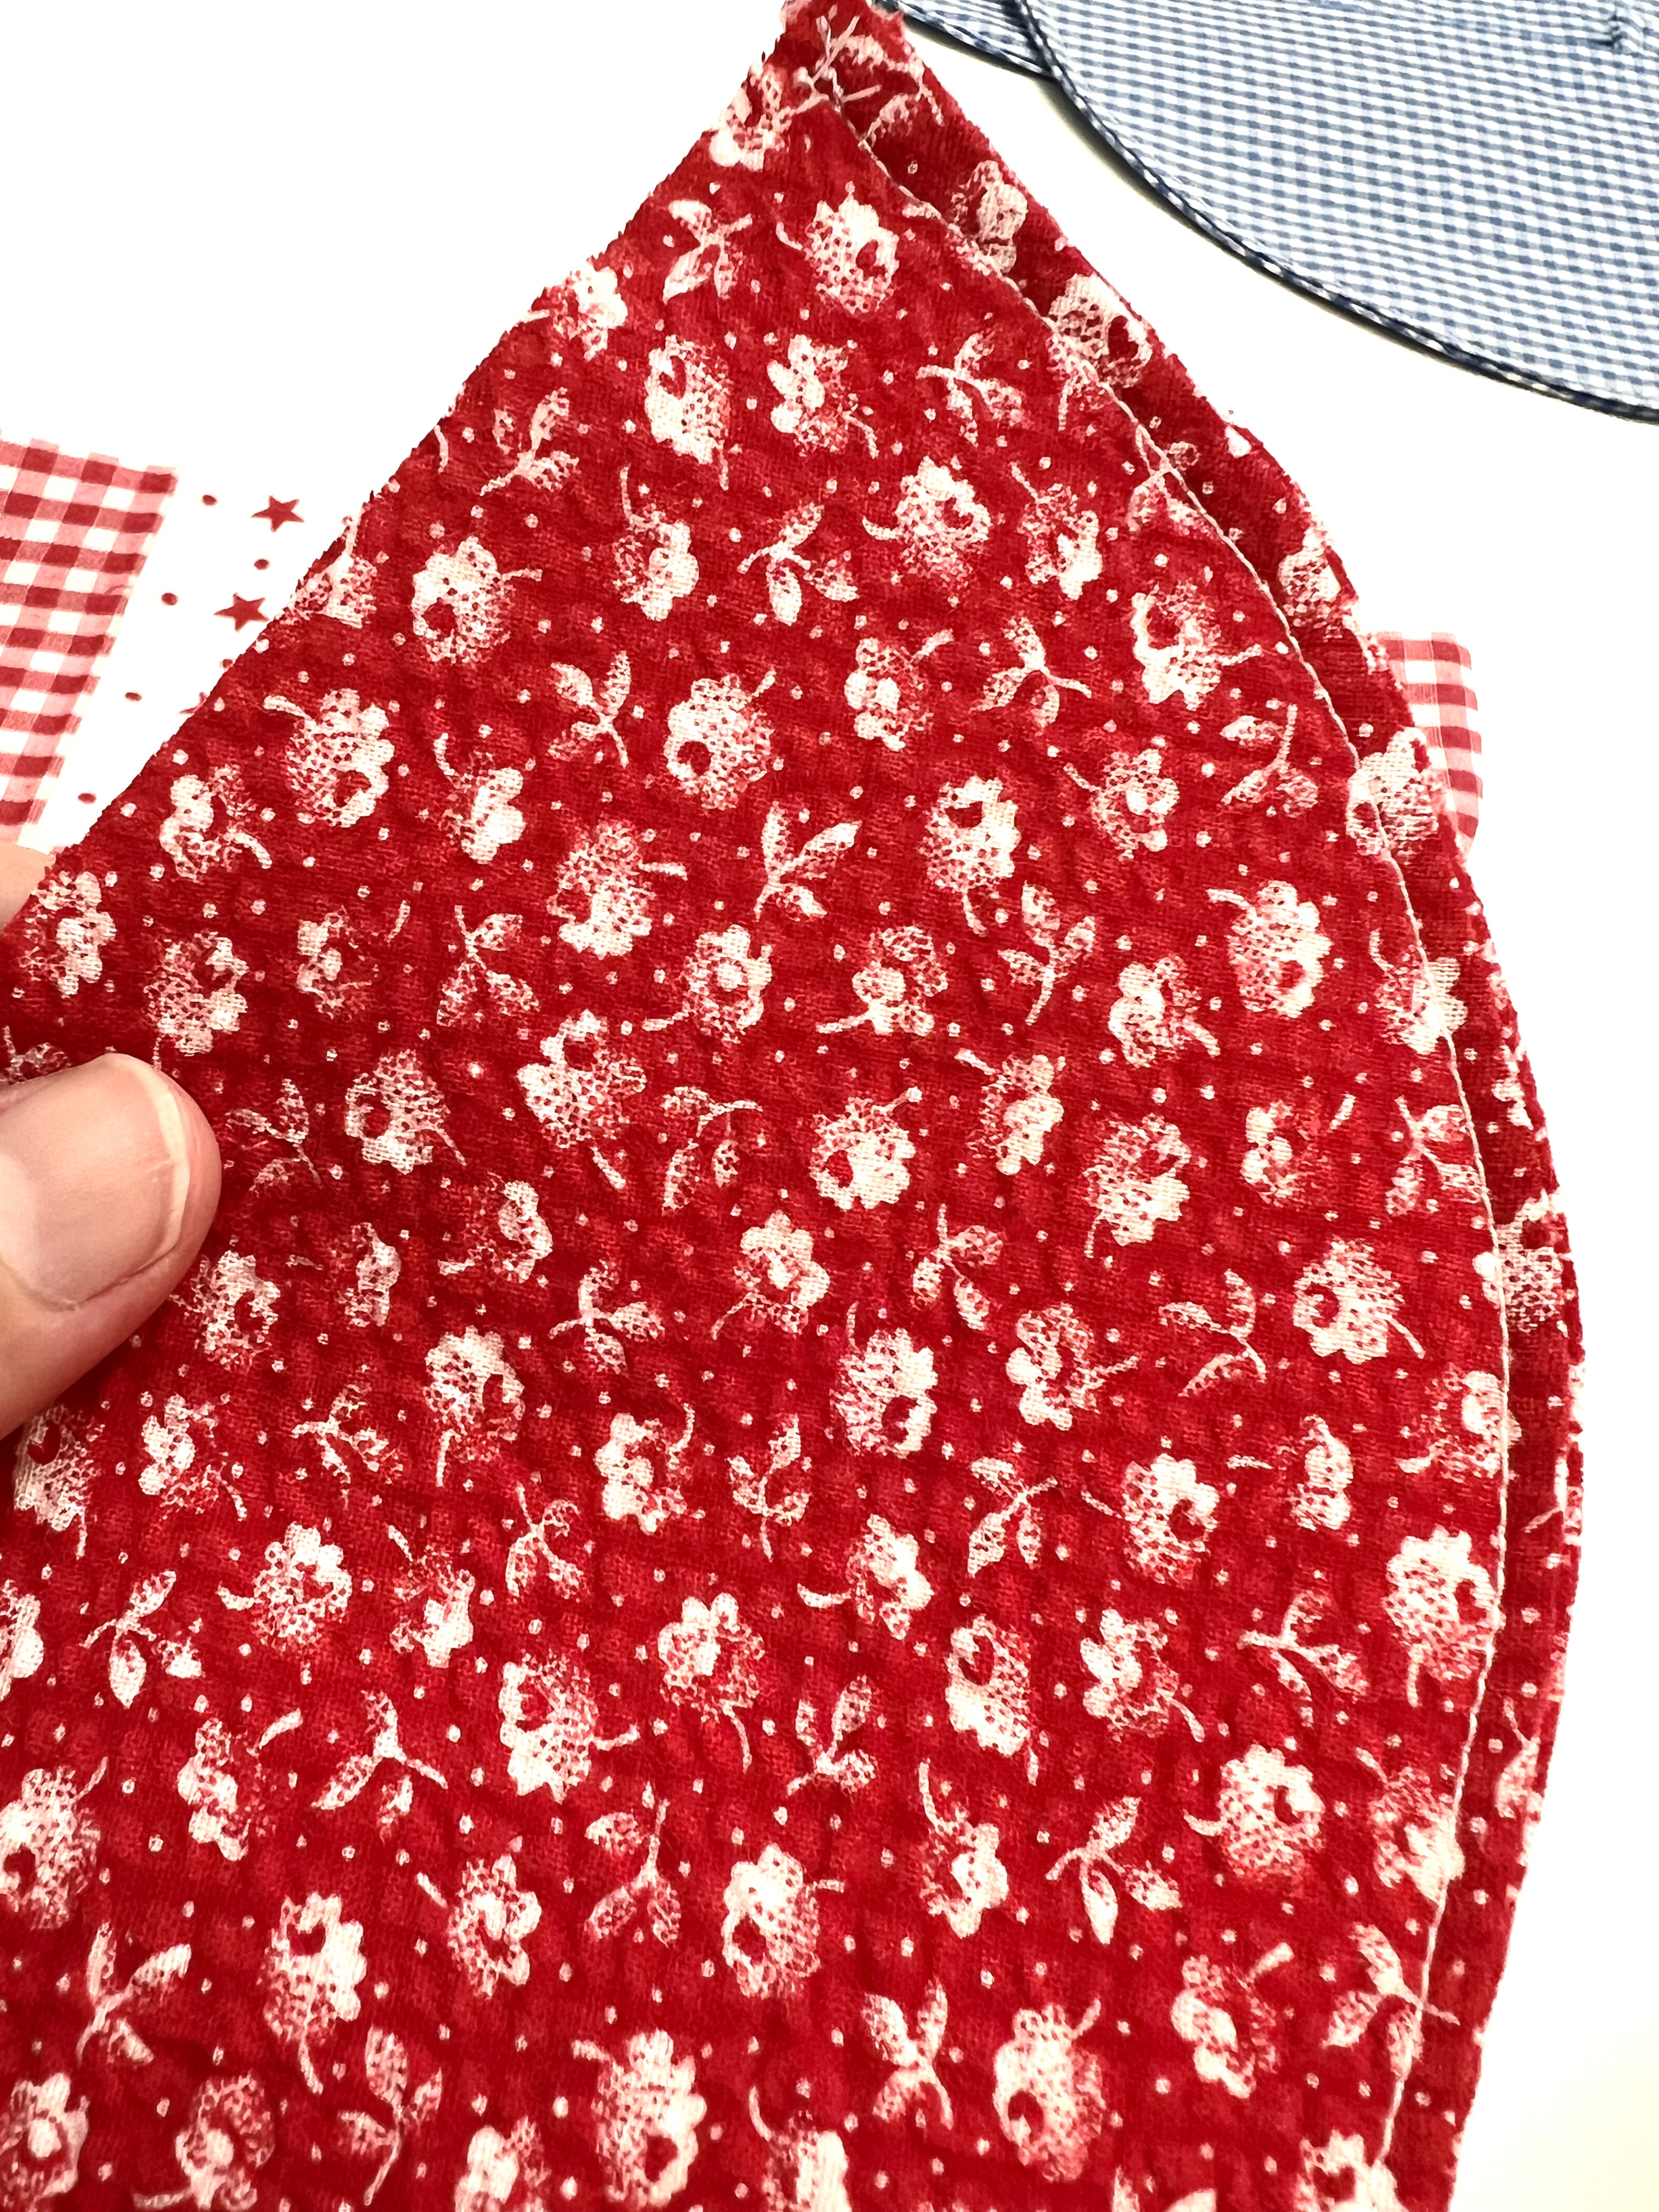
Turn each circle inside out. Be sure to press out the seams with your fingers or a turning tool.
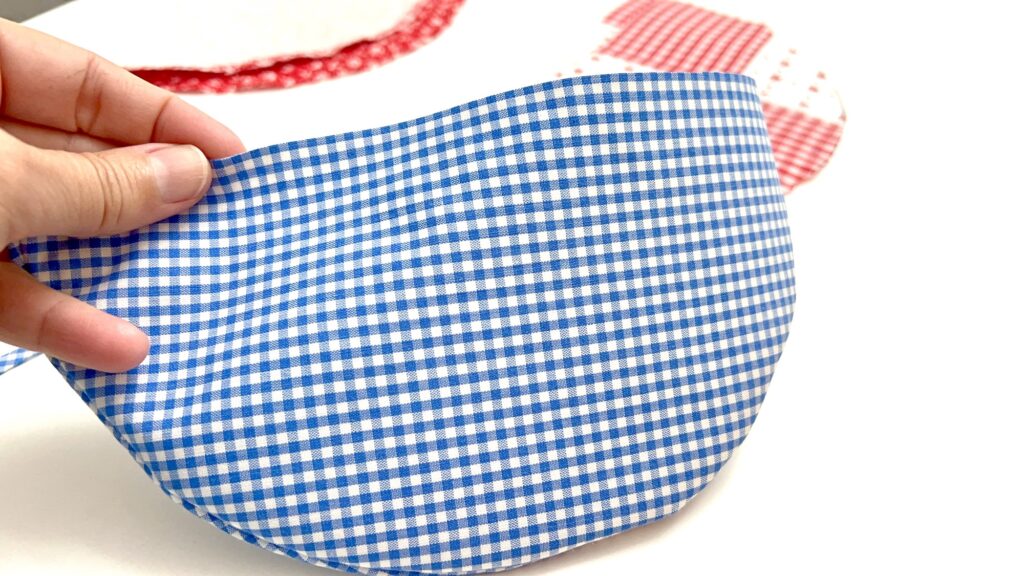
Press the half circle flat with a hot iron.
Topstitch along the outer curved edge of each half circle. Stitch close to the edge, about 1/8 inch seam allowance.

Step 7
Remove bias tape from the packaging and iron out the folds.
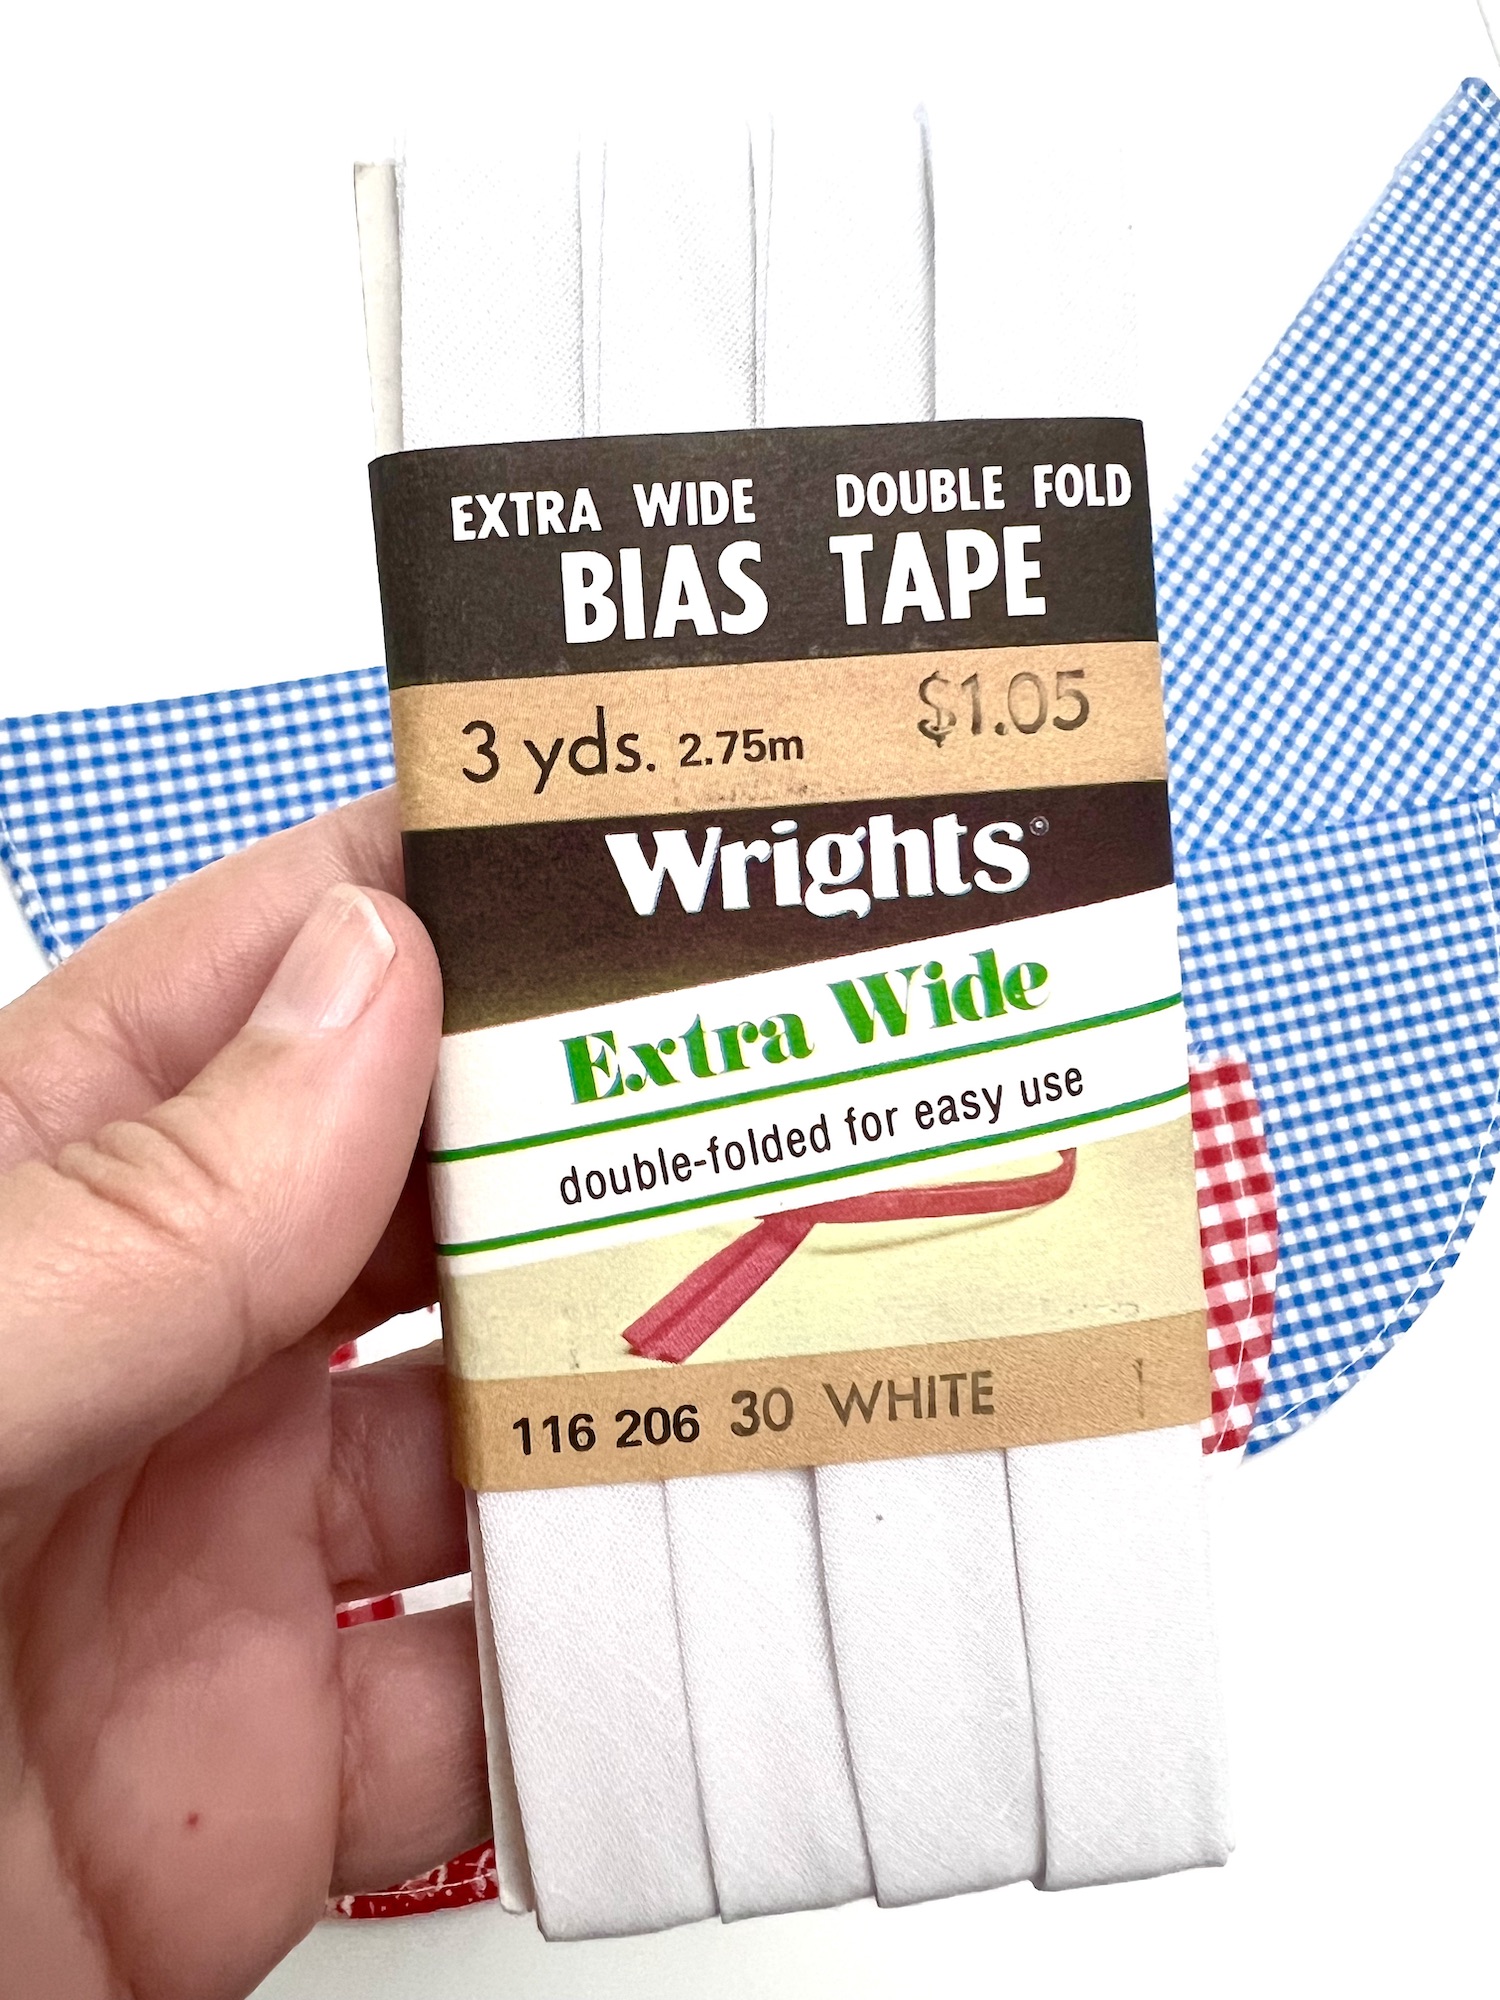
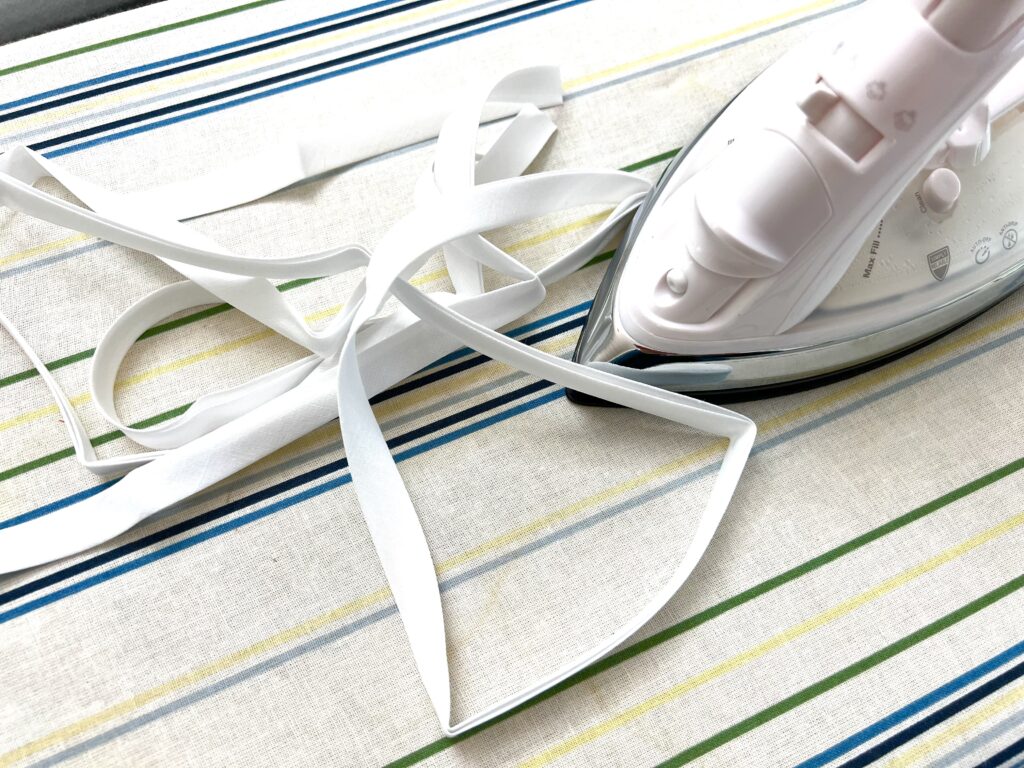
Fold bias tape in half and pin the halfway point. Then lay the entire strip of bias tape flat on a flat surface.
Position the fabric half circles along the length of bias tape in the pattern and spacing that you like.
When using an odd number of half circles, decide which half circle you would like in the middle of the bunting. Then fold in half and mark that point with a pin. Match up the pins on the bias tape and the half circle so that your first bunting is centered on the tape.
If using an even number of half circles, decide which two circles you want in the middle of the bunting. Then position those on either side of the halfway point on the bunting tape that you marked with a pin.
We used a 2 inch gap (5 cm) between half circles on our bunting.
Step 8
Once you have decided the placement of the half circles, it is time to insert them into the bias tape.
Lift up the top layer of bias tape, slide the long straight edge of the half circle into the tape, then lay the top layer onto the circle. Pin together.
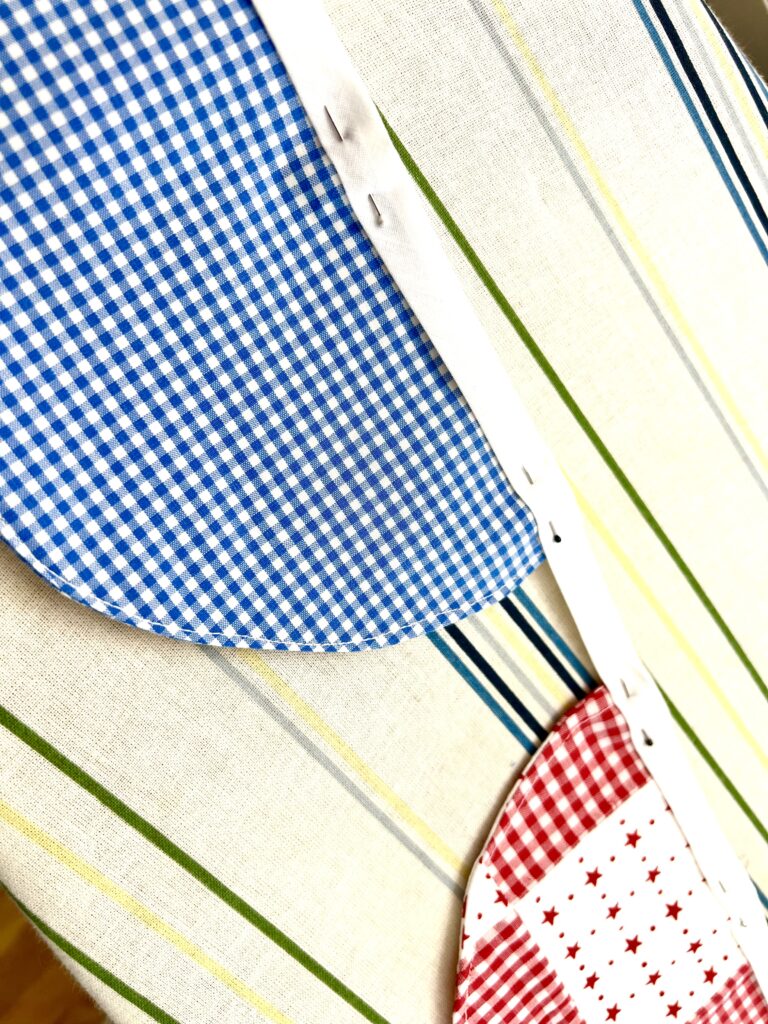
Bias tape has a double fold on most of the tape, but where it is folded in half tends to be a single layer of fabric.
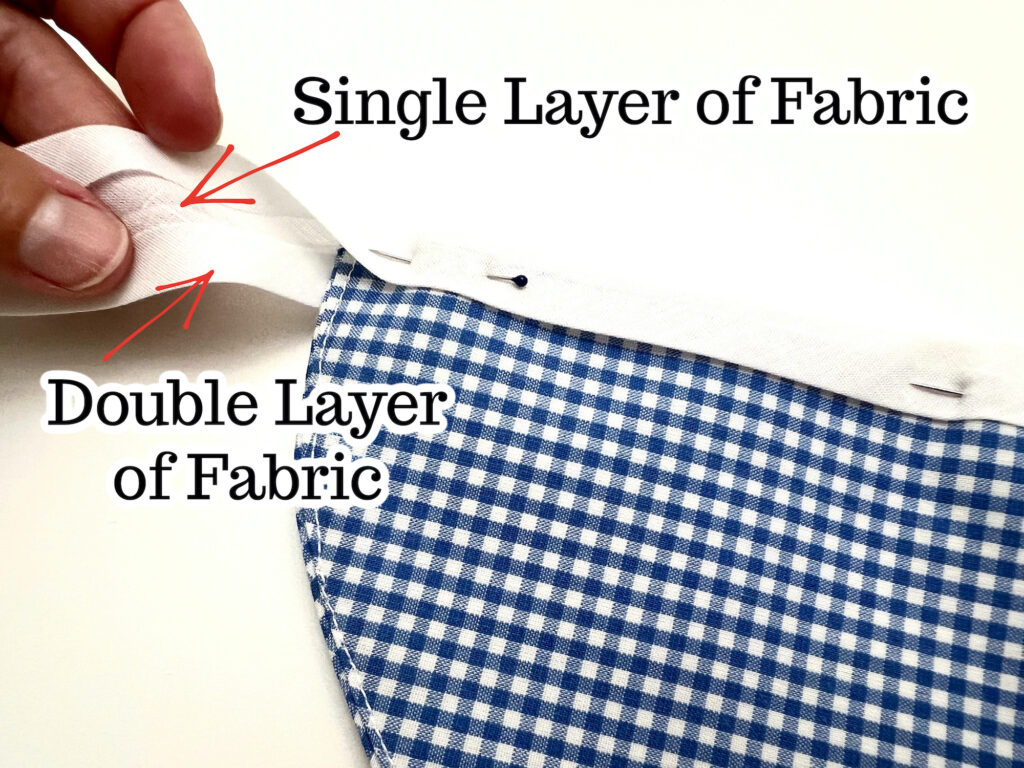
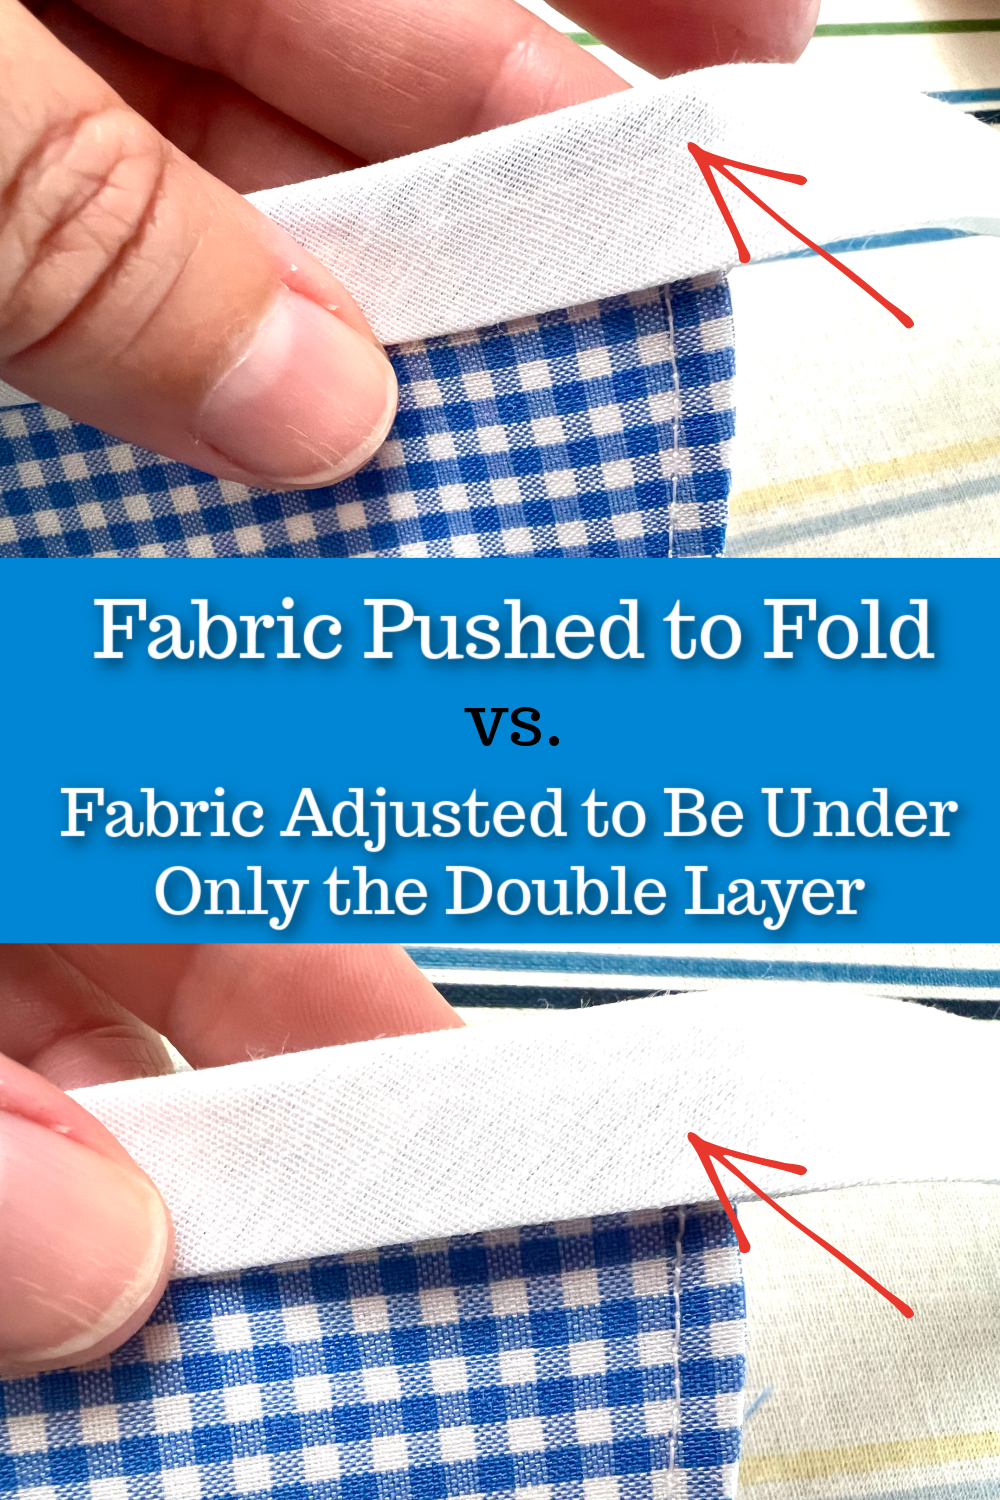
If you are using dark fabrics and a light color bias tape, your fabric will show through the small section of single layer fabric. So slide the edge of the half circle down until the edge lines up with the double layer, rather than pushing the edge of the half circle up to the fold.
Step 9
Sew along the open edges of the bias tape, starting at the end of the tape and sewing the edges together. You will start with just sewing the bias tape together, then you will be attaching the half circles onto the tape as you continue sewing.
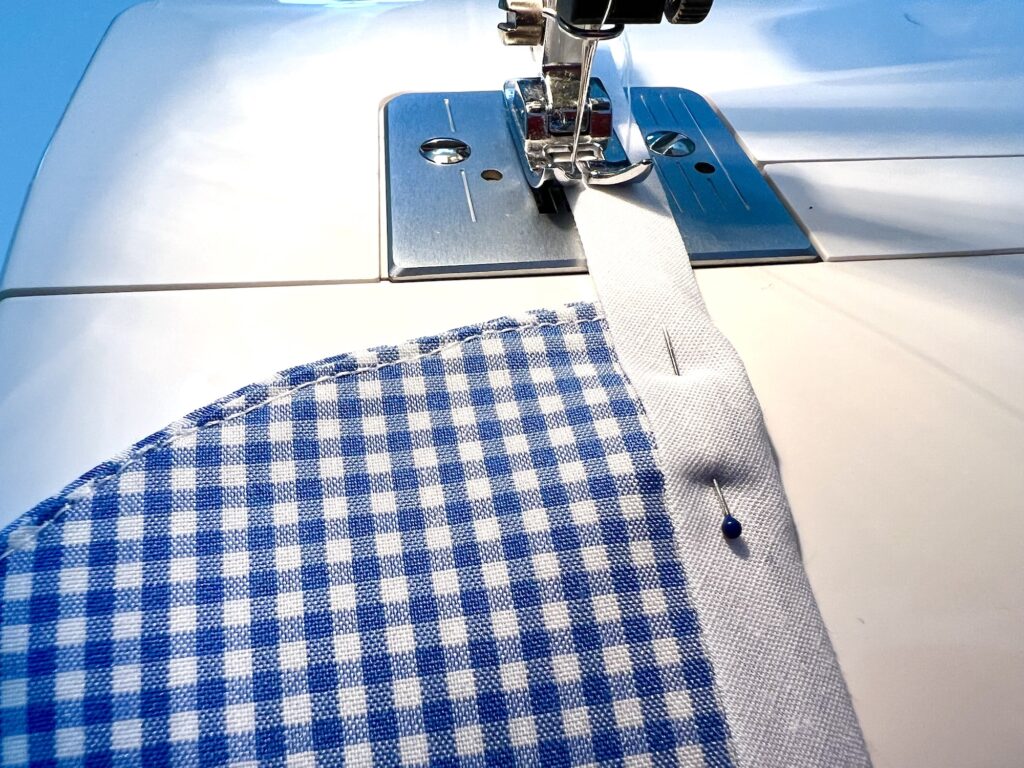
Your stitches should be along the open ends of the bias tape, rather than the folded side, so that you capture the fabric circles and secure them inside the tape. I used about 1/8 seam allowance from the edge.
Be sure to backstitch at the beginning and end of your stitching.
Step 10
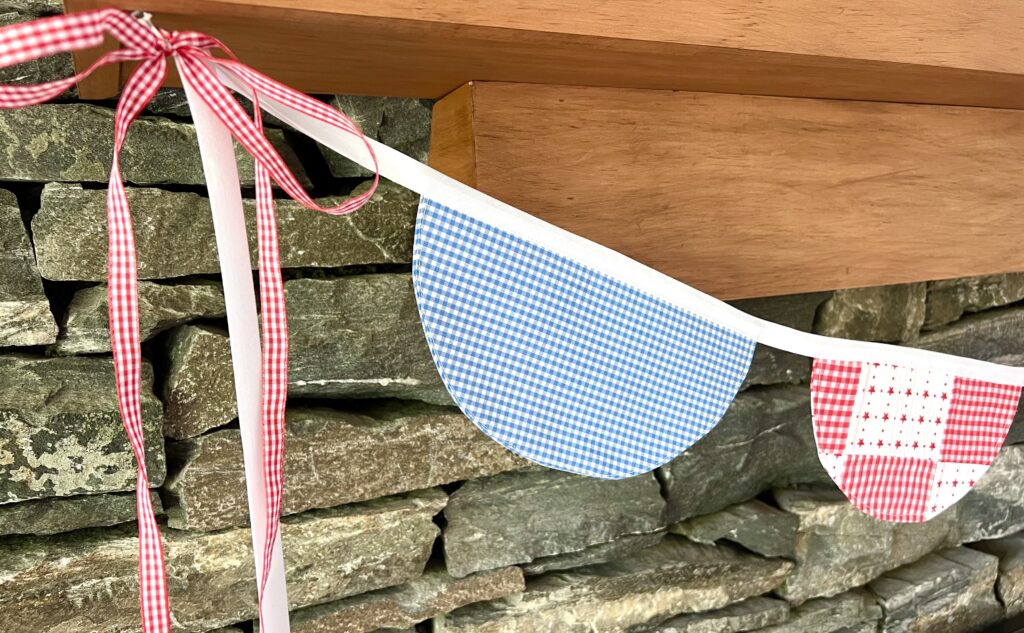
Hang your bunting banner. I added a large gingham bow to the end of my bias tape where I hung the banner.
You can also watch me make this fabric bunting banner in the YouTube video below:
Helpful Tips I Learned From Sewing This Project
- Customize the size of this banner by choosing different size circle templates. You could use a platter for a really large half circle, or use a lot of smaller circles, such as a dessert plate or coffee mug.
- The spacing in between each half circle is up to you. You may want to move the circles closer together to be side by side for a scalloped look. However, keep in mind that banners bend as they are hung, so the fabric circles may fold over each other as the banner slopes downward if the circles are too close together.
- I used 5 half circles on the 3-yard length of bias tape. I could have easily used 9 half circles in the size that I made.
- A colored bias tape, especially a dark color, will eliminate the need to position the half circles so that the edge is lined up with the double fold, as explained in Step 8.
Save this easy DIY Bunting Banner sewing project for later! Just Pin It to Pinterest!
This is just one of our easy sewing projects and one of 34 Fourth of July Crafts for Adults.
For more patriotic crafts, see our easy DIY plant picks and Fourth of July Braided Fabric Wreath.

