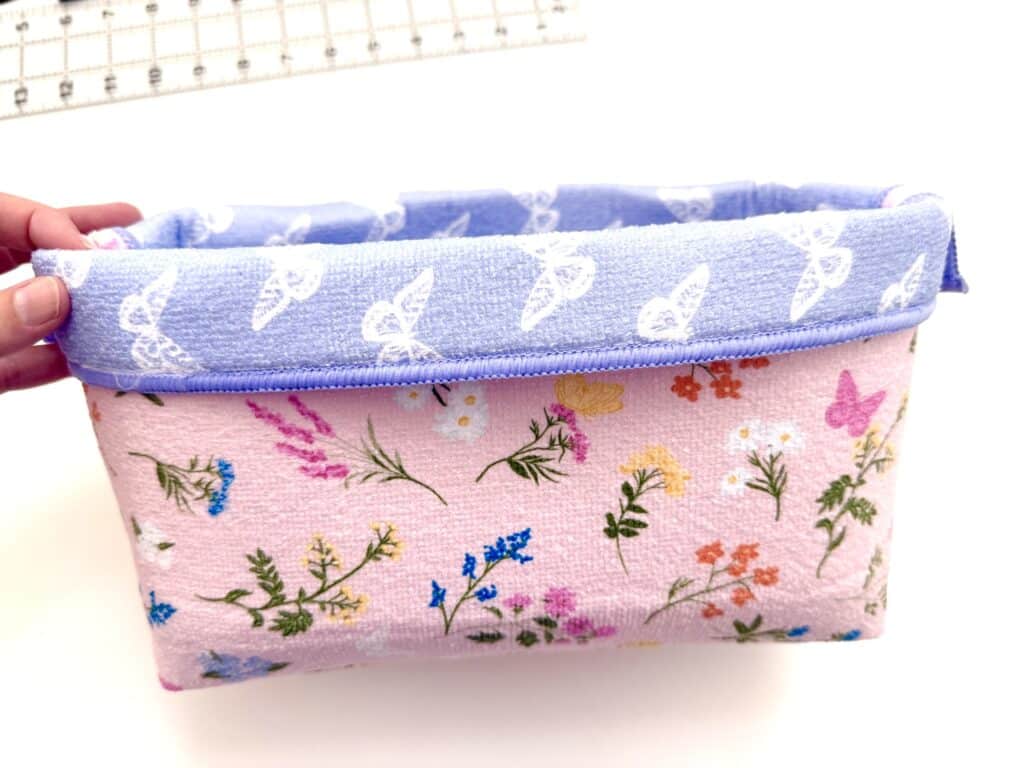
Dish Mat Basket (Reversible)
Our DIY dish mat basket uses one drying mat and can be made in four easy steps! This basket is reversible with no unfinished seams!
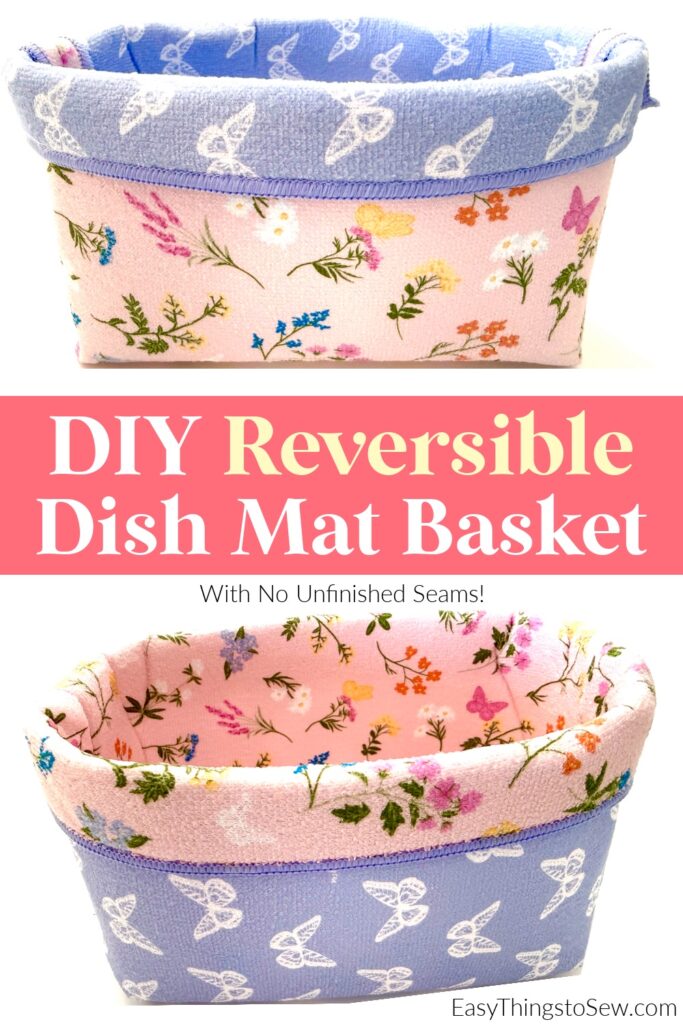
Dish drying mats are a great item to sew with because they come in pretty colors and patterns, they are inexpensive and easy to find, and they are thick so you can shape them without needing to use interfacing.
This is a perfect beginner sewing project.
DIY Dish Drying Mat Basket
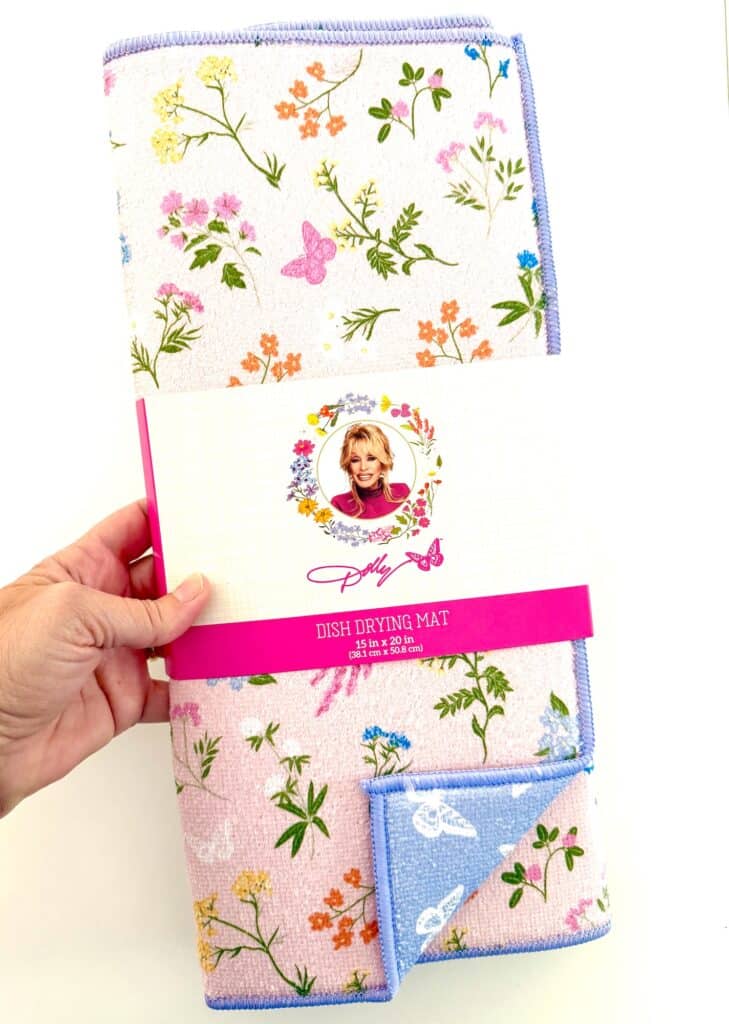
This drying mat that I used is from the Dolly collection at Dollar General. However, you can easily find dish mats at Dollar Tree, HomeGoods, TJ Maxx and other home stores. Any size will work, but mine was 15 in X 20 in (38.1 cm X 50.8 cm).
Supplies
- Dish drying mat
- Scissors, sewing machine and thread
Directions
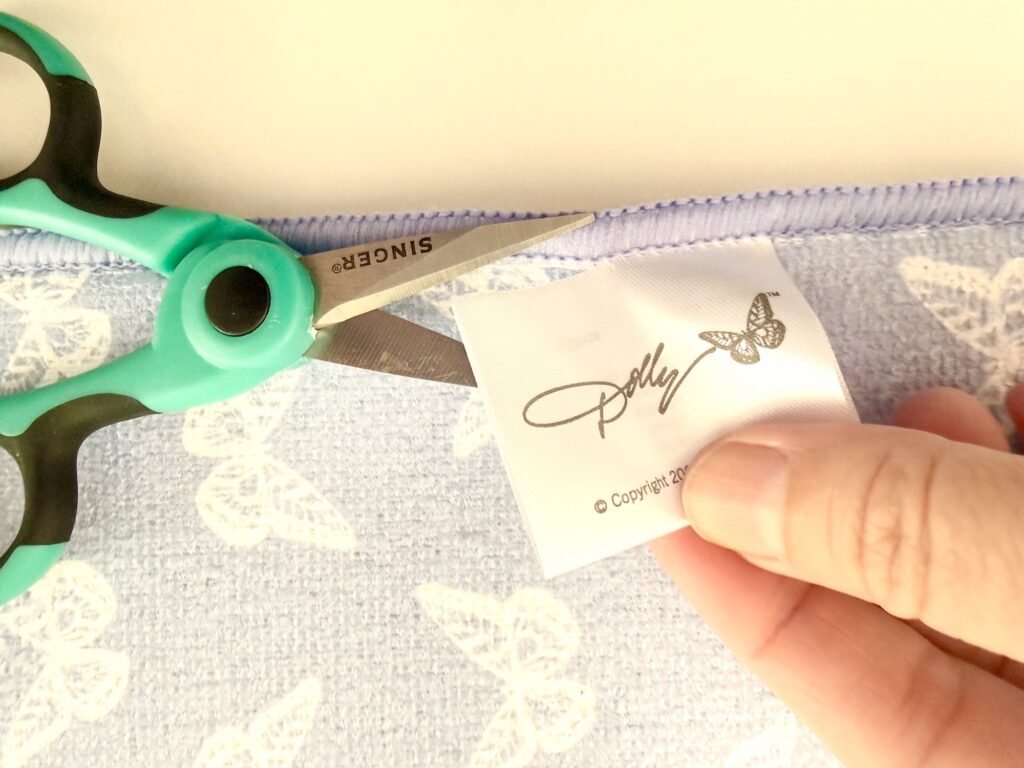
Step 1
Remove the tag.
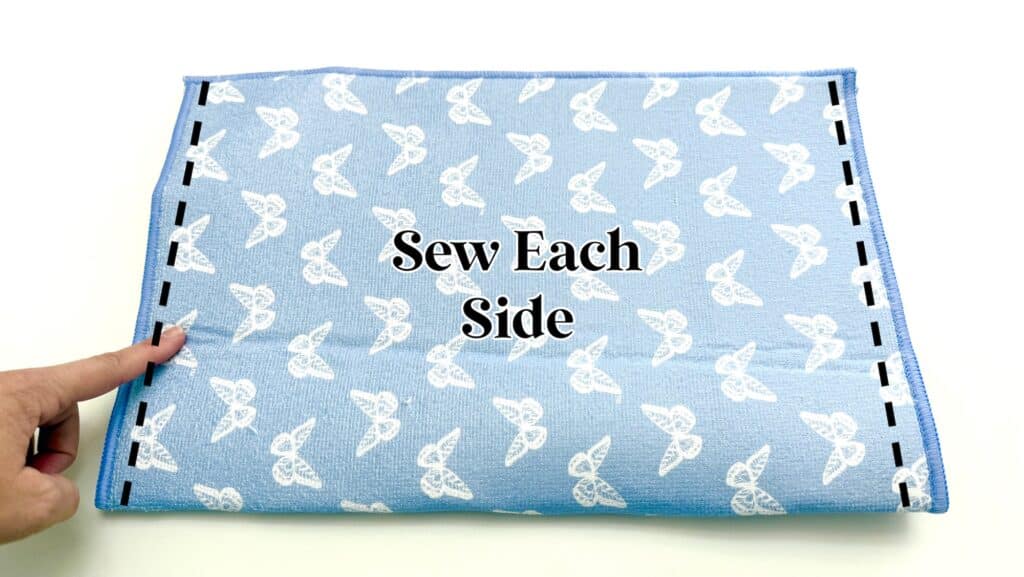
Fold the mat in half lengthwise, with the shorter sides on top.
Sew each of the sides together using a ½ inch seam allowance. Keep the top open.
Be sure to backstitch at the end of the stitching near the top (open side). It’s not necessary towards the fold.
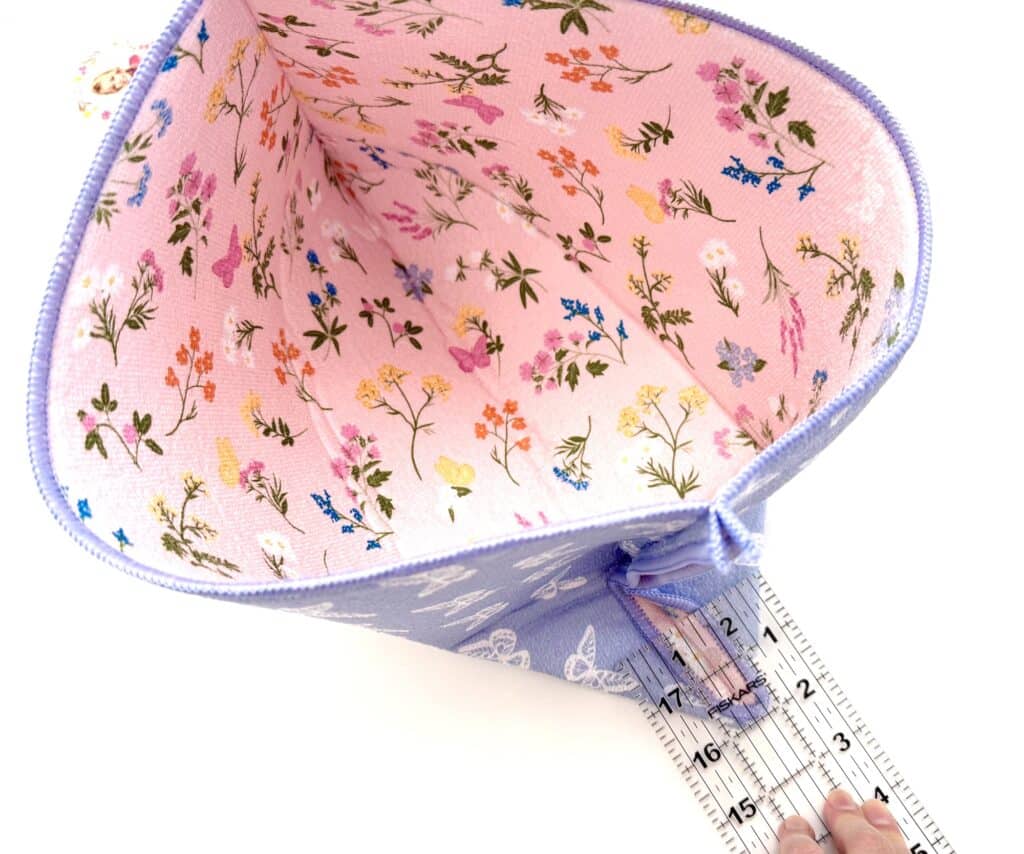
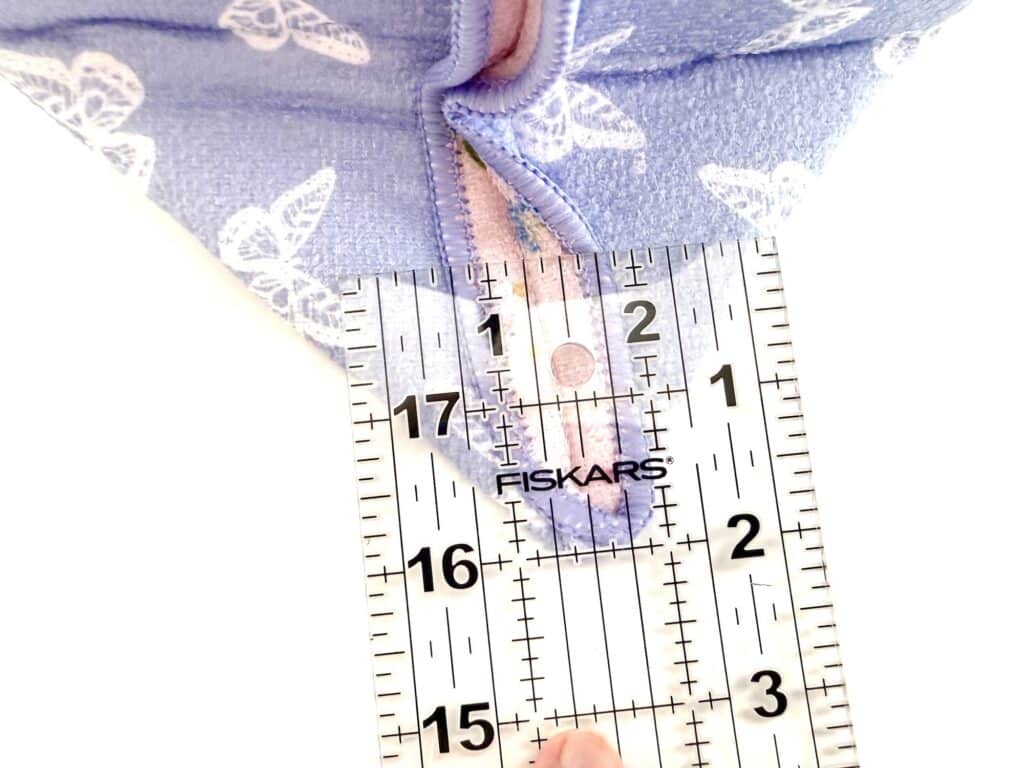
Step 2
Pinch the bottom corner together and measure two inches up from the corner. Draw a line across the mat. Repeat on the other corner.
Step 3
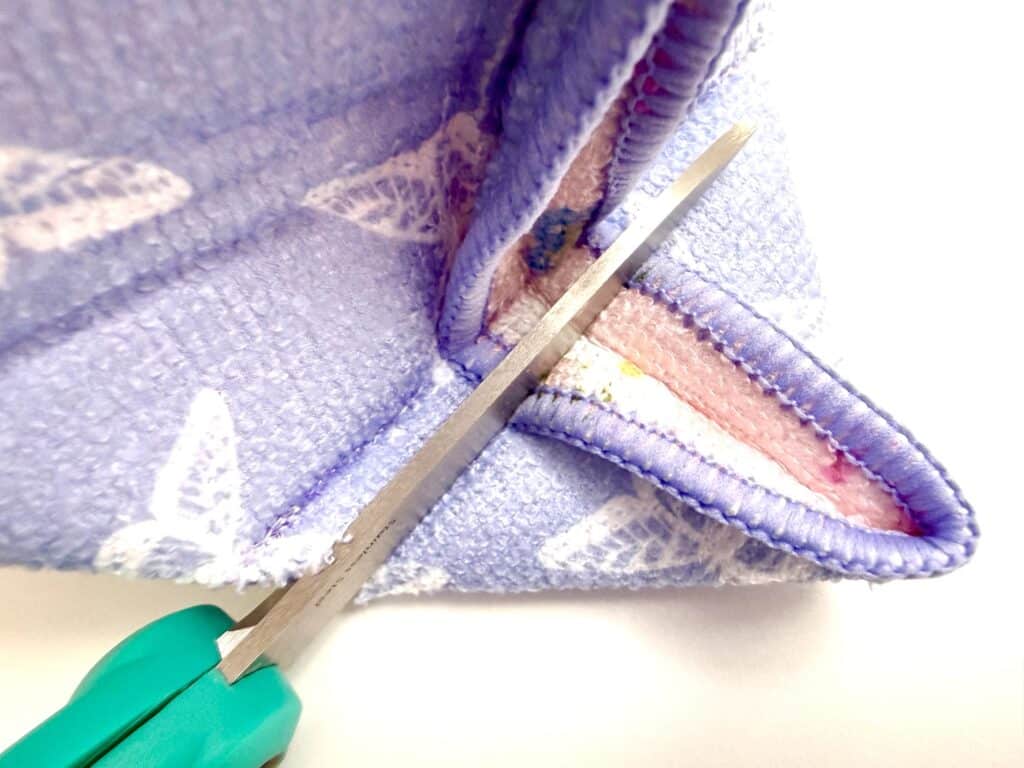
Sew along the line, remembering to backstitch at the beginning and end.
Cut off the excess fabric, without cutting through the stitched seam.
Turn the basket inside out.
Fold over the top edge if desired.
At this point, you could leave the basket as is if you don’t want it to be reversible.
Step 4
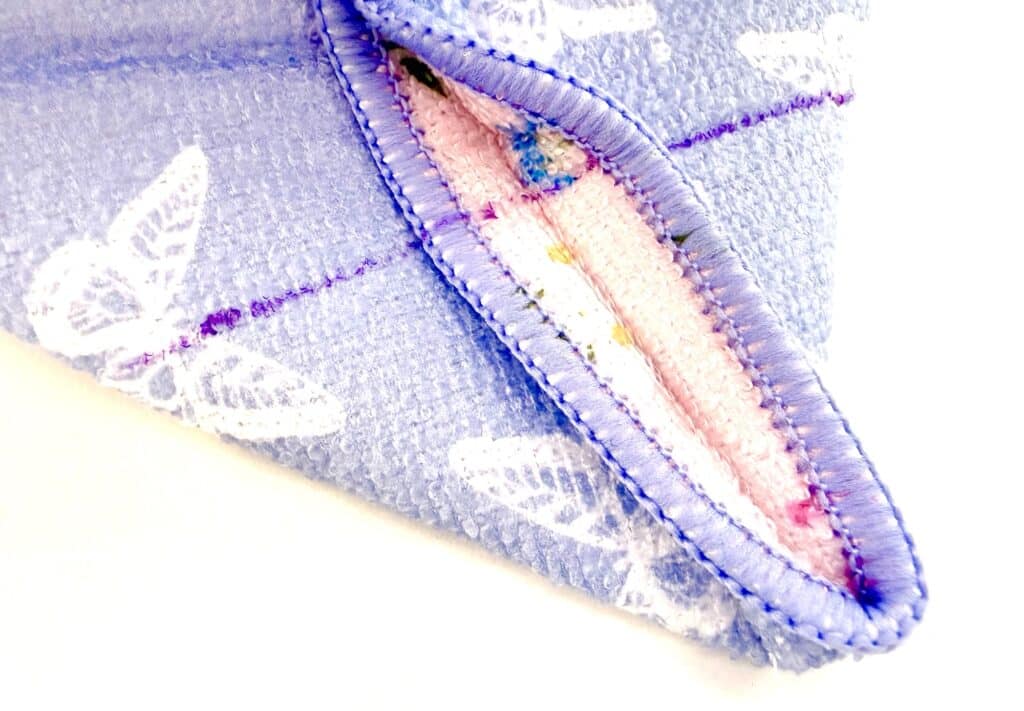
If you do want a reversible basket, or to finish off the inside seam nicely, you will do a French Seam.
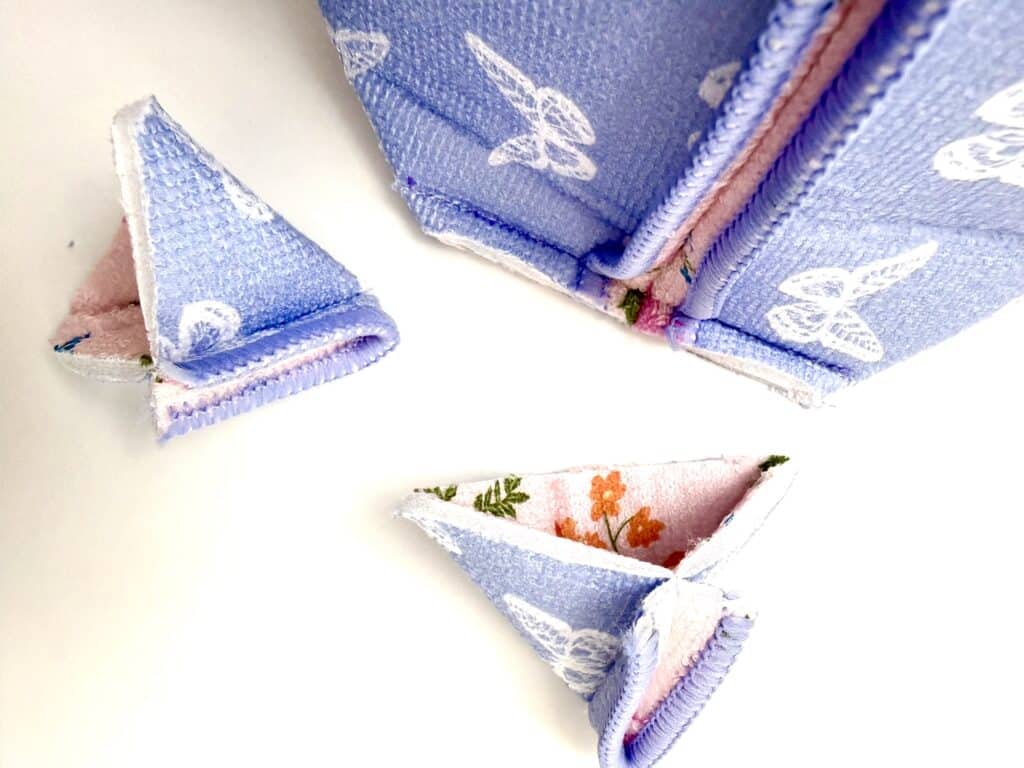
The way to do a French Seam is to fold and pinch the corner of the basket together, similar to what you did in Step 2.
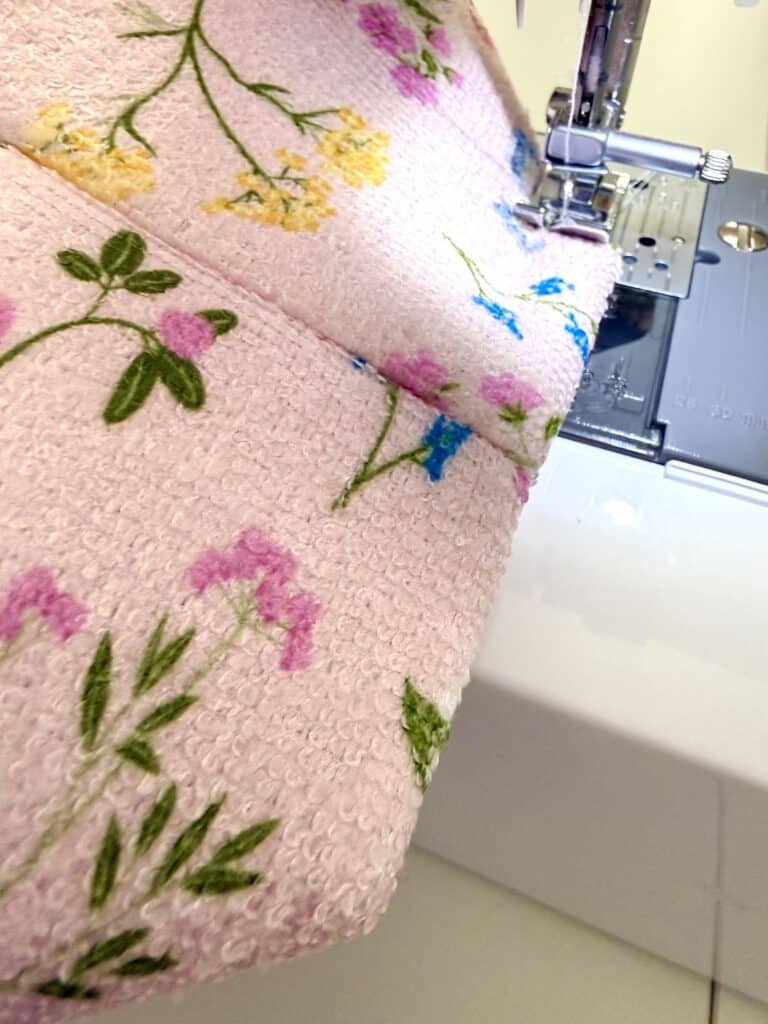
You will then top stitch a straight line across the corner, stitching just above the unfinished seam that is tucked inside. You will be able to feel the bulge of the seam, so just use your fingers (or an invisible marker and a ruler, if you prefer) to guide you where to sew the top stitched line.
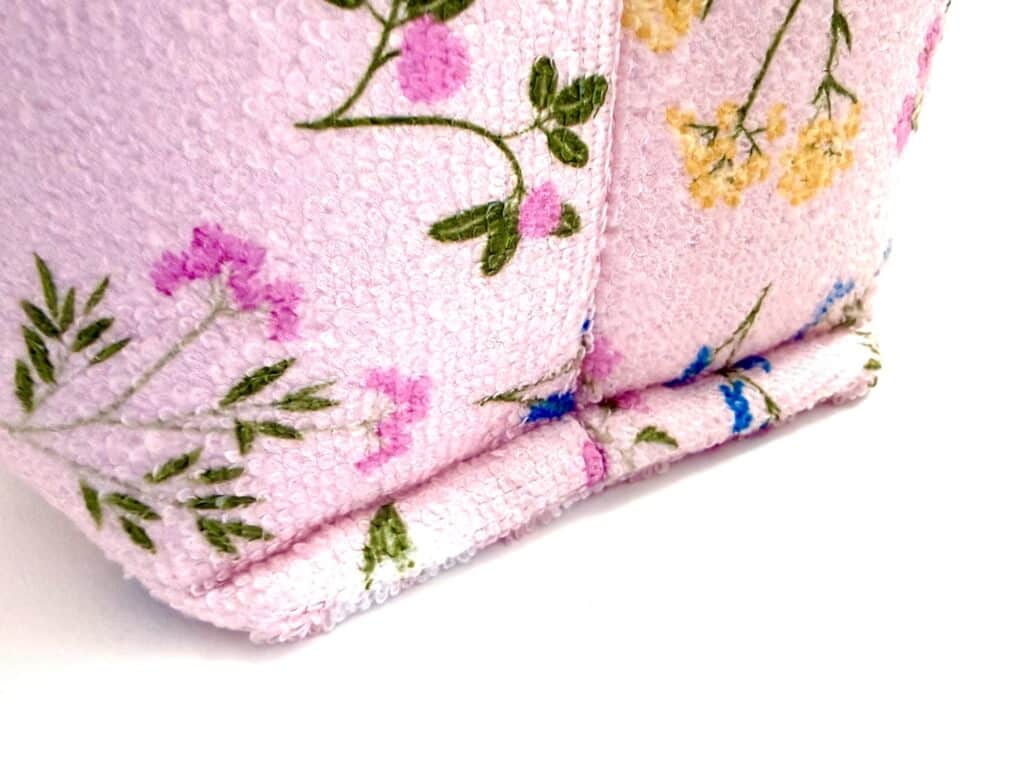
Repeat on the other corner.
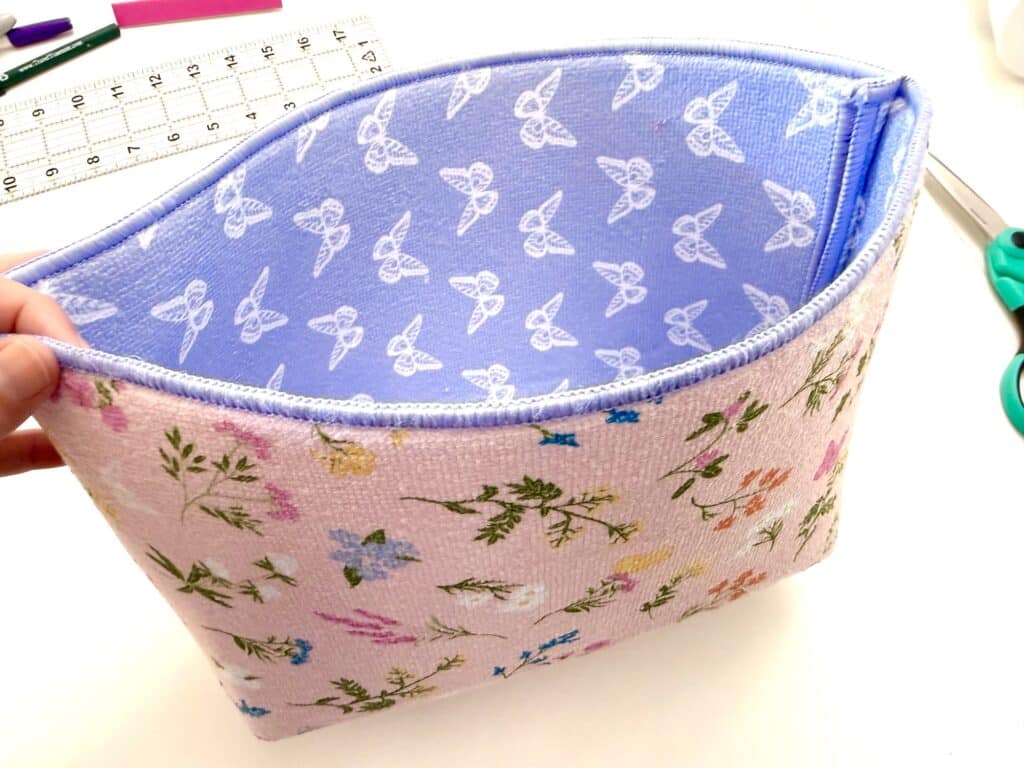
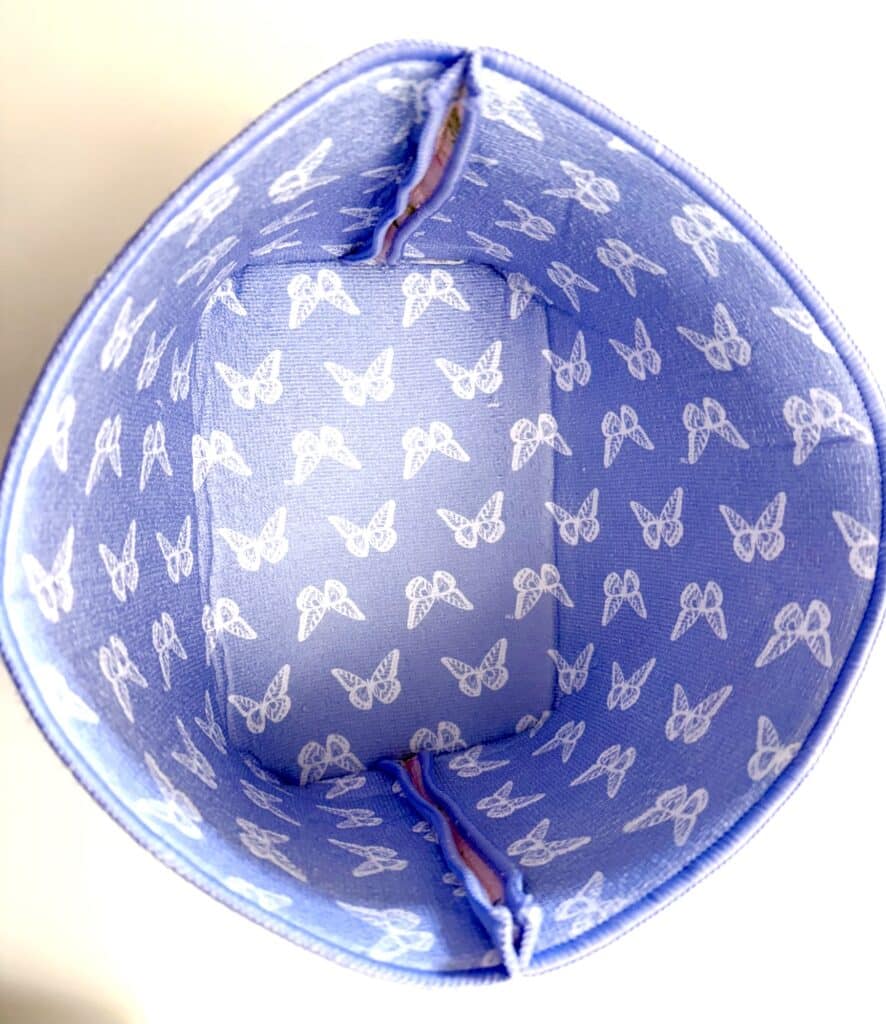
Now when you look inside the basket you won’t see any unfinished seams and it is a reversible basket.
Helpful Tips I Learned While Making This Basket
- While the drying mat is thick and bulky, I had no problem sewing it with a standard needle and sewing foot. Just go slowly.
- If you do not want to see the open seams on the outside of the basket when you turn over the top edge, you could use a ¼ inch seam allowance to sew the sides together in Step 1. Or you could sew just along the finished edges of each side.
- This is a fun project to make all year long. Most stores have seasonal and holiday dish mats, in addition to solid colors.
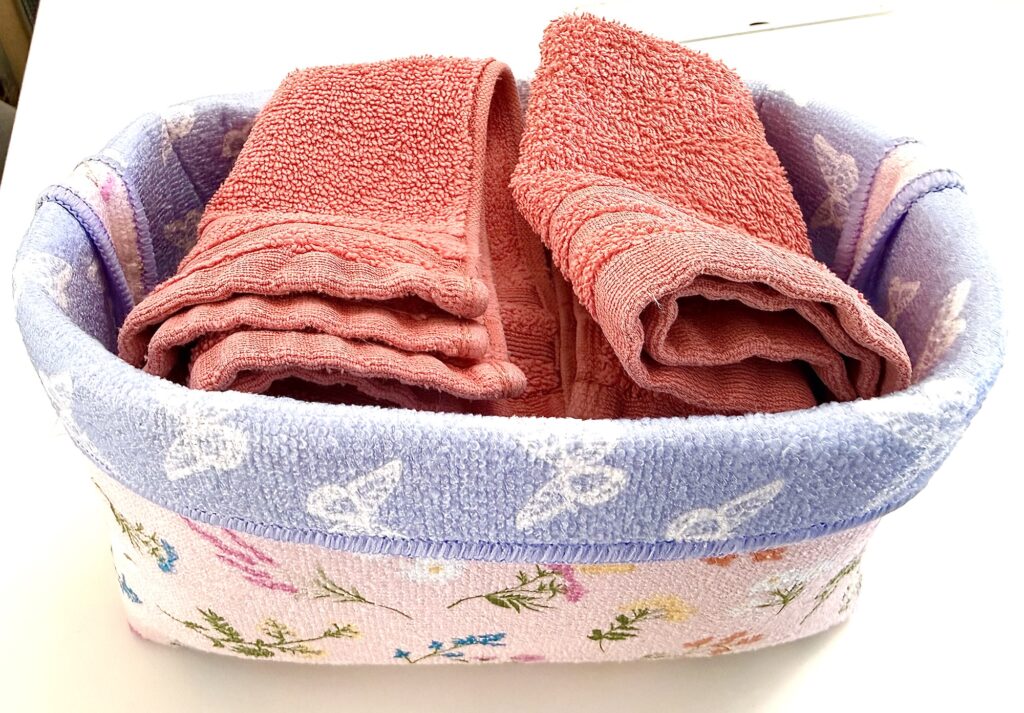
How to Use These Baskets
Since these baskets can be washed in the washing machine (read the care instructions of the dish mat to confirm) and are soft and flexible, they have so many uses beyond wicker baskets.
There are so many creative ways to use these soft baskets. Here are some great ideas:
- Kitchen storage (towels, cleaning supplies, etc.)
- Bathroom storage (towels, makeup, toilet paper, etc.)
- Under sink storage
- RV cabinet storage bins
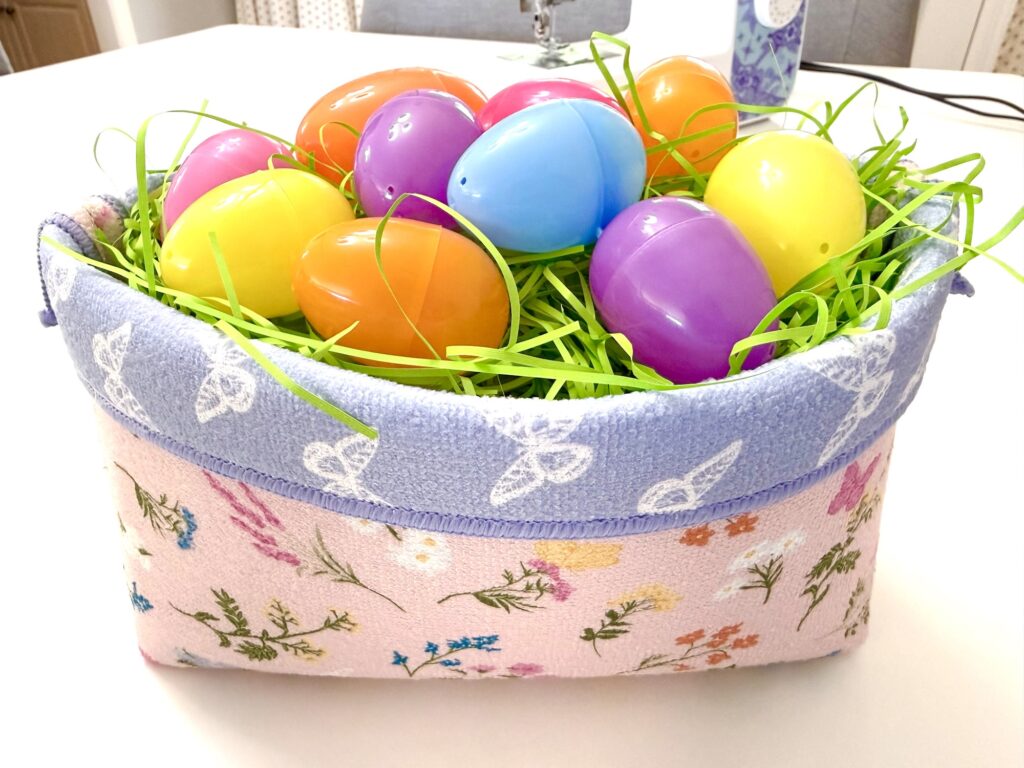
- Easter basket for adults
- Gathering flowers, herbs, or produce in the garden
- Bread basket
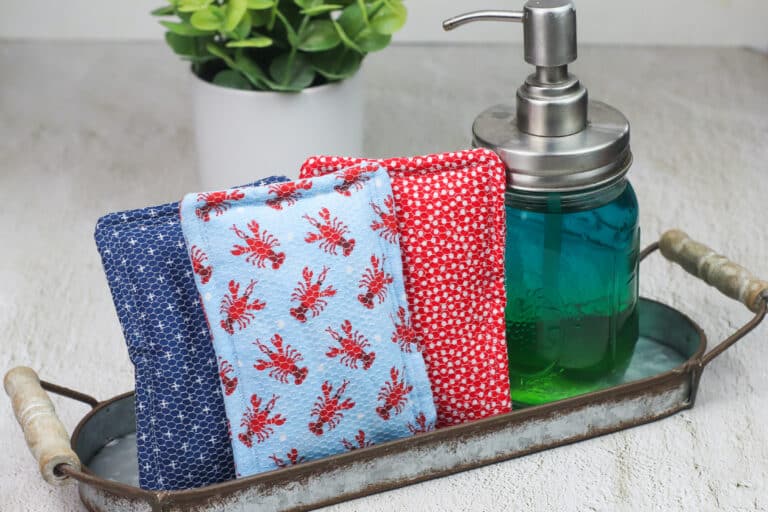
- Housewarming gift (add a matching hanging towel and dish soap)
- Fat quarter fabric storage
- Fabric scraps
- Toy storage
- Gift baskets
Want to save this tutorial for later? Be sure to Pin It to Pinterest or save to Flipboard or Facebook!
If you like this easy beginner sewing project, be sure to see these next:
- Hanging Kitchen Towel
- Reversible Tissue Box Cover (Cube or Rectangle)
- Pot Holder Purse Caddy