Candy Cane Heart Ornament (Free Pattern)

This sweet candy cane heart ornament is easy to sew with our free pattern. The large ornament is also a perfect gift topper, too!

We used scrap fabric to make this handmade candy cane ornament because you don’t need a lot of fabric!
This is just one of our many free Christmas ornament sewing patterns. Be sure to see them all!

How to Make a Candy Cane Heart Ornament
I highly suggest watching our YouTube video to see how we made this ornament! The video can be found at the end of the written instructions.
Supplies
- Red fabric (Four pieces of 4 X 6 in / 11 X 16 cm)
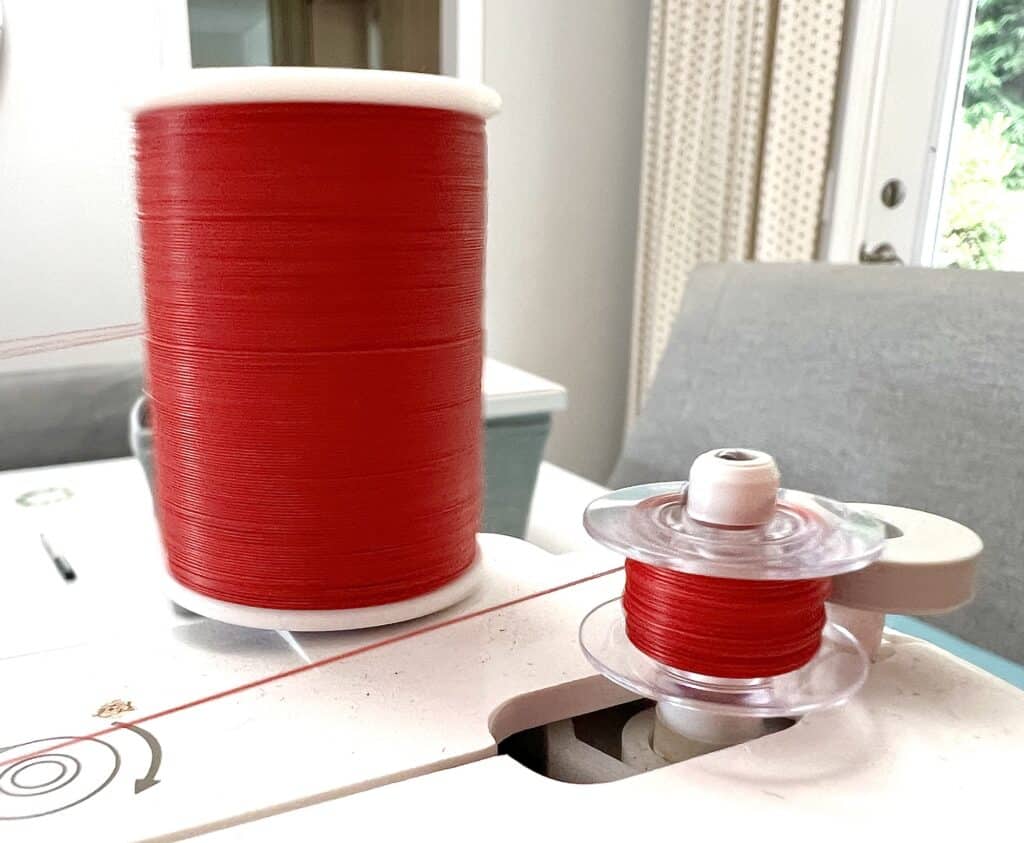
- Red Thread
- Free Candy Candy Heart Pattern
- Marker, tailor’s chalk or disappearing ink pen
- 1/8 inch wide White Ribbon (About 46 inches / 117 cm)
- Hand sewing needle
- Sewing Machine
- Turning Tool
- Polyfill or Stuffing
- Hot glue
Directions
Step 1
Download, print and cut out the free candy cane template.
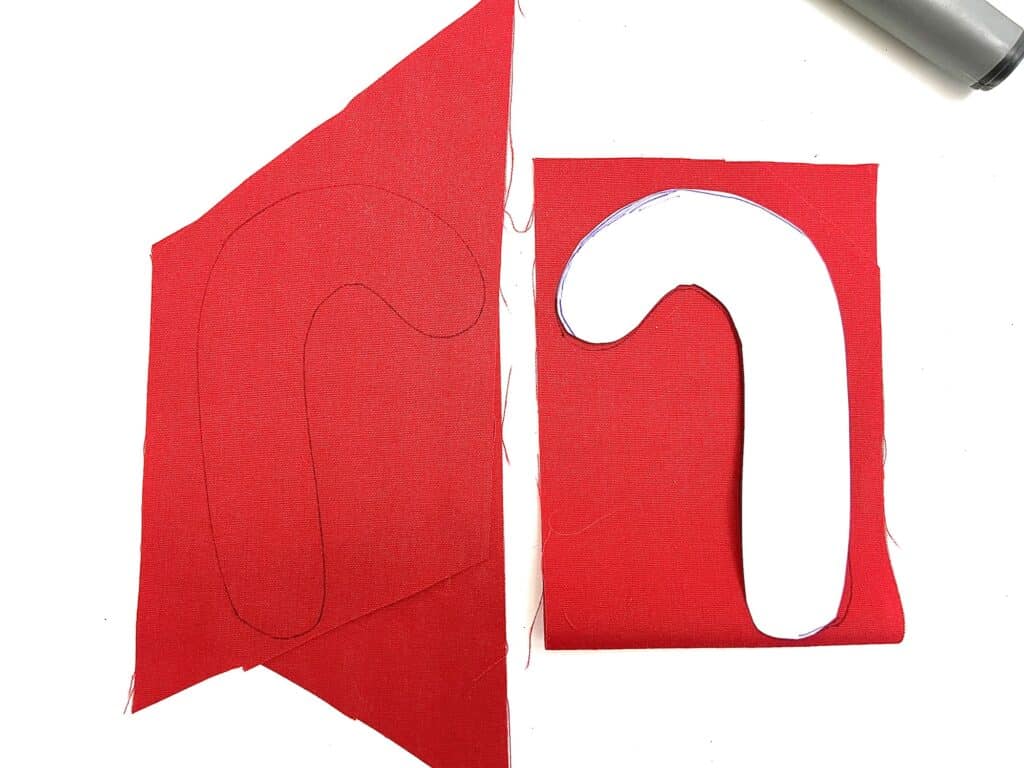
Create a double layer of fabric either by folding fabric in half or lay two pieces on top of each other. If there is a right side to your fabric, you want those sides facing together, with the wrong sides facing out.
Trace the candy cane pattern onto the double fabric. You will want to trace the pattern twice so that you have two candy cane templates.
Do NOT cut out the pattern.
Step 2
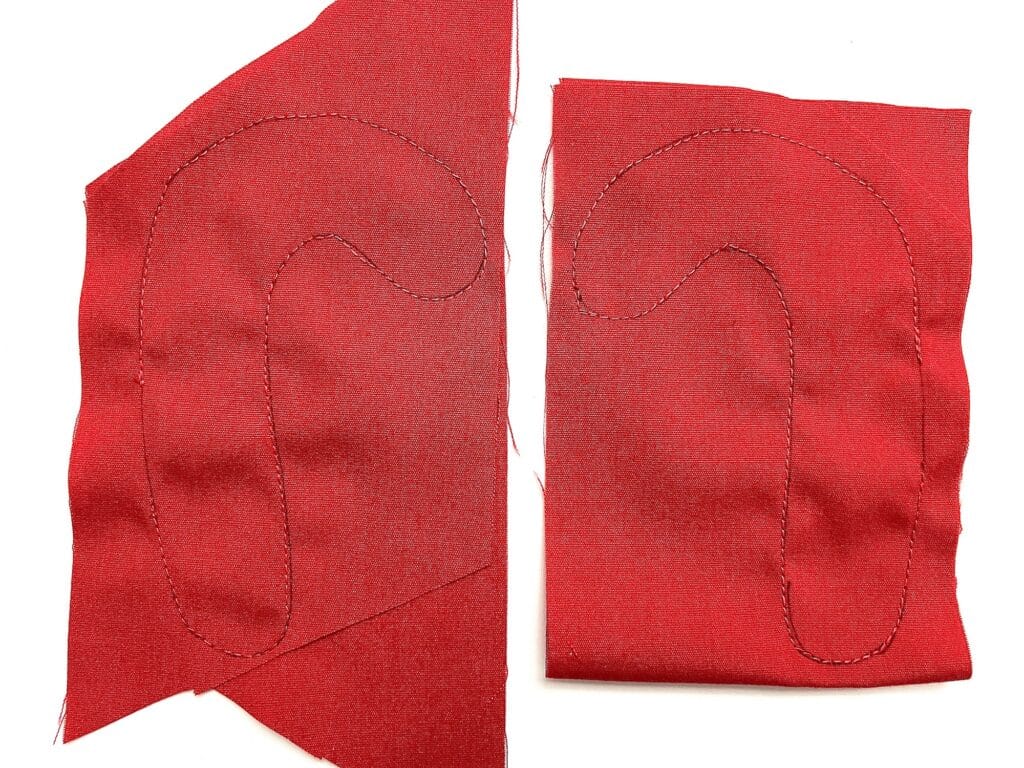
Sew around the candy cane pattern through both layers of fabric, leaving a 2 to 3 inch wide opening on the long straight side.
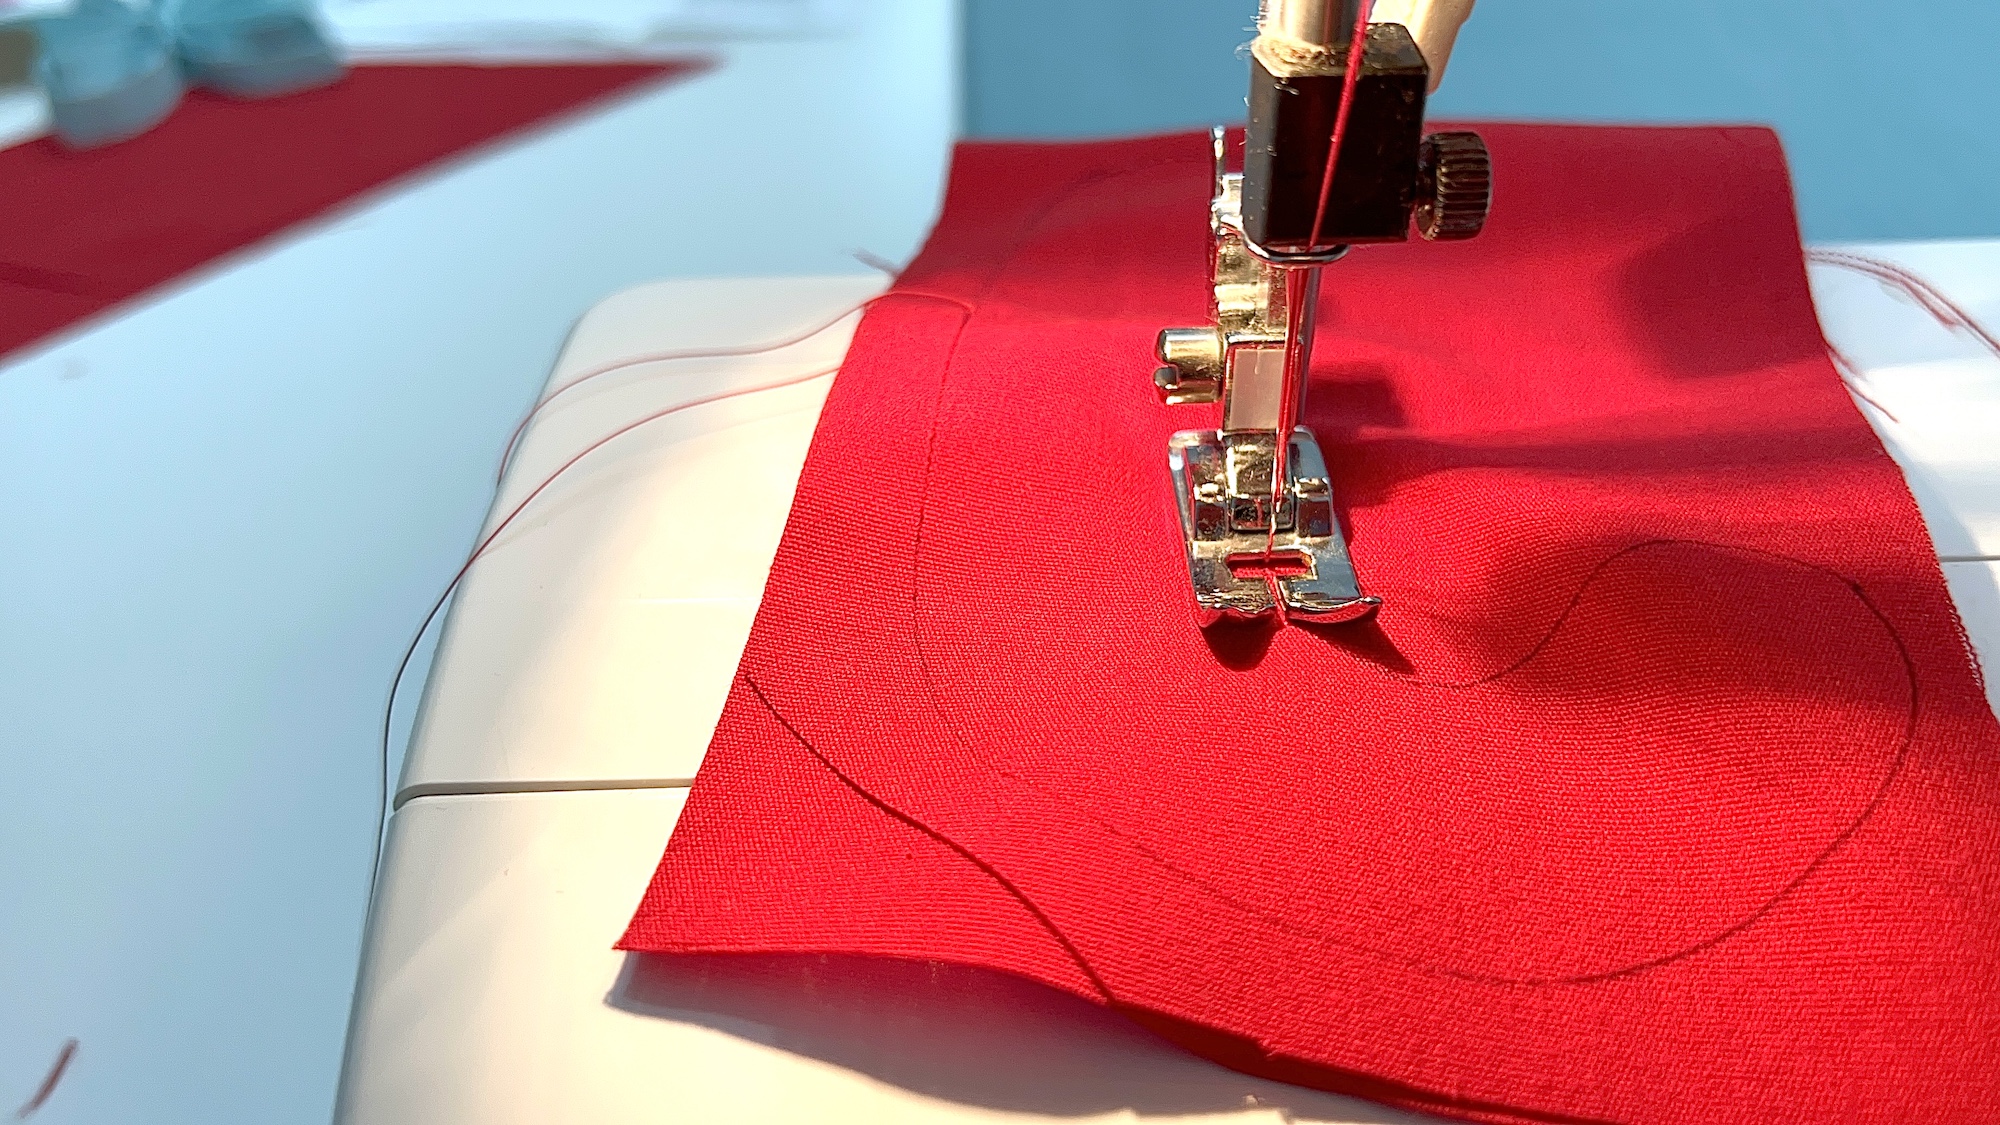
Be sure to backstitch at the beginning and end of your stitching so the stitches don’t rip out when you turn the candy cane inside out.
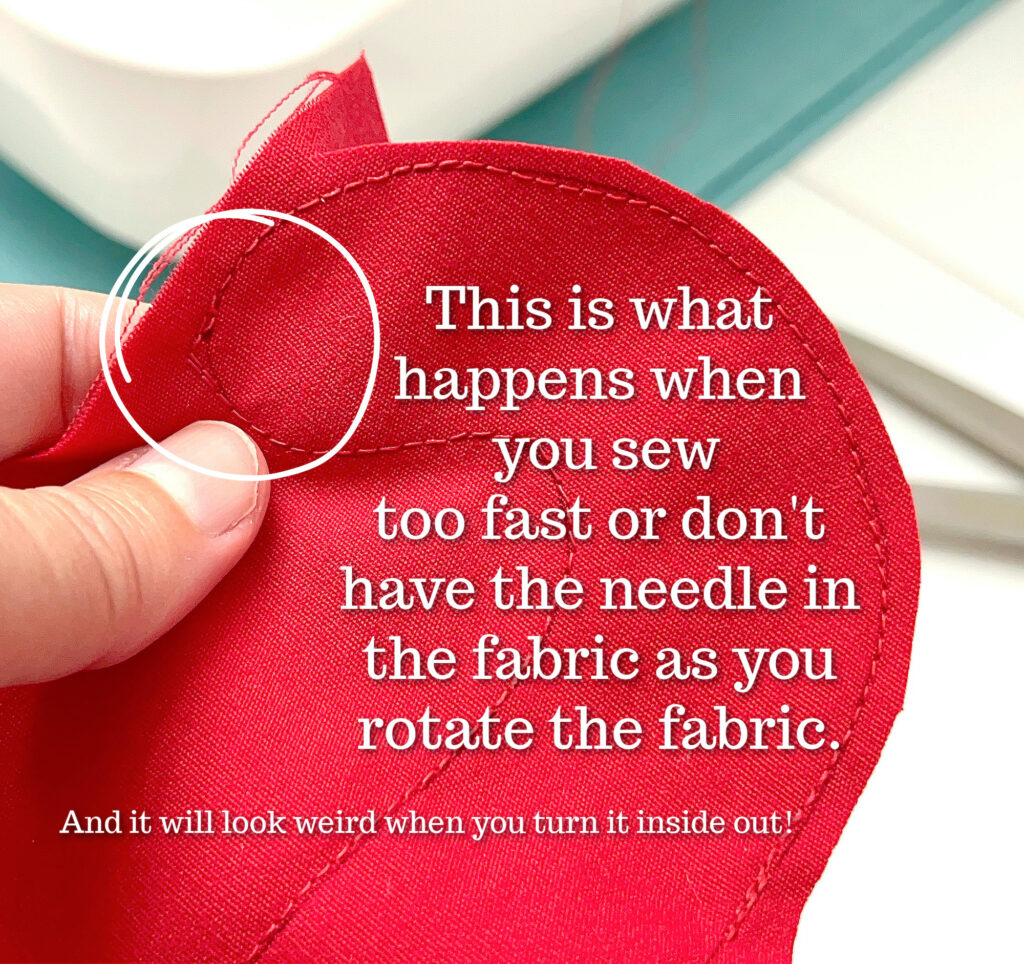
Very carefully sew around the pattern, taking your time to stitch a few stitches, pick up the presser foot, reposition the fabric, and continue sewing the curves. Be sure the needle is inserted into the fabric when you pick up the presser foot.
You may find it easier to stitch the curved parts by hand cranking the wheel for the needle, otherwise pressing the foot pedal of your sewing machine could go too fast. Do not sew too fast on this pattern, otherwise your curved areas will not look right!
Helpful Tip: I tried using white thread because I was lazy and didn’t want to change my bobbin or spool of thread. It definitely showed through the seams because when you stuff the candy canes that seams will be stretched. Definitely use red thread!!!
Step 3
Cut around the pattern, leaving a ¼ inch seam allowance outside of the stitching. I left the fabric on the open gap to be a bigger seam allowance so that it was easier to turn under and hand stitch later.
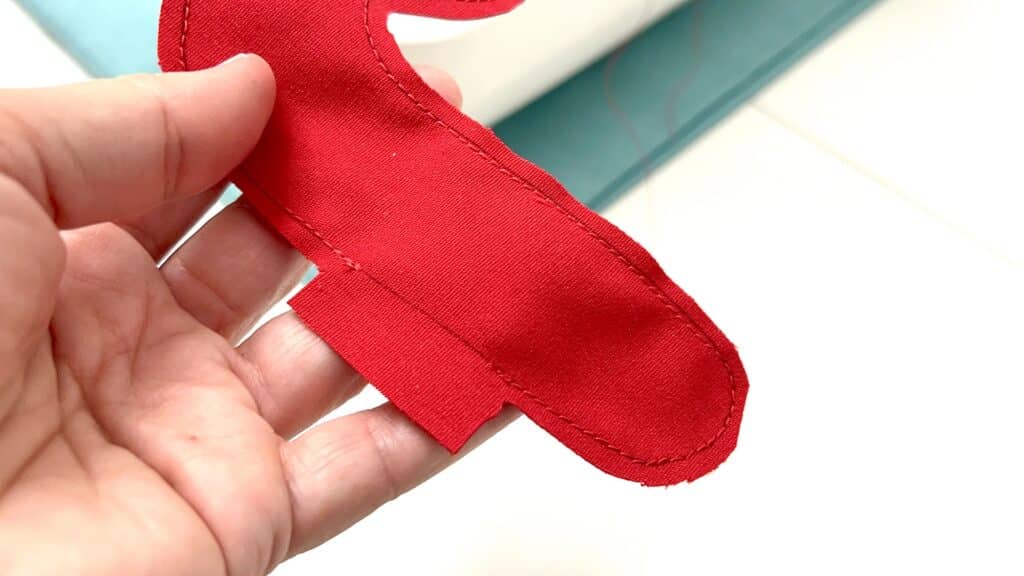
Clip the curves of the fabric so that the fabric turns inside out more easily. You can either make tiny little notches in the curves, or simply make snips into the fabric about every 1/8 inch.
Be sure not to cut the stitched seam!
Step 4
Turn the candy canes inside out. You will probably need a turning tool to help you push out the curved hook of the candy cane.
This step can be tedious, so take your time!
Press the fabric with a hot iron, if needed.
Step 5
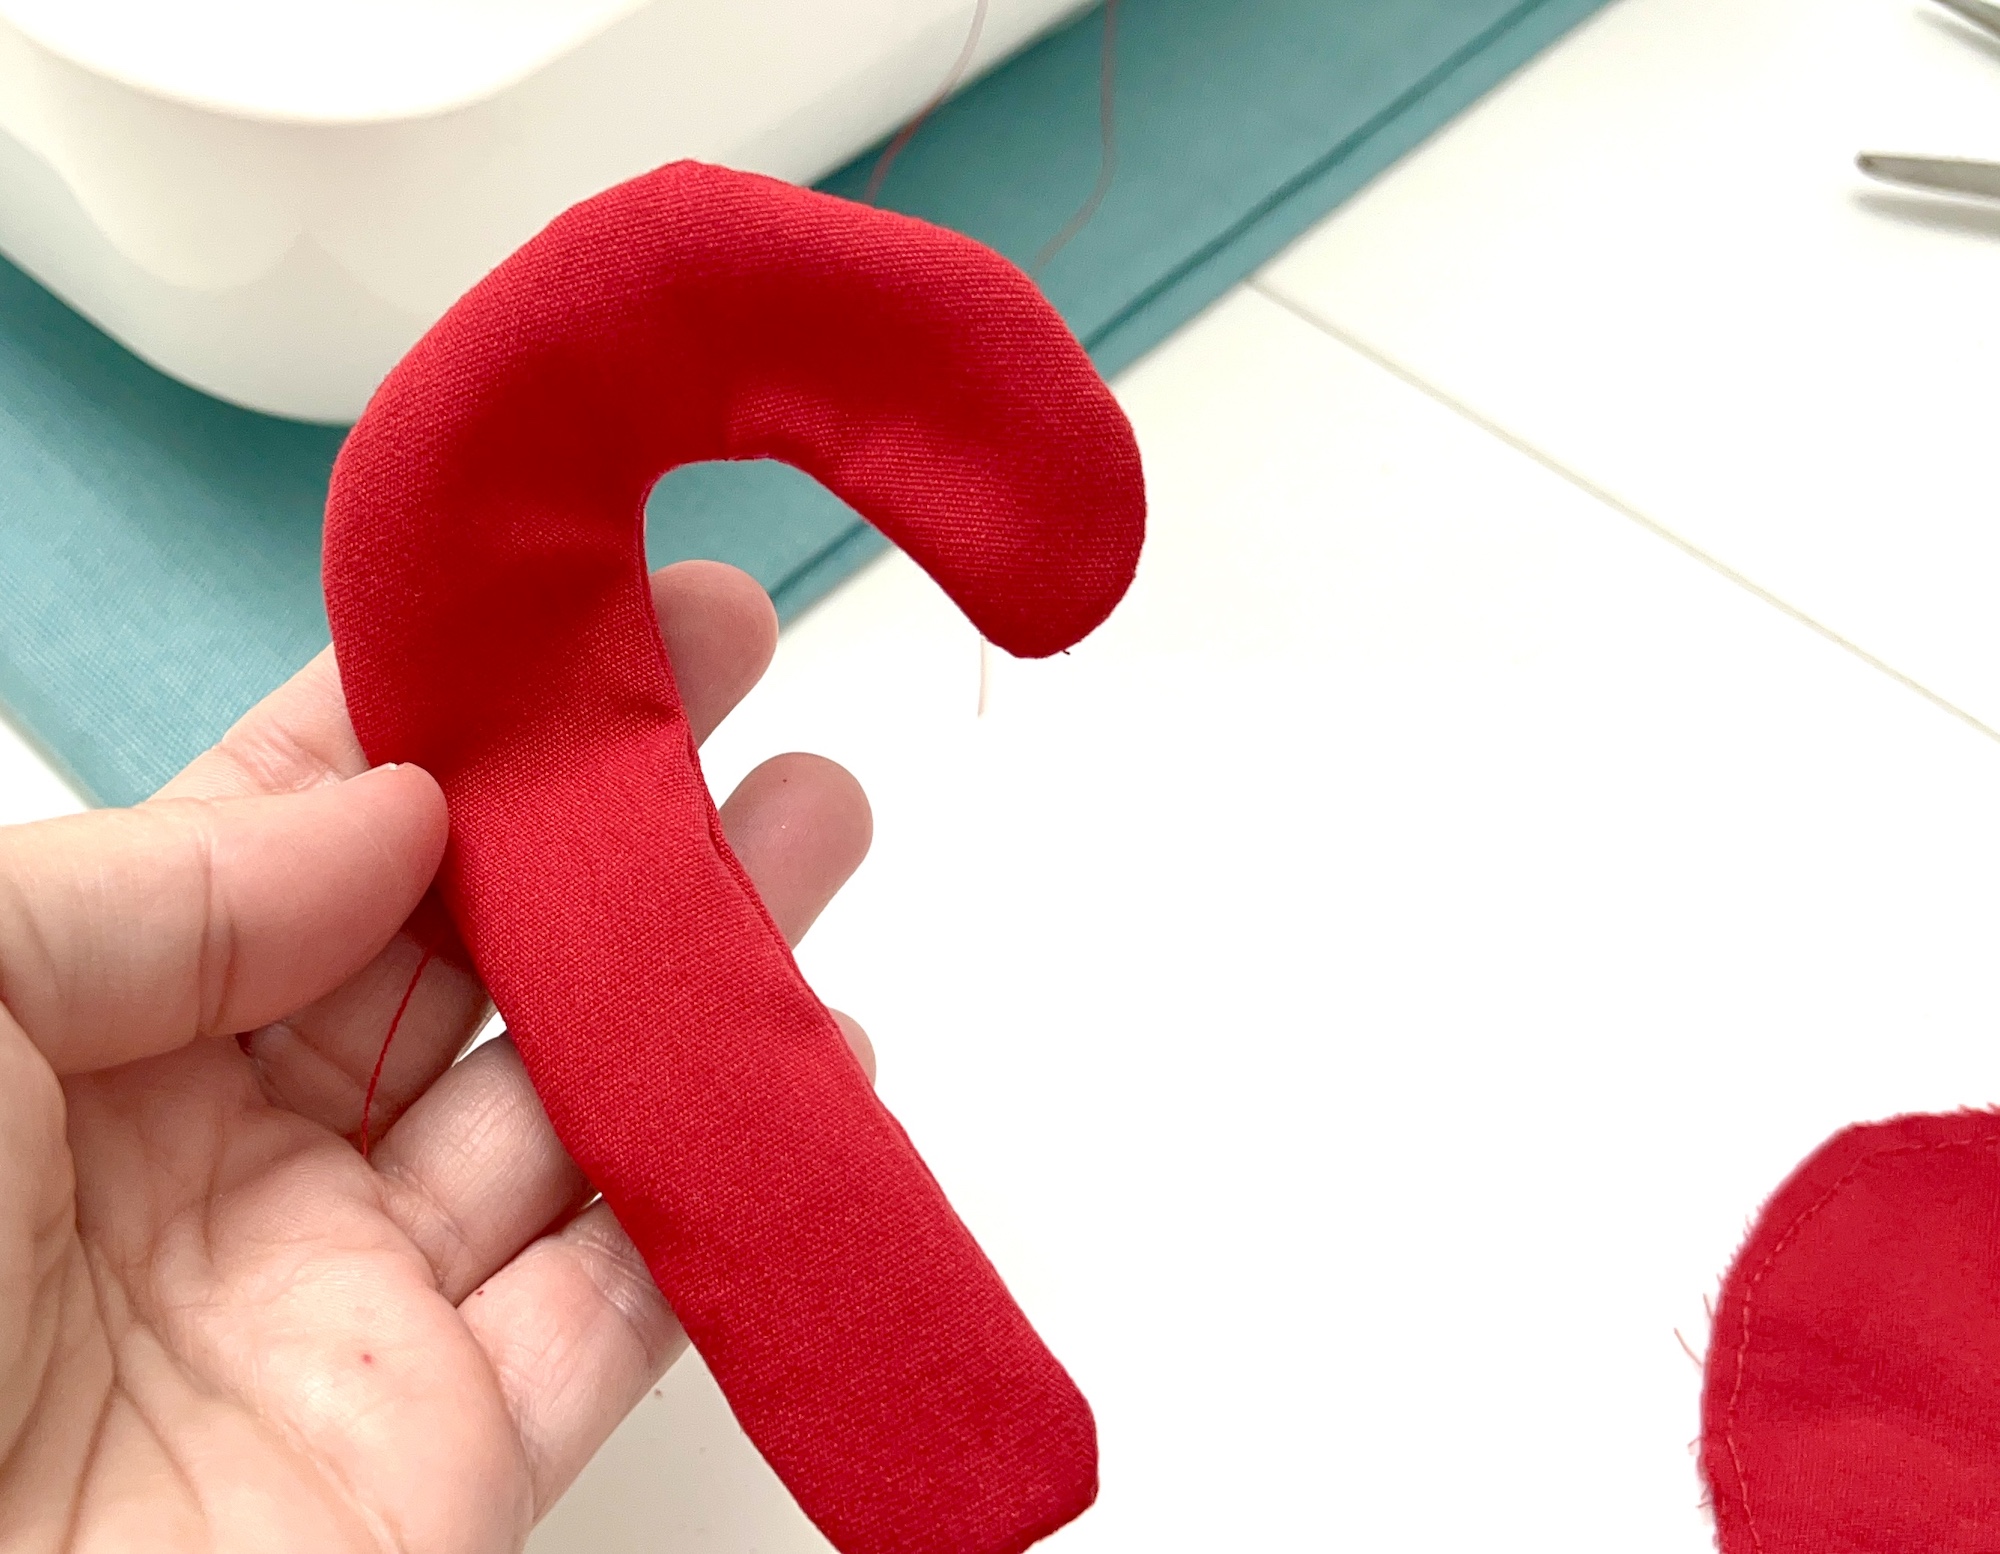
Stuff each of the candy canes with Polyfill or stuffing. Be sure to get lots of stuffing up in the top part of the candy cane all the way to the end of the hook. You may need to use a turning tool to help get the Polyfill all the way to the end.

Keep stuffing until the candy cane has taken its shape and you can barely fit any more stuffing in.
Related Post: My Sewing Hack for Getting Inexpensive Polyfill (video)
Step 6
Tuck the unfinished edges under and use a needle and thread to hand stitch the opening closed.

I threaded the knot on a piece of the same thread from my spool of thread, inserted the needle so that the knot would be hidden in between the layers of fabric (rather than having the knot on the outside of the fabric), and did basic flat stitches to close the seams together.
Step 7
Cut two pieces of 18″ ribbon.
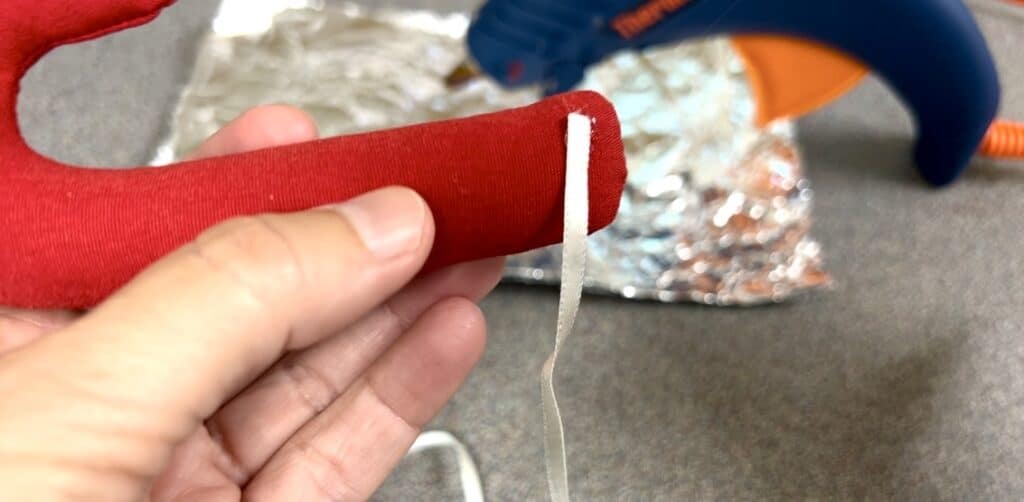
Add a drop of hot glue to the back of the bottom part of one candy cane. Press the cut edge of one piece of ribbon into the glue. Let dry.
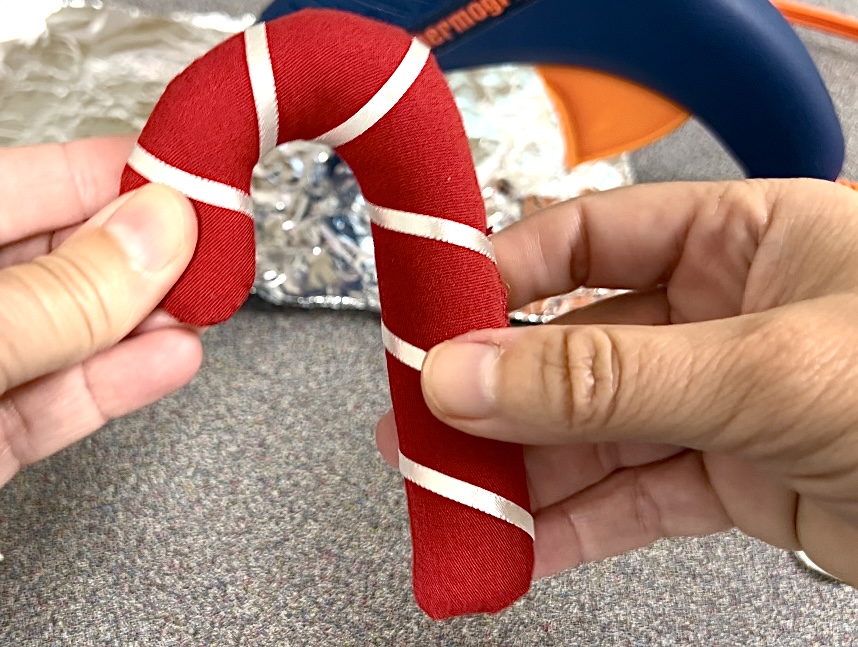
Start wrapping the piece of ribbon around the candy cane, making diagonal stripes. You will want six diagonal stripes with the ribbon on the candy cane.
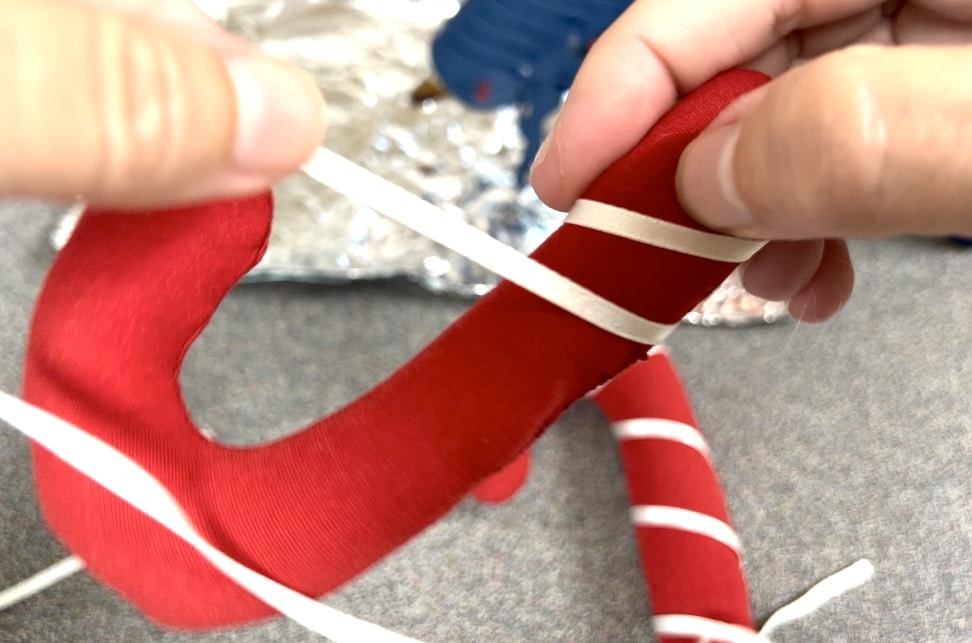
When you get to the top at the end of the hook, be sure the stripes are in the position that you like. Otherwise, move the ribbon around to position it where you want.
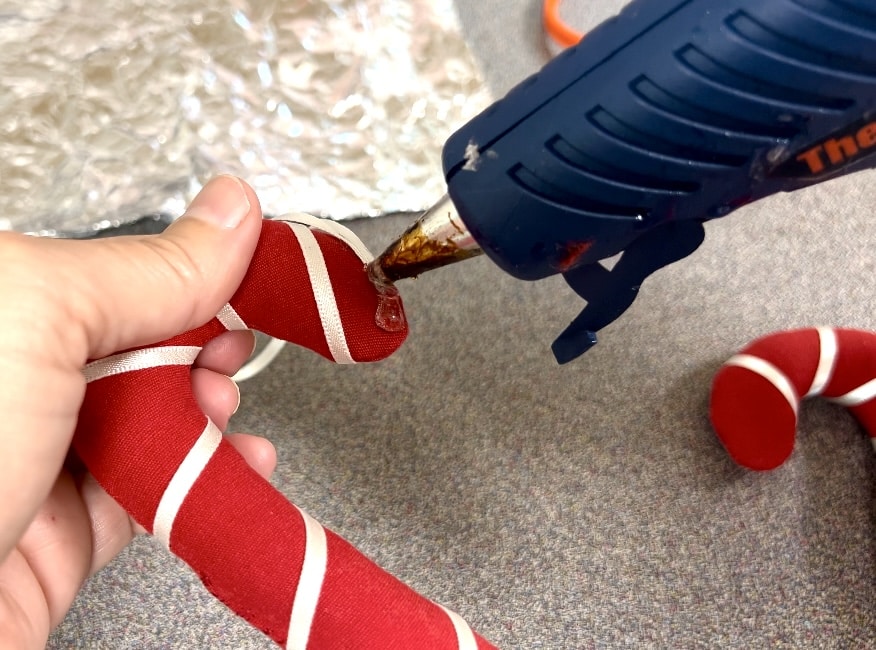
On the back of the candy cane at the end of the hook, place a small drop of hot glue and lay the ribbon over it.

Allow to dry, then cut off the remainder of the ribbon hanging beyond the hot glue.
It only takes a small amount of glue to secure the ribbon, so be sure not to use too much (as I did!).
Repeat this process on the other candy cane. When wrapping the ribbon around the cane, position it so that the diagonals are approximately in the same location on each cane.
Note: This process can be hand sewn with small stitches instead of glued if you prefer.
Step 8
Now position the two candy canes together to make a heart. You will want the hooks of each cane facing inwards.
Lay the end of one candy cane hook over the other end. Then, bring the end of that candy cane underneath the end of the other candy cane. (See our YouTube video for visual reference.)
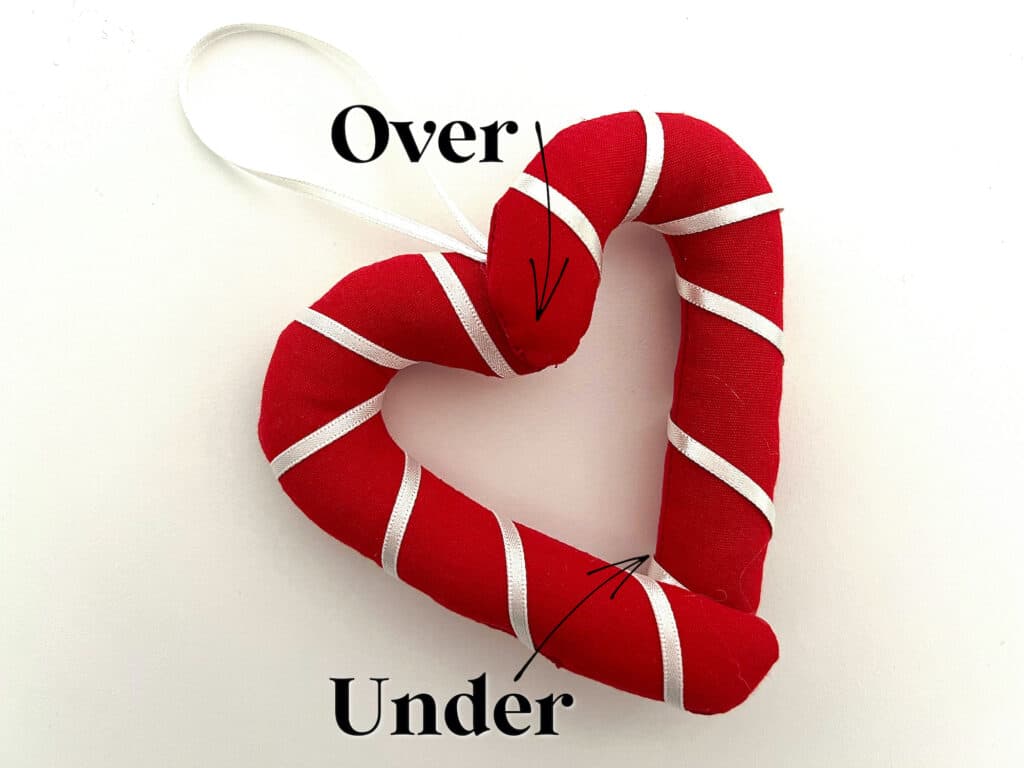
You will be laying the end of one candy cane on top of the other, and then the other end of that same candy cane underneath the end of the other candy cane.
Now cut a small piece of ribbon to be the hanger. Make it whatever size you need, then loop the ribbon.

Glue the cut ends onto the edge of the candy cane hooks that will be underneath the other candy cane hook. Attach the ends at a place where the other candy cane will cover them once the ornament is assembled. Let dry.
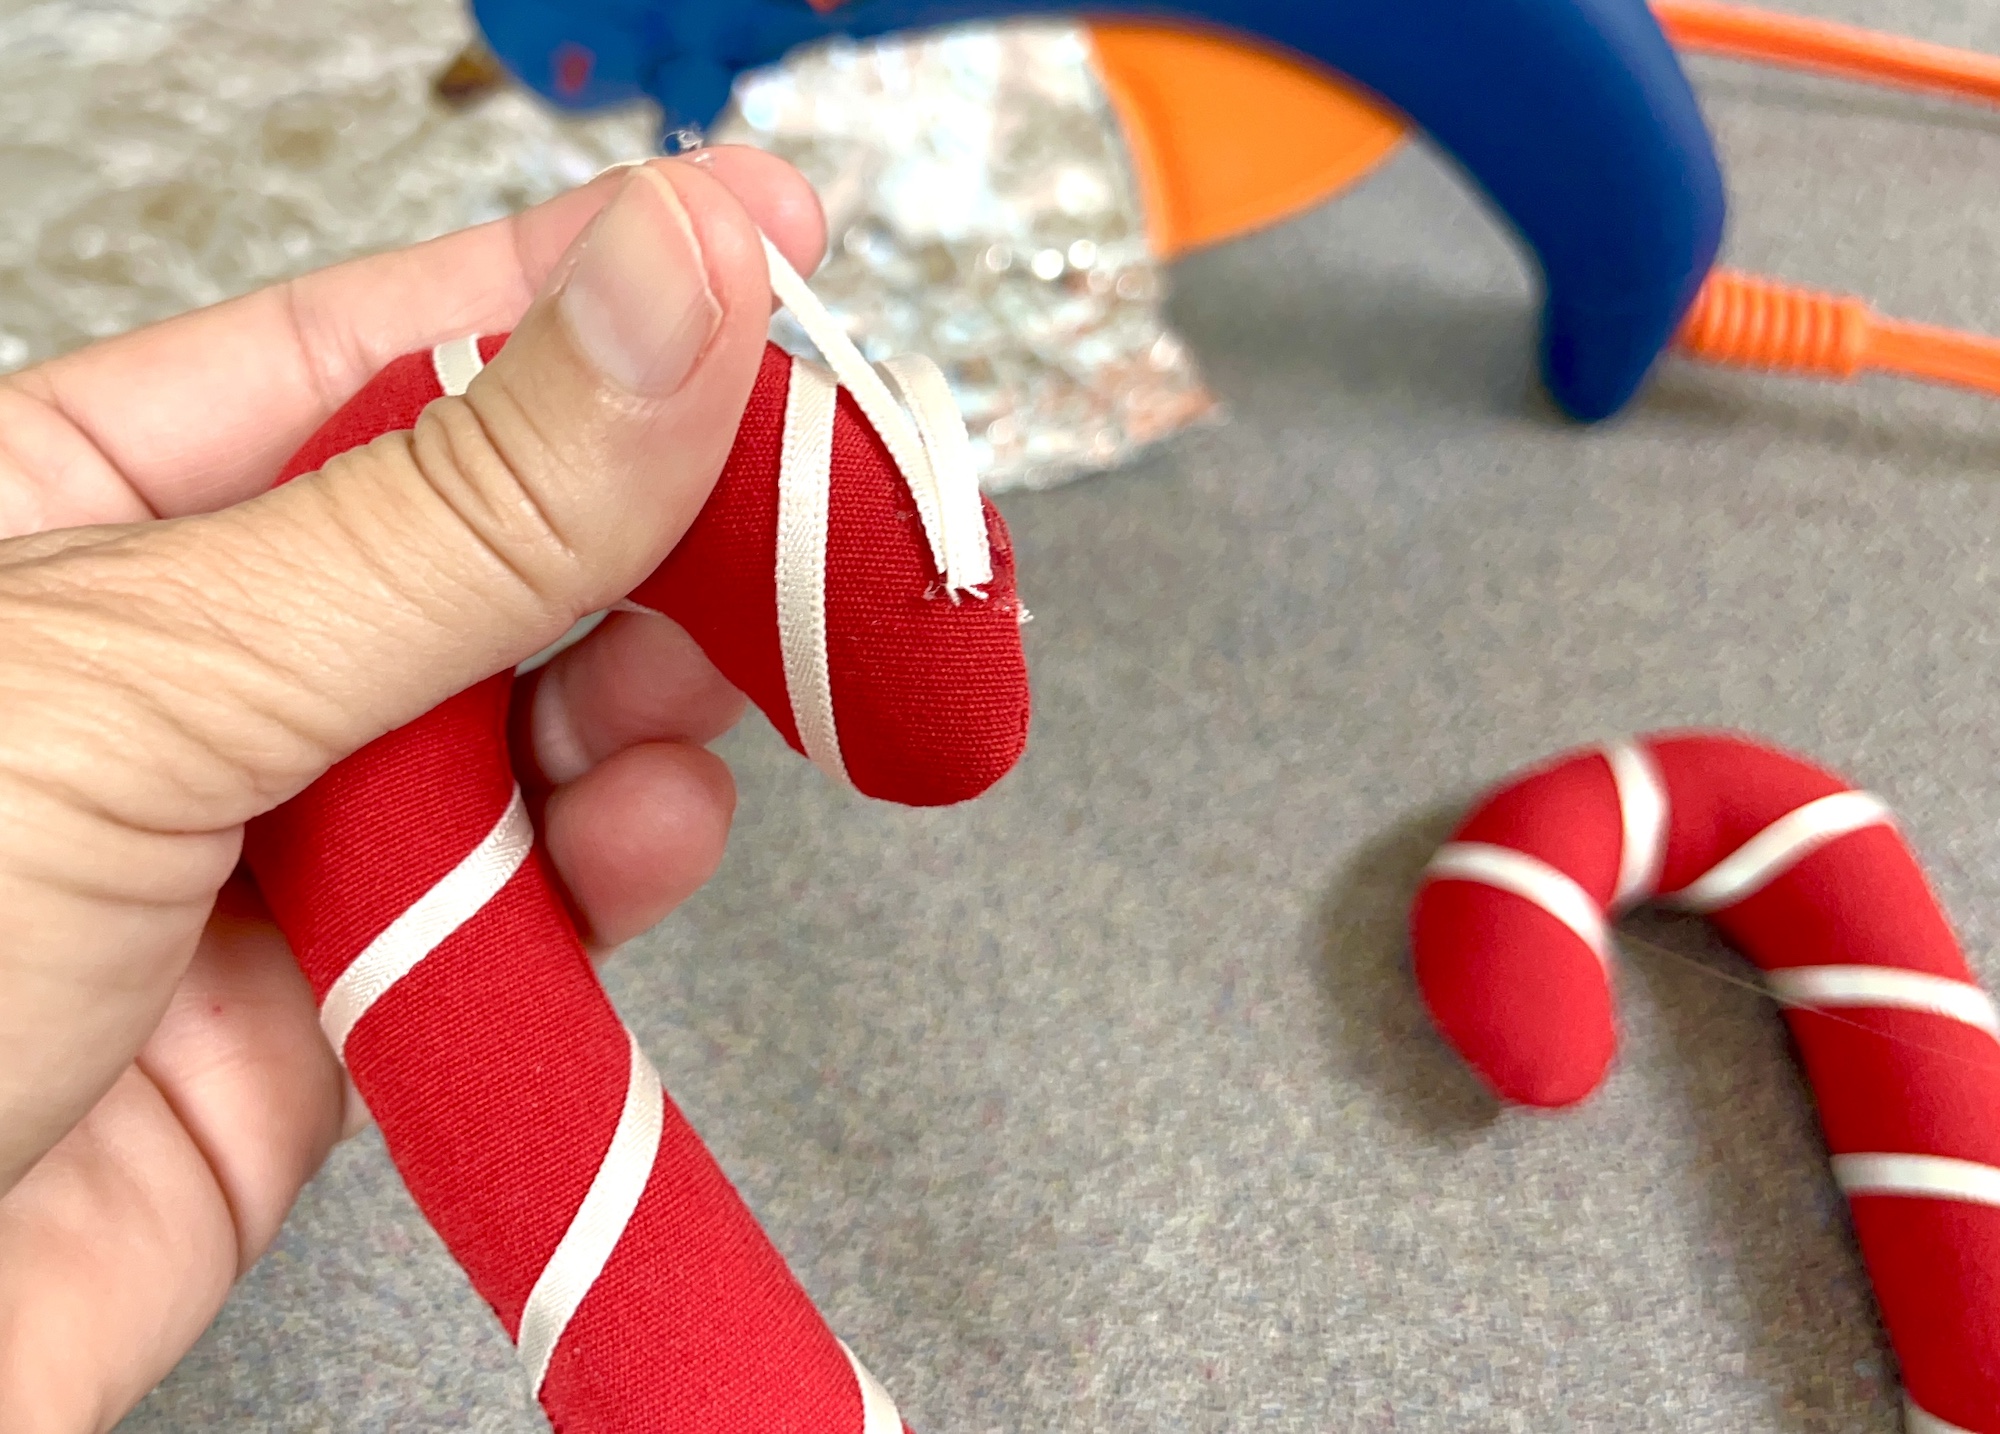
Glue the two candy canes together at each end, using a small drop of hot glue to secure. Don’t press the pieces together like I did, LOL! I had hot glue oozing out onto the fabric and it doesn’t come off. A little bit of glue works fine!
Note: This process can be hand sewn with small stitches instead of glued if you prefer.

Watch how we made this DIY Christmas ornament in our YouTube video below:

Want to save this sewing project for later? Be sure to Pin It on Pinterest or save to Flipboard.

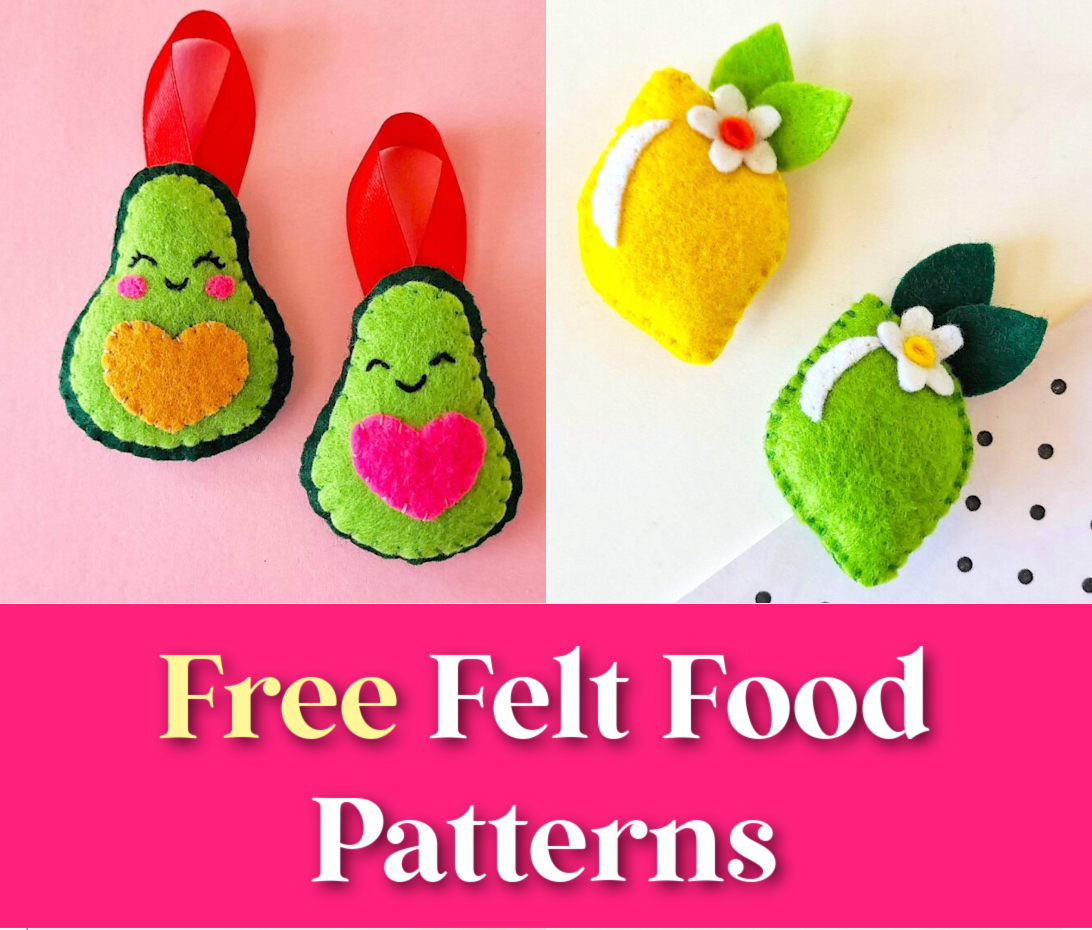
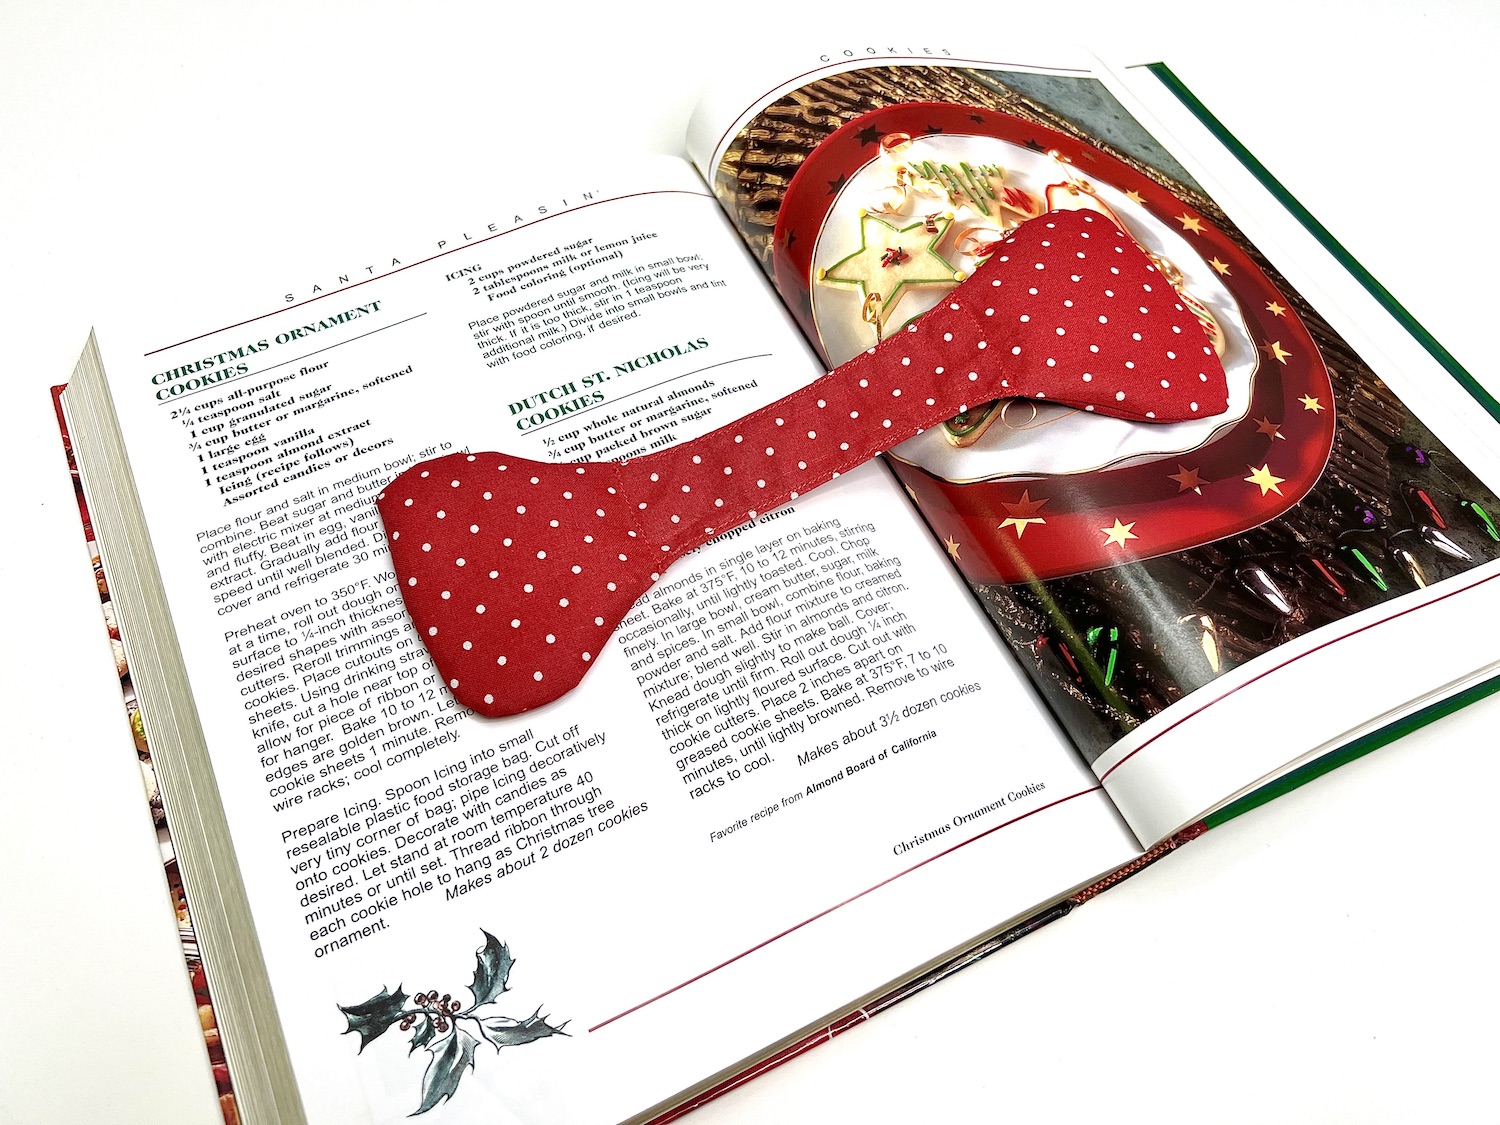
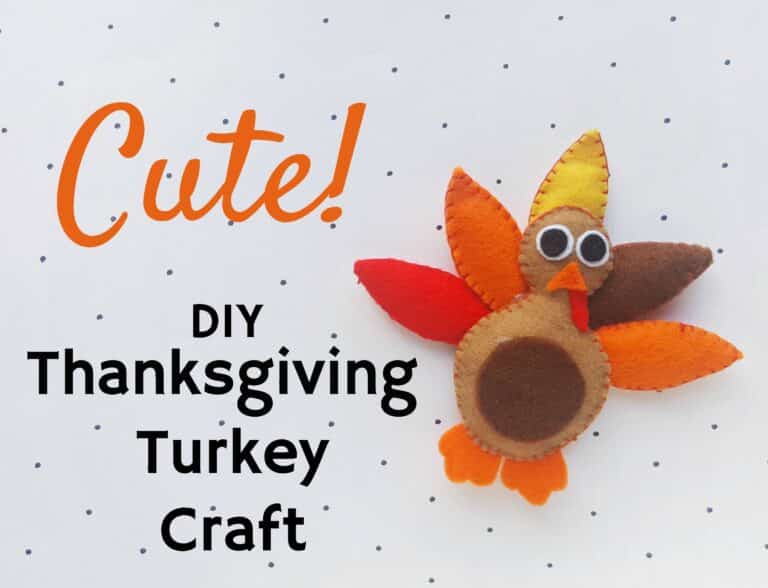
If you love this DIY Candy Cane Christmas Ornament, see these fun ideas next: