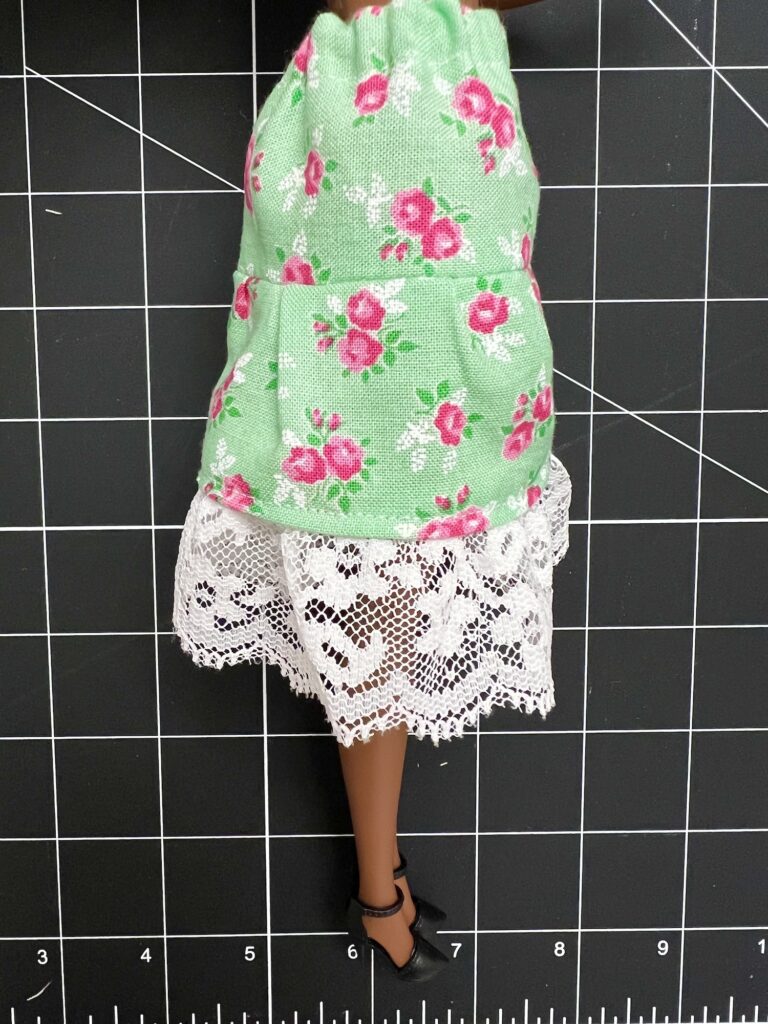
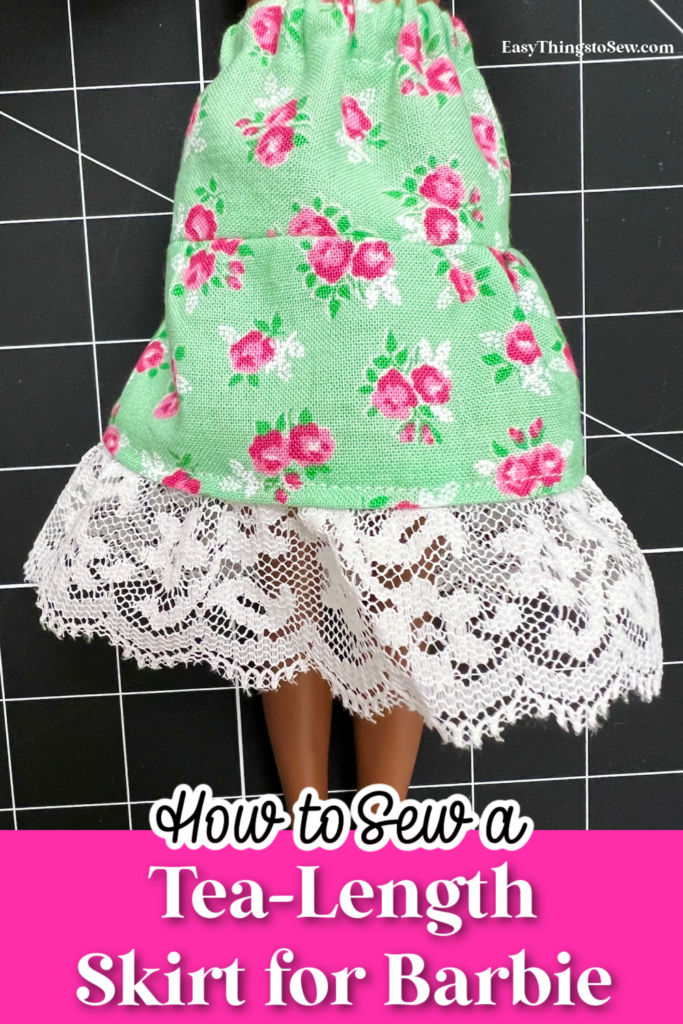
How to Sew a Tea Length Skirt with Lace Ruffle for Barbie
This pretty DIY tea-length skirt for Barbie is great for tea parties, weddings, formals and other elegant events that your fashion doll needs clothes for!
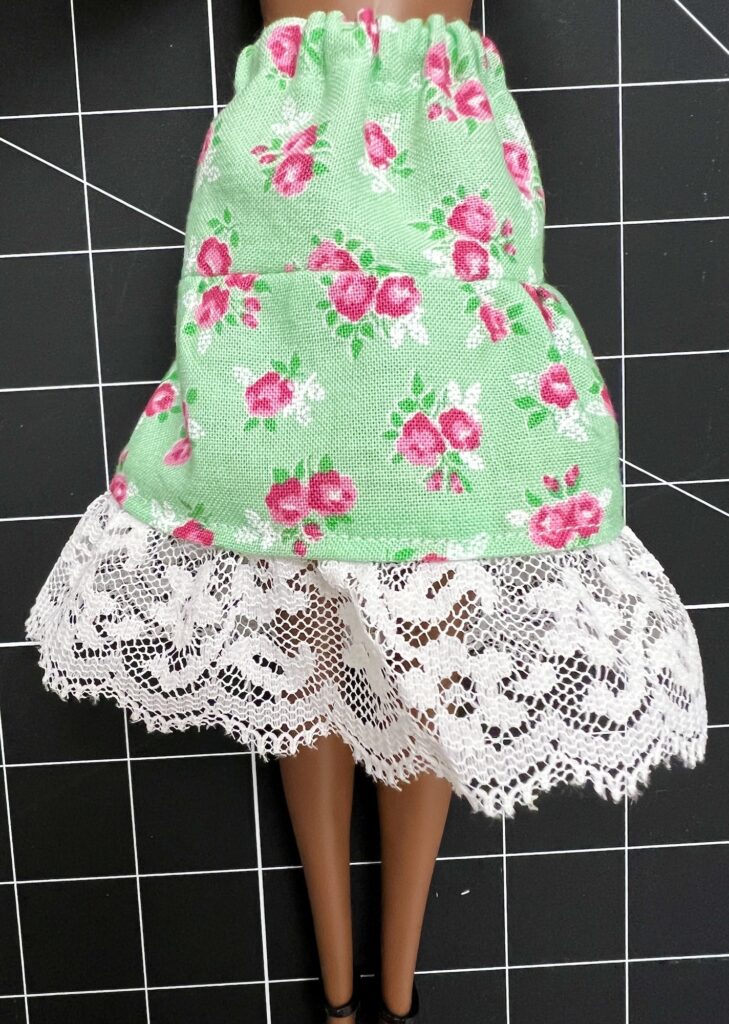
Our easy sewing pattern and step by step tutorial uses just a little bit of fabric, elastic and lace to make a beautiful knee-length skirt with a big lacy ruffle for fashion dolls, including Barbie.
This skirt is very similar to our three-tiered ruffled skirt for Barbie, so if you love this look be sure to see that sewing project, too!
The elastic waist means you don’t have to worry about precise measurements for a fitted look.
This is a very forgiving sewing project with the gathered edges. Even if the seams aren’t completely straight or the fabric isn’t cut completely even, the skirt will still be beautiful!
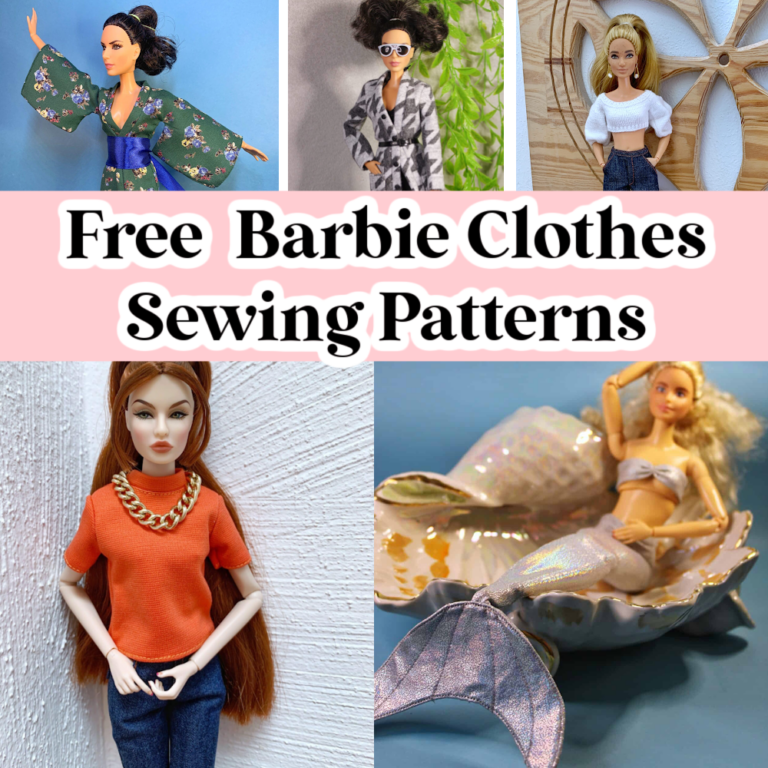
This DIY skirt is just one of the many free sewing patterns for Barbie clothes!
Tea Length Skirt with Lace Ruffle Sewing Pattern
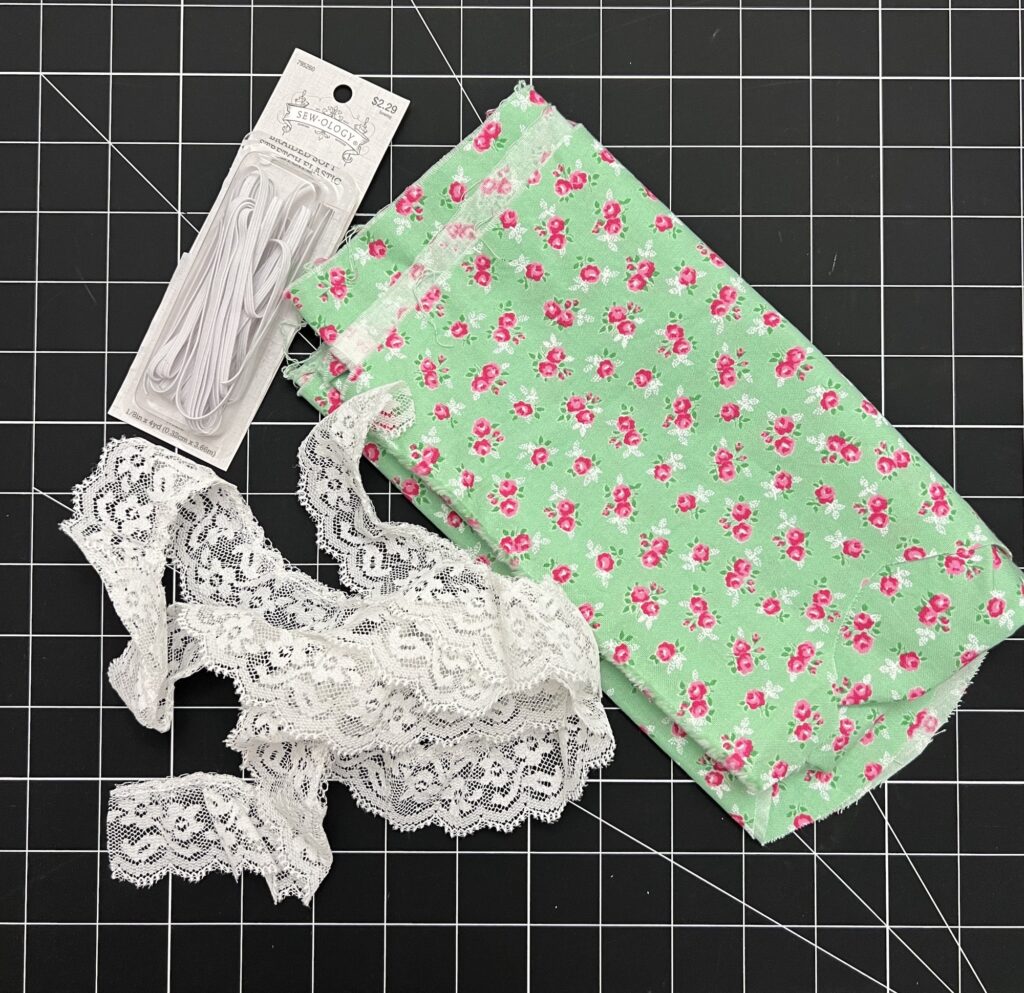
Supplies
- Cotton Fabric (approximately 5 X 10 inches)
- Matching Thread
- 1/8 inch Elastic (4 inch length)
- 1 ½ inch wide lace (10 inch length)
- Sewing clips and/or pins
- Safety pin or bodkin
- Pinking Shears (optional)
Directions
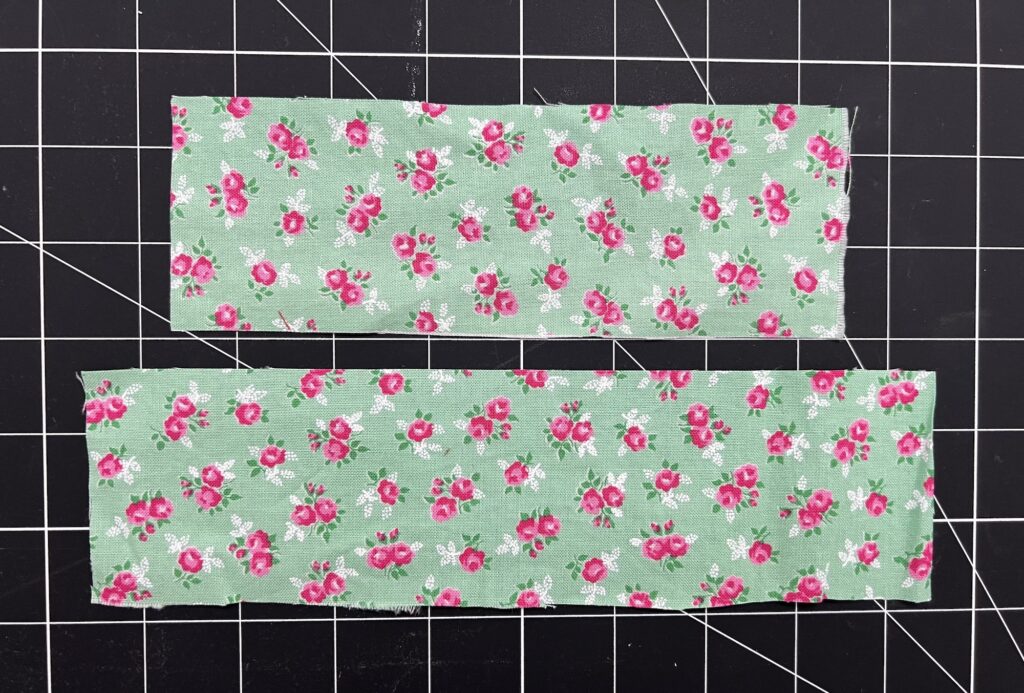
Step 1
Cut out two rectangles of fabric in the following sizes:
- 7 in. X 2 ½ in.
- 10 in. X 2 ½ in.
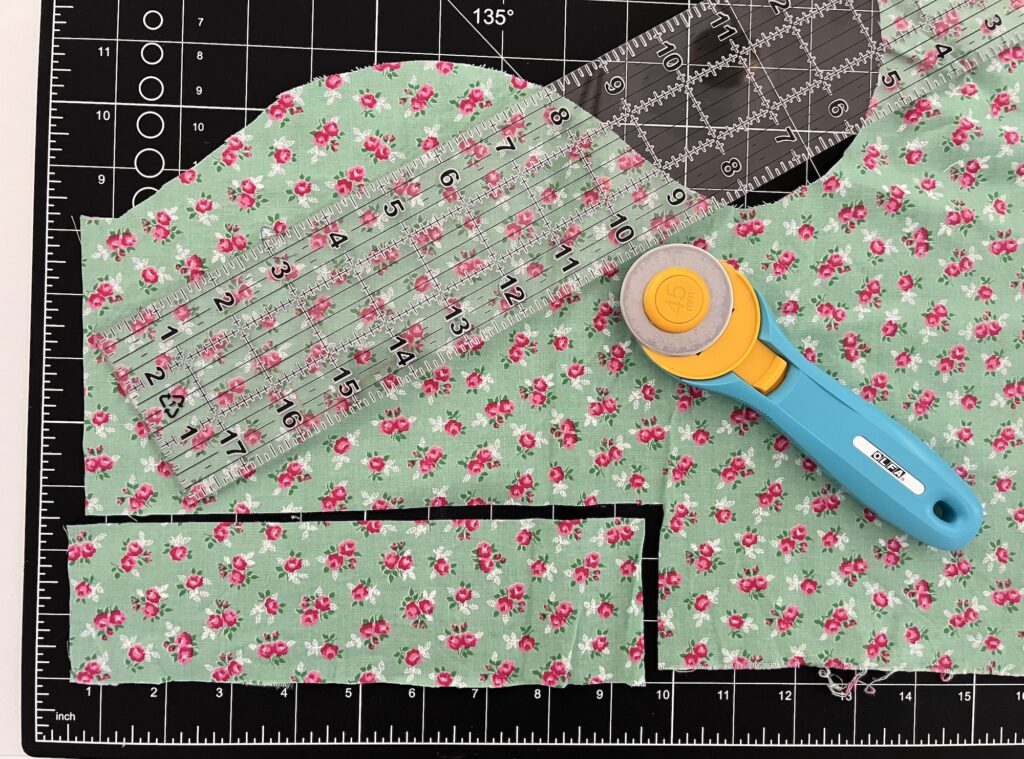
Optional: Cut out the rectangles with pinking shears, zig-zag stitch the edges, or serge the edges of the fabric to prevent fraying and give a more finished look.
This fabric will fray a lot while working with it, and the inside of the skirt won’t look pretty. However, if that doesn’t bother you, then it’s fine to just use normal sewing scissors.
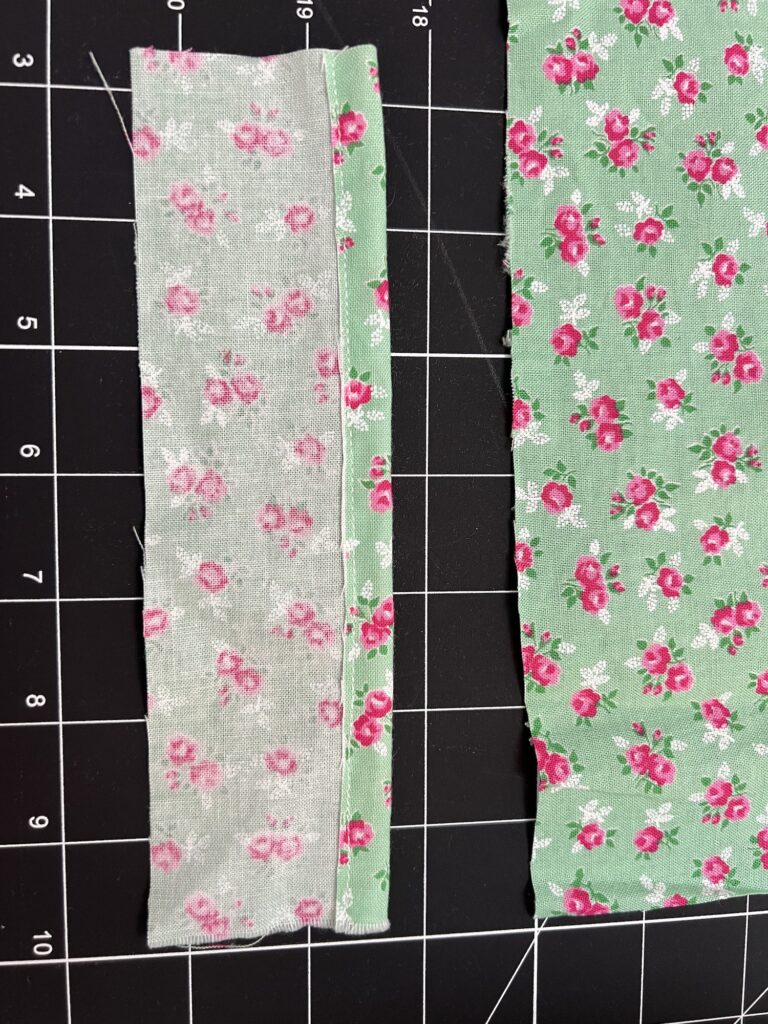
Step 2
Using the smallest rectangle piece, turn over one of the long sides ¼ inch and sew the seam near the cut edge. This will be the casing for the elastic and the top of the skirt.
Step 3
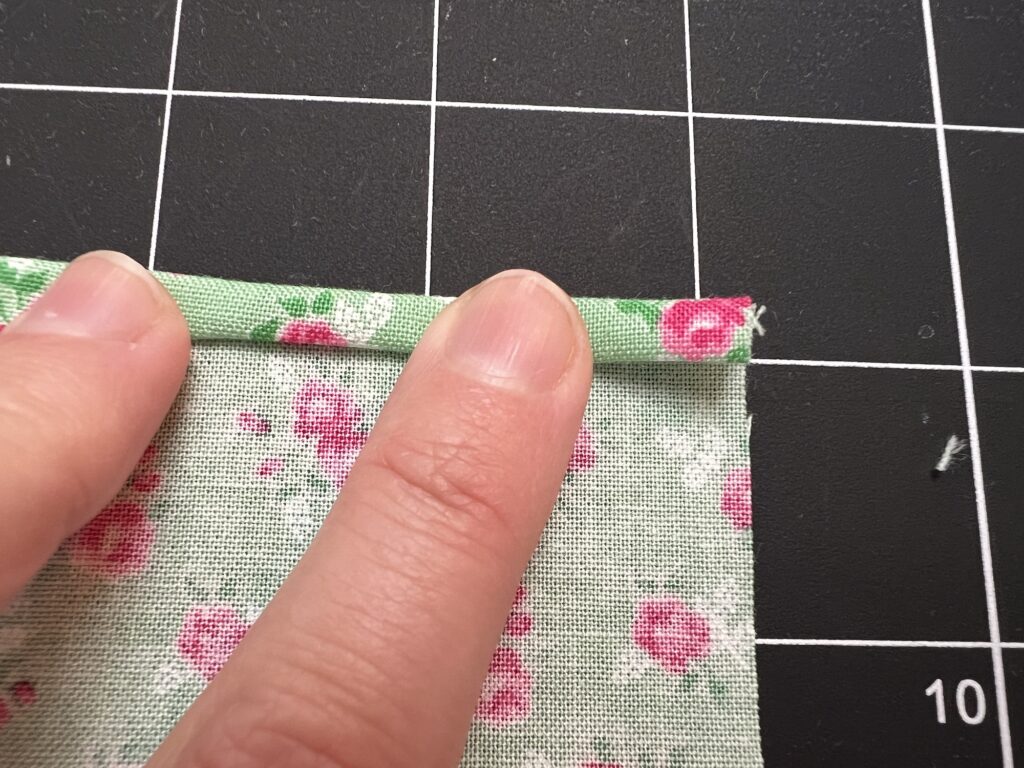
With the larger rectangle, on one of the long edges make a ¼ inch rolled hem. Fold the fabric over ¼ inch, then roll the fabric over again another ¼ inch. Pin or clip in place.
Step 4
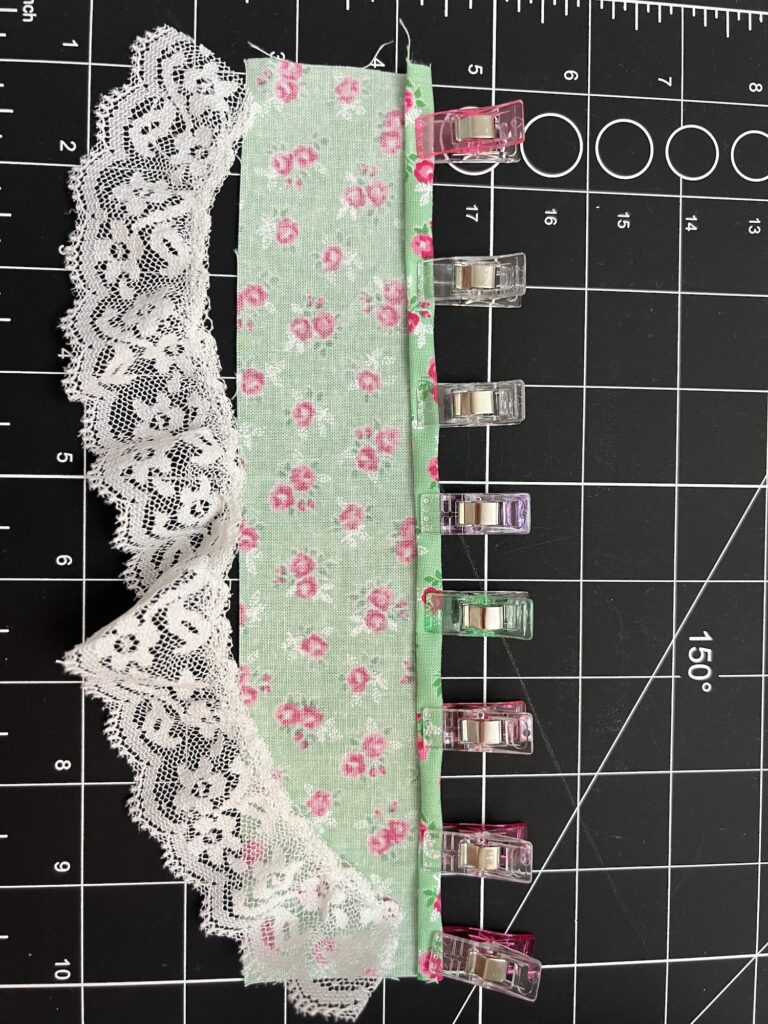
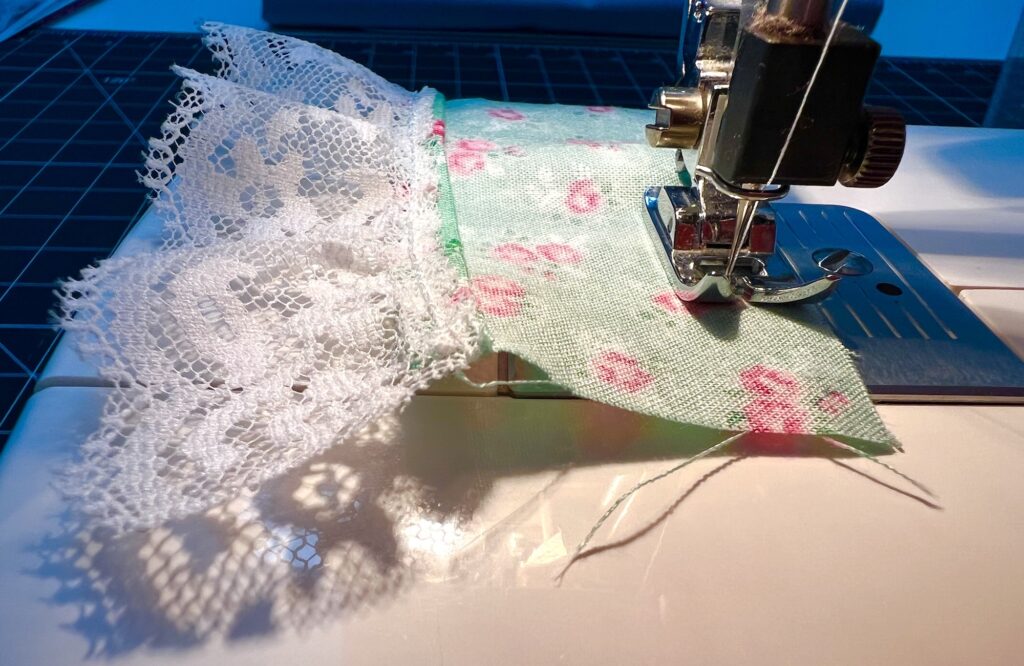
Now lay the straight edge of the 10-inch piece of lace on top of the rolled hem. Make sure the seam and stitching on top of the lace is hidden along the rolling hem and won’t be visible on the outside of the skirt.
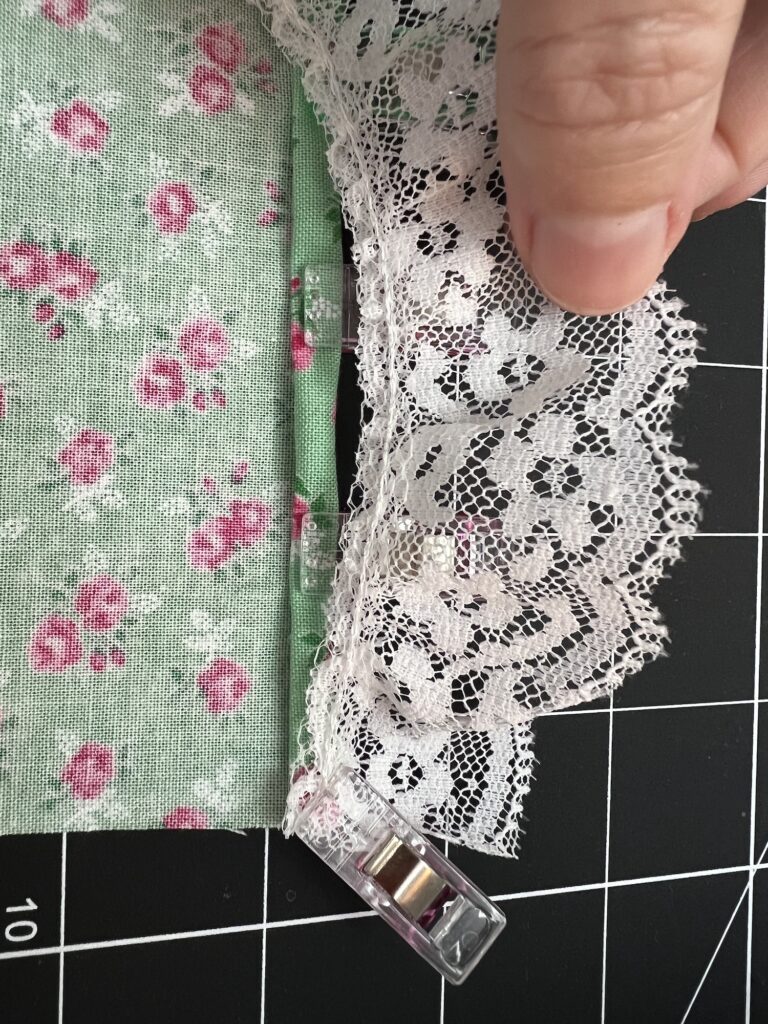
Adjust the pins to include the lace.
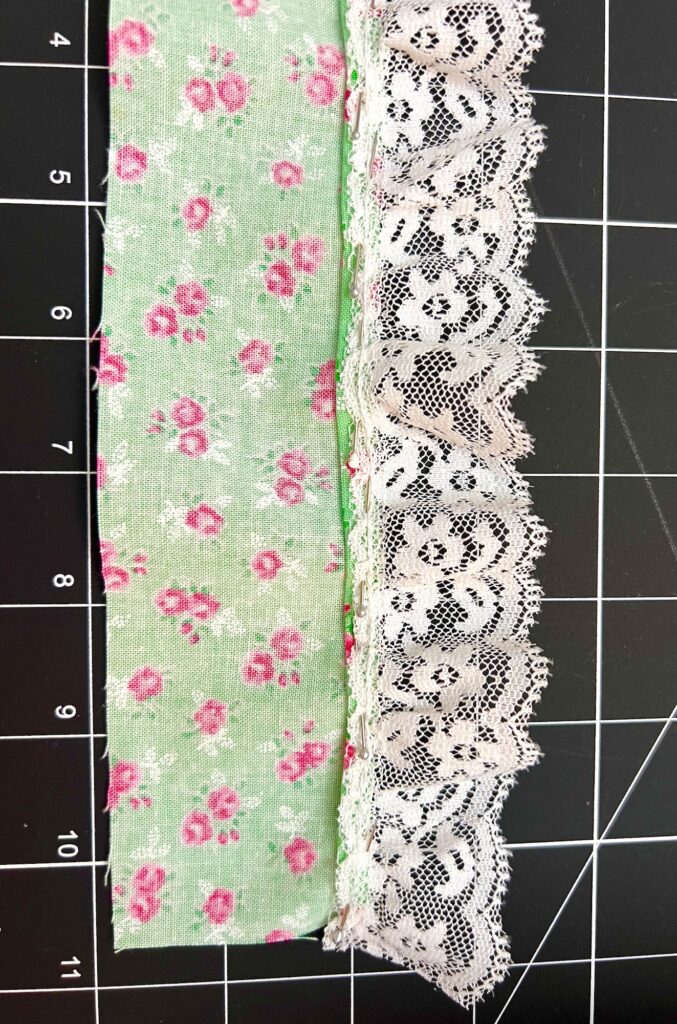
Sew the seam close the edge. I followed the stitching of the seam on the top of the lace so that I knew I was stitching straight.
Step 5
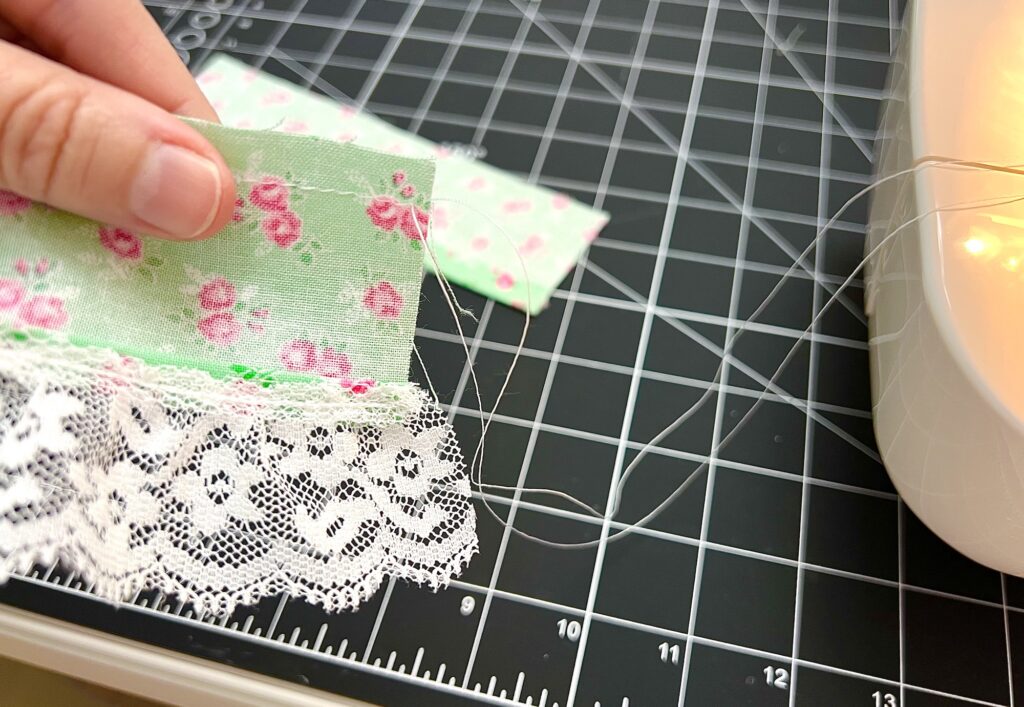
Sew a basting stitch (either on the sewing machine or by hand) along the other long side about ¼ inch from the edge.
(For a basting stitch, I choose the longest straight stitch length on my sewing machine. Nothing fancy or too complicated.)
Leave a long piece of thread on either side of the rectangle to gather the fabric (don’t cut the thread close to the fabric as you usually would).
Gather the fabric by gently pulling on the thread and making puckers. Using your fingers, slide the puckered fabric down along the long edge to evenly distribute the gathers.
There is no need to tightly gather all of the fabric or to even out the gathers yet. Just gather about 50-75% of the fabric to get the process going.
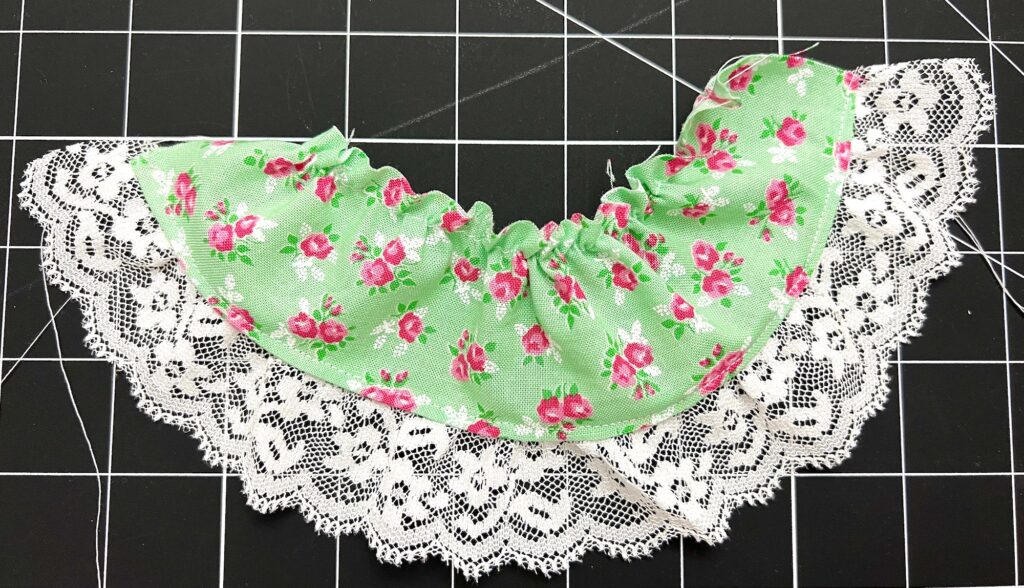
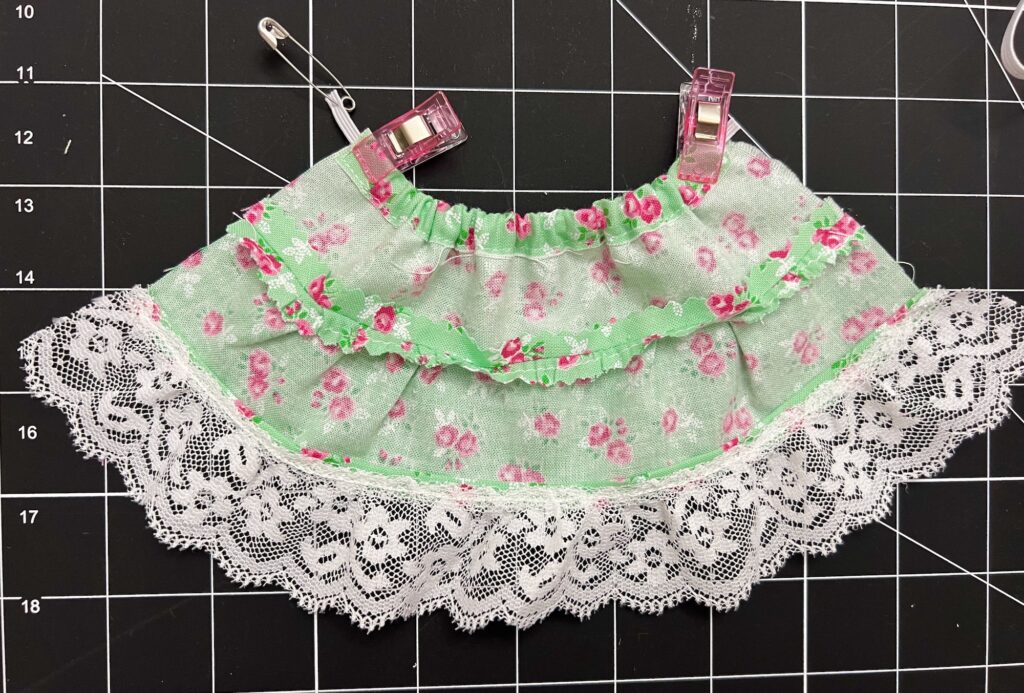
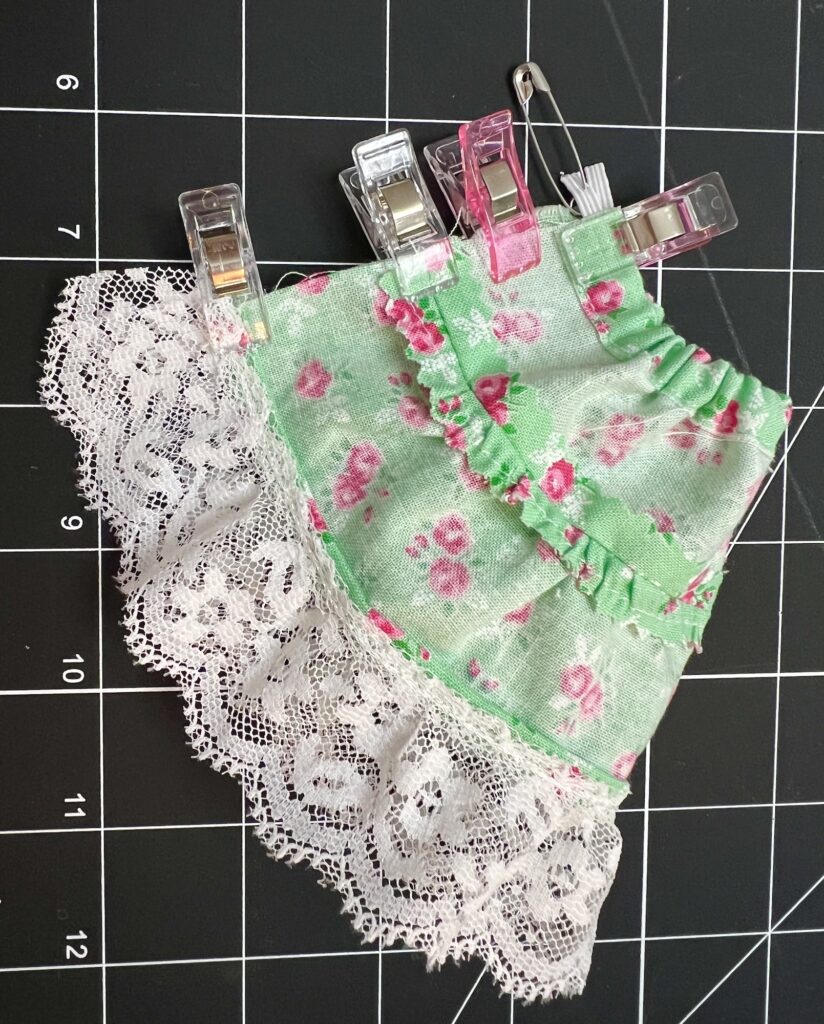
With rights sides together, place that gathered edge of the rectangle on the unfinished long edge of the short piece. Match up the sides of the rectangles and pin or clip together.
Note: The gathered fabric will be much bigger than the other piece and will pouf out. That is fine!
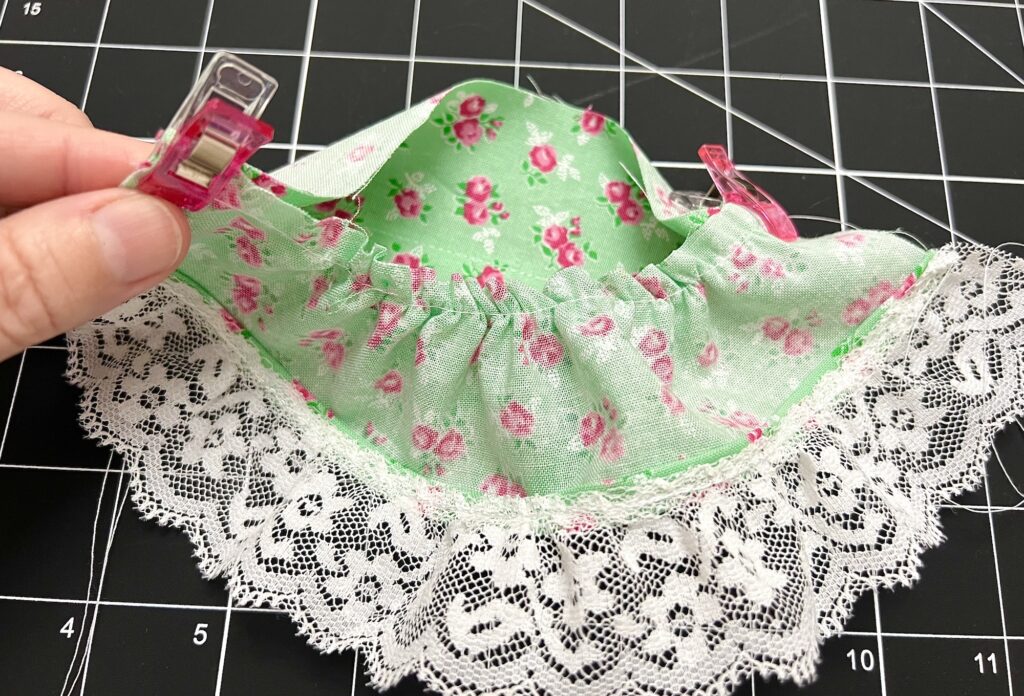
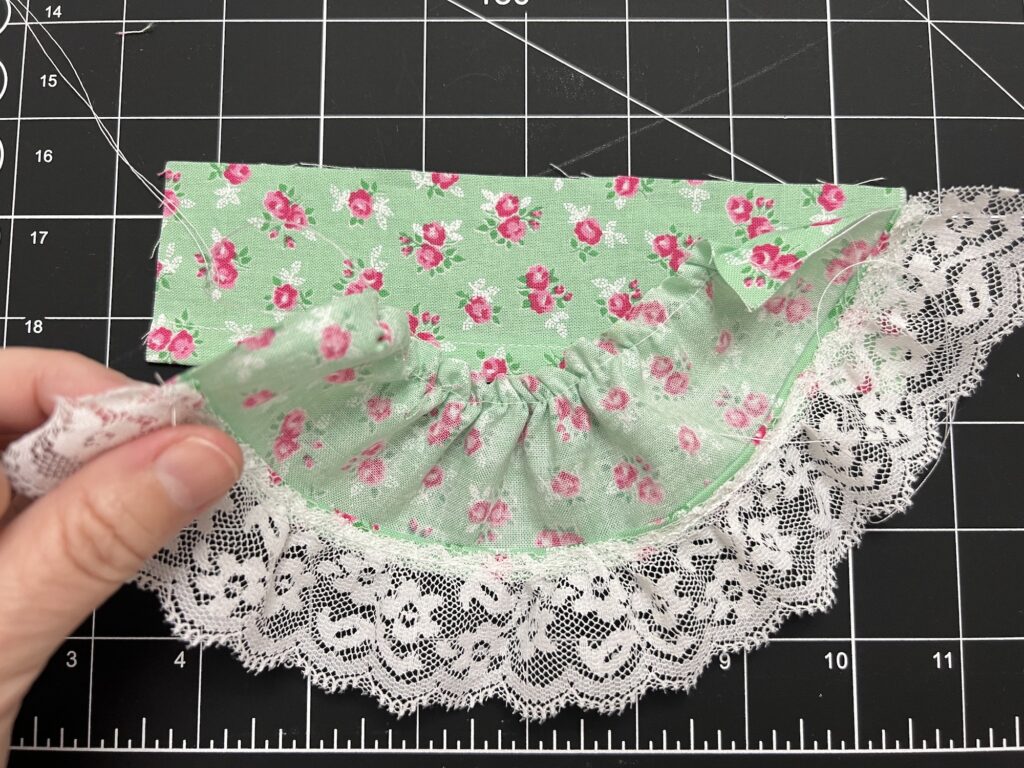
Now, slightly pull on the gathers to spread them out farther. Evenly distribute the gathers along the edge and space them out until the length of the fabric matches the length of the shorter piece.
You will want to leave ½ inch on either side of the fabric ungathered because those will be in the seam allowance later.
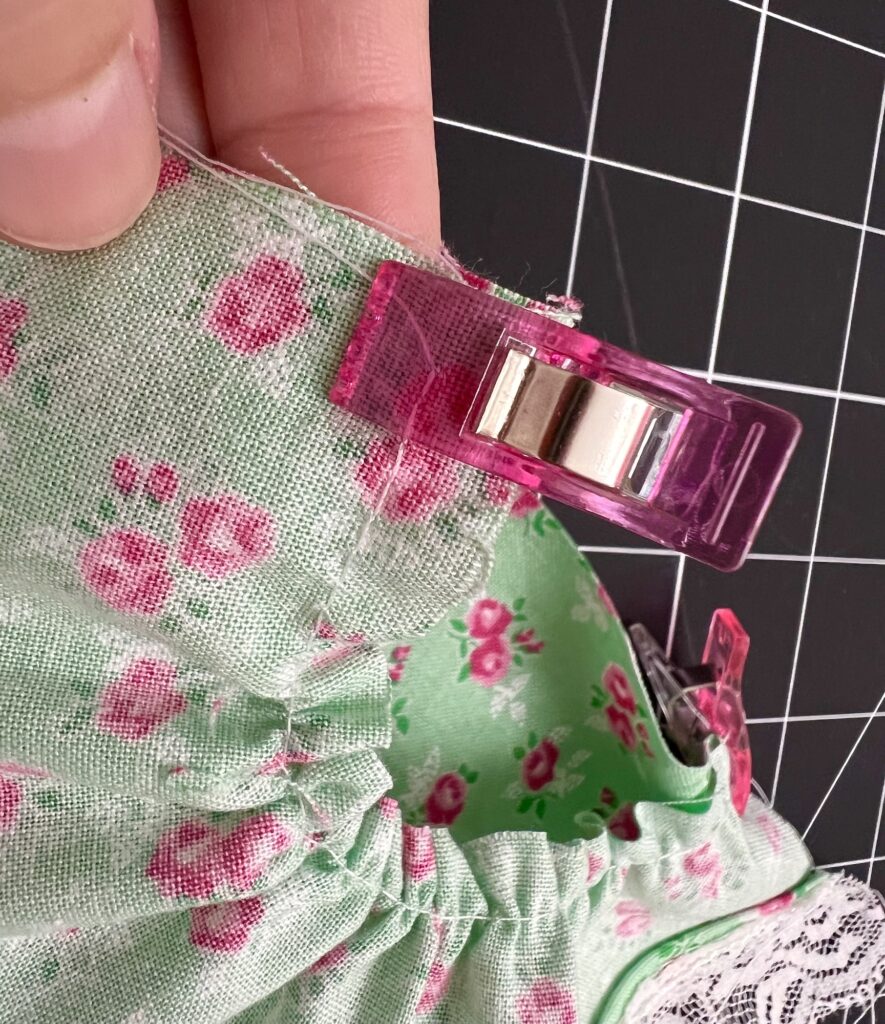
Pin or clip the fabric pieces together.
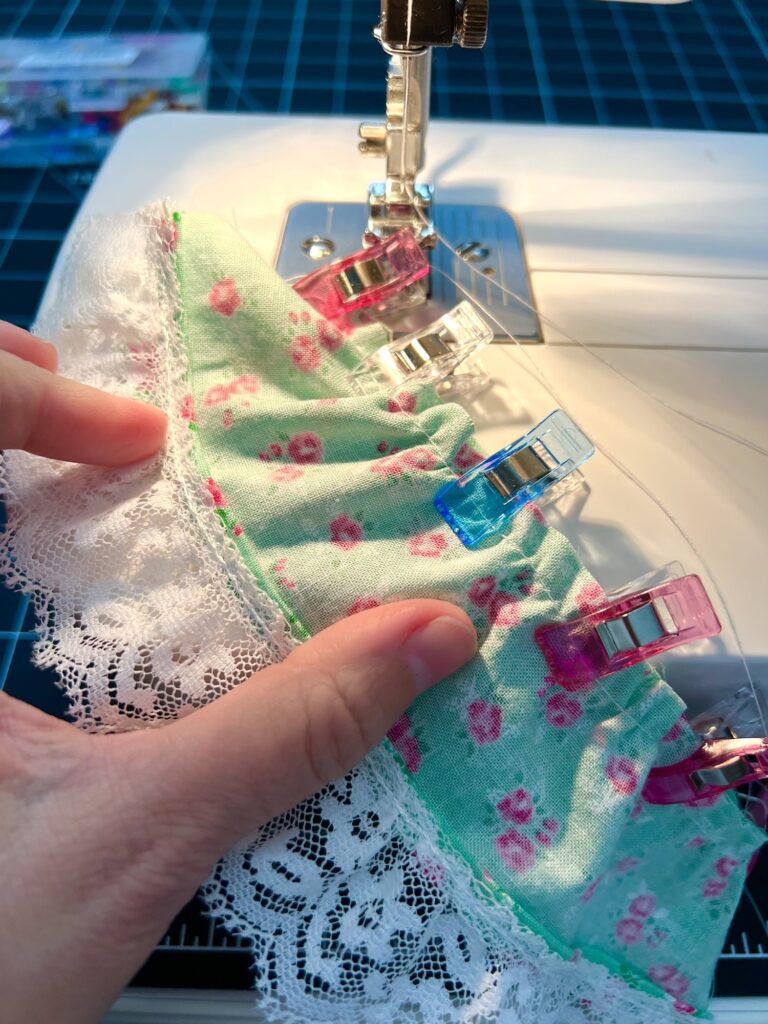
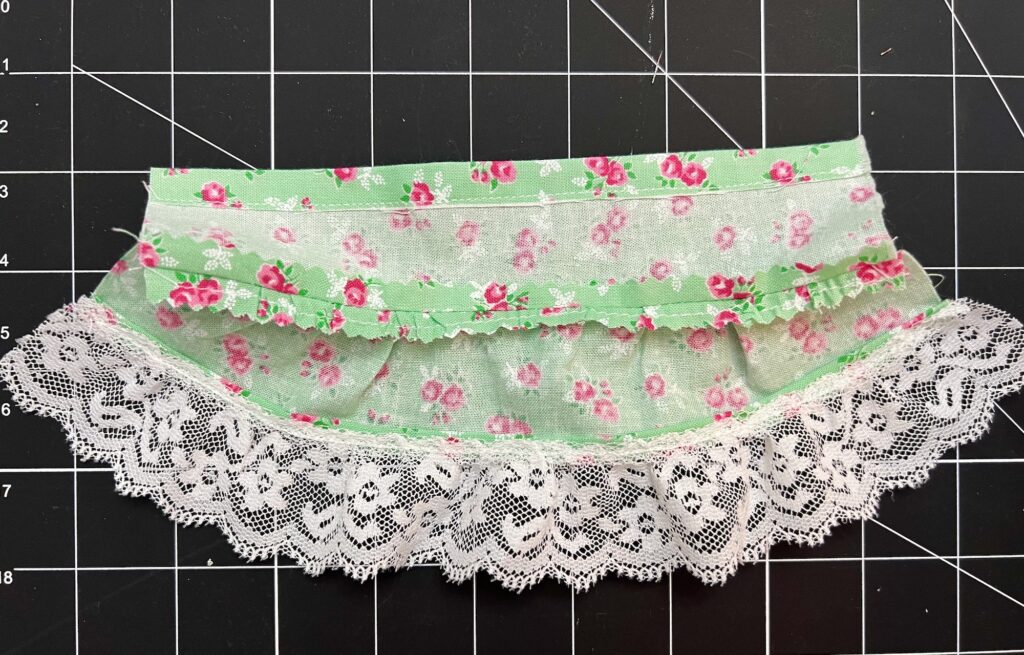
Step 6
Sew the fabric together, using a 3/8 inch seam allowance. You will want to make sure that the stitched seam is below the basting stitches so that you don’t see the basting stitches.
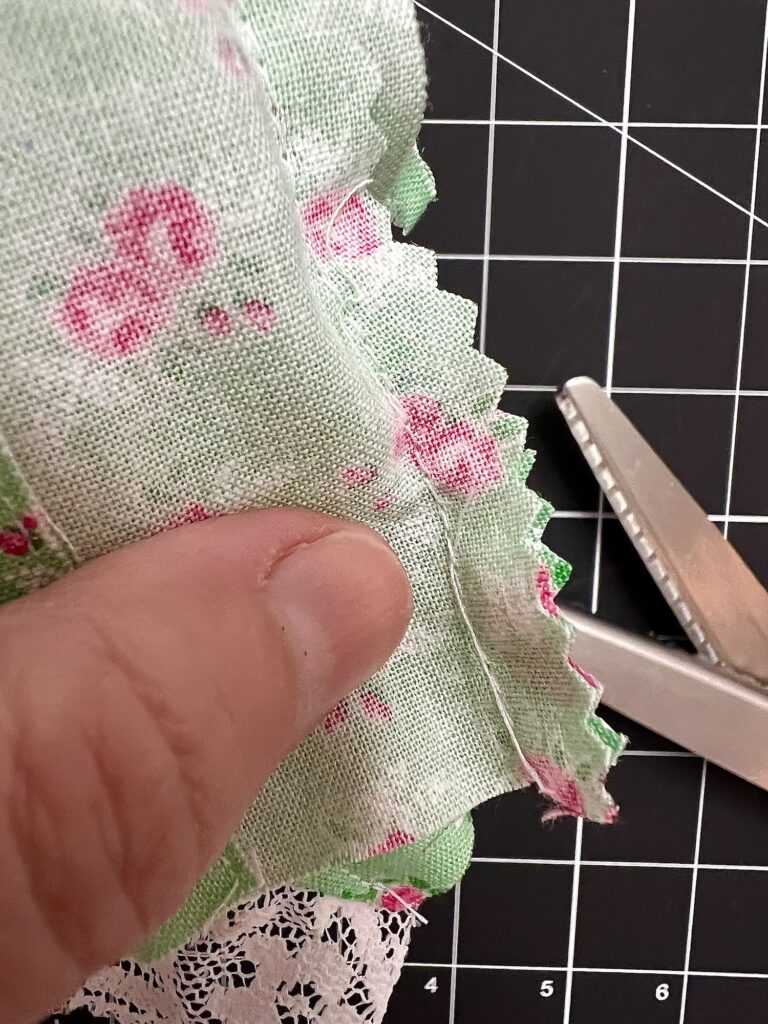
Optional: Carefully trim the seam allowance with pinking shears to help prevent fraying and reduce bulk.
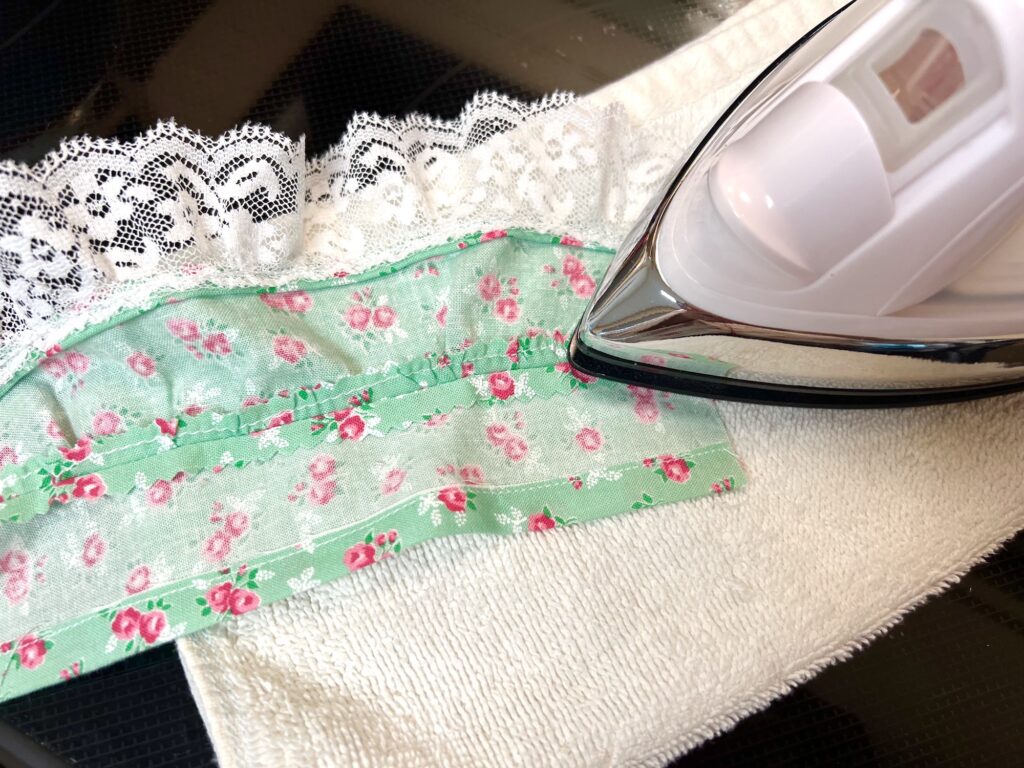
Press the seams open with a hot iron.
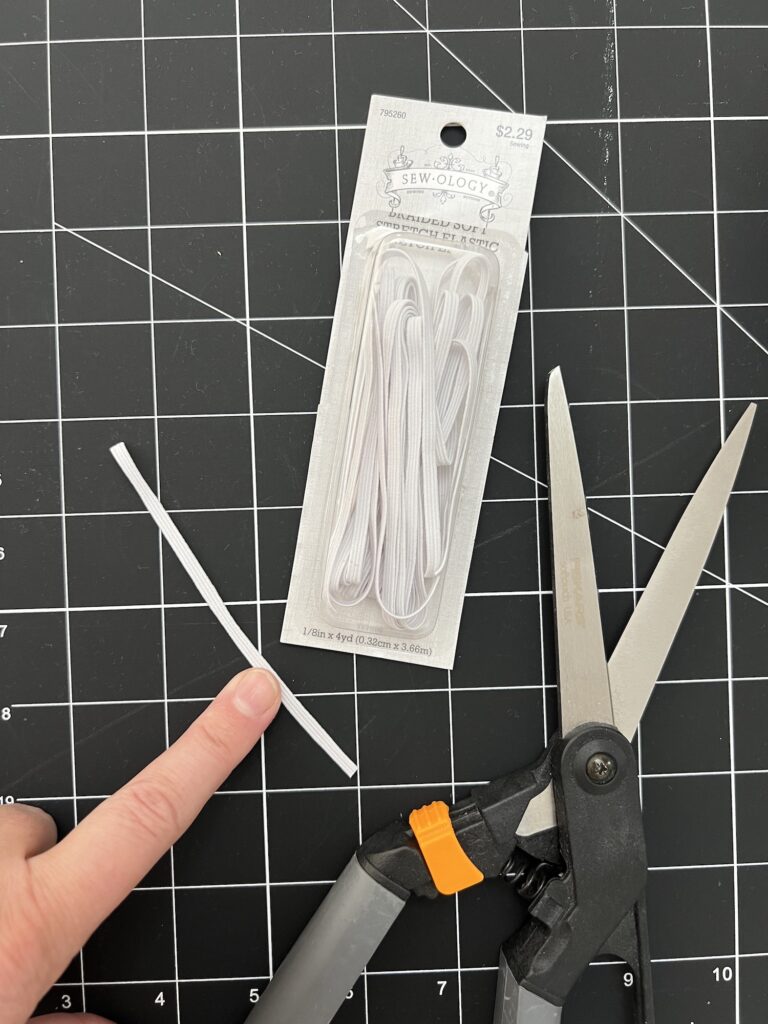
Step 7
Cut a 4 inch piece of elastic.
Step 8
Attach a small safety pin to one of the cut ends of the elastic.
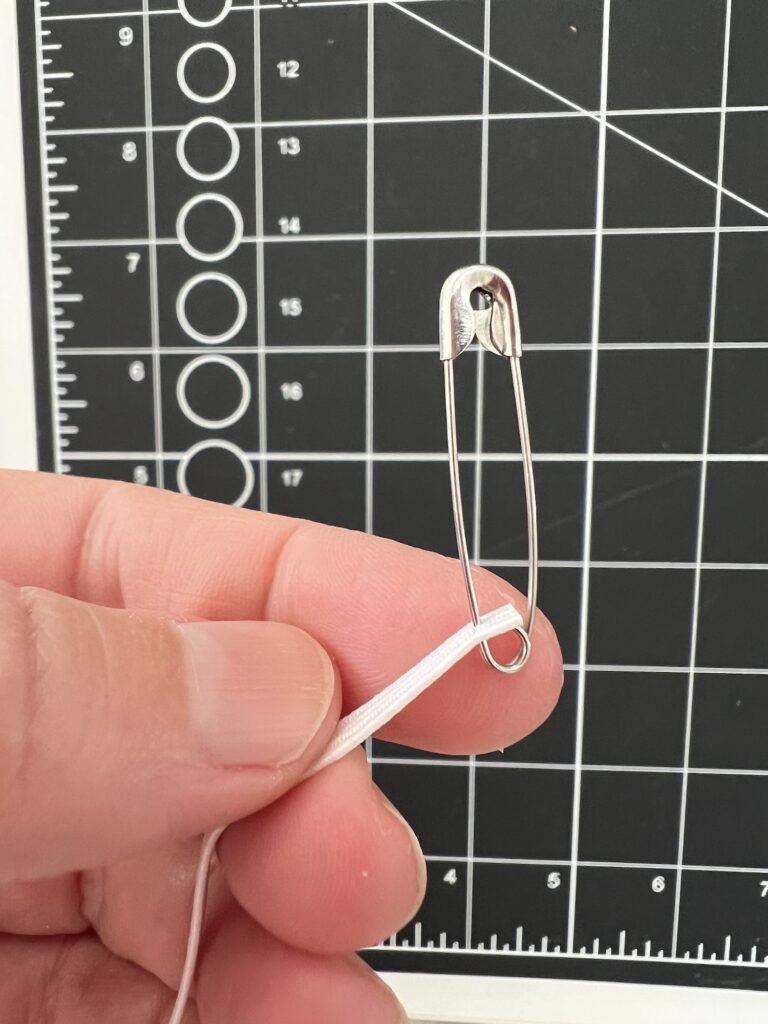
Insert the safety pin into the casing on the top of the skirt fabric. Start pushing and pulling the safety pin through the casing.
When the elastic is almost pulled through on one end of the casing, clip it or pin it so that the elastic is not pulled through the casing. Leave just a little bit of elastic hanging out of the casing.
Pull the safety pin through the casing and out the other side. Again, pin or clip the elastic, with just a little bit hanging out of the casing.
Step 9
Fold the skirt in half, with the right sides together. Match the seams and cut edges and pin in place.
Sew the skirt closed with a 3/8 inch seam allowance, being sure to sew through the lace, as well.
Helpful Tip: This can be tricky to do with the elastic, because you need to make sure that the elastic doesn’t slip into the casing. I grasped the elastic and pinched together on the outside of the casing while positioning the top of the skirt underneath the presser foot. I quickly inserted the needle into the elastic and started stitching, doing a backstitch at least once through the entire casing area to really secure the elastic. I have backstitched twice over the casing just to be really sure it is secure!
Step 10
Trim some of the excess fabric off of the seam to reduce bulk.
If you would like, you could finish off the raw edges with pinking shears to tidy up the edges and prevent more fraying if you haven’t already pinked the edges, zig-zag stitched or serged them.
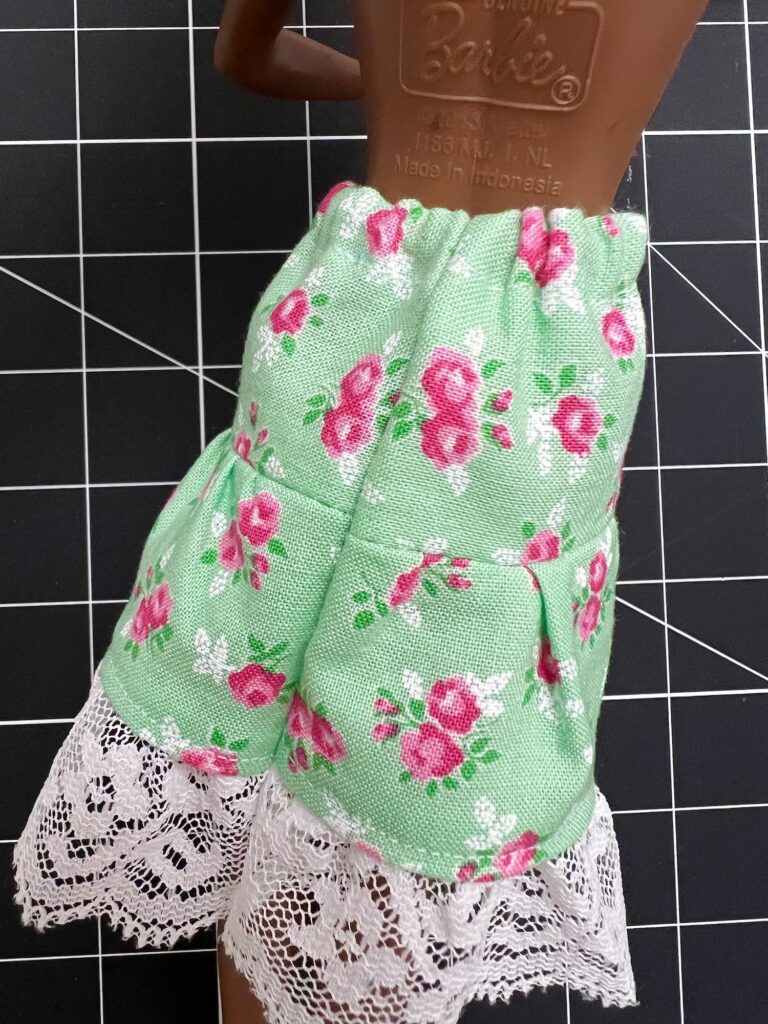
Turn the skirt inside out.
Helpful Tips I Learned From Making a Barbie Skirt
- Choose a solid color or small, non-directional print for best results. Large prints are too big for Barbie clothing and directional prints (such as vertical stripes) can be frustrating to work with.
- 100% quilter’s cotton is recommended as the best fabric that will hold a shape when sewing the tiers together.
- You can choose one color fabric, or two. Consider making one tier a different pattern or coordinating fabric.
- Different sizes of lace could be substituted. Choose smaller or larger lace or eyelet for a different look.
- Just because this DIY Barbie skirt is small and for a child’s toy, don’t think that this sewing project is easier than others. In fact, sewing doll clothes can be more challenging and frustrating because of the small size and fidgety details.
Our easy Barbie tank top sewing pattern would look lovely with this knee-length skirt.
Want to save this idea for later? Be sure to Pin It to Pinterest!
If you love this easy Barbie doll skirt, be sure to see these quick and easy Barbie clothes sewing patterns, too:
- Barbie Tube Dress (Only 1 line of stitching!)
- Easy Barbie Dress with Sleeves
- How to Sew a T-shirt for Barbie
- Barbie Bathing Suit
- How to Sew Barbie Underwear
These Barbie clothes sewing patterns are just one of the 22 Operation Christmas Child Sewing Projects that are perfect to make for kids!