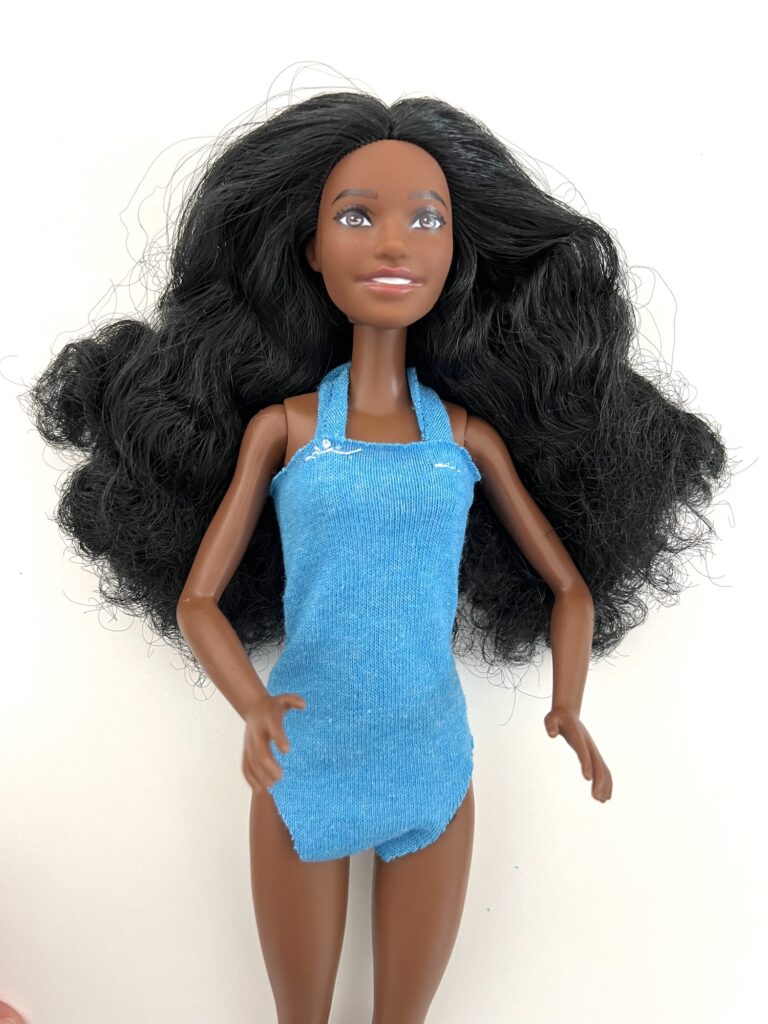
How to Sew a Swimsuit for Barbie
Our swimsuit sewing pattern for Barbie and other fashion dolls is quick and easy!
Use a small piece of t-shirt fabric, knit jersey or spandex to easily sew a bathing suit in four easy steps!
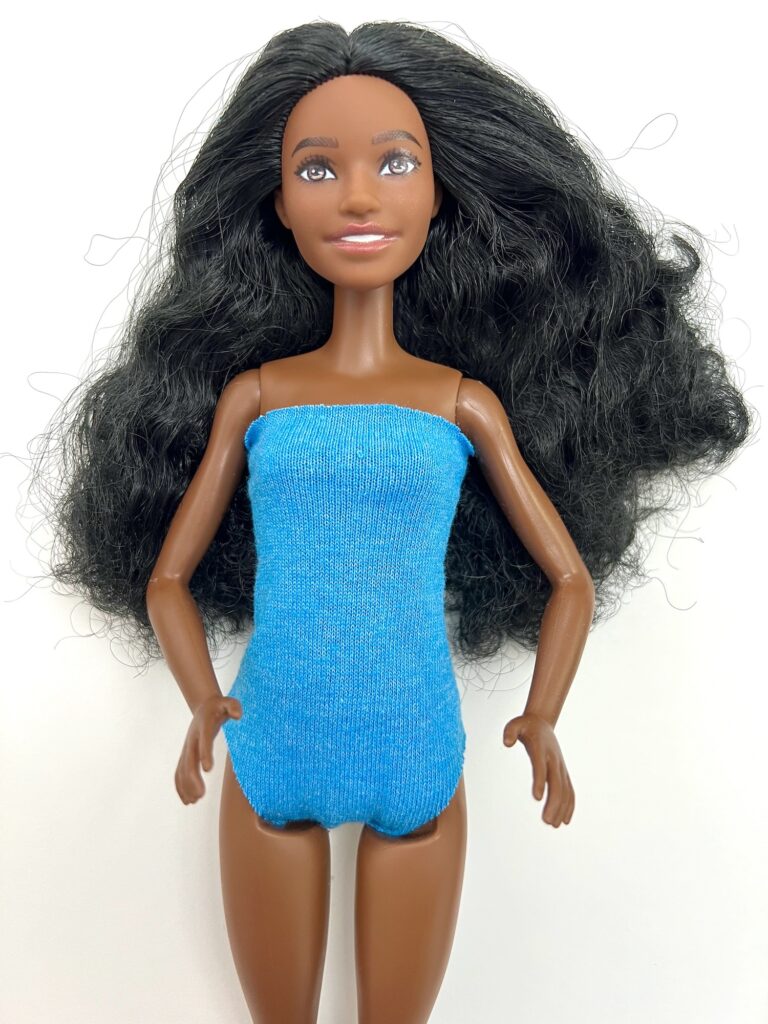
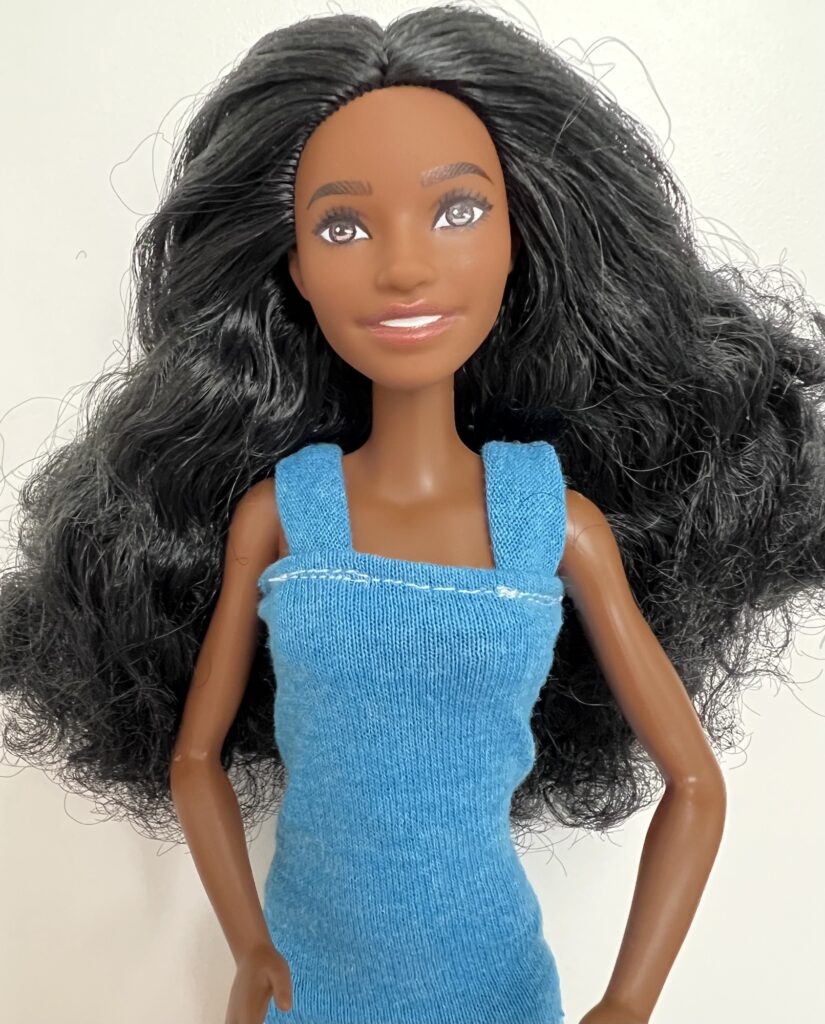
Our one-piece swimsuit sewing pattern makes a great addition to your Barbie clothes wardrobe! It can be made as a strapless swim suit or a halter top that ties behind the neck.
We used an old t-shirt. The stretchy jersey knit fabric is great for making doll clothes because it will not fray, so you don’t have to worry about sewing fussy hems. Spandex or swimsuit material will also work.
The great thing about this sewing pattern is that you can easily use a hand needle and thread to make the top without needing a sewing machine.
This step-by-step tutorial is very similar to our easy underwear for Barbie dolls sewing pattern.
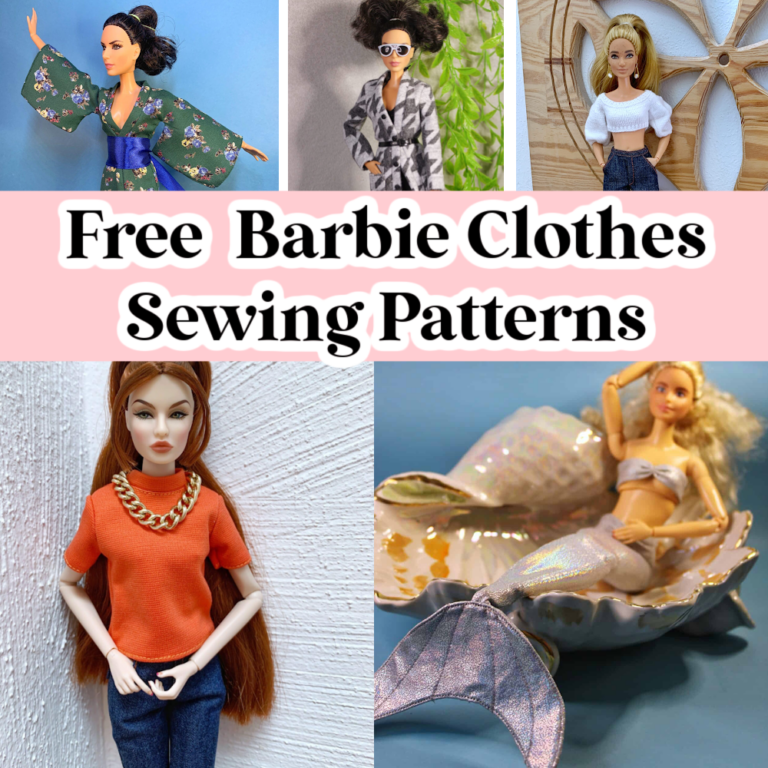
This easy sewing project for clothes for Barbie and other fashion dolls is just one of the many Free Barbie Sewing Patterns that we share!
How to Sew a Bathing Suit for Barbie and Other Fashion Dolls
Supplies
- Free Barbie Bathing Suit Pattern Template
- T-shirt or jersey knit fabric (around 8 in. X 5 in.) (21 X 13 cm)
- Matching Thread
- Scissors
- Sewing machine
- Pinking shears (optional)
Directions
Step 1
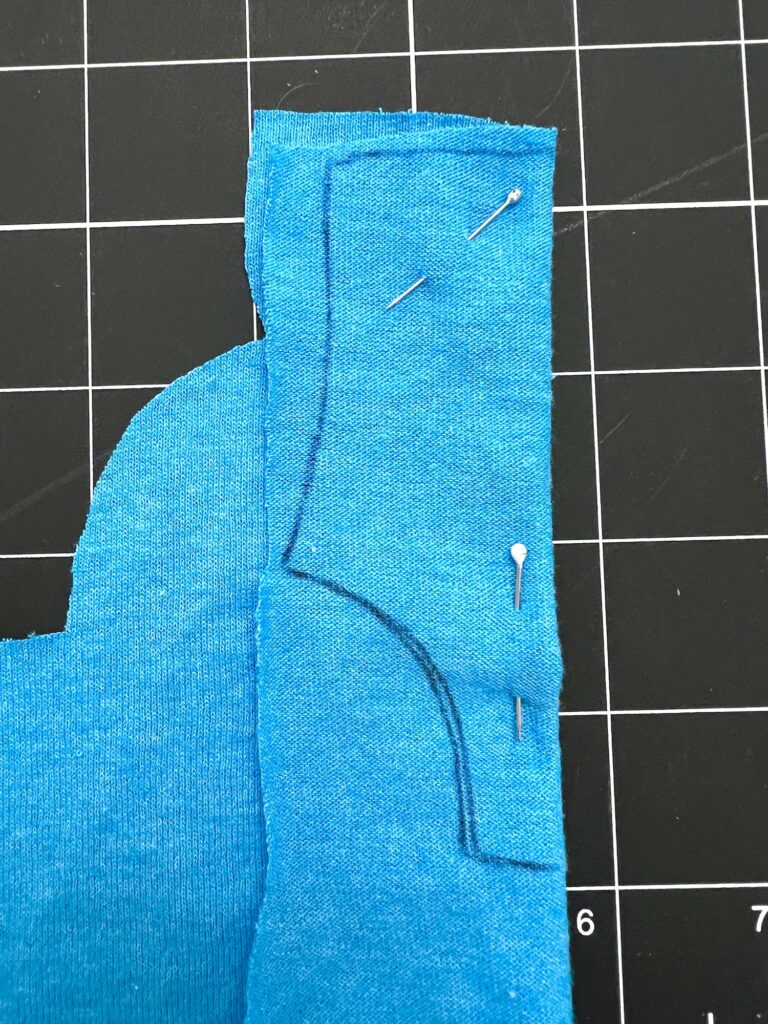
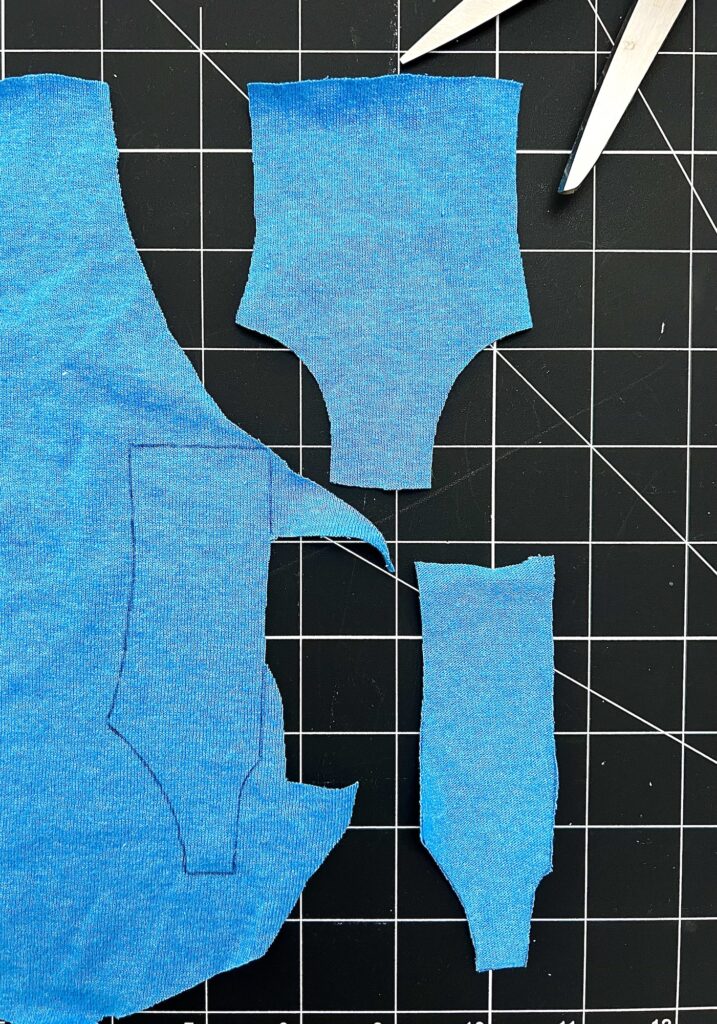
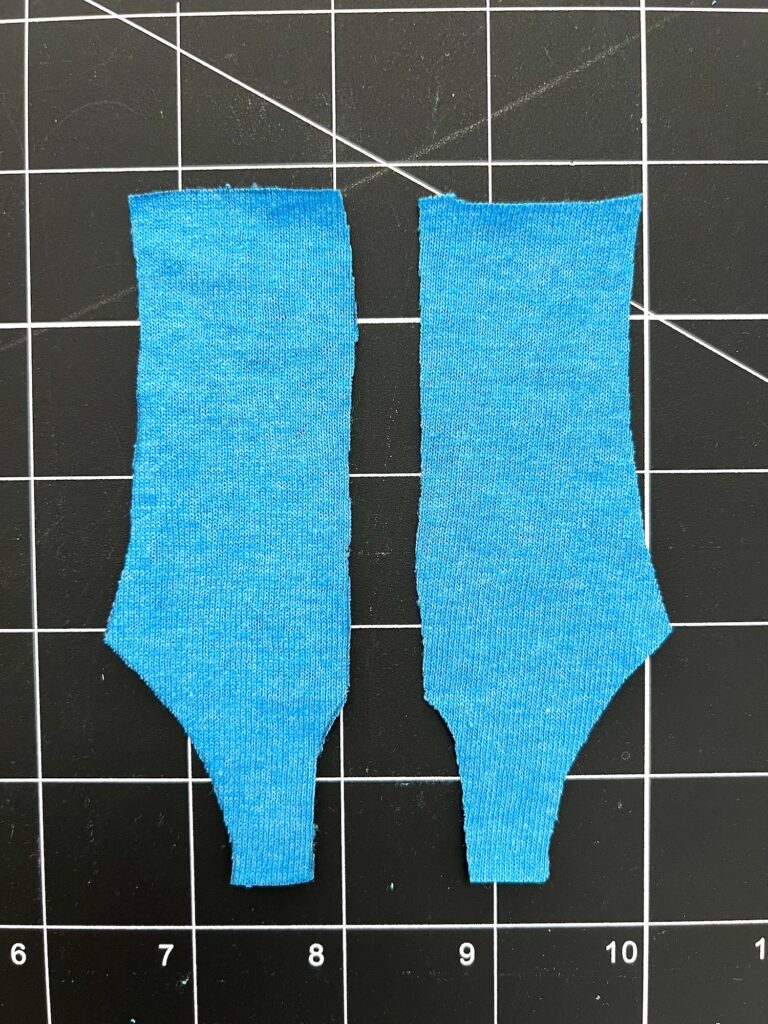
Trace the Barbie bathing suit pattern on t-shirt fabric or knit jersey fabric. You will want one of the front pattern pieces (cut on a fold) and two of the back pattern pieces.
The width of the bathing suit should be placed along the stretchiest part of the fabric.
For example, stretch the fabric and see in what direction it stretches the MOST. There should be one way that the fabric stretches more than the other (will be perpendicular to the selvedge, if you have fabric by the yard).
Then place the width of the swimsuit patterns (the way that the pattern will fit across Barbie’s stomach, rather than up) on the stretchiest part.
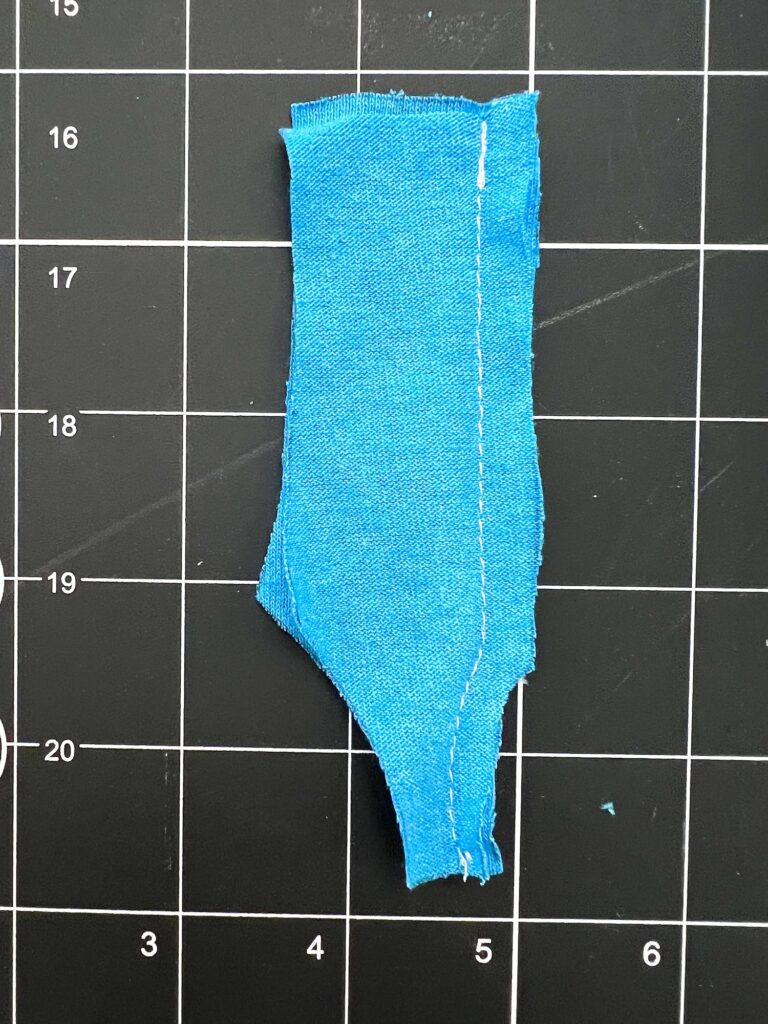
Step 2
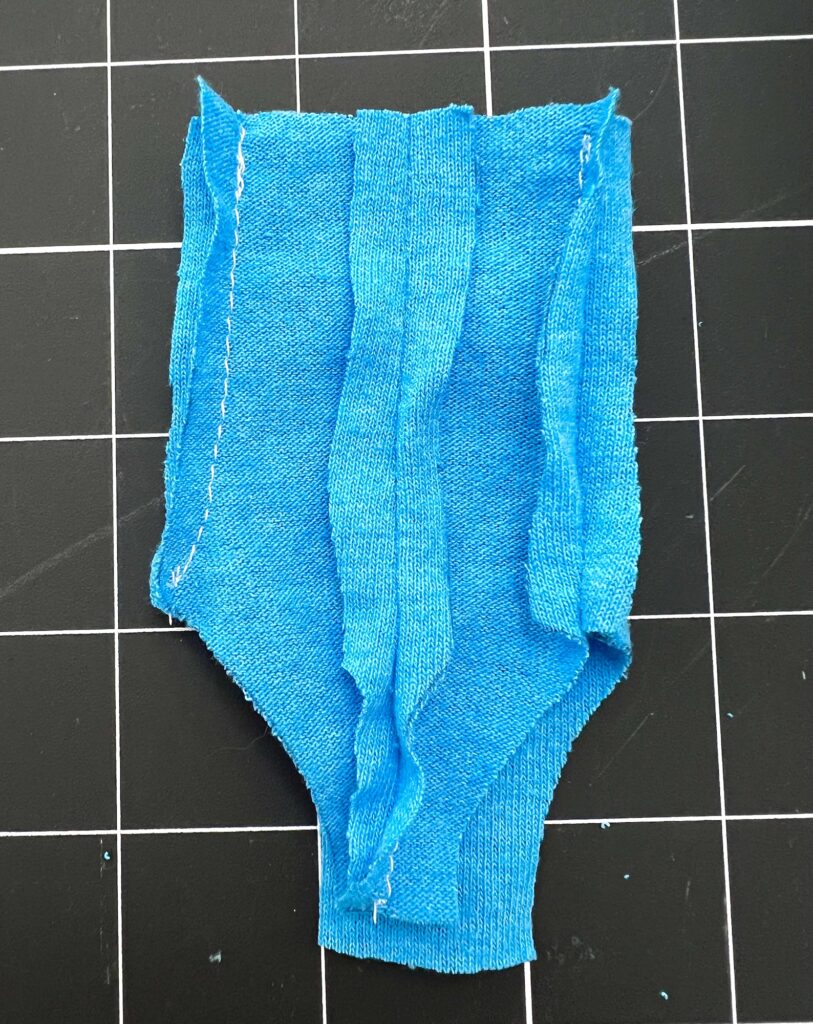
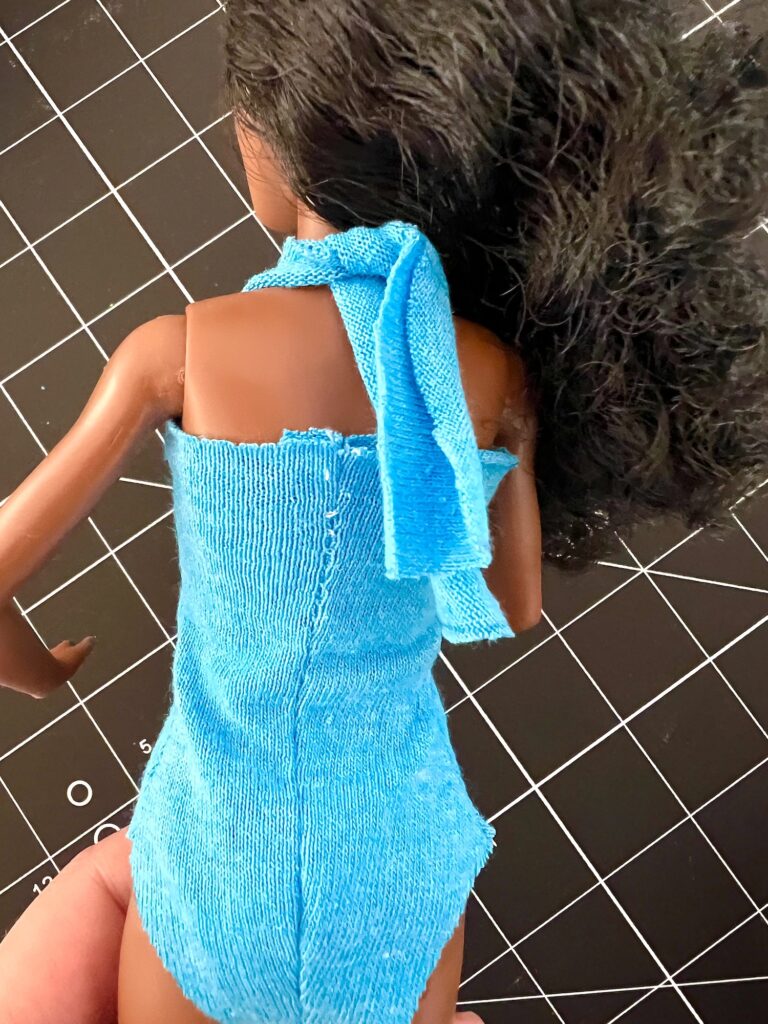
With right sides together, match up the two back pattern pieces. Sew along the straighter edge using a ¼ inch seam allowance.
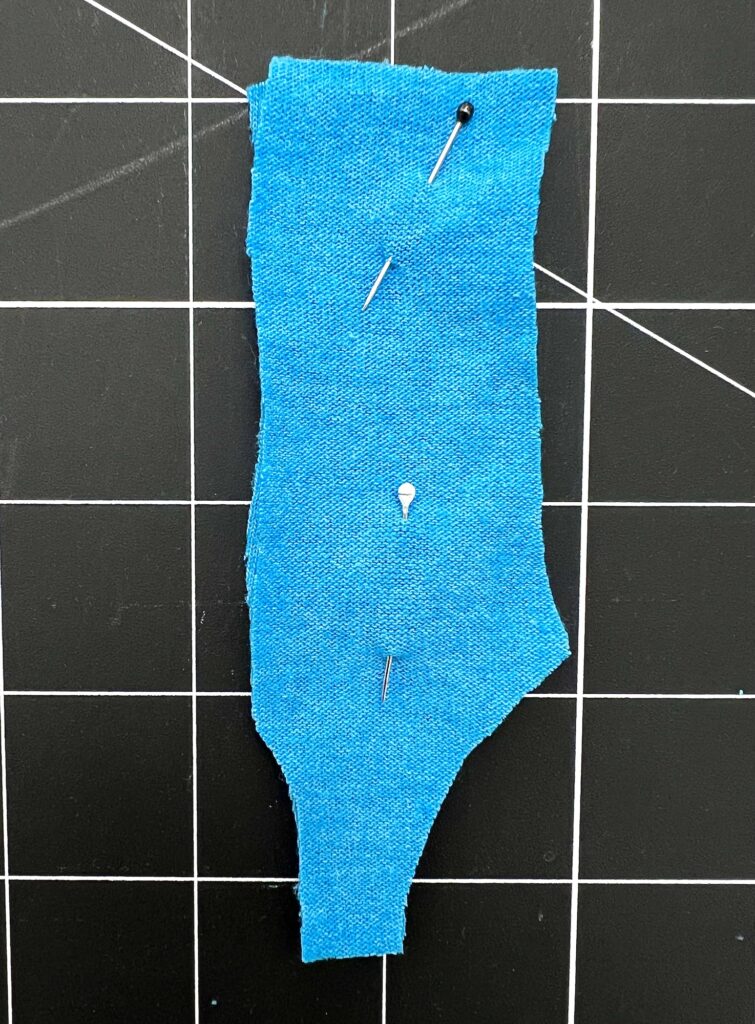
This can be tricky because you DO need to backstitch at the top of the swimsuit (the bottom piece will be sewn over later and doesn’t need backstitching).
When starting your stitching, it is helpful to start a little bit down the fold (about ¼ inch), not at the edge, because the fabric will be “eaten” by the sewing machine. Then backstitch up to the edge of the fabric and then continue sewing.
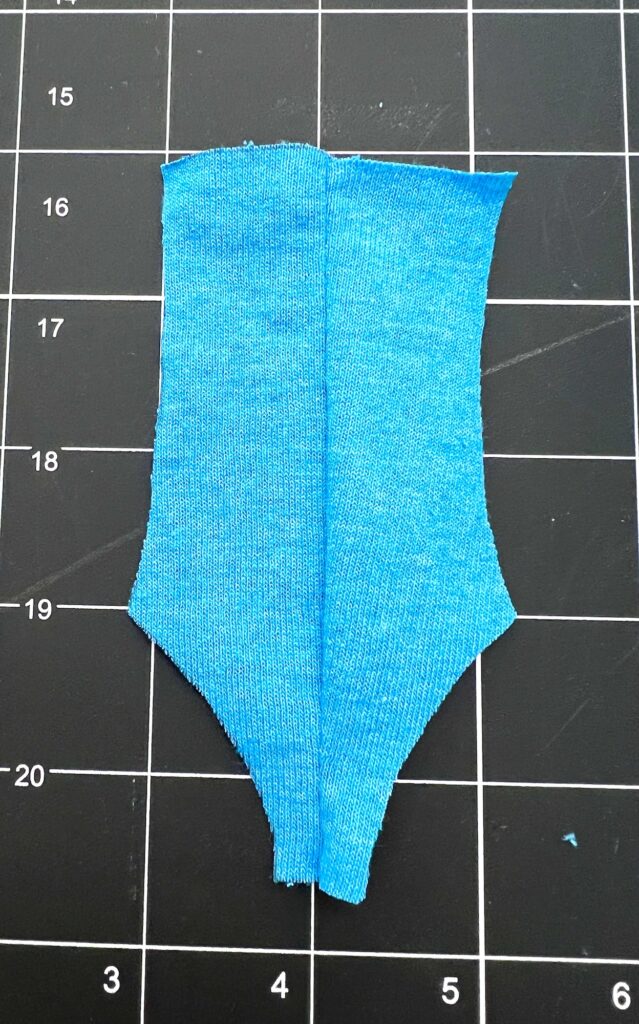
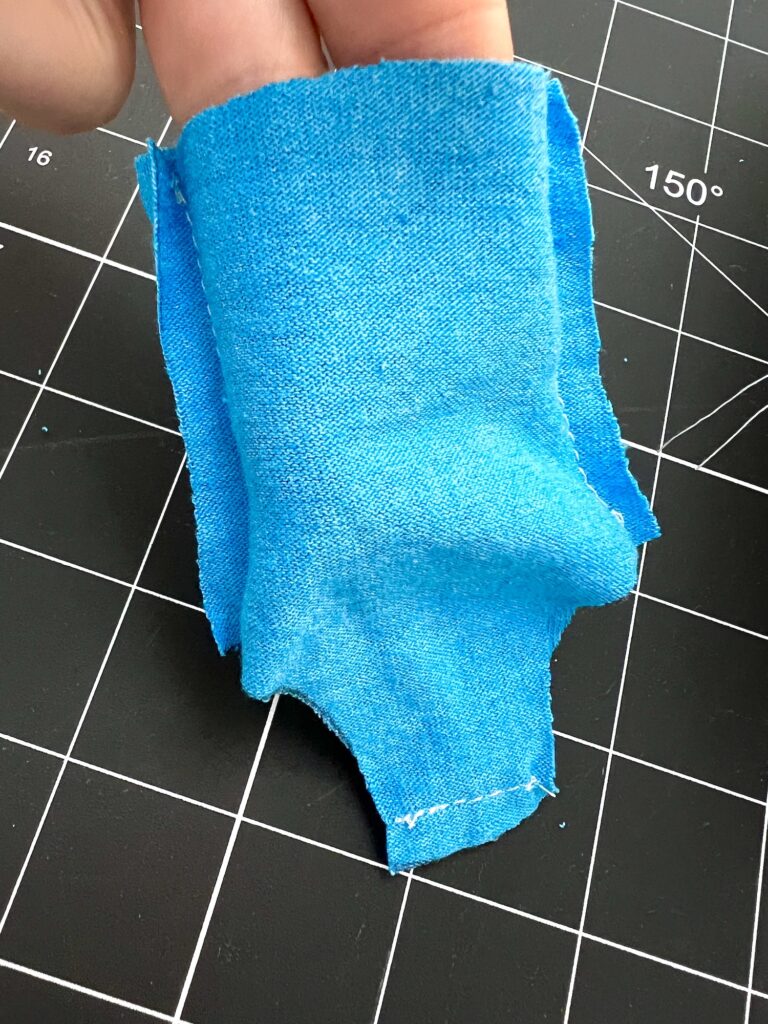
Step 3
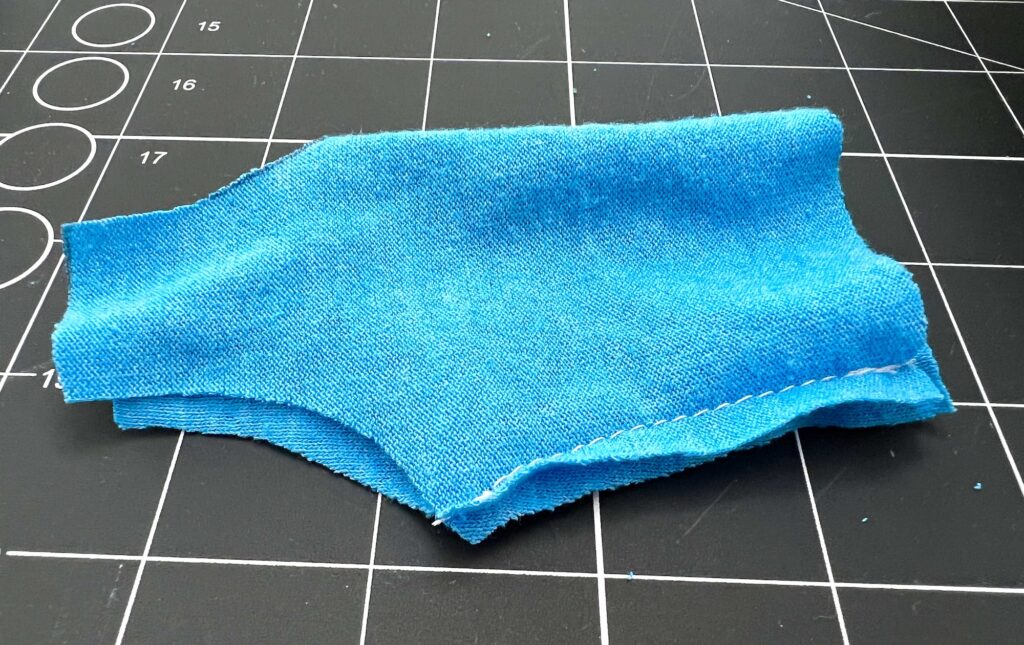
Open up the fabric that you just stitched.
Then, putting right sides together, match up the edges of the back and front of the bathing suit sewing patterns. The pattern pieces won’t lay flat and that is okay.
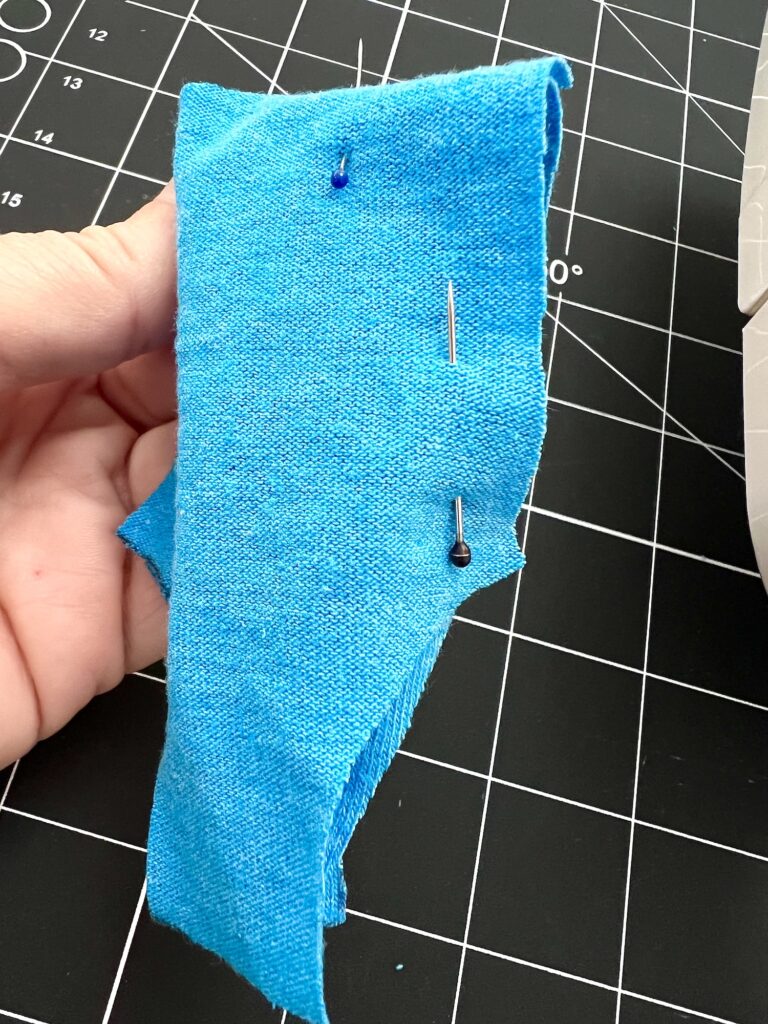
Using a ¼ inch seam allowance, sew along each side, being sure to backstitch at the beginning and end of the stitching.
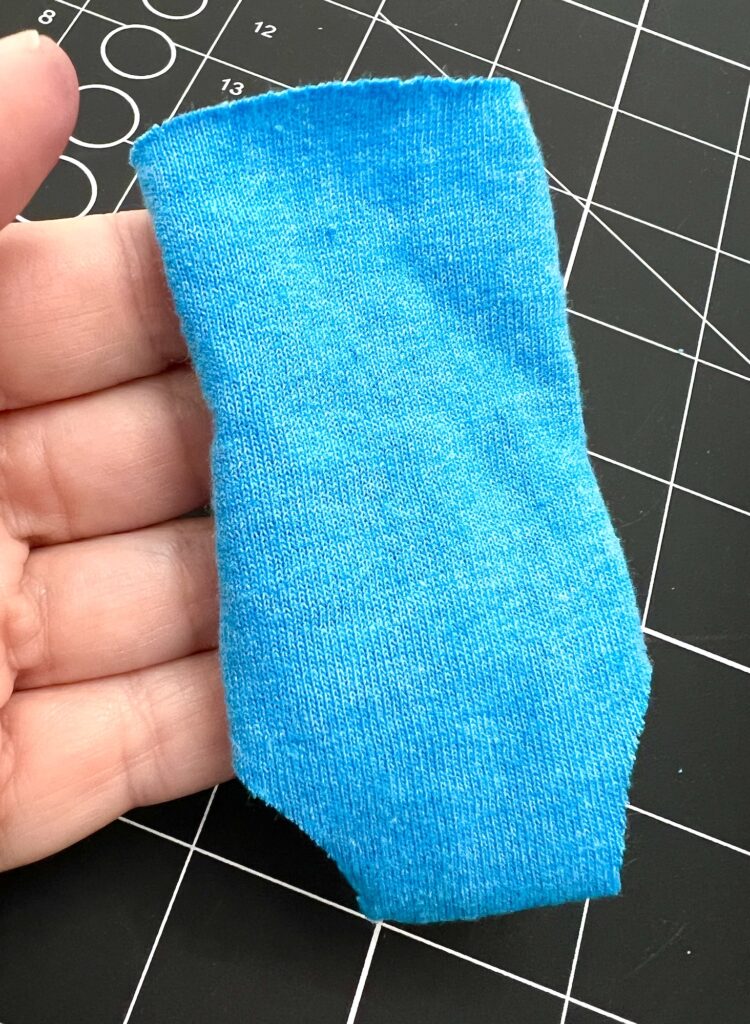
Step 4
Now finish the bottom of the bathing suit bottom, matching the straight edges together. The pattern pieces won’t lay flat and that is okay.
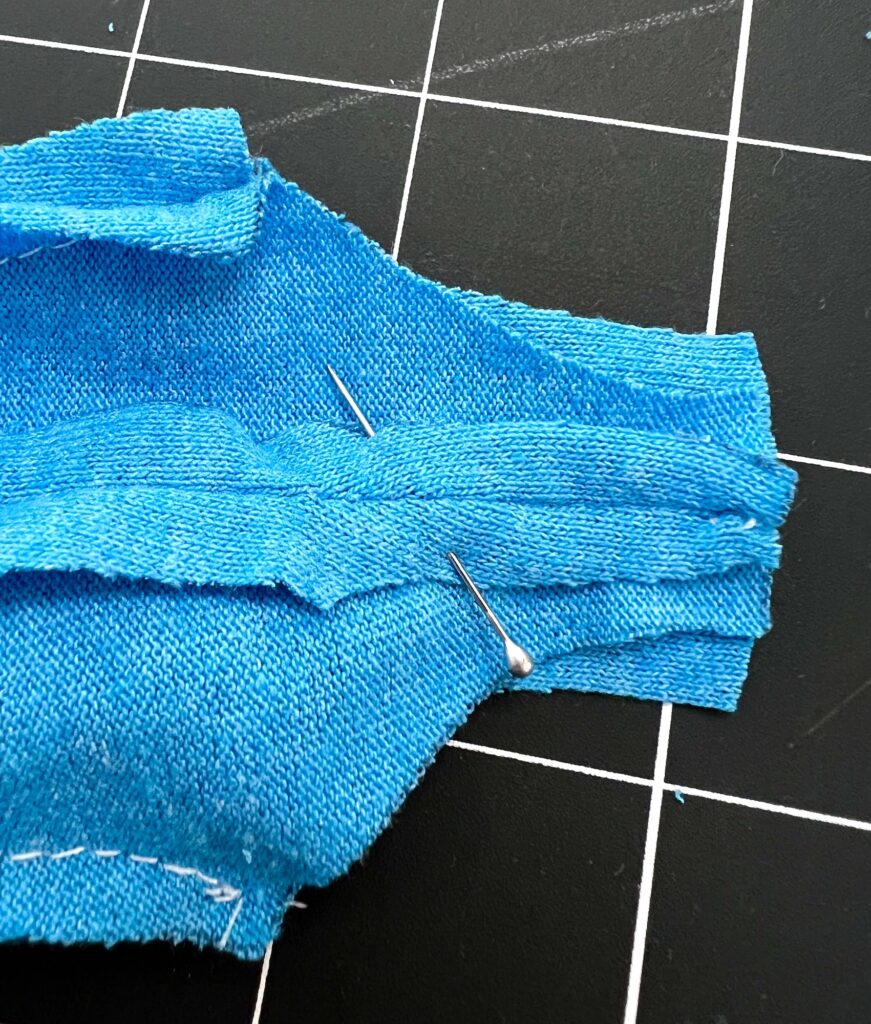
Make sure the seam allowance is open on the back before stitching.
Using a ¼ inch seam allowance, sew straight across the fabric, being sure to backstitch at the beginning and end of the stitching.
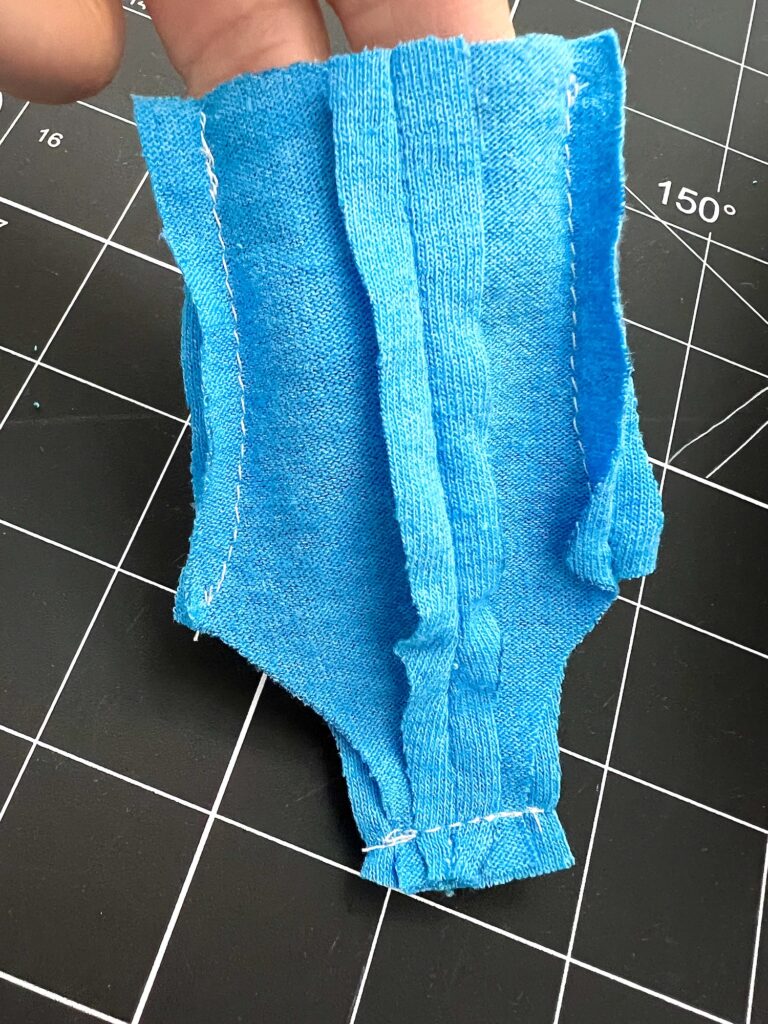
Turn the bathing suit inside out and you are done!
Step 5 (Optional)
For a decorative edge, you can trim the top of the swim suit with pinking shears.
You could also cut the fabric with pinking shears along this straight edge before starting to sew the seams together.
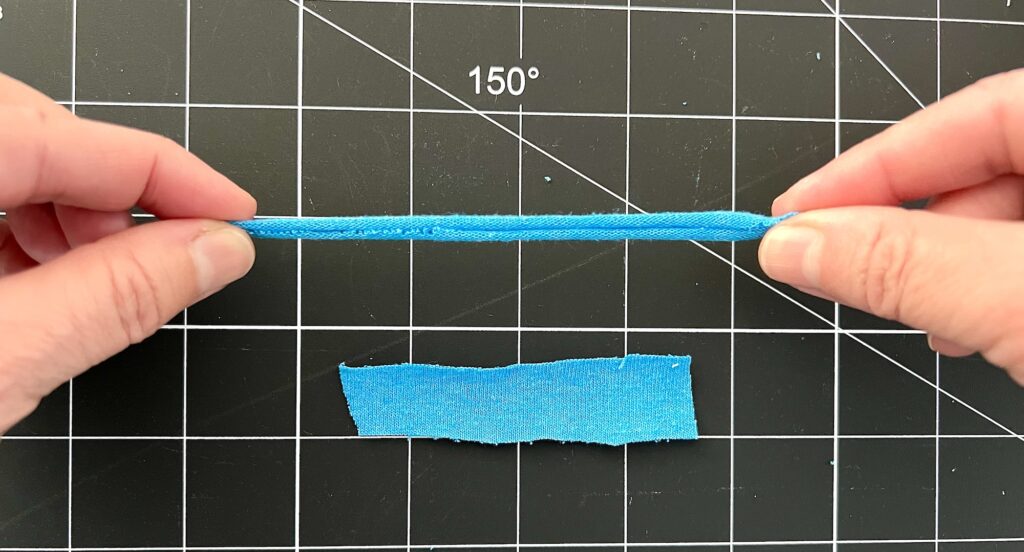
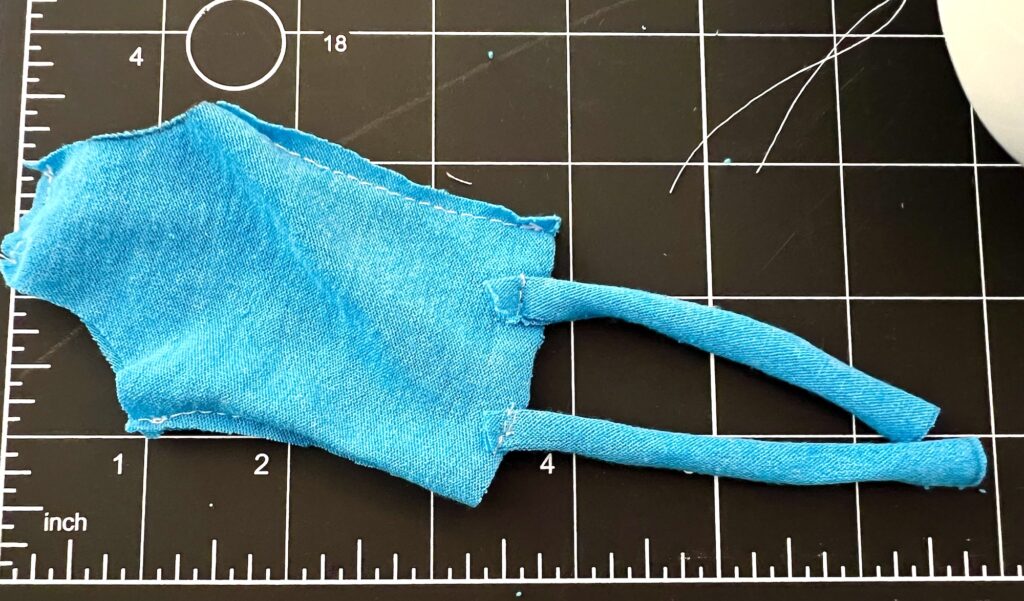
Step 6 (Halter Top)
Cut two pieces of fabric about 3 inches long and ½ inch wide. The length should be along the stretchiest part of the fabric.

Pull the fabric on each end until the fabric rolls and lengthens, creating a t-shirt rope.
On the front of the bathing suit, sew each of the ropes about ½ inch from the side seam, attaching on the wrong side of the fabric. (If you prefer to sew the ropes before completing the seams, then measure in ¾ inch from the edge.)
If you prefer, you can sew a line of stitching all the way around the top of the bathing suit to look cohesive.
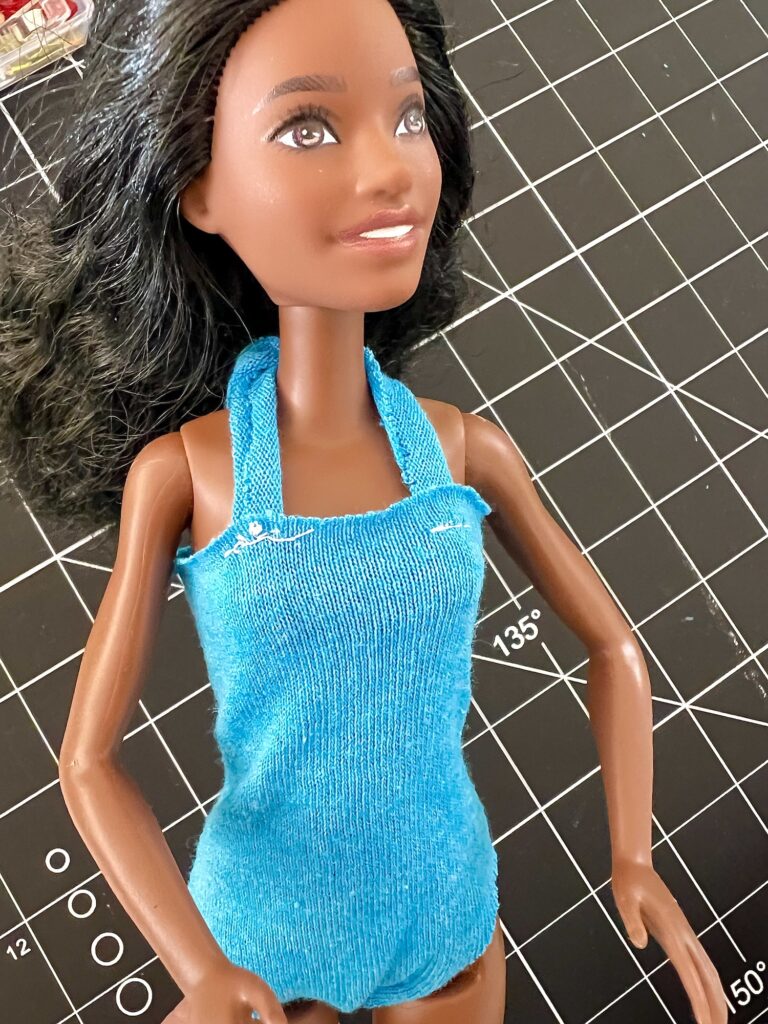
Tie the straps in back of Barbie’s neck to secure.
Helpful Tips I Learned From Sewing a Swim Suit for Barbie
- A thicker knit jersey is better than thinner. Some t-shirts are thicker than others.
- It is easy to sew the undergarments with a needle and thread if you don’t have a sewing machine.
- T-shirt fabric or knit jersey fabric does not fray, so you don’t need to worry about finishing off the edges.
- I did not use a zig-zag stitch, even though it is a knit fabric. You can use a zig-zag stitch, which allows for more stretching, if you prefer.
- A ball point needle is often recommended for stitching with jersey knit. I used a regular sewing machine needle, but you can definitely switch yours to a ball point if you prefer.
- Pinking shears add a decorative touch to the edges. They are a specialty type of sewing scissors that I use quite often, but if you don’t have a pair don’t worry.
Save this tutorial for later! Pin it to Pinterest!
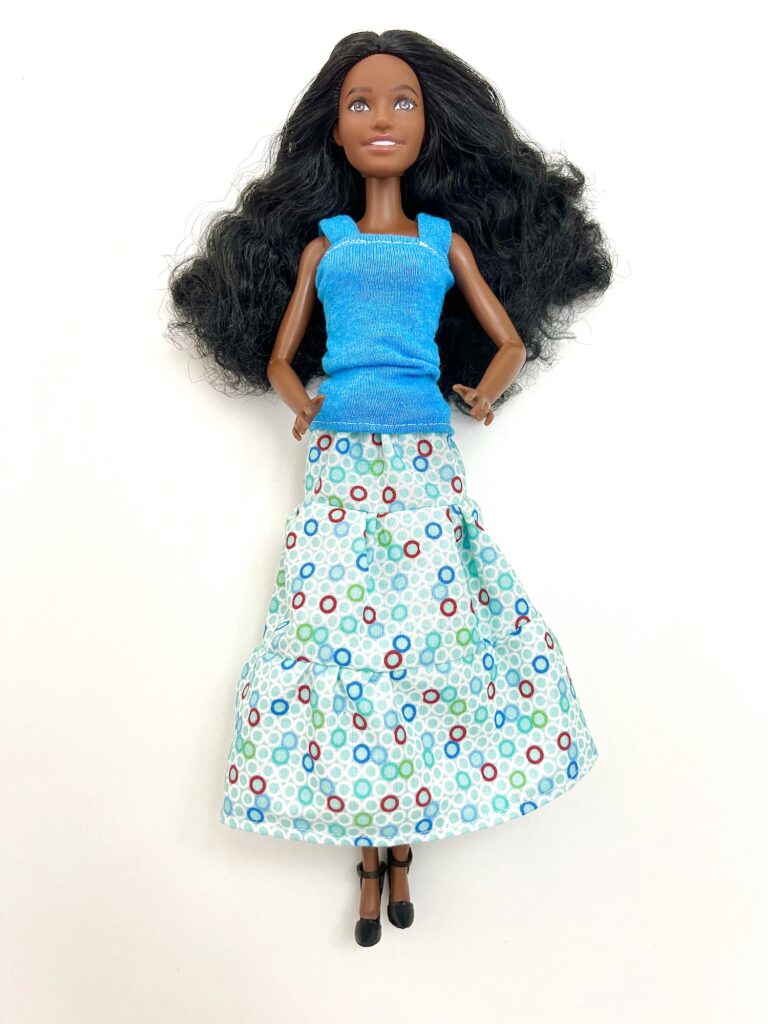
We used this same t-shirt fabric to make a Barbie tank top, too. Be sure to see that easy tutorial next.
If you love this easy Barbie doll swimsuit, be sure to see these quick and easy Barbie clothes sewing patterns, too:

This is a great pattern. I had to alter it a bit as the dolls we have are a bit more slender, but that was easy to do. My granddaughters were beyond thrilled!! Thank you for providing this super easy pattern!! I’ve made 2 swim suits so far and I expect that I will be making more. One small change is that I made the straps 5″ long as that worked better for their little hands to manipulate.
Thank you so much Mary! I’m so happy to hear that the patterns are working for you and your granddaughters are thrilled!