Stuffed Thanksgiving Turkey (Free Pattern!)
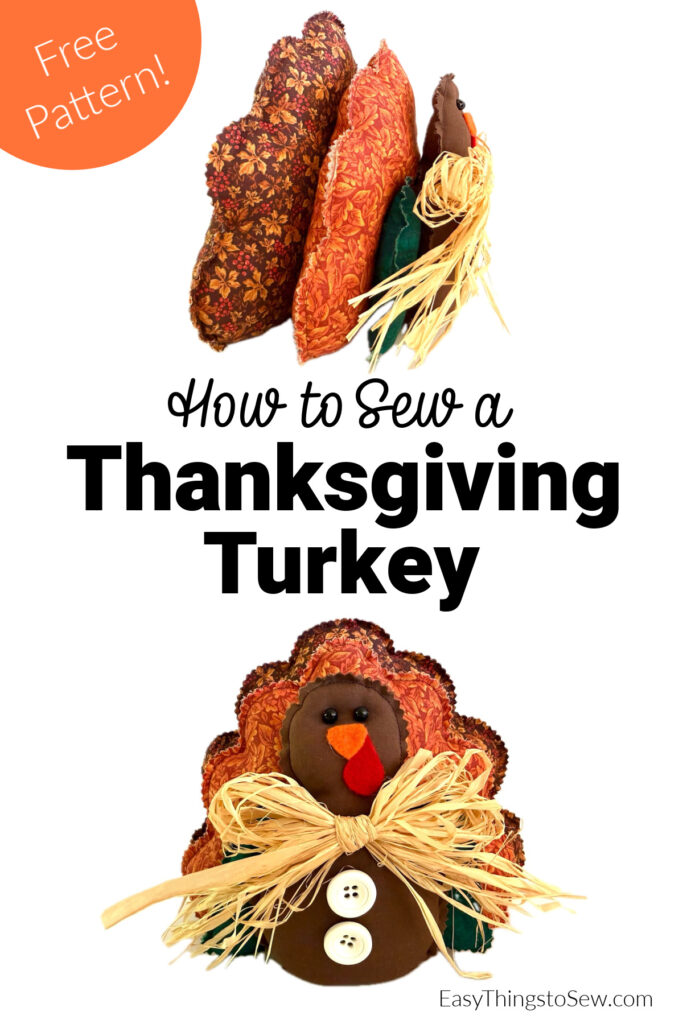
This DIY Stuffed Thanksgiving Turkey is a beginner sewing project that is fun to make for the holidays!
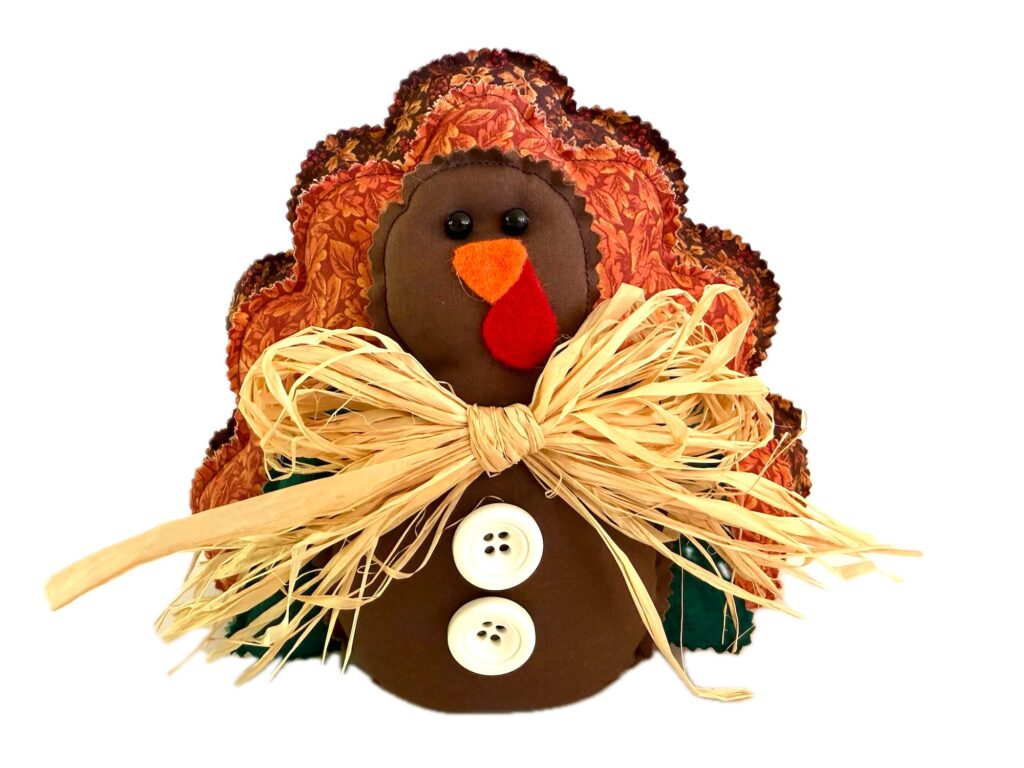
This easy sewing tutorial is the perfect Thanksgiving Day decor to put on your holiday table, display on a fireplace mantel or use as a shelf sitter.
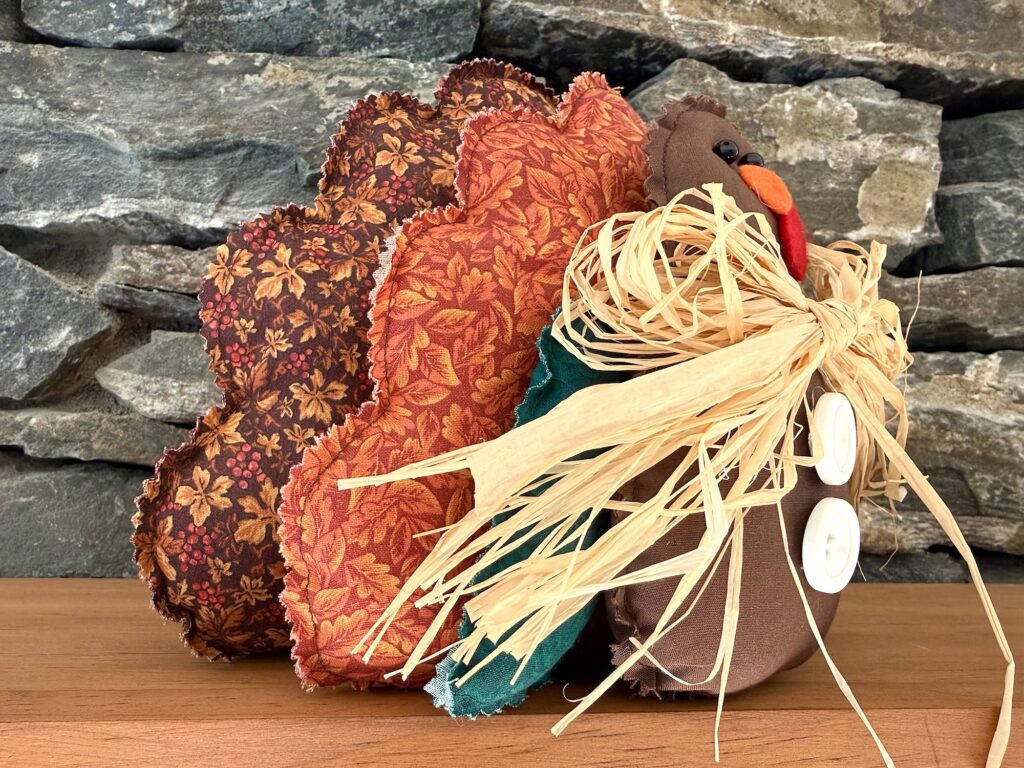
This turkey is larger and can stand upright on a table, compared to our felt turkey craft which is made with felt and flat.
How to Sew a Stuffed Thanksgiving Turkey
Supplies
- Free Turkey Templates
- Four Different Fabrics (one for body, three for wings)
- Matching Threads
- Pinking Shears
- Disappearing ink pen or tailor’s chalk
- Poly-fil
- Red, orange and brown felt scraps
- Two Buttons for eyes (I used small black shank buttons)
- Two ¾ inch buttons for body
- Raffia or Ribbon
- Hot glue gun or craft glue
Directions
Step 1
Place each of the fabrics for the body and wings with the right sides facing out and the layers pinned together to prevent moving.
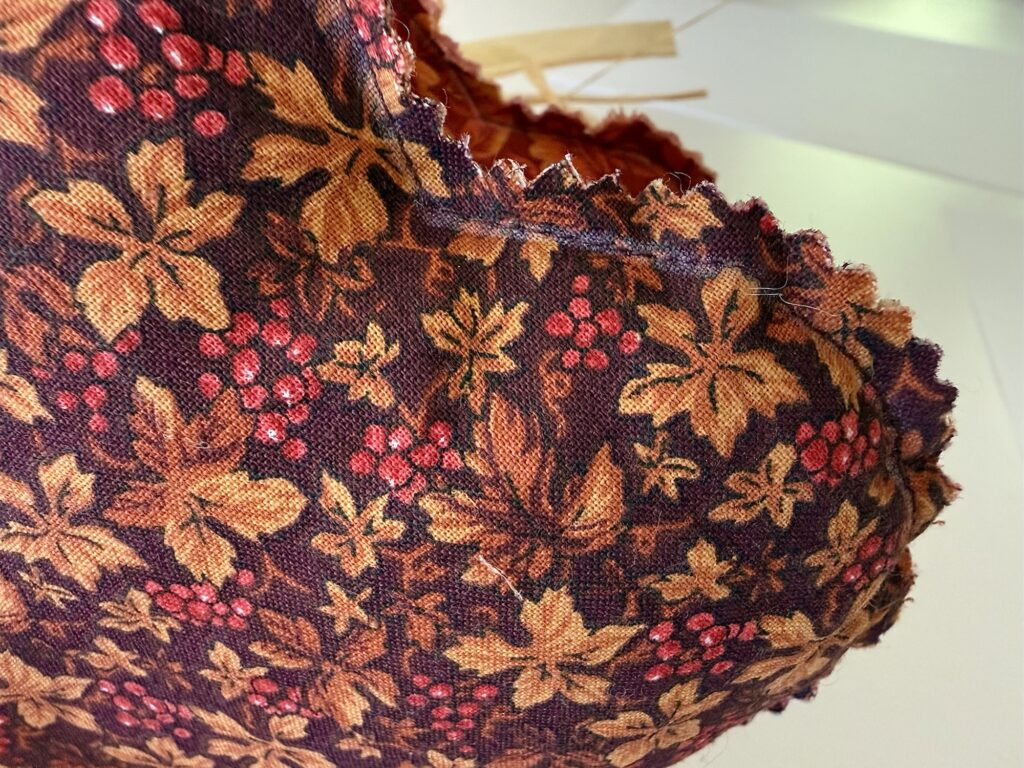
Trace the patterns onto the chosen fabric using a disappearing ink pen or tailor’s chalk, but do not cut yet.
I prefer using a disappearing ink pen because the tailor’s chalk might still be visible, as you can see in the photo below. However, a chalk will work fine if that’s all you have to use.
For the turkey beak and waddle and heart, trace the patterns onto the chosen felt colors and do cut these out.
Step 2
Sew on top of the patterns lines, leaving a 3-4 inch opening for stuffing on each of the body and wing pieces.
Be sure to backstitch at the beginning and end of the stitching.
Cut out each of the turkey pieces by cutting a little bit above the stitched/traced lines, being sure not to cut the stitching. Use pinking shears for a decorative look.
Step 3
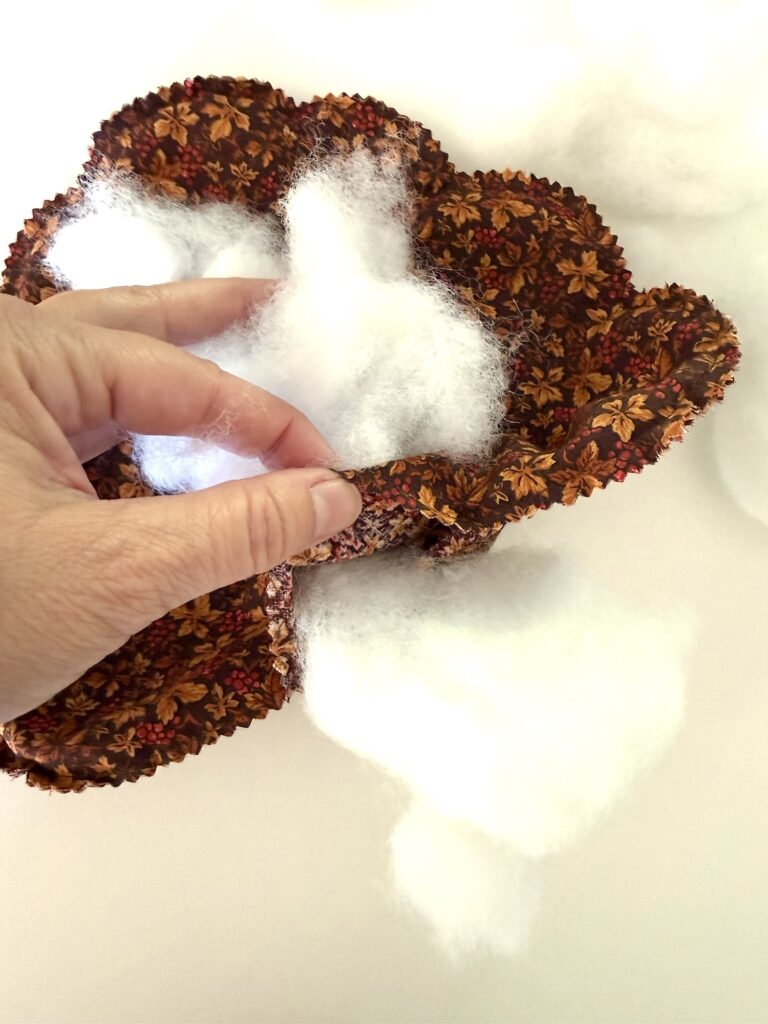
Lightly stuff each of the pattern pieces, then sew the seam closed by stitching over the pattern line of the opening.
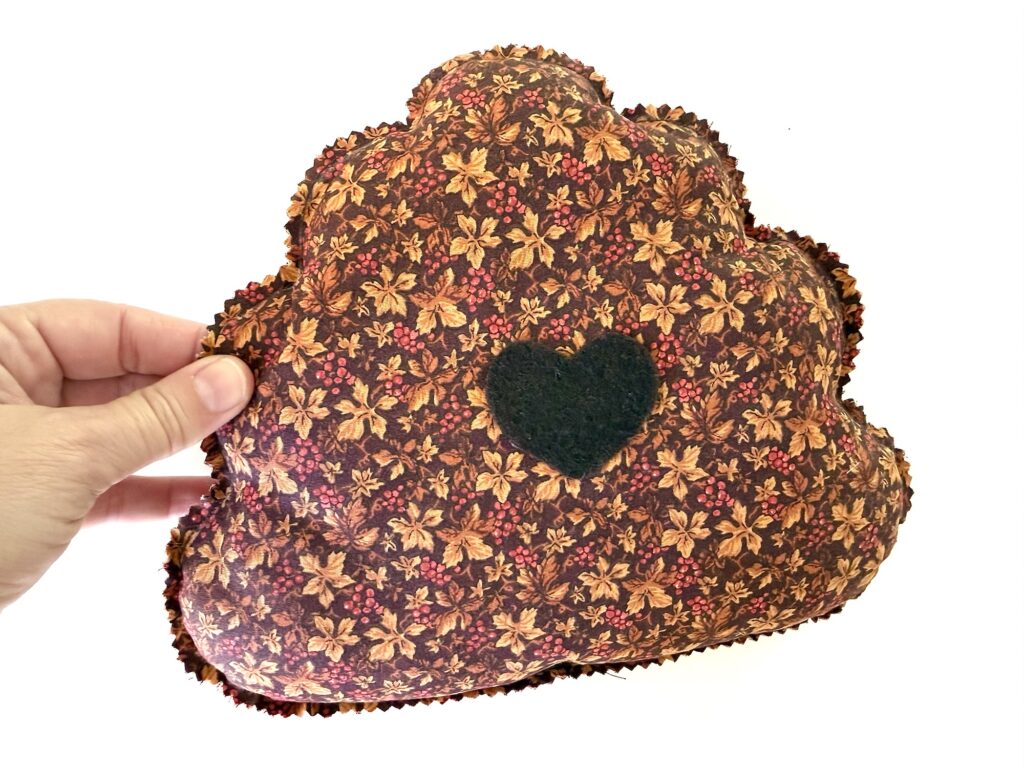
Glue (or stitch) the felt heart to the back of the larger wing section.
Step 4
Sew the buttons on for eyes. You can hand stitch them through both layers of the fabric or just one layer, it’s up to you.
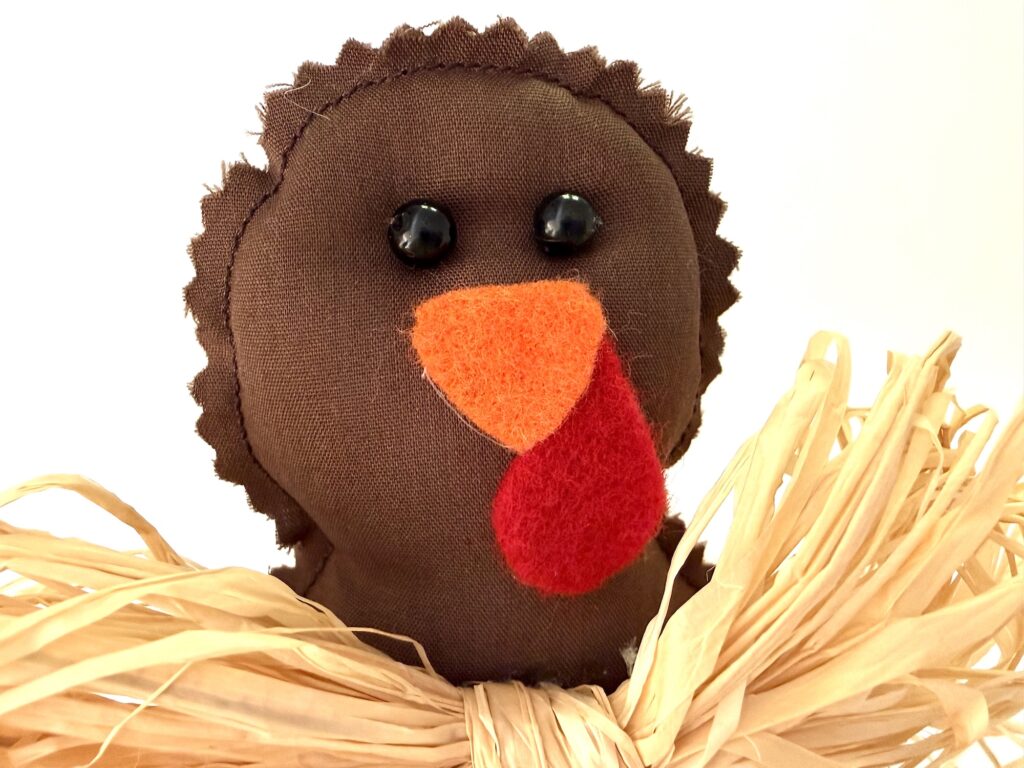
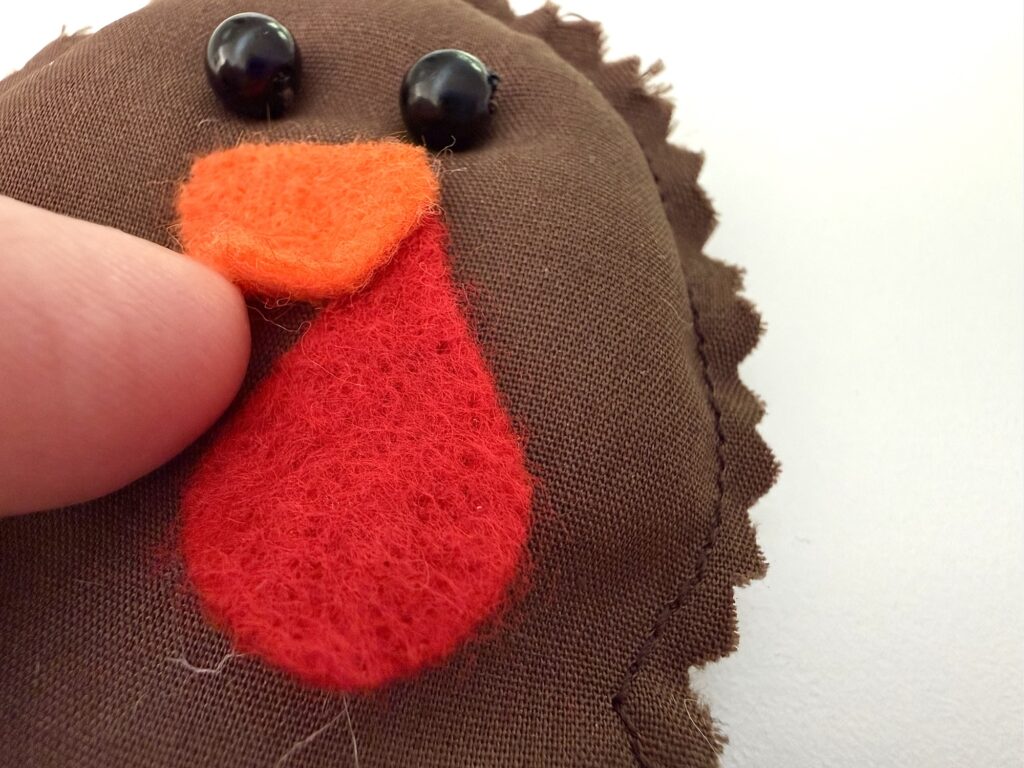
Glue on the beak and waddle, layering the waddle just a little bit under the beak.
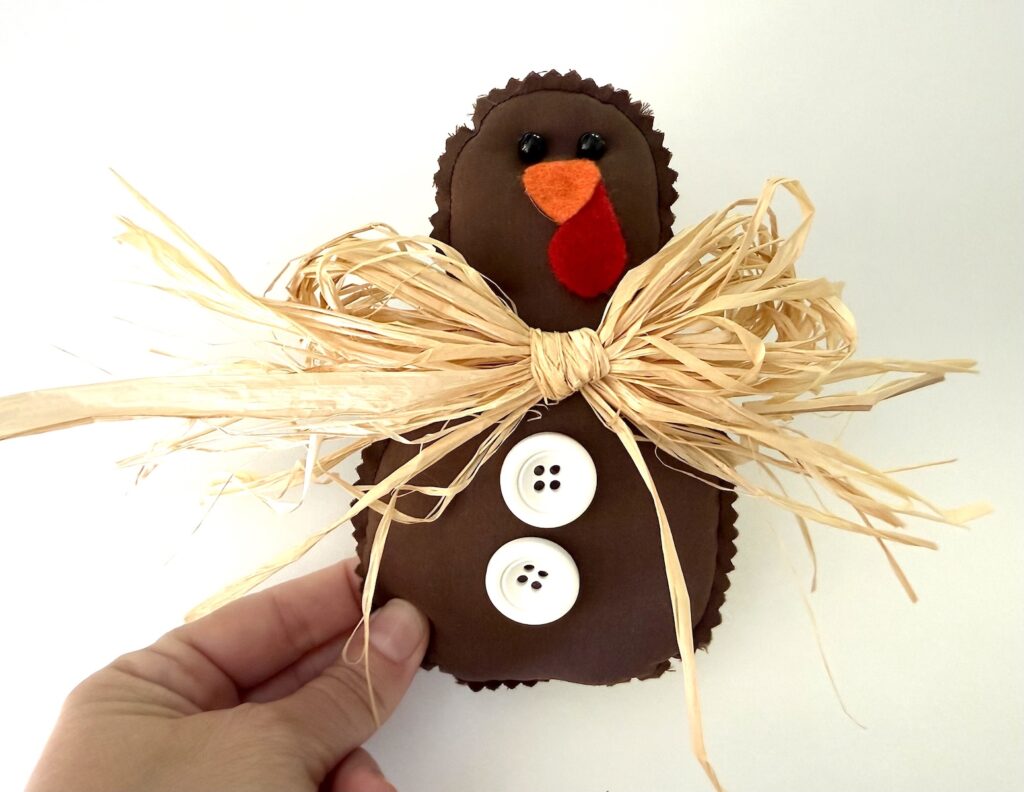
Glue or sew on the buttons on the turkey body.
Tie a large bow with raffia or ribbon and glue on to the neck.
Step 5
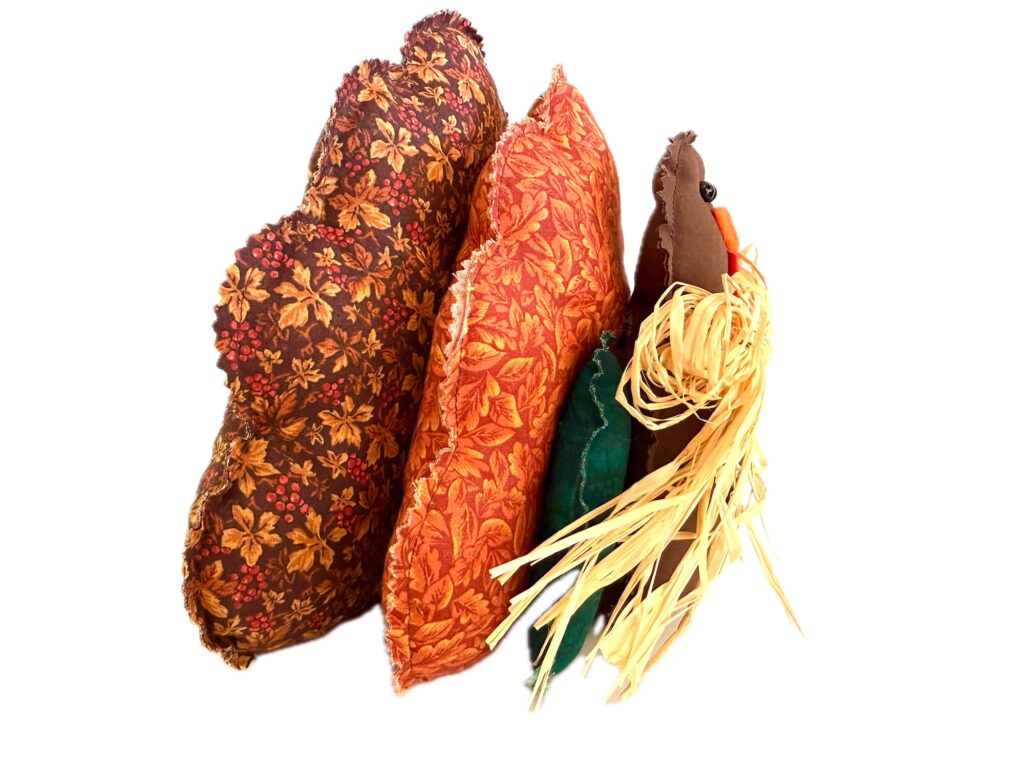
Glue the small wings on either side of the turkey body, being sure that the bottom of the wing is even with the bottom of the body so that it will stand up straight.
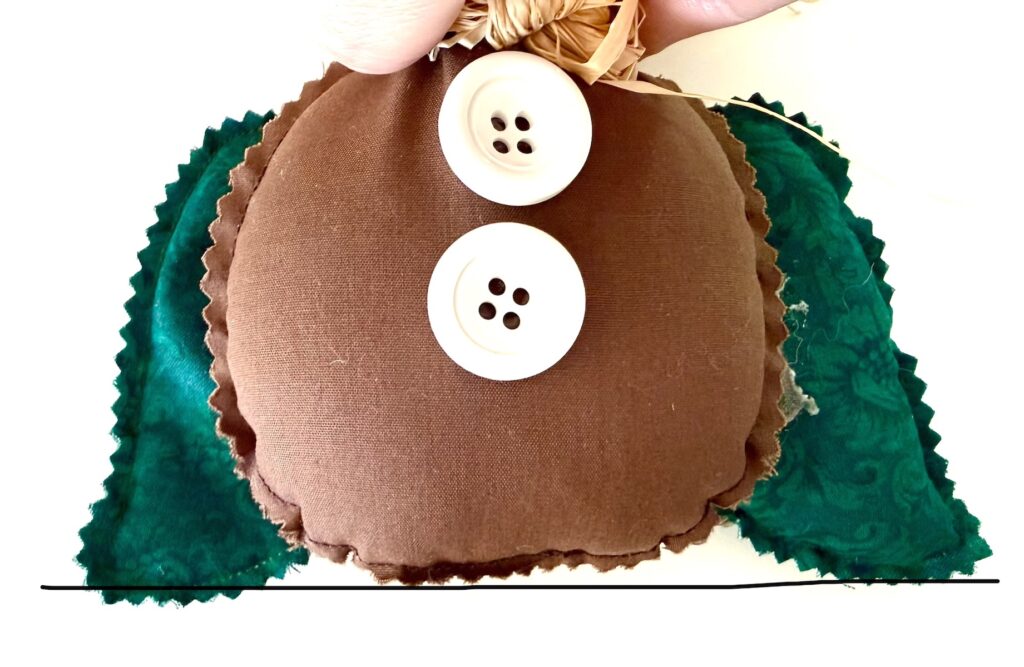
Now glue the turkey body to the smaller feather, being sure that the bottom edges each are lined up. Glue them together in the middle of the body and wings, not the outer edges.
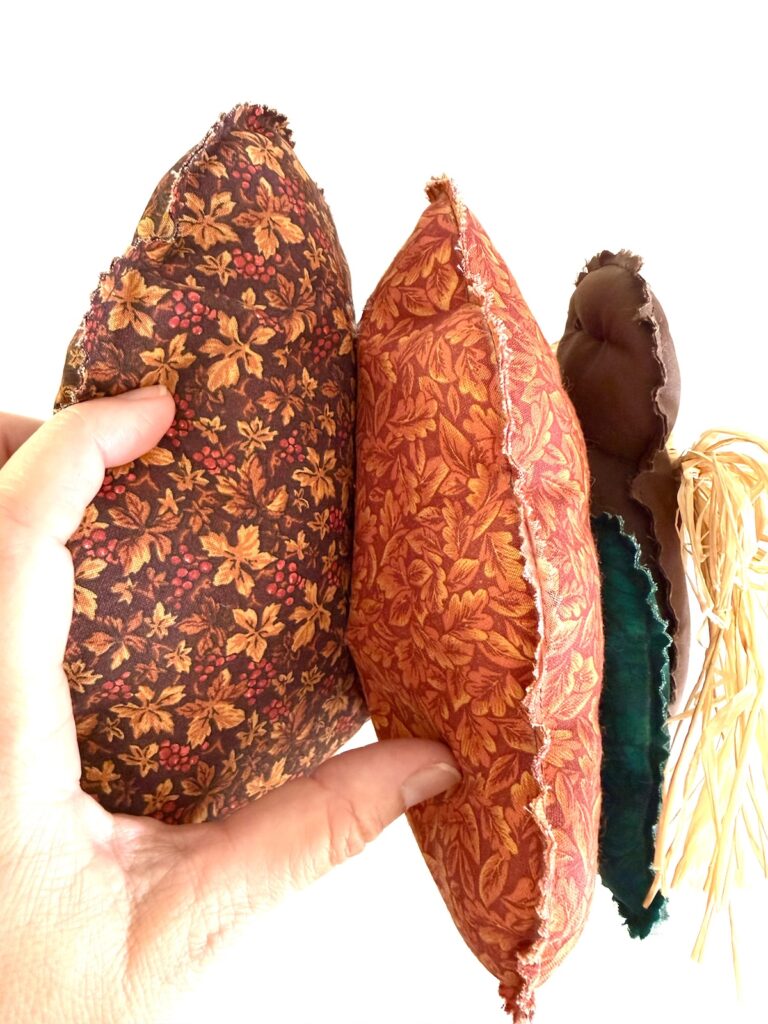
Glue the body/wing combo to the larger wing in the same way.
Save this idea for later when you Pin It to Pinterest, save to Facebook or flip onto Flipboard. You can also email the link to yourself using the green colored button at the very top of this webpage above the menu.
For more Thanksgiving crafts, see our list of Thanksgiving table runners.