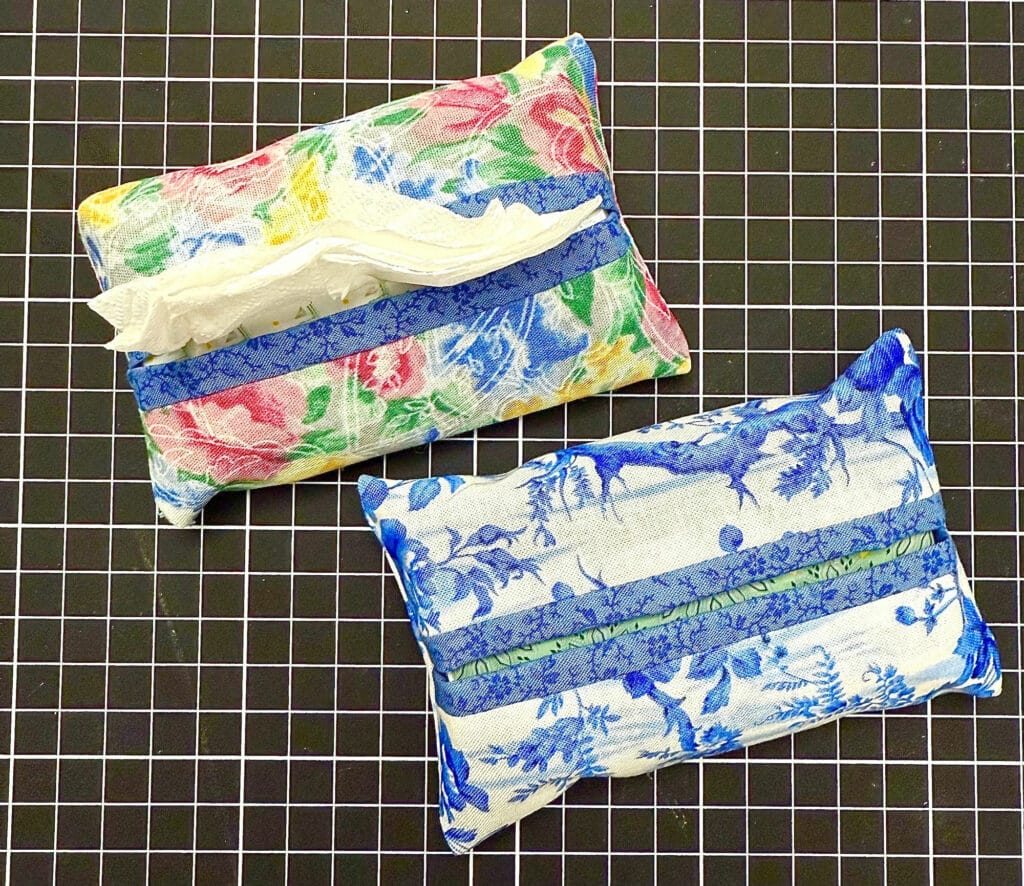
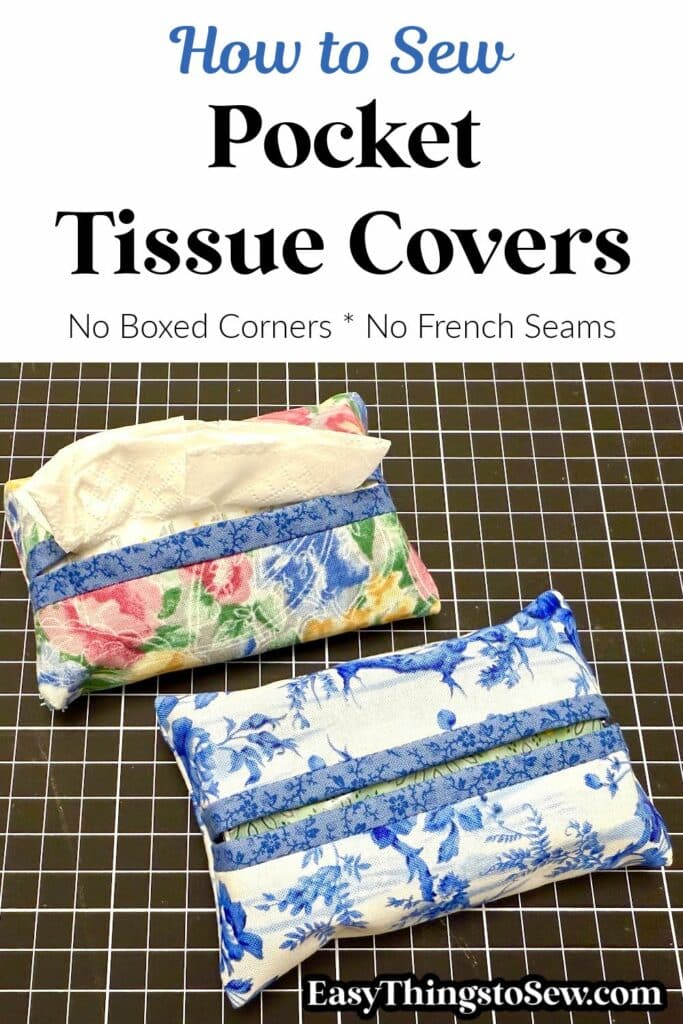
How to Sew a Fabric Pocket Tissue Holder
This easy DIY fabric pocket tissue holder can be made with small pieces of fabric in just 5 minutes! It is the perfect sewing project to use up those fabric scraps!
If you are like me, you probably feel like a fabric cover for a travel size of tissues just makes it feel so fancy! Putting a pack of tissues in your purse with a pretty cover feels so put together and posh, while a normal pack of tissues just seems sad, right?!? LOL
The tissue cover is a great stocking stuffer gift, teacher gift or a perfect DIY wedding favor or bridal shower favor.
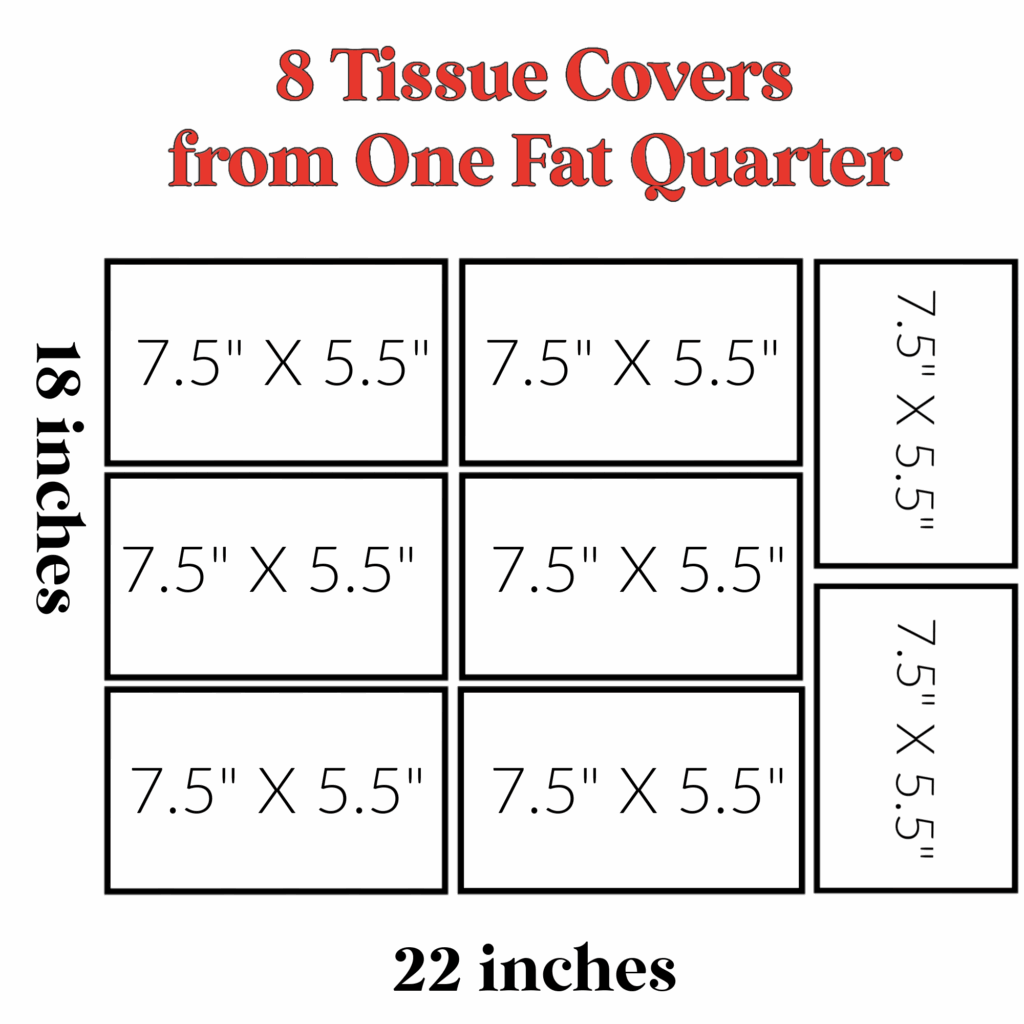
They are also best sellers at craft fairs, which is great because you can make a lot of them without a lot of fuss and with very little investment. In fact, you can get 8 tissue covers from two fabric fat quarters (one fat quarter for the linings, and one fat quarter for the exterior fabric). See our diagram below for how to maximize your fabric lay out.
I promise, this is the easiest way to make a travel tissue holder! You only need two pieces of fabric. It is definitely a beginner-friendly sewing project!
And check out my DIY tissue box cover tutorial, too, to use at home.
How to Sew a Pocket Tissue Cover
This tissue cover pattern uses a pocket pack of tissues with a horizontal opening.
If your tissue pack has a vertical opening on the top, you can cut a slit in the plastic with scissors or a seam ripper to make it a horizontal opening.
Supplies
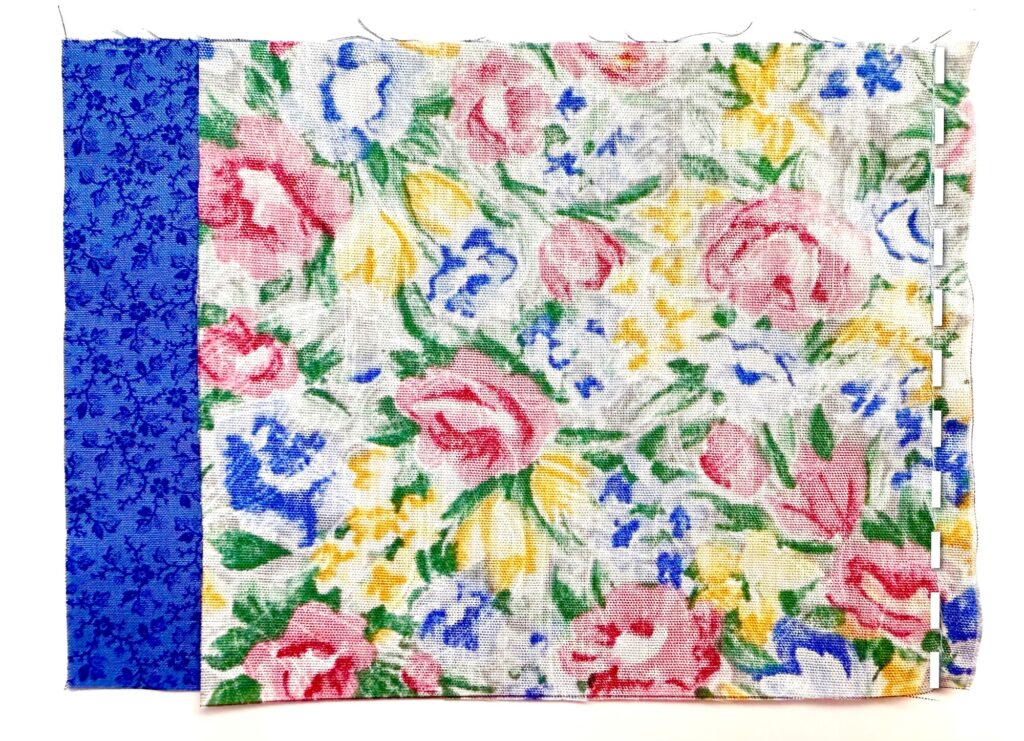
- One 7 1/2 X 5 1/2 Piece of Fabric (Lining)
- One 6 1/2 X 5 1/2 Piece of Fabric (Exterior Fabric)
- Fabric Clips or Straight Pins
- Iron
- Turning Tool (optional)
- Pinking Shears (optional)
Directions
With wrong sides together, match the short edges together (the 5.5″ lengths) on one side. Sew using a 1/4 inch seam allowance.
Next, match up the outer edges on the other side. The lining fabric will not lay flat against the exterior fabric. Sew using a 1/4 inch seam allowance again.
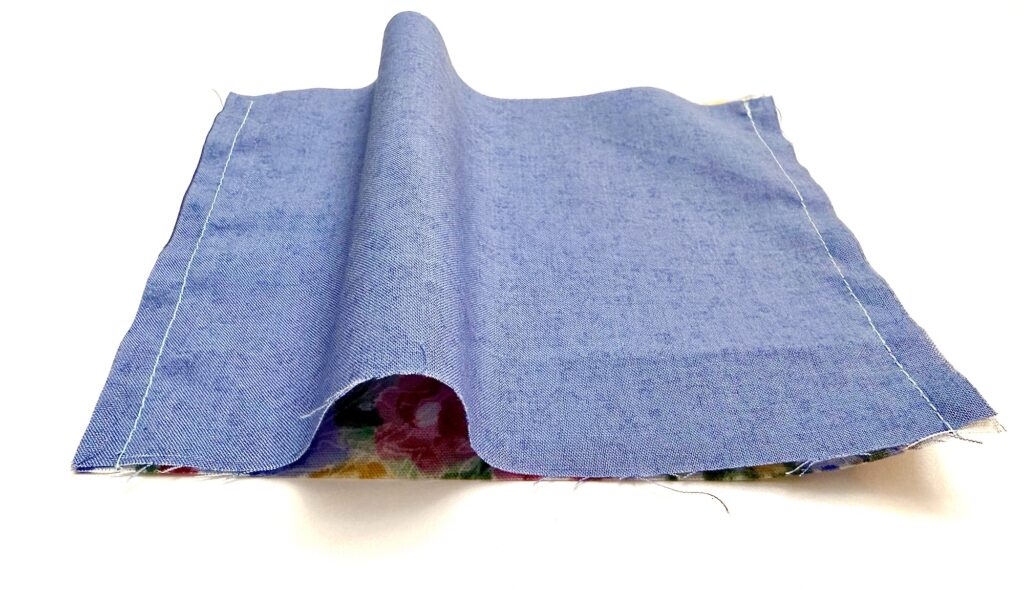
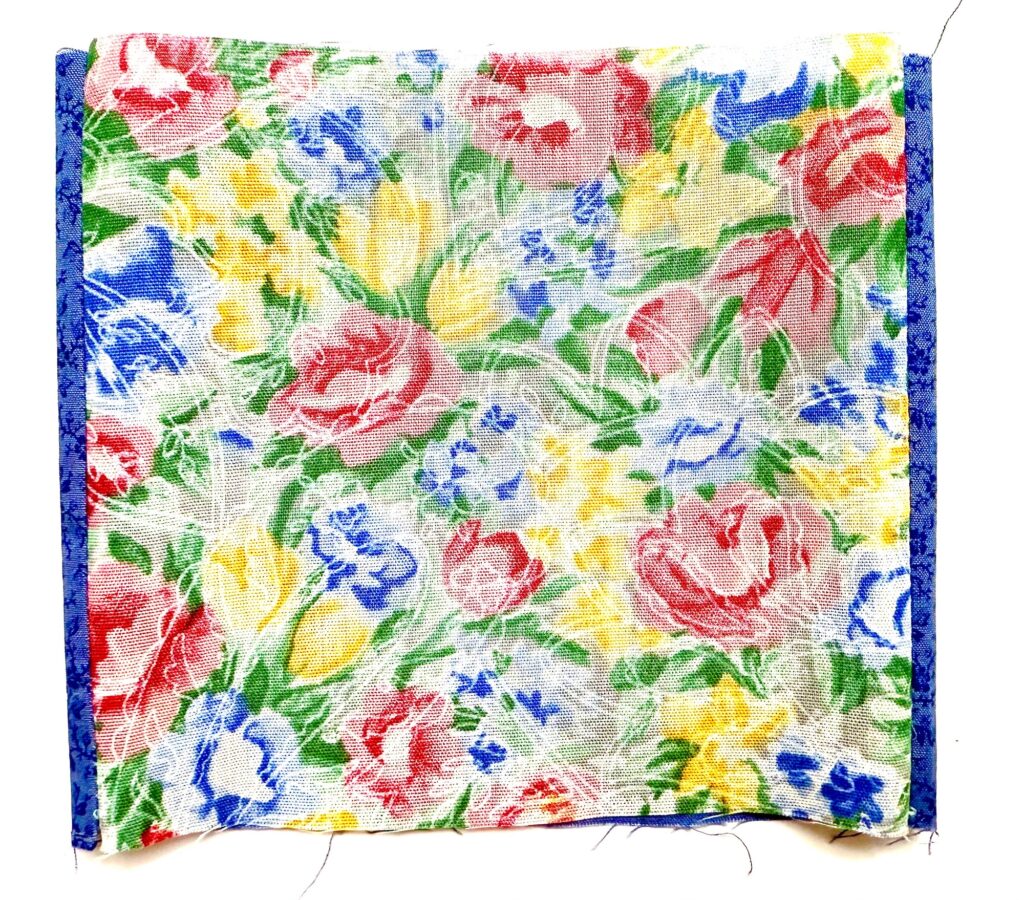
Turn the fabric inside out. Lay the rectangle on a surface and press flat with a hot iron, centering the exterior fabric with equal amounts of lining fabric on either side, which will become decorative edging.
Now fold the fabric rectangle in half, with the exterior fabric inside. Pin the location where the fold occurs.
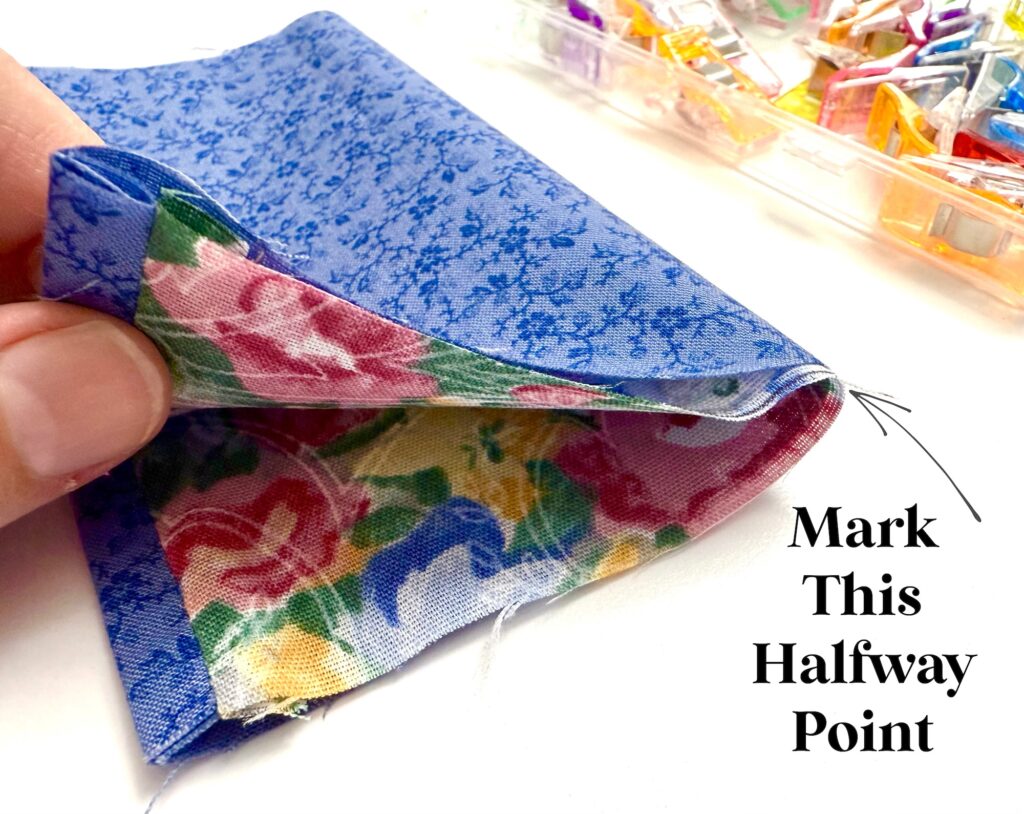
Unfold the rectangle and bring each of the outer edges towards the halfway point that you pinned. Overlap the edges just slightly.
Clip or pin the fabric to secure.
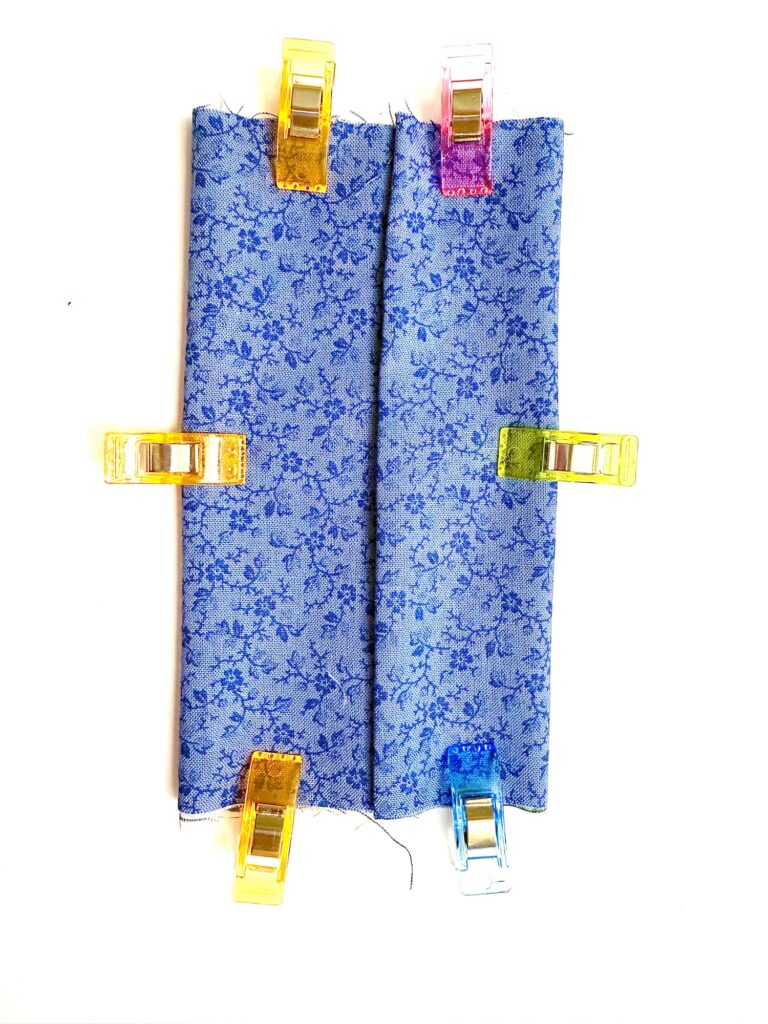
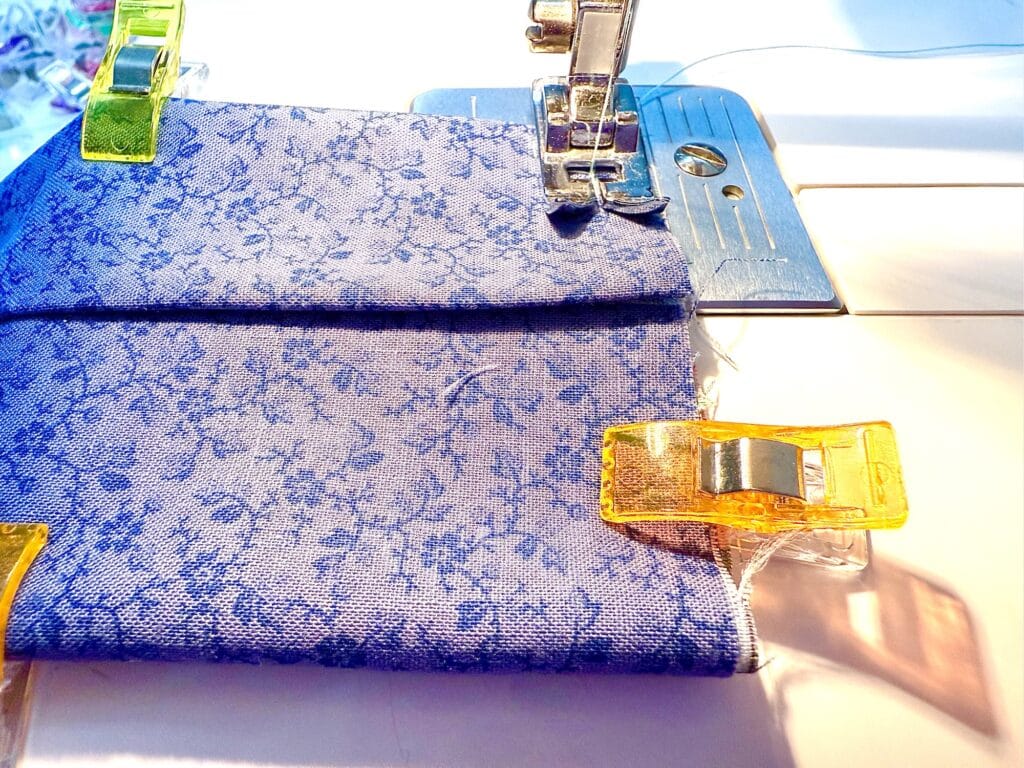
Sew both of the raw edge sides with a 1/4 inch seam allowance.
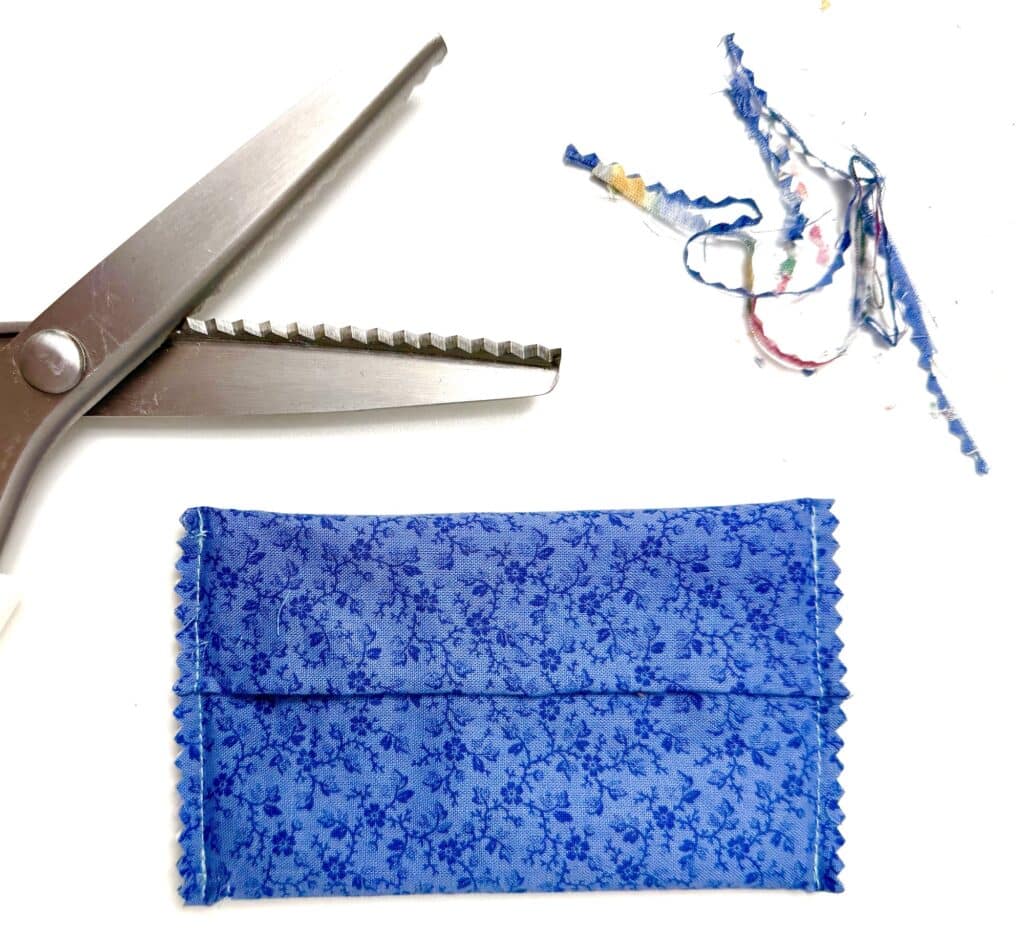
Finish off the edges by cutting with pinking shears to prevent fraying. Alternatively, you could serge the edges or use a zig-zag stitch.
You may want to backstitch over the spot where the fabric overlaps because it will strengthen the seam there, which is important because you will be inserting the tissue packs and pulling on the seams a lot.
Turn the tissue cover inside out. Push out the corners using a turning tool or your fingers.
Insert a travel tissue pack.
Save this idea for later and Pin It to Pinterest!
A pretty and organized purse makes you feel like you are so put together, right? Check out our easy pot holder purse caddy next.