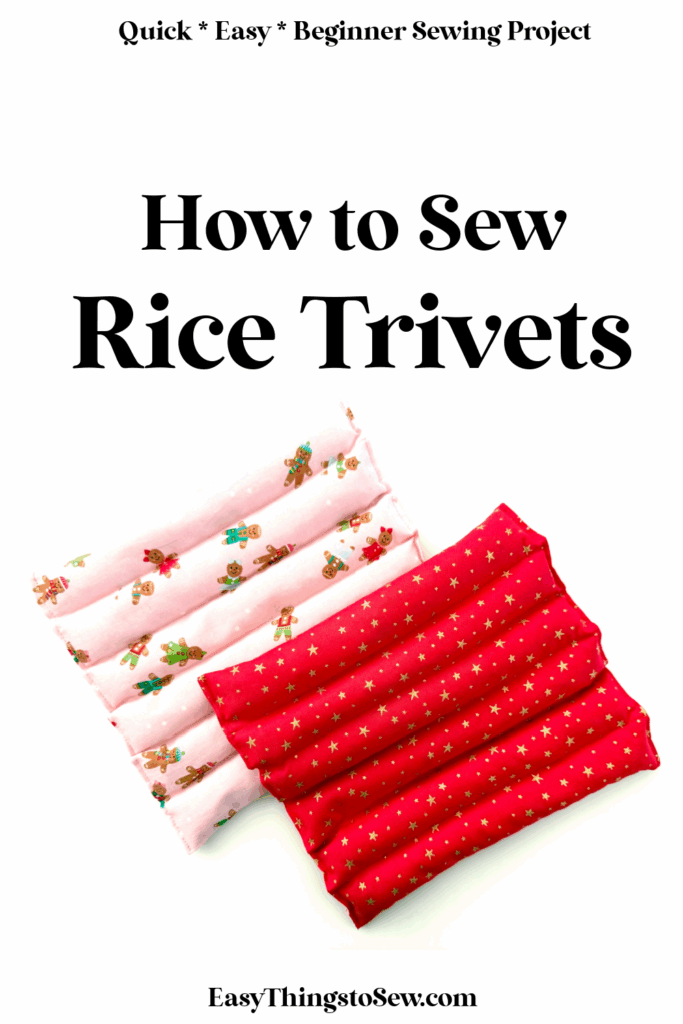
How to Sew a Rice Trivet
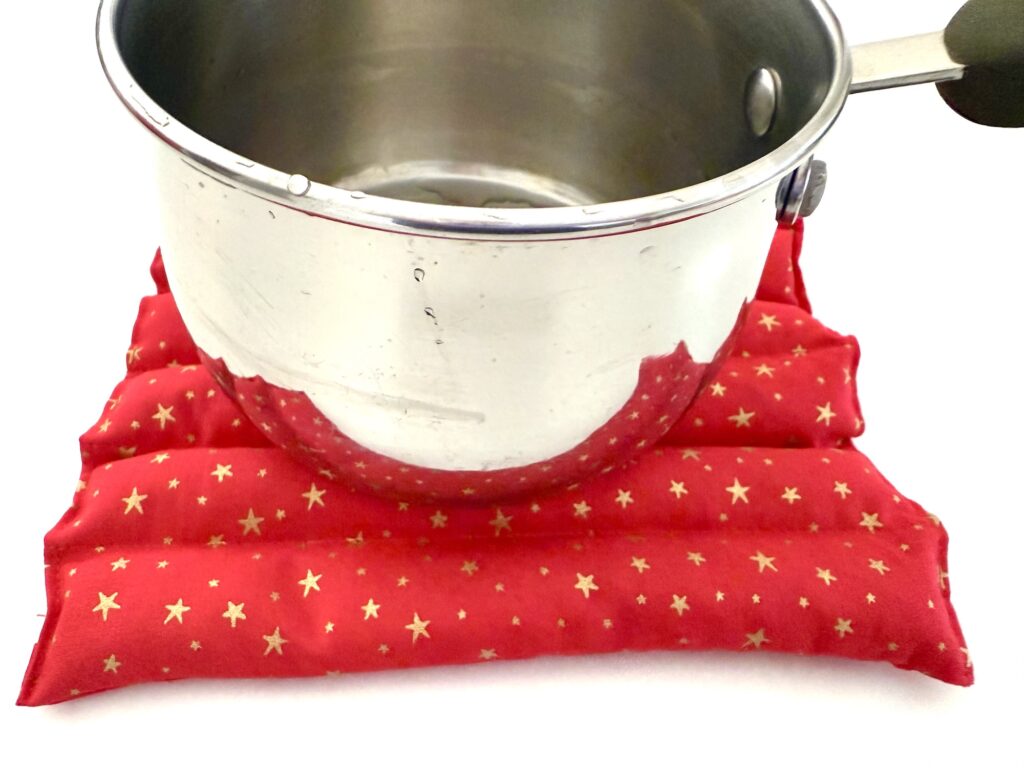
This easy-to-sew trivet is very thick to protect your table and countertops from hot pans and baking sheets. The rice makes this a heat resistant trivet that works much better than regular fabric trivets.
All you need is a couple small squares of fabric and some rice. You probably already have both items at home right now!
This is a great beginner sewing project. You can easily make these DIY trivets in an hour or less.
We love making them for the holidays to set on the dining table. Especially if they coordinate with the table runner.
They also make perfect homemade gifts when paired with a spoon or spatula, a bag of cookie mix and a cookie cutter!

If you want to make this a scented trivet, you can add spices, dried flowers, essential oils or fragrance oil.
You can use this same method to make a DIY Rice Heating Pad, too. The measurements are just a little different, but you use the same supplies.
How to Sew a Trivet
These supplies will make one trivet.
Supplies
- Two 10 X 10 inch (25.5 X 25.5 cm) cotton fabric squares (or layer cake squares)
- 2 ¼ cups uncooked white rice
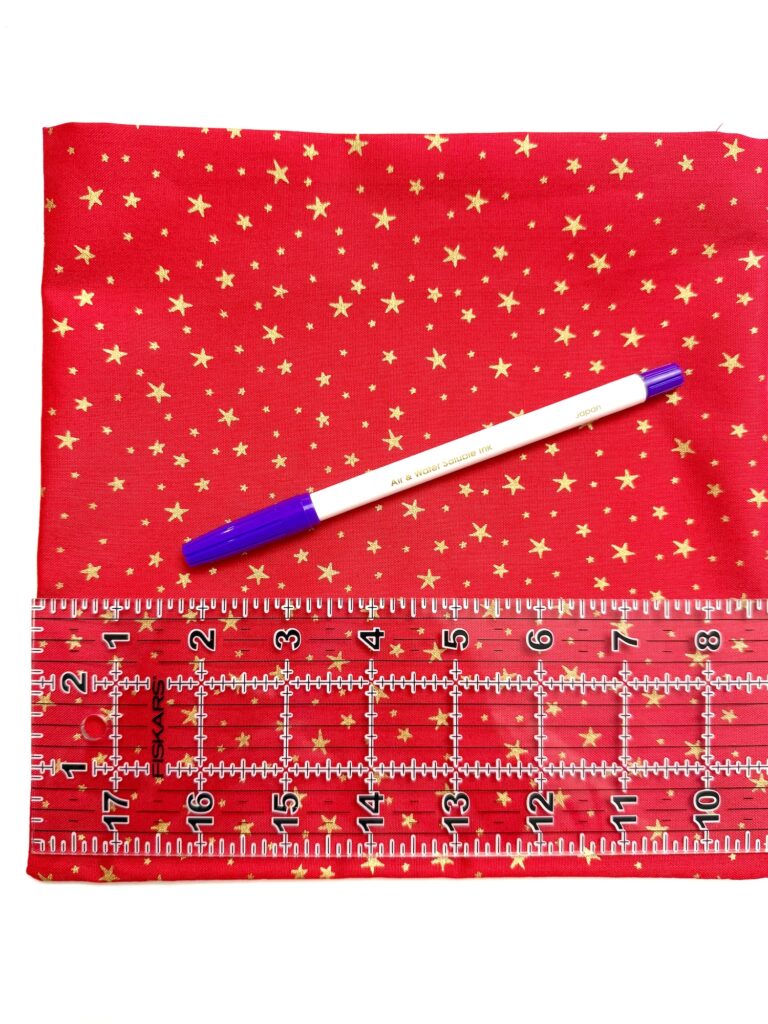
- Disappearing ink pen (not a heat erasable pen)
- Sewing pins
- Funnel (optional)
- Spices, dried flowers, essential oil or fragrance oil (optional)
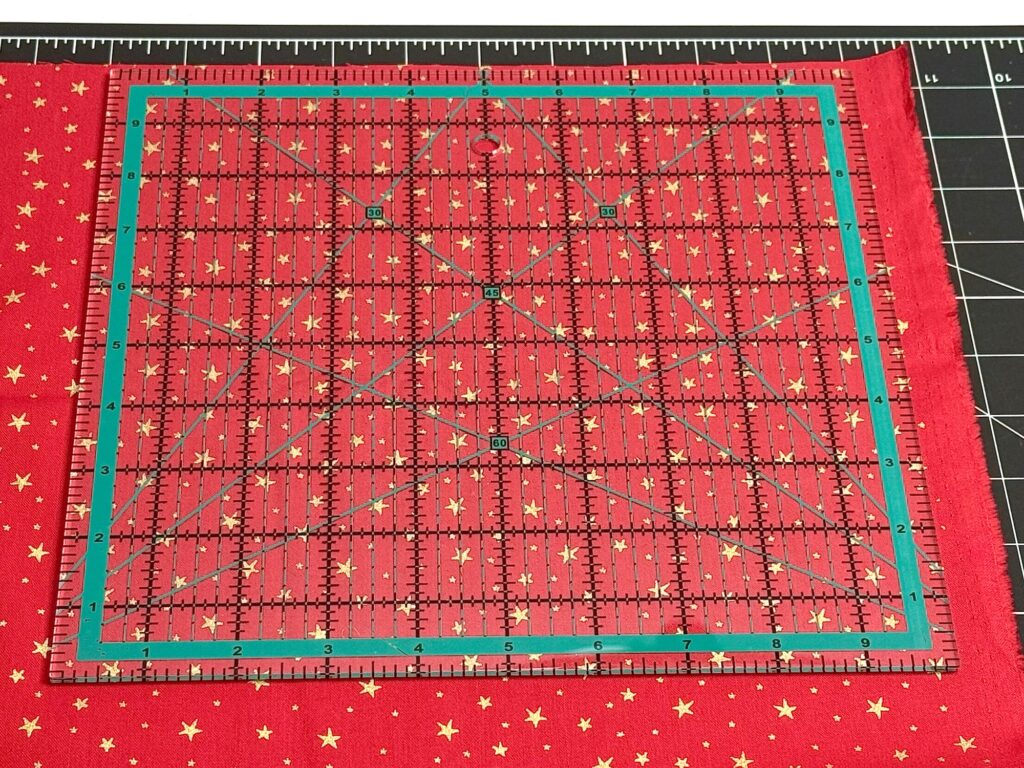
I highly recommend using a quilting square ruler to quickly and easily cut the squares! It’s worth every penny by reducing your frustration while measuring and tracing patterns!
Directions
Step 1
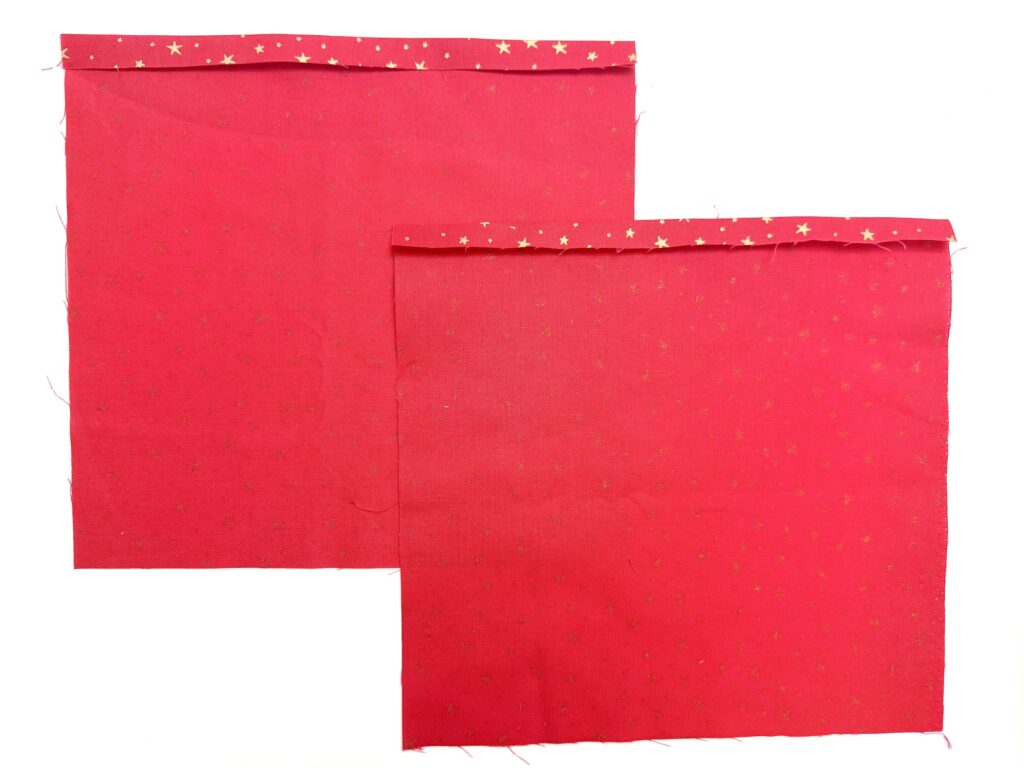
Fold over the top of each of the squares by ½ inch. Press flat with your iron.
Step 2
Place the squares right sides together, matching up the sides that have the folded edges.

Sew a seam around the three unfinished edges (not the folded edges) using a ½ inch seam allowance.
Step 3
Clip off the corners of the sewn corners. Do this by clipping across the corner close to the stitching but don’t cut the stitching!
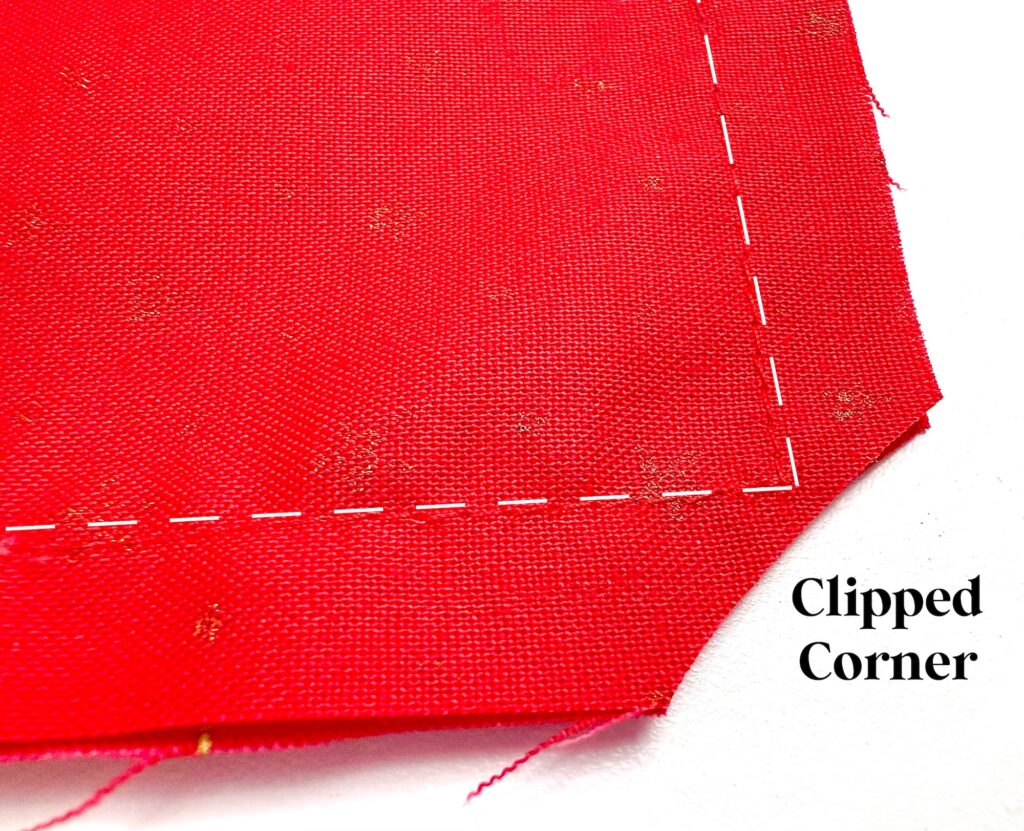
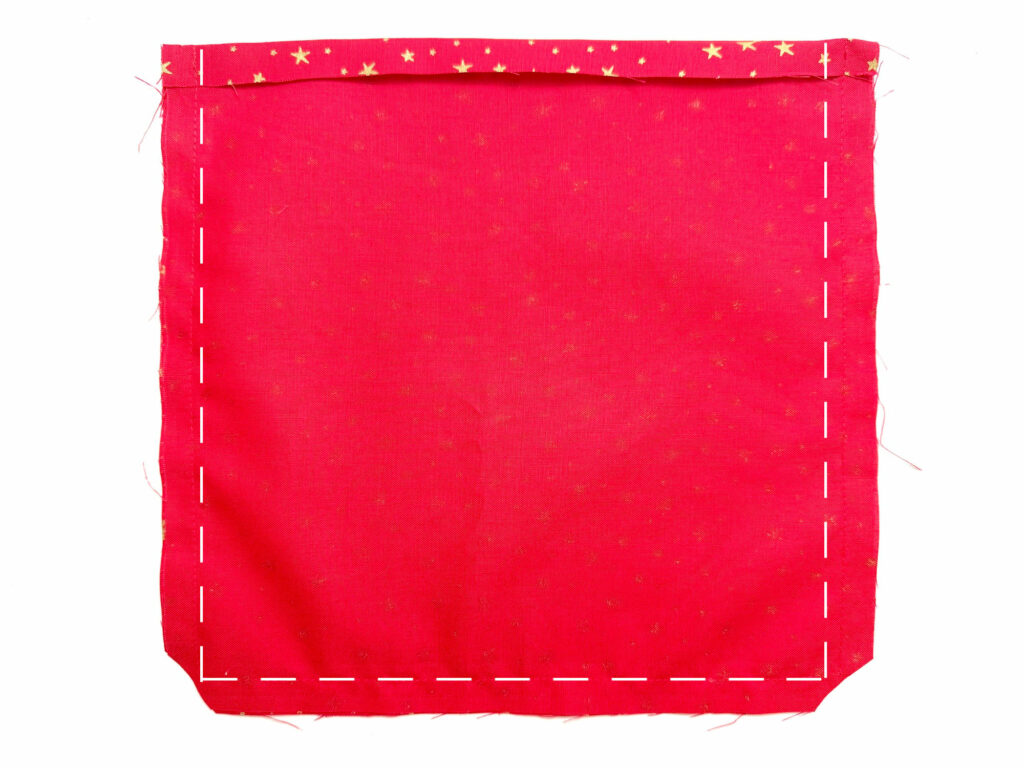
Turn the square inside out and push out the corners using your finger or a turning tool.
Step 4
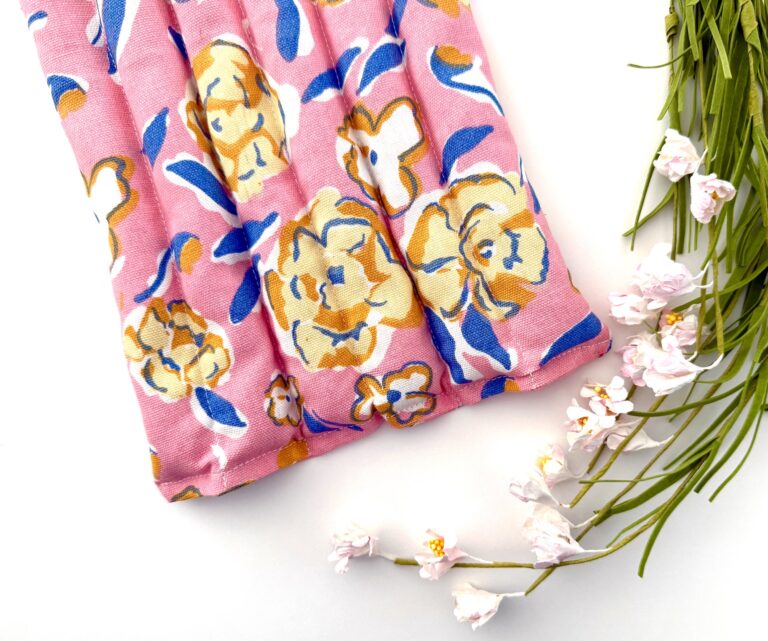
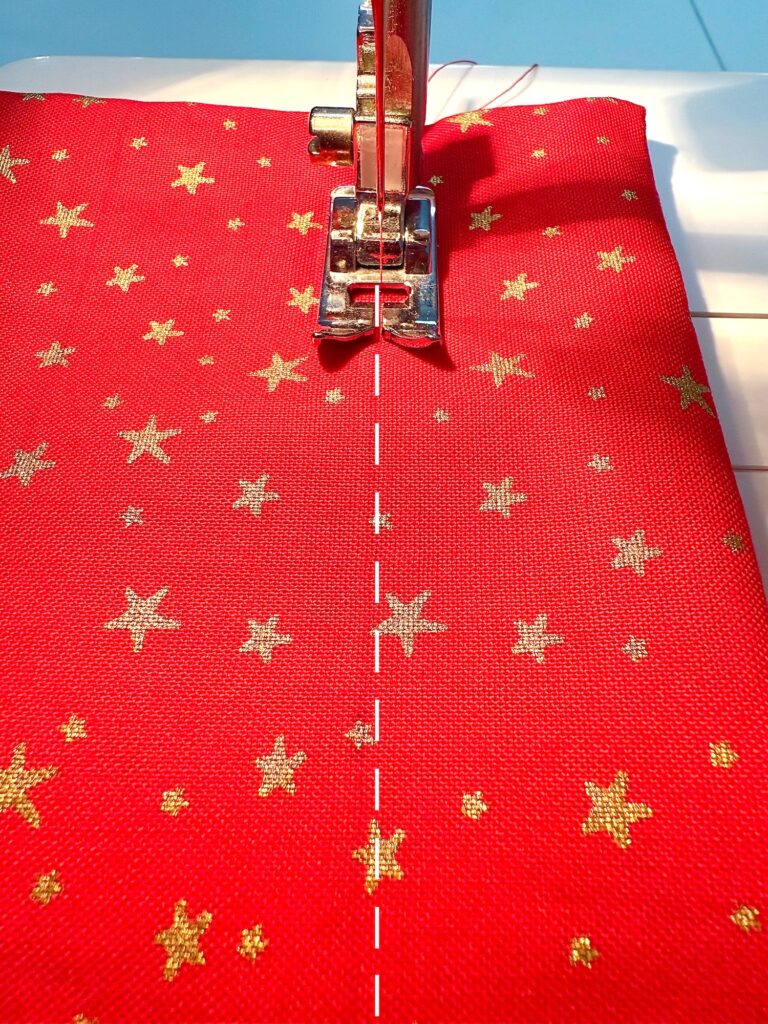
Draw lines on the fabric every 1.5 inches (4 cm) using a disappearing ink pen. This sewing ruler makes it really easy to see where to mark.
You should have 6 columns going up and down, with the folded edges on top.

If the measurements aren’t perfect at the end, that’s okay! Just adjust as needed to make the columns roughly the same size.
Step 5
Top stitch on each line from the very top to the very bottom of the fabric squares, backstitching at the beginning and end.
Step 6
Top stitch along the bottom of the fabric squares with an 1/8 inch seam allowance. This is to match the top seam you will sew later.

Step 7
If desired, mix the rice with 2 tablespoons of spices such as allspice or cloves and/or 10-20 drops of essential oil. If using fragrance oil, use fewer drops because it is so strong.
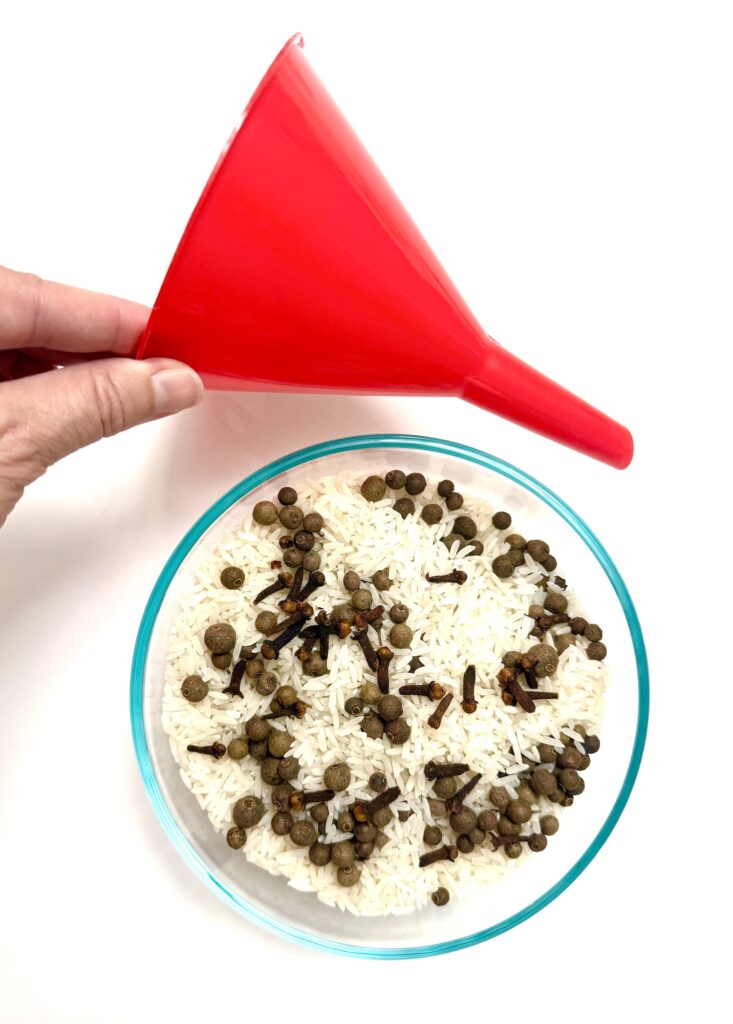
Fill each column with rice. Using a funnel is the best way to get the rice into the fabric channels. (I bought an inexpensive set of funnels at Harbor Freight and I only use them for crafts.)
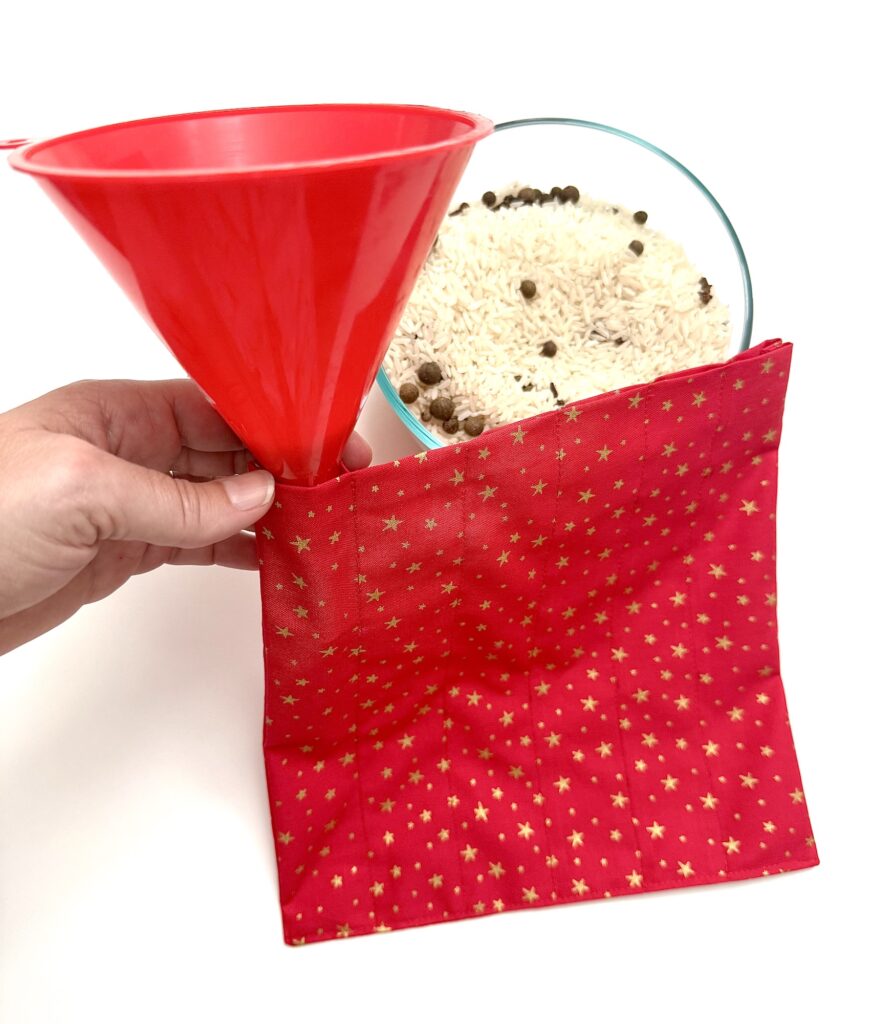
Push the rice down as much as you can. Fill to about 1 inch below the top opening. Place a straight pin across the top of the column to hold the rice in and keep it from spilling out.

Step 8
Top stitch along the folded edges using a 1/8 inch seam allowance.
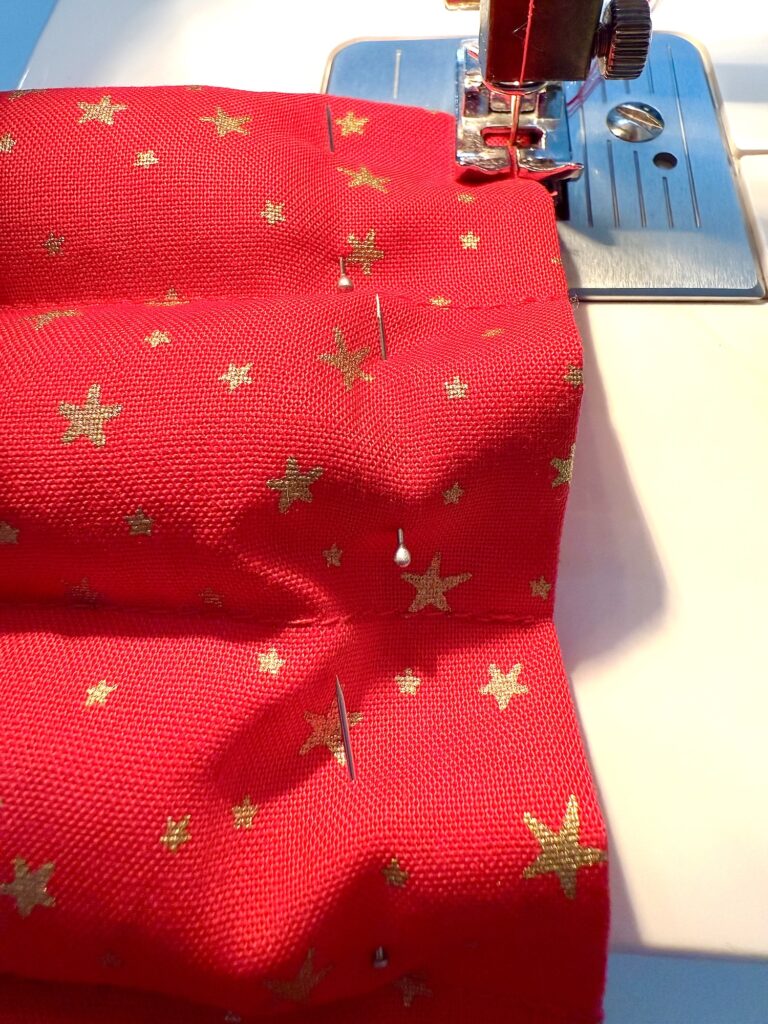
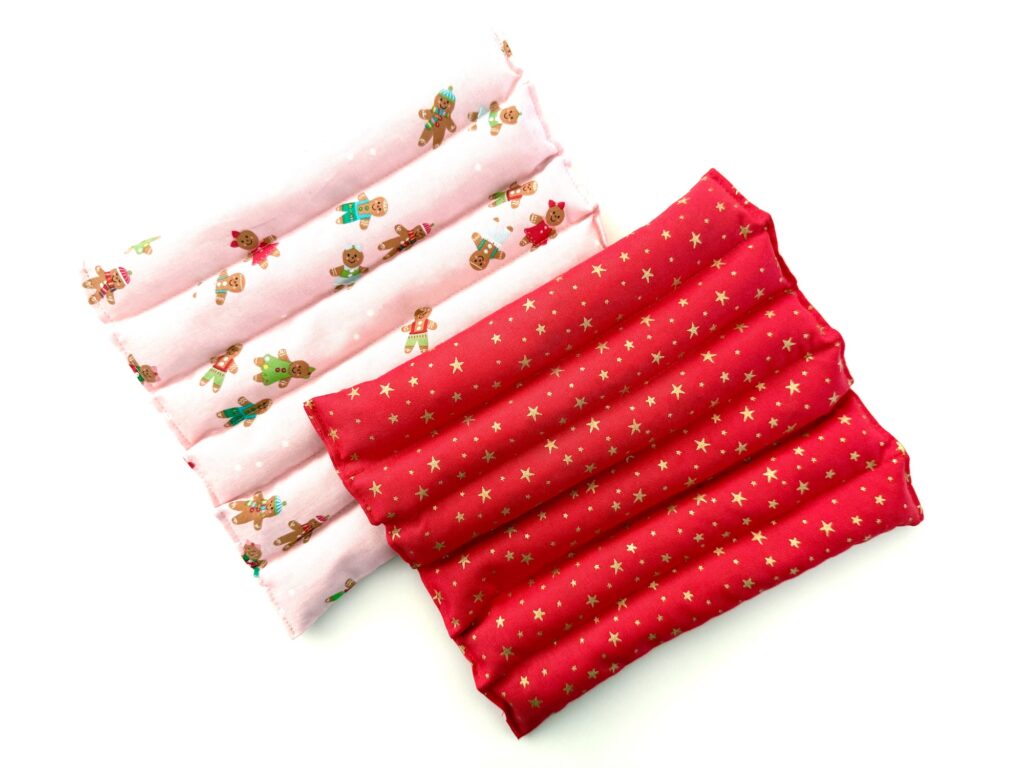
Remove the pins and fluff the trivet to distribute the rice evenly.
That’s it! You are done!
Helpful Tips I Learned While Making These Trivets
- Instead of rice, you could also use flax seed, wheat kernels, beans, tiny pebbles or sand.
- Brown rice is not suggested because it has oils and can stain the fabric over time.
- Spices and essential oils can be mixed in with the rice. However, these natural fragrances aren’t very strong and they will fade over time.
- I added both allspice and cloves to my rice mixture. I could barely smell the spices when a hot pot was placed on top.
- Fragrance oil can be added to the rice before putting in the trivet. This synthetic fragrance will last longer and be stronger.
- Do NOT use any fabric that can’t stand up to high heat, such as polyester or silk.
- When drawing the lines, disappearing ink is the best solution because you will be drawing on the visible side of the fabric. Don’t get a heat- or water-disappearing pen because you won’t be able to iron the trivet after stuffing it!
- An alternative to a disappearing ink pen is to use straight pins to mark where the lines should be sewn.
- If you are making several of these DIY trivets, I suggest creating a cardboard or paper template to trace. Even better is a 10 X 10 quilting ruler which is easy to trace and to use with a rotary cutter or scissors. You won’t find yourself accidentally cutting off a piece of the pattern with this solid square template!
How to Clean
If your trivet becomes stained, spot clean with a damp towel. Do not soak or put this in the laundry machine!
Want to save this idea? Pin it to Pinterest!
If you like this easy DIY trivet, be sure to see these sewing projects next: