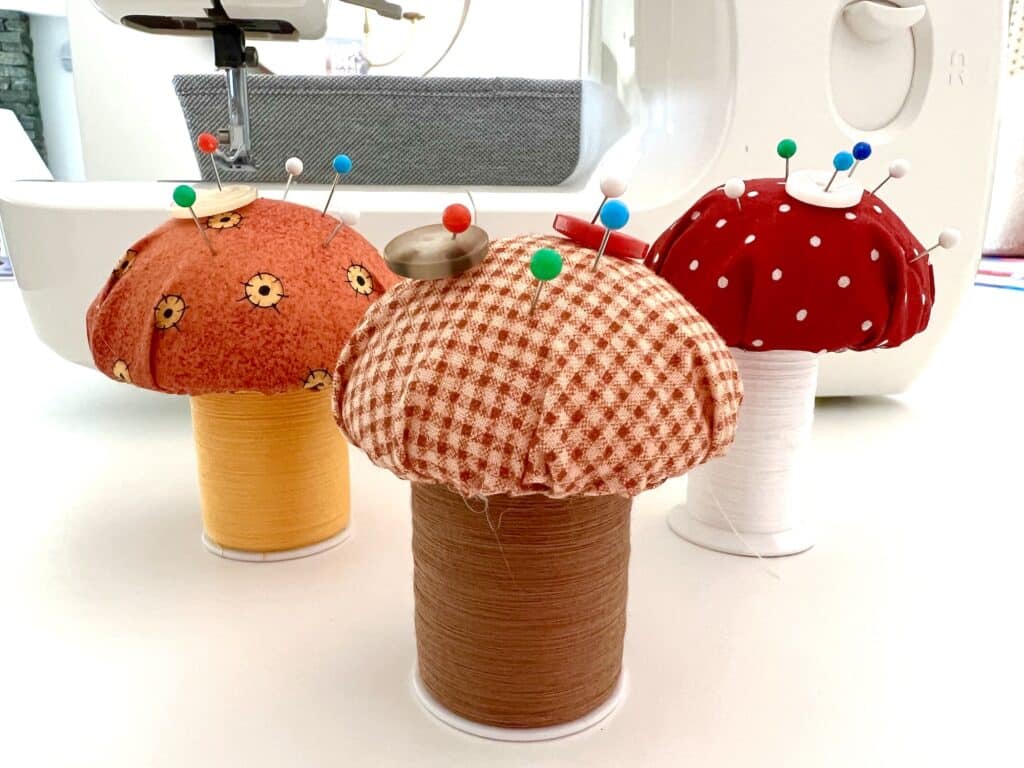
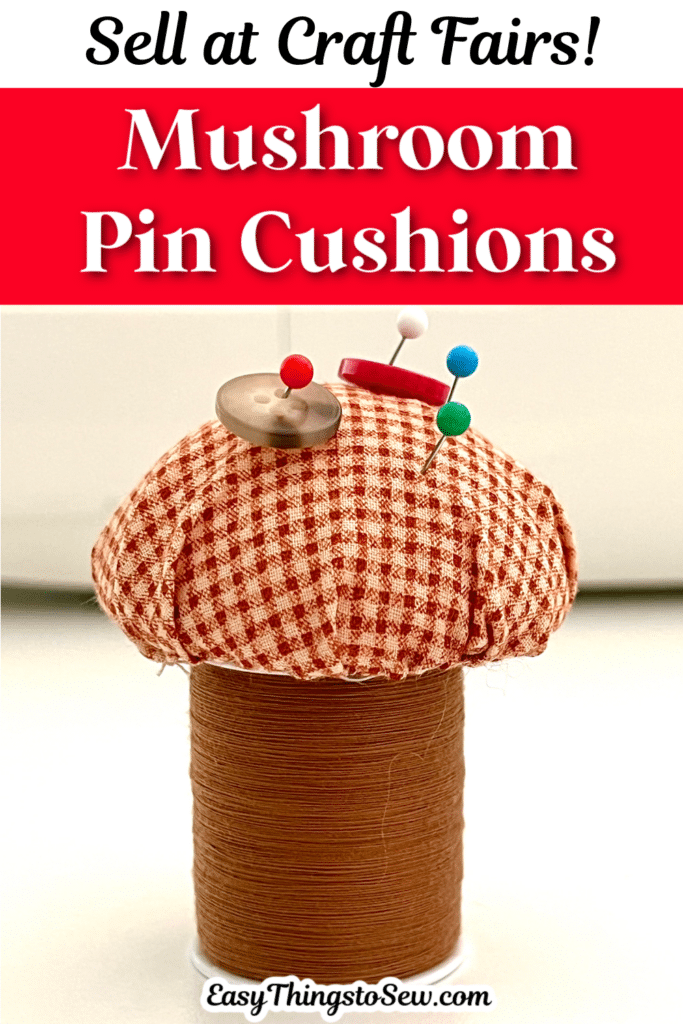
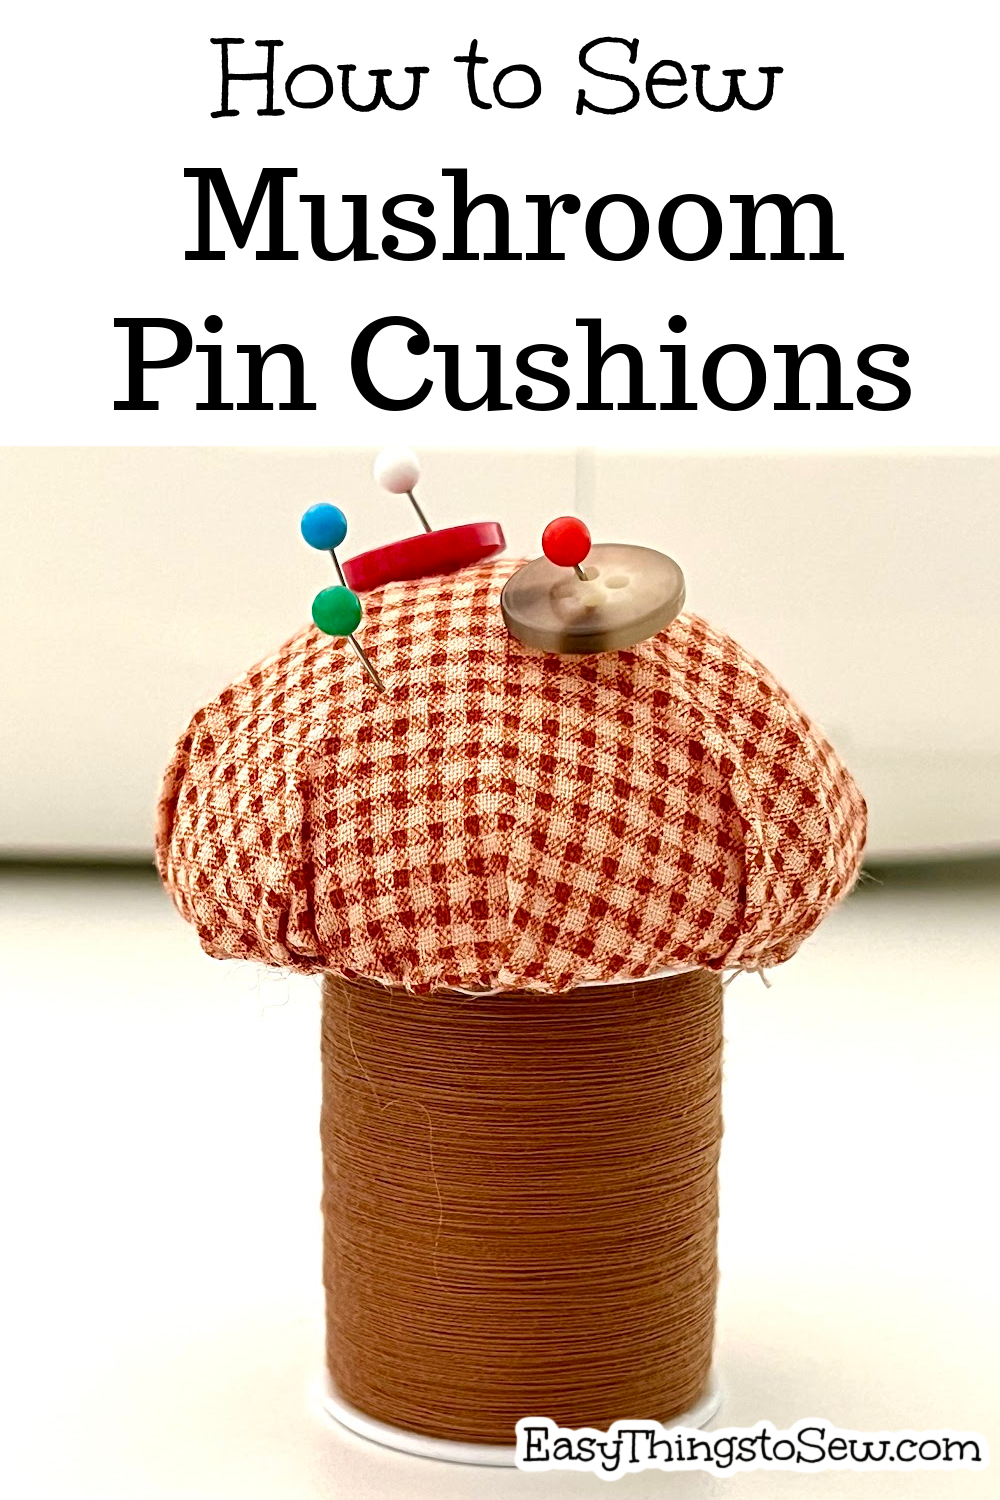
DIY Mushroom Pin Cushion
These DIY mushroom pin cushions are perfect for beginner sewists. This quick and easy craft uses hand stitching to make woodland-inspired pin cushions that will look great next to your sewing machine!
Not only are these DIY pin cushions simple to make, they also are multi-functional! The spool of thread can be used for hand sewing projects, too.
You can easily make one of these cottage core pin cushions in 30 minutes or less. So let’s get to it!
Be sure to watch our video tutorial, too, at the end of the tutorial.
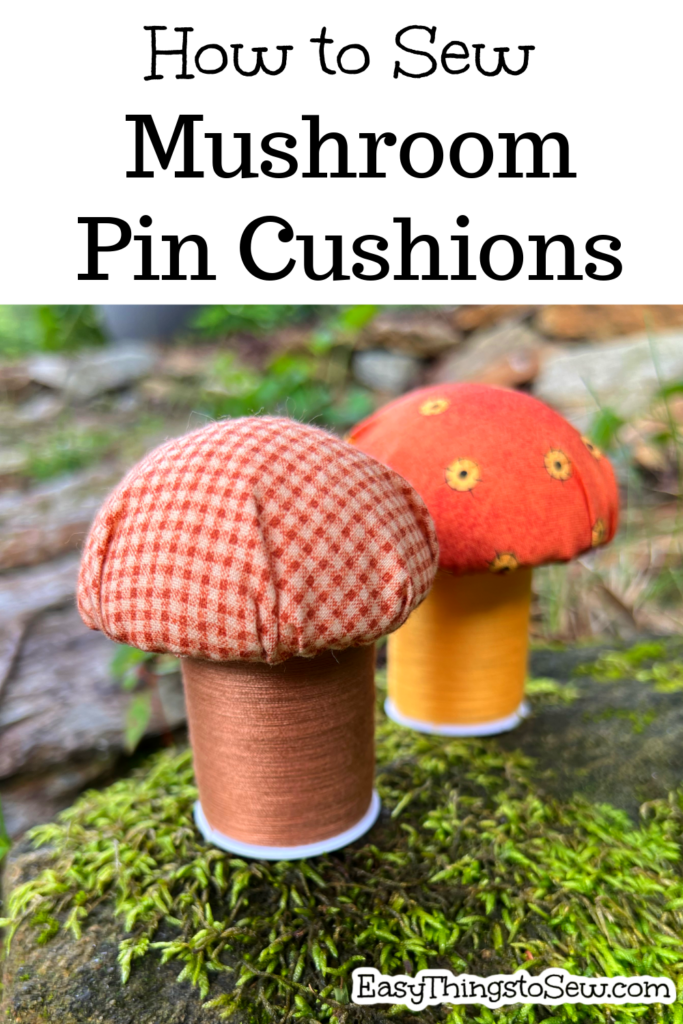
DIY Mushroom Pin Cushion
See my helpful tips that I learned from making this project at the end of this tutorial.
Supplies
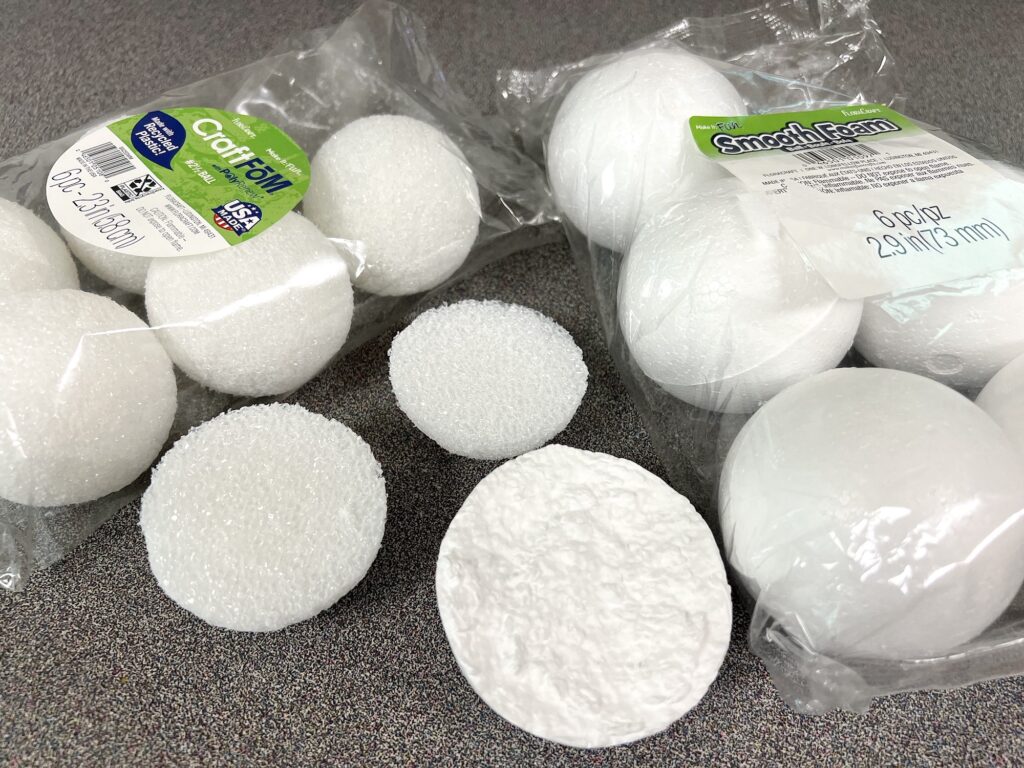
- Styrofoam Ball (around 3 inches wide)
- Fabric
- Spool of Thread (in a complimentary color to the fabric)
- Needle
- Matching Thread for Sewing
- Pins
- Hot Glue
- Free Mushroom Pin Cushion Templates (optional)
Directions
Step 1
Cut a styrofoam ball in half using a knife.
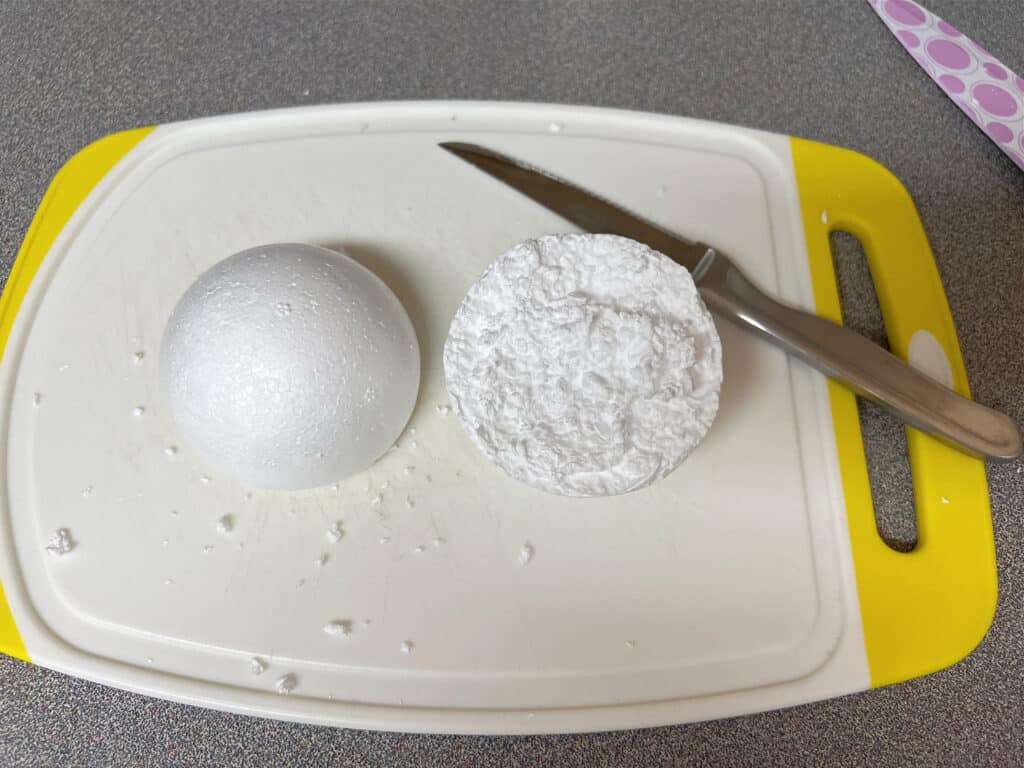
Smooth off the cut edge by rubbing it against the edge of a counter top.
Gently press in the middle of the styrofoam ball with your fingers in the same width of the top of the spool of thread, if desired.
Making an indentation in the styrofoam will allow the mushroom top to hang over the spool more.
Step 2
Cut two circles from your fabric. One circle is 5 ½ inches (14 cm) in diameter and the smaller circle is 3 inches (7 ½ cm) in diameter.
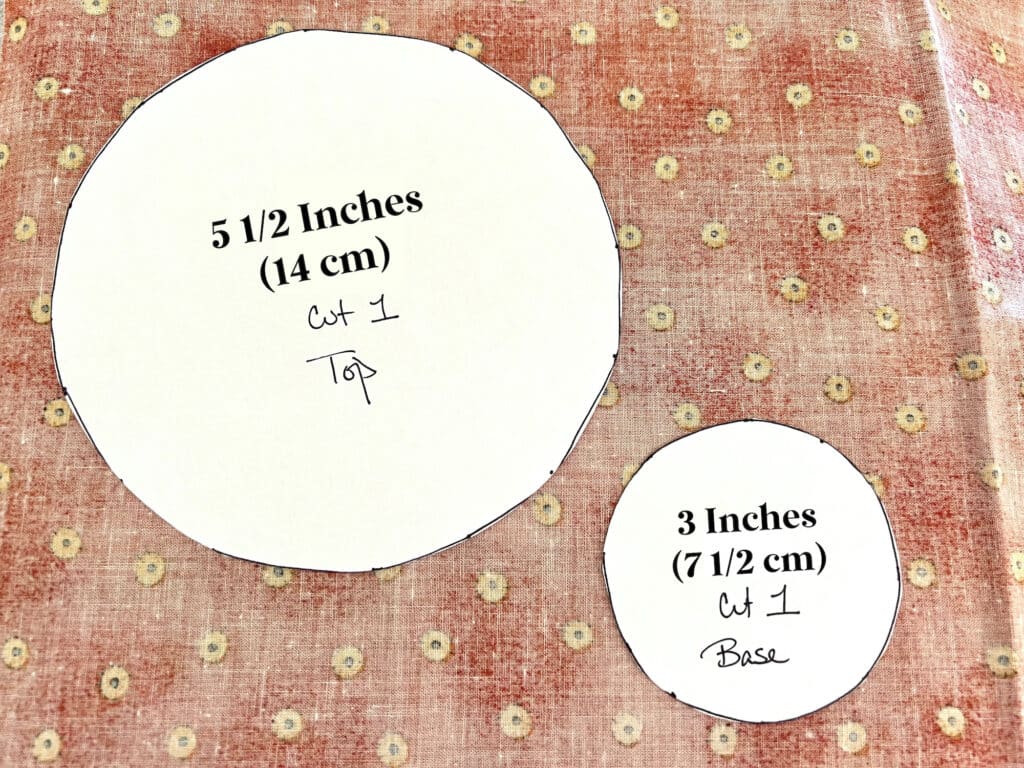
You can download our free mushroom pin cushion pattern for ease in tracing the circles.
Iron out any wrinkles.
Step 3
Thread the needle with the matching thread you have for sewing. Tie a knot in the end of the thread.
Insert the needle into the large fabric circle and start to create long basting stitches around the edge of the circle, about ¼ inch from the edge.
Continue to sew basting stitches around the entire circle. Do not cut off the thread or knot it.
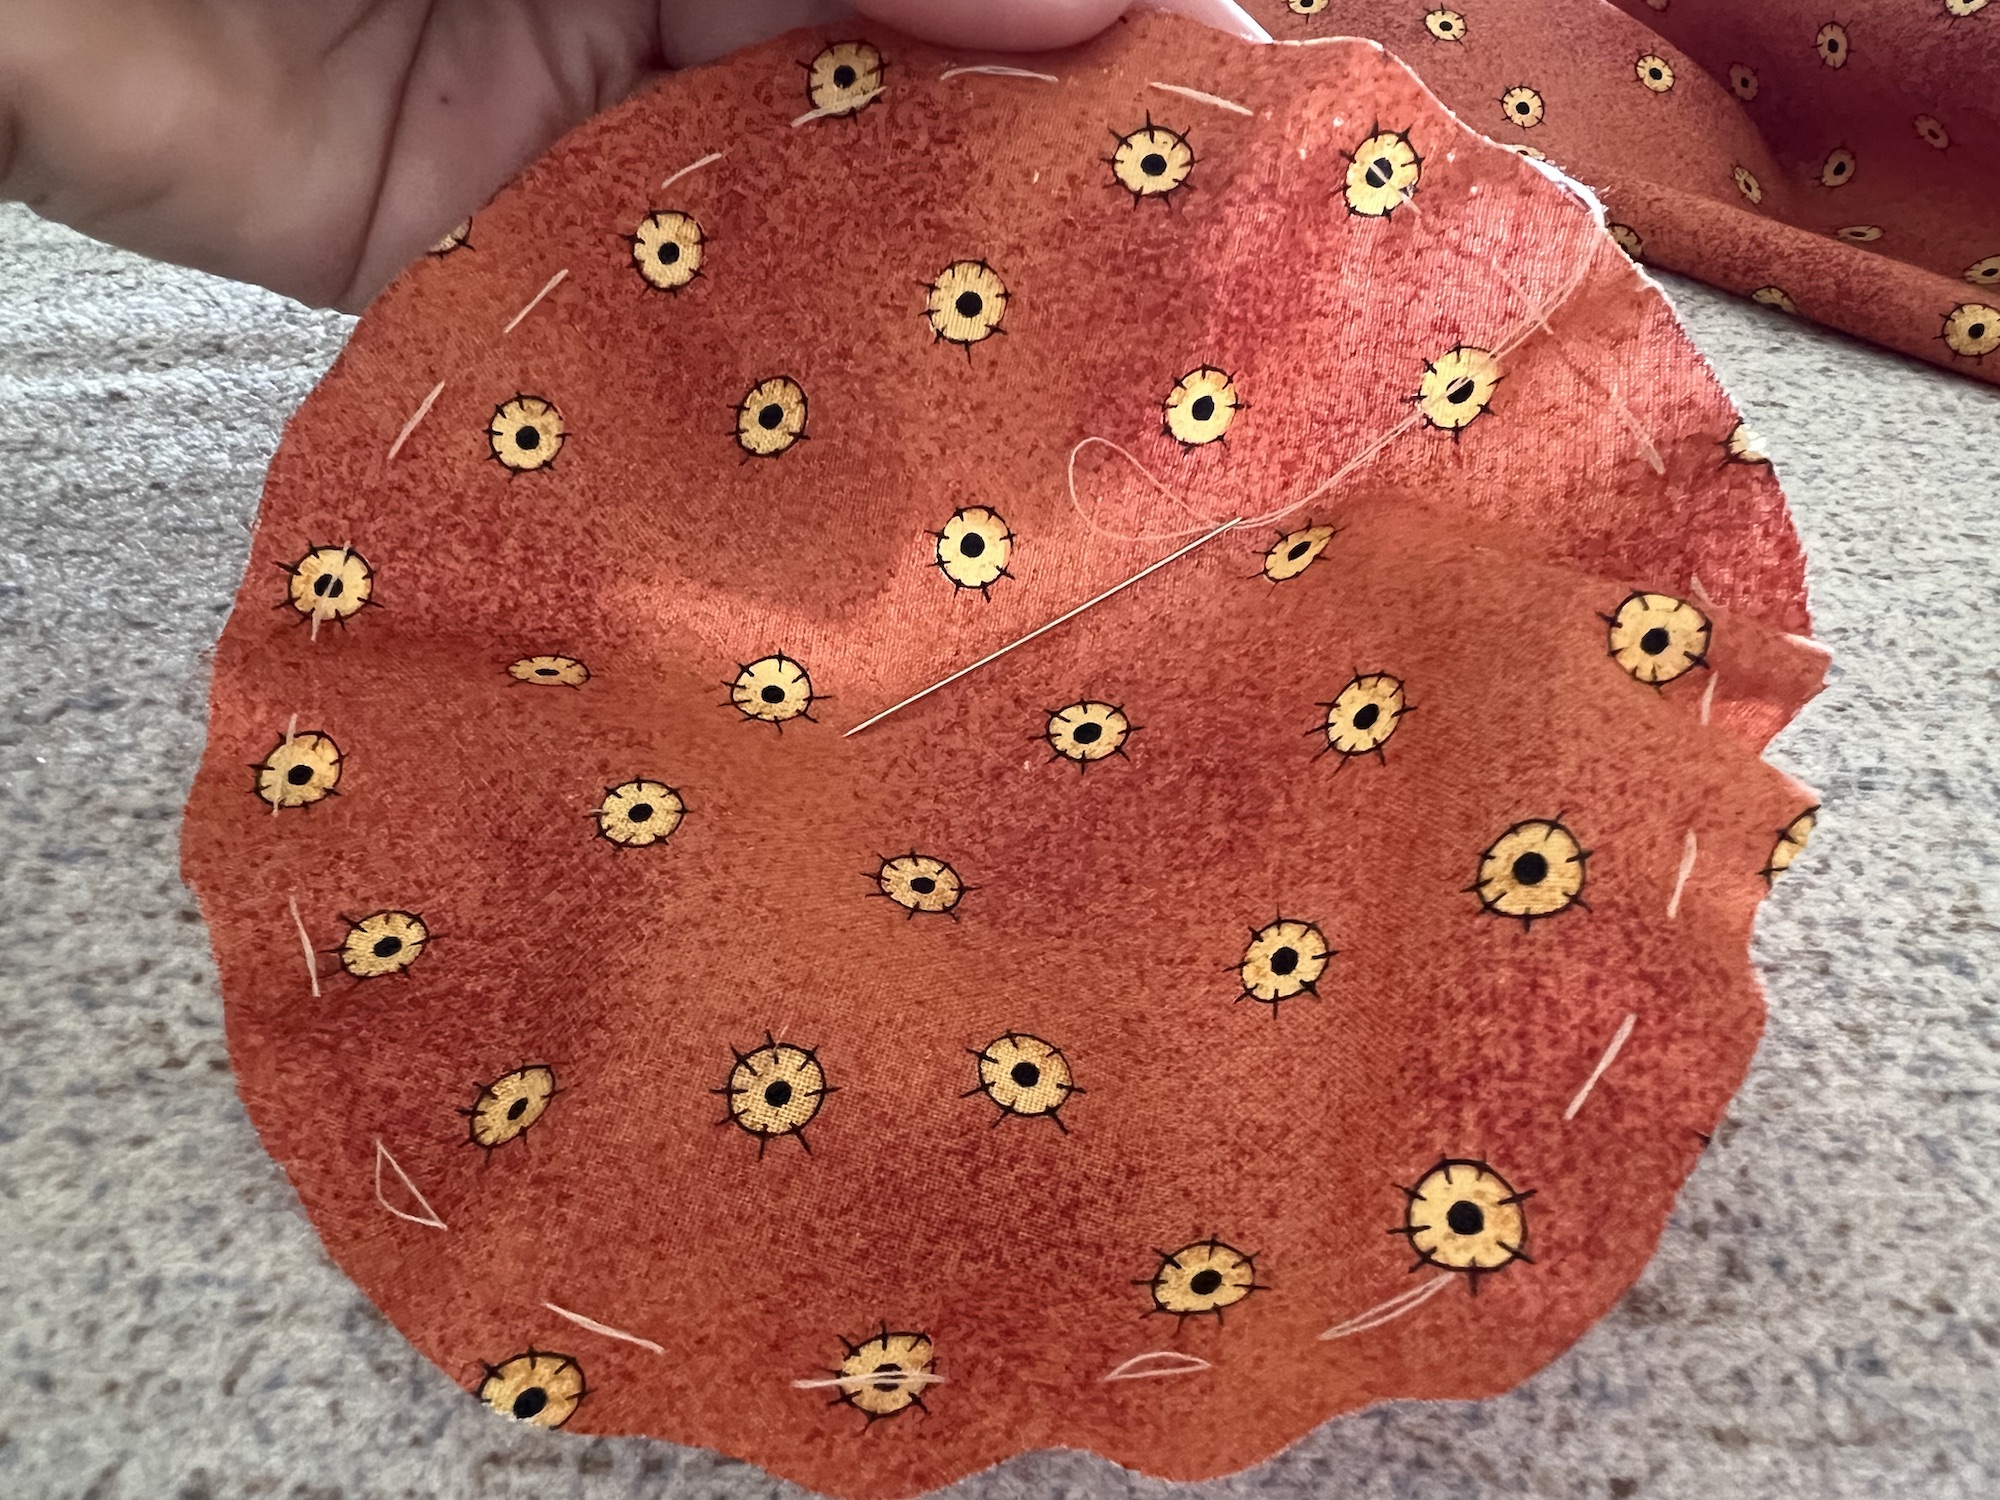
Basting stitches are long straight stitches that are about an inch wide.
These do not need to be perfect because you will not see them! Do not worry if every stitch is not even or if the stitching line is not straight.
Step 4
Start to gently pull on the thread, starting the gather the fabric along the basting stitches.
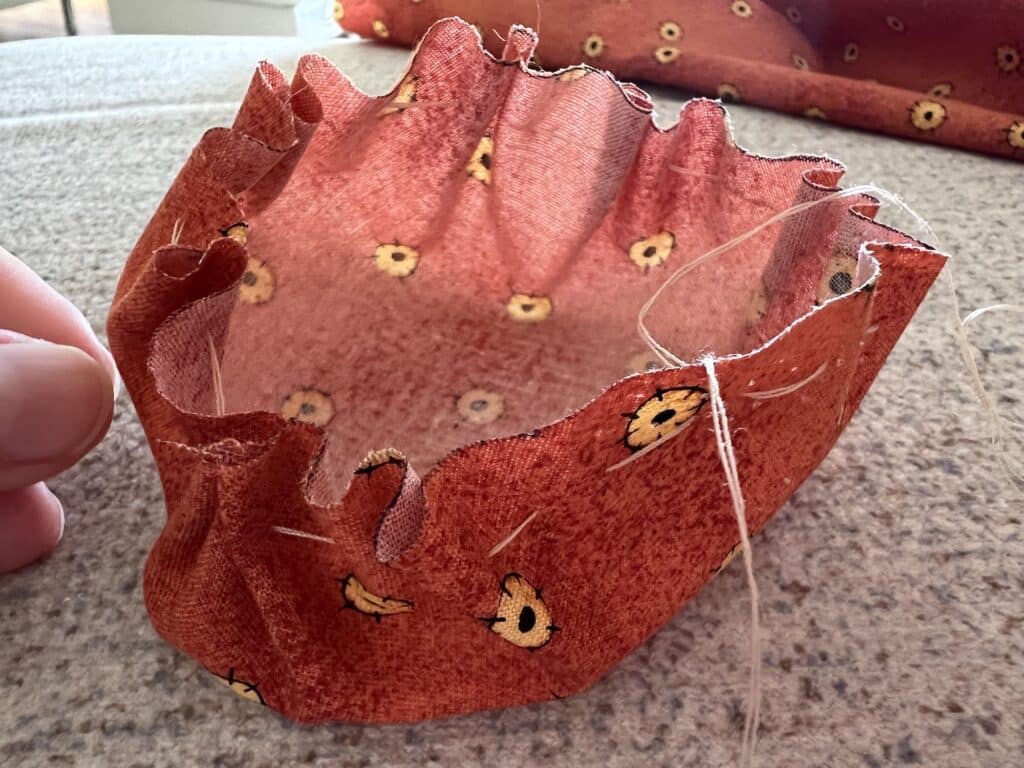
Once you have created a small puckered circle, place the half styrofoam ball inside in the middle, with the rounded side down.
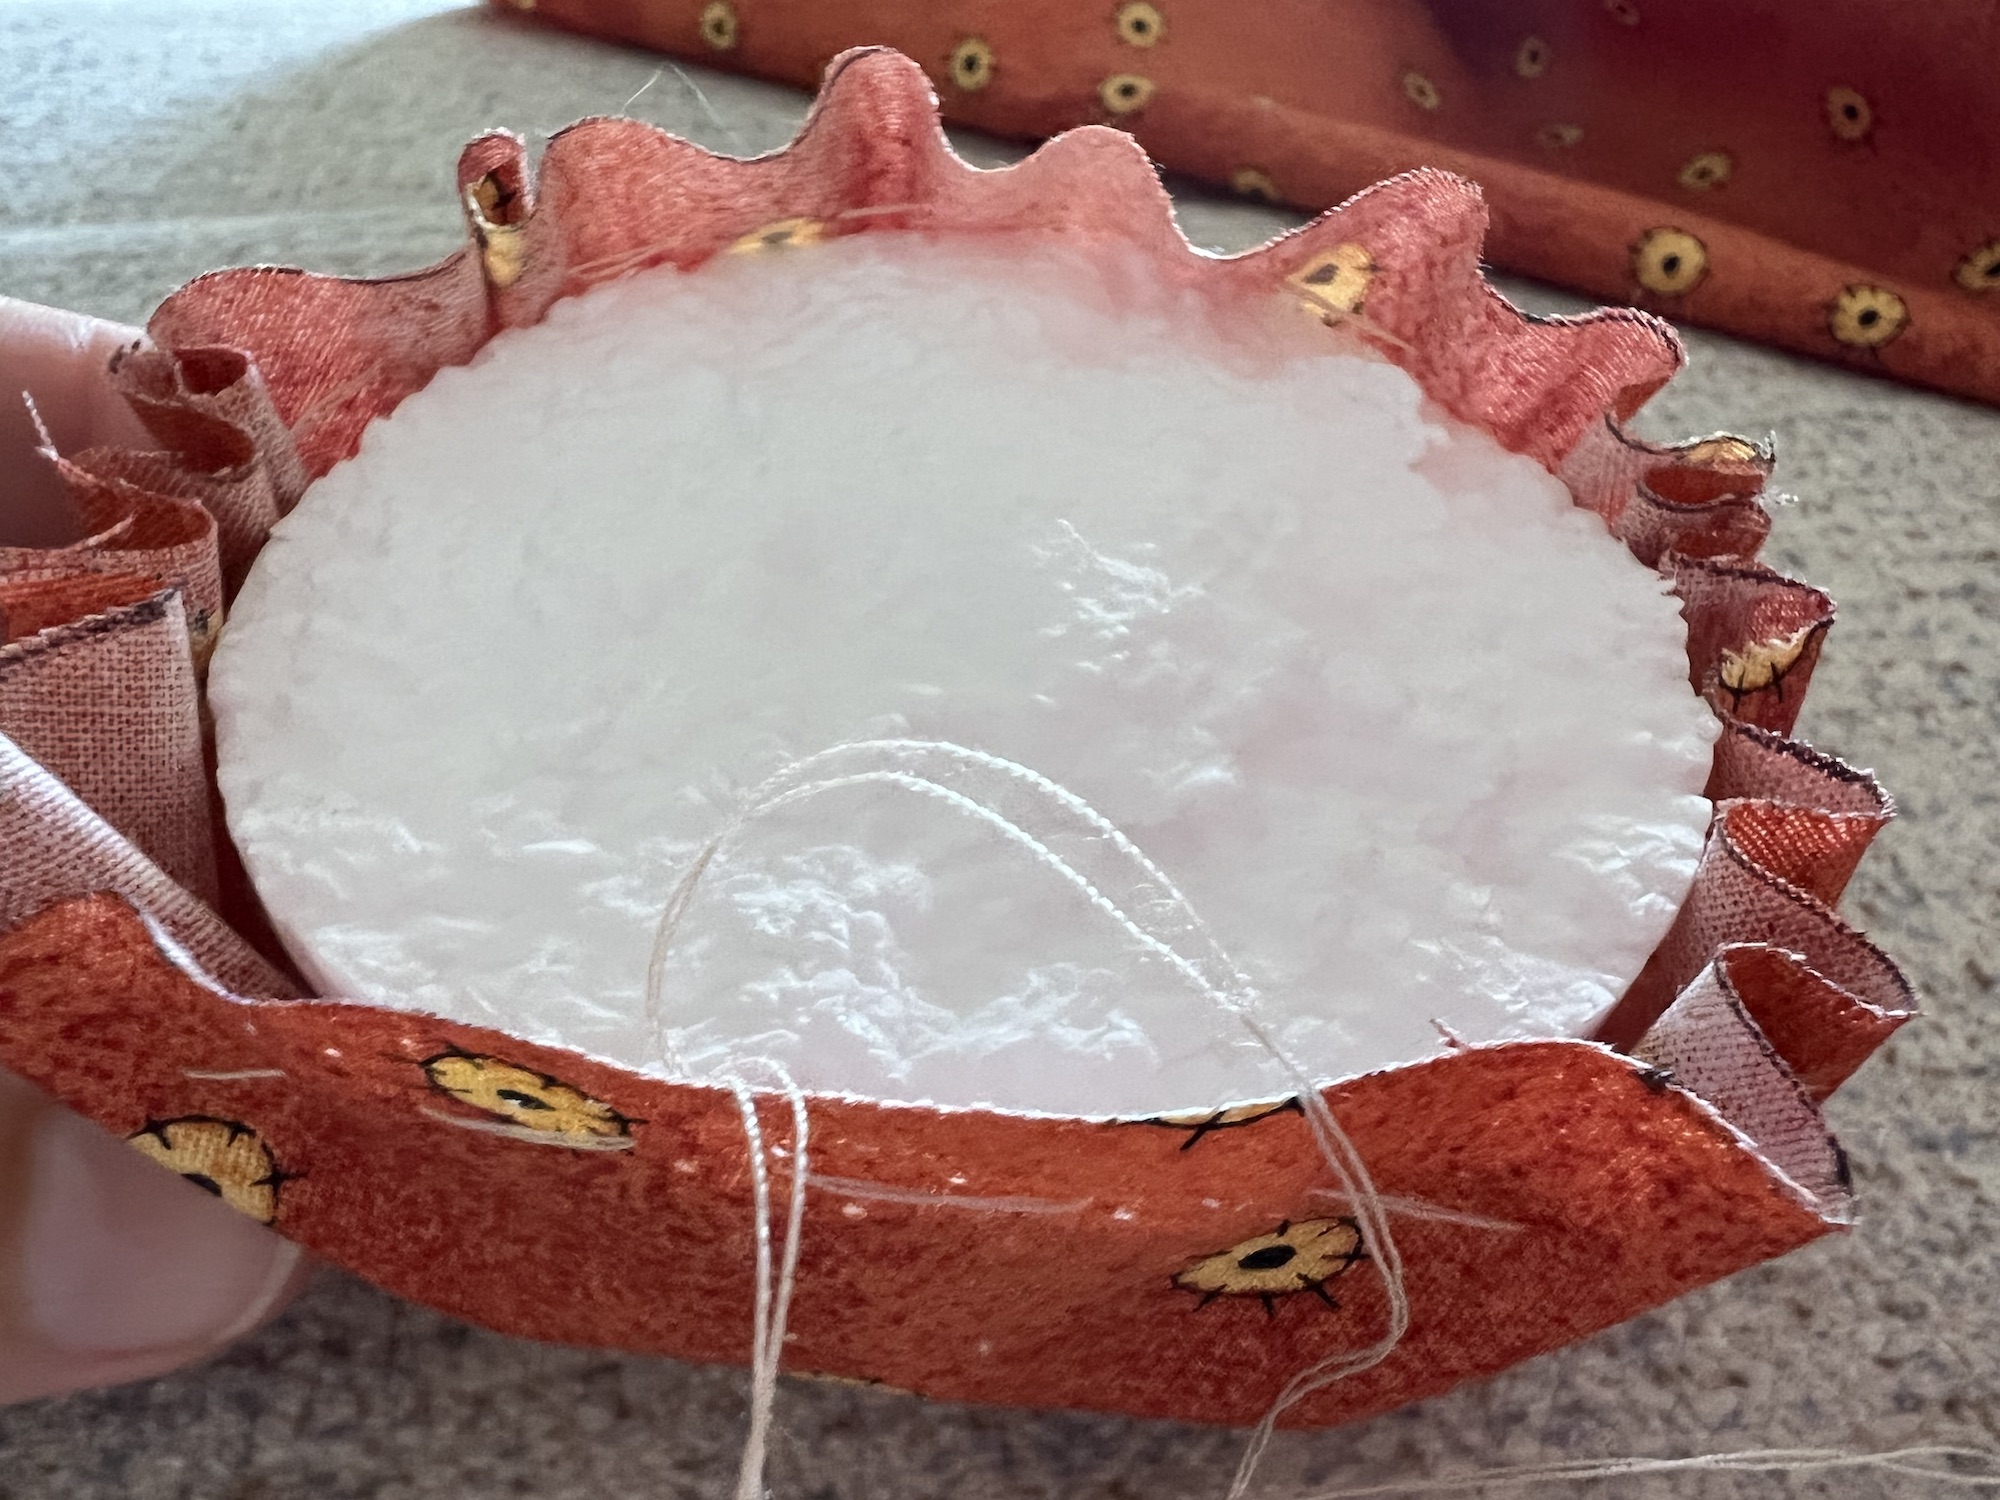
Continue to pull on the basting stitches to gather the fabric circle around the styrofoam ball.
You may want to adjust the gathers in the fabric on the top of the ball as you are gathering it together.
Pull the basting stitches tight and knot the thread to secure. Cut off the remaining thread.
Step 5
Place the small fabric circle over the gathered stitches on the base of the styrofoam ball, with right side up and centering the fabric in the middle.
Place a pin in the middle to prevent the fabric from moving.
Fold under the outer edge of the smaller circle about 1/8 inch. As you tuck under the raw edge, place a pin along the edge to keep the fabric in place.
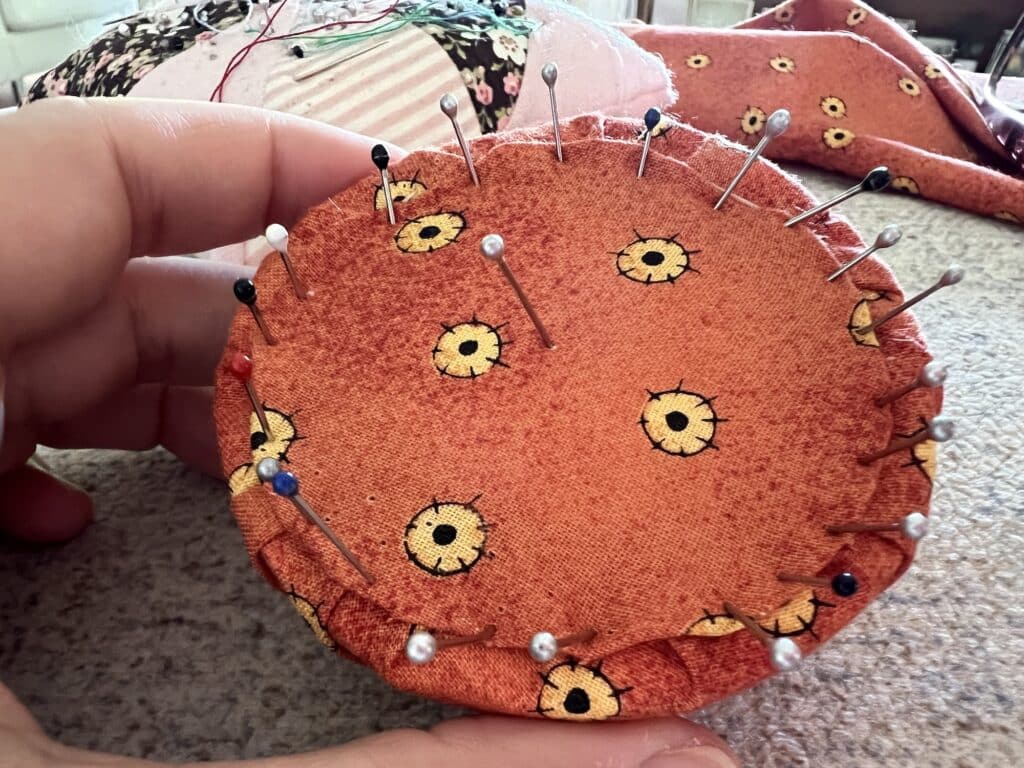
Continue this around the entire small fabric circle. You may need to tuck and gather the fabric in some places as you hand press the seams, and that is okay!
Step 6
Thread the needle with the sewing thread again. Knot the end.
Insert the needle into the seam allowance around the small fabric circle and start to do simple stitches to secure the pieces of fabric together. Be sure to insert the needle through the outer edge of the small circle, through both layers in the seam allowance, and then get a little bit of the gathered fabric around the ball.
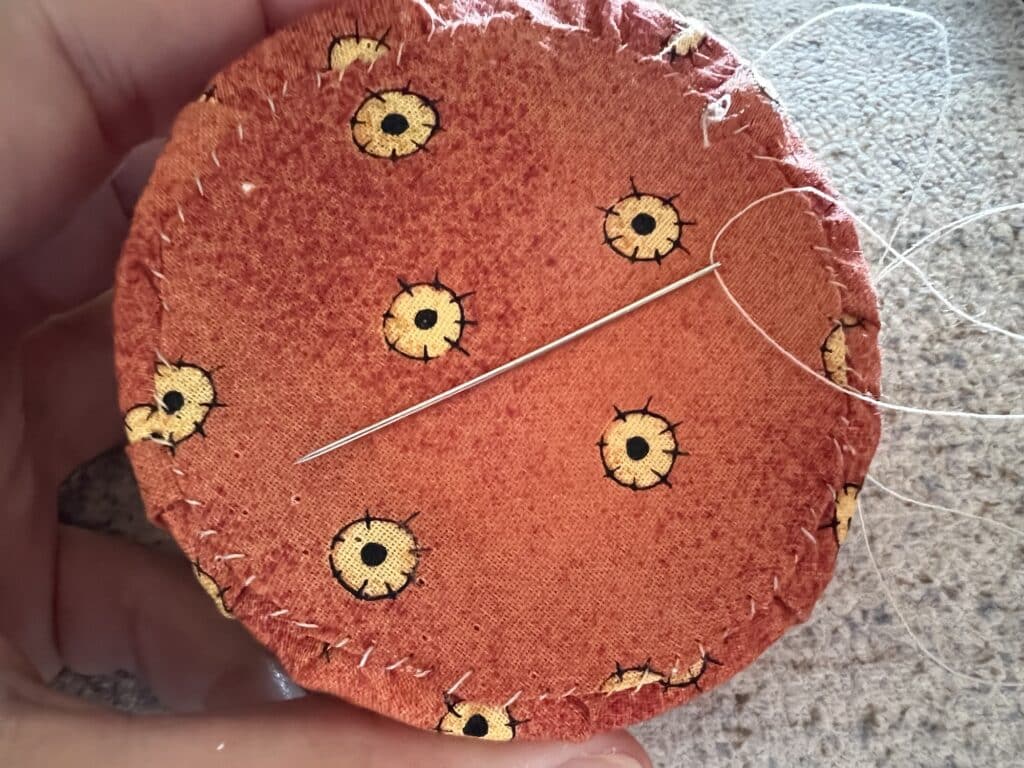
Continue hand sewing around the entire small fabric circle. Tie a knot at the end and cut off excess thread.
Step 7
Position the spool of thread so that the end where the cut thread is accessible is on the work surface, not facing upwards.
Tip: You may need to remove the label on the end of the spool of thread to see if you can find the cut end of thread where the spool starts to unravel.
Using hot glue, attach the mushroom cap to the top of the spool of thread. Press down gently until the cap is attached to the spool.
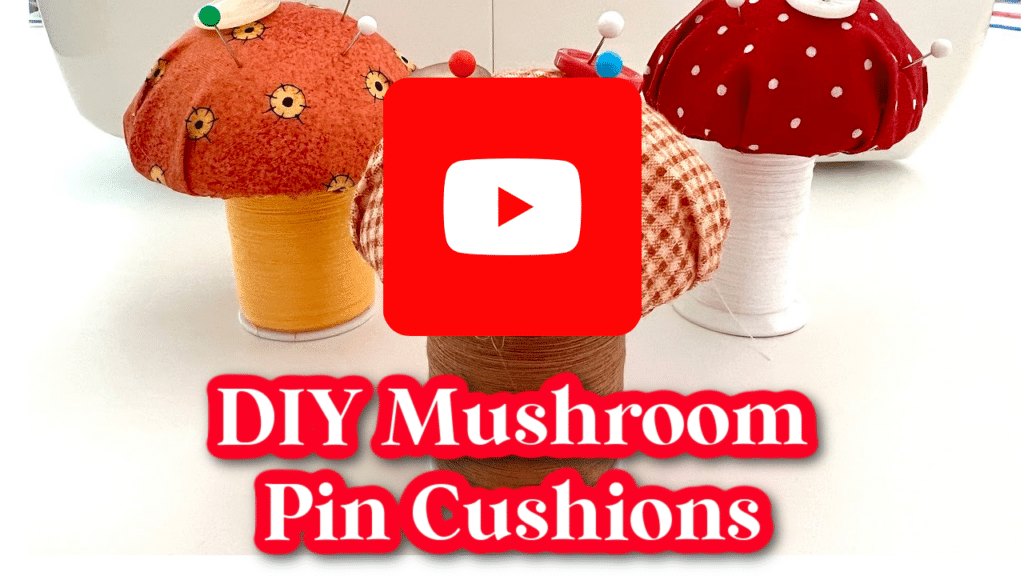
Watch me make these pin cushions in our YouTube tutorial:
You may also like our DIY Tea Cup Pin Cushion, too!
Helpful Tips I Learned While Making This Craft
- A 3-inch wide styrofoam ball is the best size, however I could only find 2.3 inch CraftFom balls at my local Walmart. Online they had the 2.8 inch foam balls that I would have liked to use. I later found 2.9 inch foam balls at a thrift store and that size worked best.
- I prefer the lightweight styrofoam balls versus the denser foam balls.They are easier to cut, as well as easier to insert pins.
- This 10-pack of colored thread spools was among the least expensive ways to buy spools for this project, with a cost of around .50 cents each. They also come in pastel colors and the more vibrant thread colors that I used.
- Used spools of thread, especially those that you find at thrift stores or passed down from your grandma or mother, are especially great for this sewing project.
- Empty spools of thread can also be used.
Sell at Craft Fairs
These mushroom pin cushions are so cute that people love to buy them at craft fairs!
With the low cost of materials, this craft is a great project to make and sell.
Cost of Supplies
Cost calculated on current pricing at Walmart.
- Half of a Styrofoam Ball: .50 cents
- Spool of Thread: .50 cents
- Scrap Fabric: .25 cents
Total Cost Each: Around $1.25
What to Sell For: $3-5
Make these in a variety of colors and add a few pins to the top so that shoppers understand what they are. These will be great displayed with some moss, sticks, or other natural materials.
If you love this project be sure to Pin It or share on social media! It really helps me out, and you won’t lose the craft tutorial!
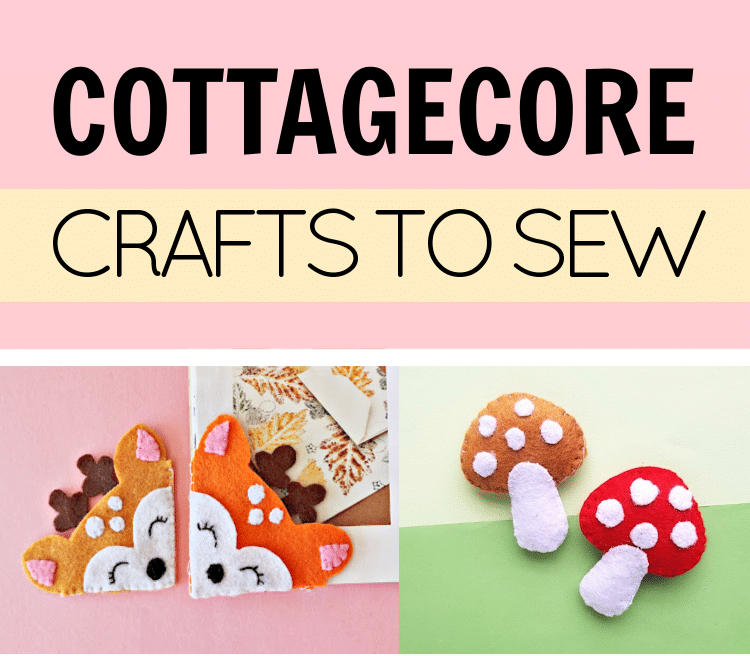
This is just one of our Cottagecore Inspired Sewing Projects. Be sure to see the other woodland-inspired ideas.