Fabric Bow Tutorial
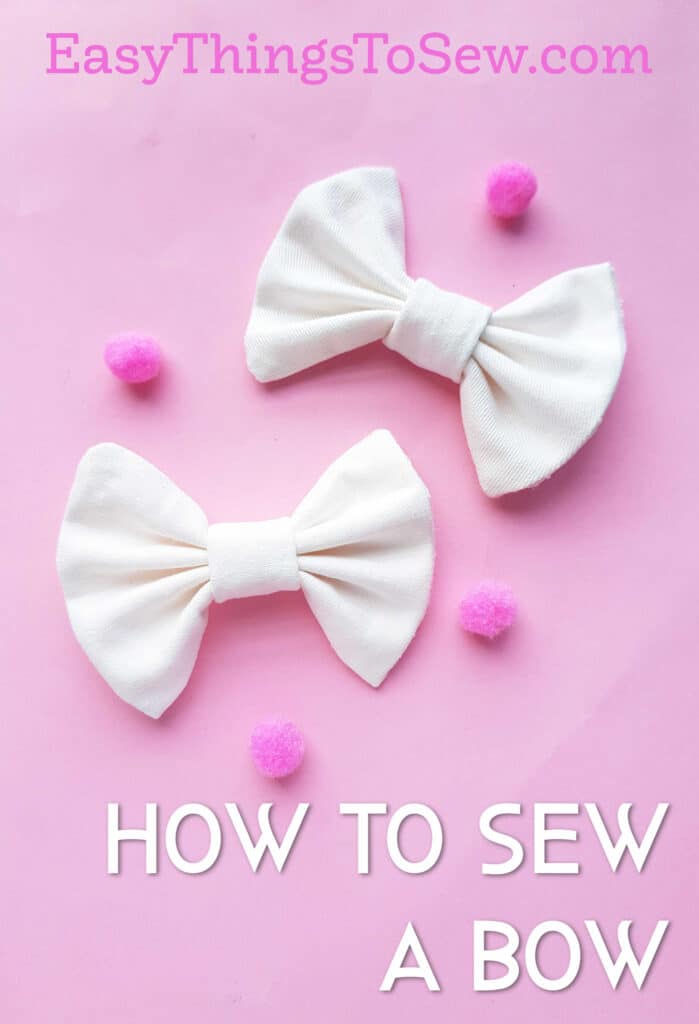
DIY fabric bows are cute accessories for hair clips, clothing, and more. Our free bow tutorial explains how to make handmade bows using fabric or felt.
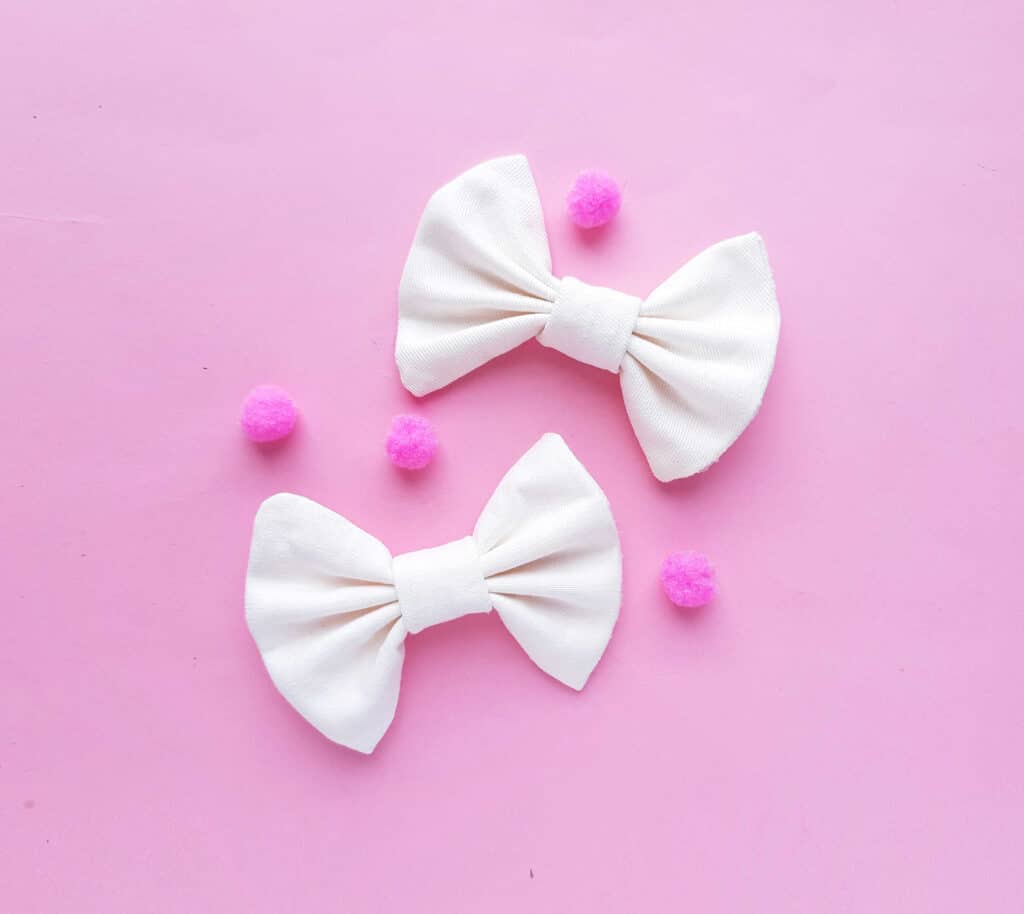
Whatever material you choose, these DIY bows are great for hair accessories. Attach one to a clip or sew onto a hair scrunchie.
Here’s some more ways to use DIY bows:
- Make into a hair clip
- Attach to a hair tie
- Add to a headband
- Add to a shirt or sweater
- Attach to tops of shoes
- Put on a wreath
- Sew onto a pillow
- Add to a gift basket or Easter basket
- Make into a magnet
Bow Tutorial
Supplies
- Free Bow Template
- Fabric or felt
- Pencil or fabric marker
- Thread
- Needle or sewing machine
- Scissors
Directions
Trace the free template pattern on your fabric and cut out.
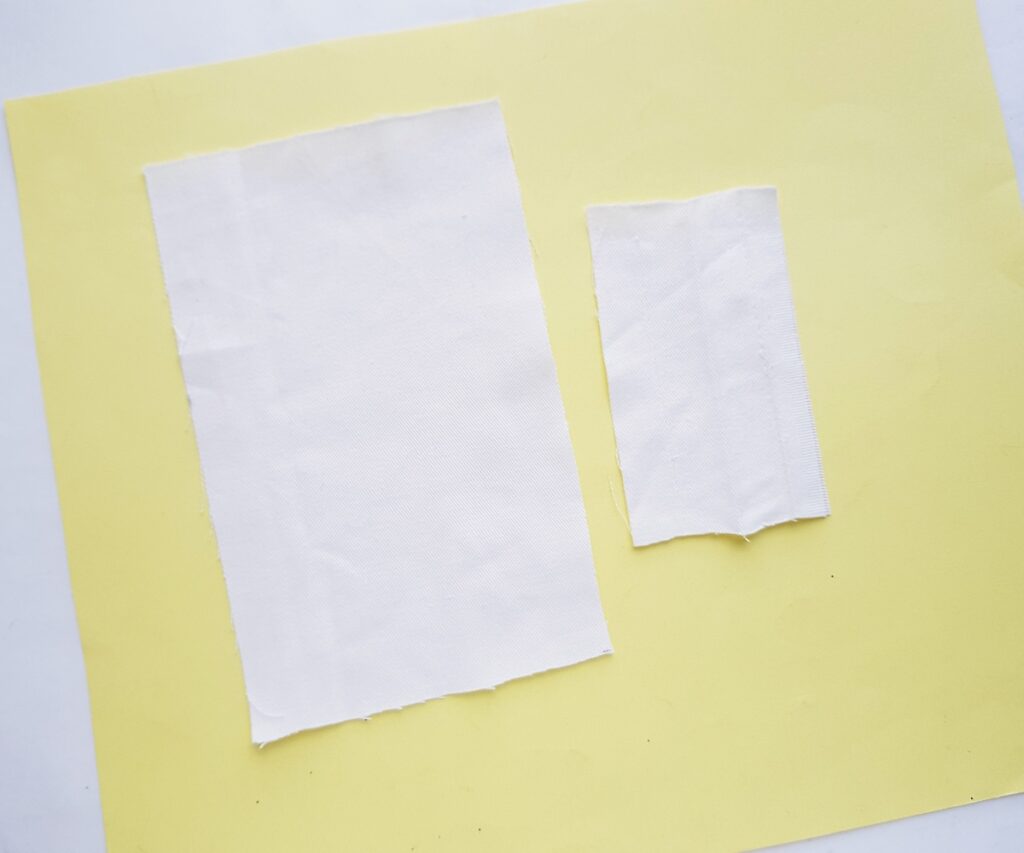
Fold the big square into half (fold along the longer side) and fold the small square into half (fold along the shorter side). Keep the right side inwards, showing the wrong side of the fabric outside.
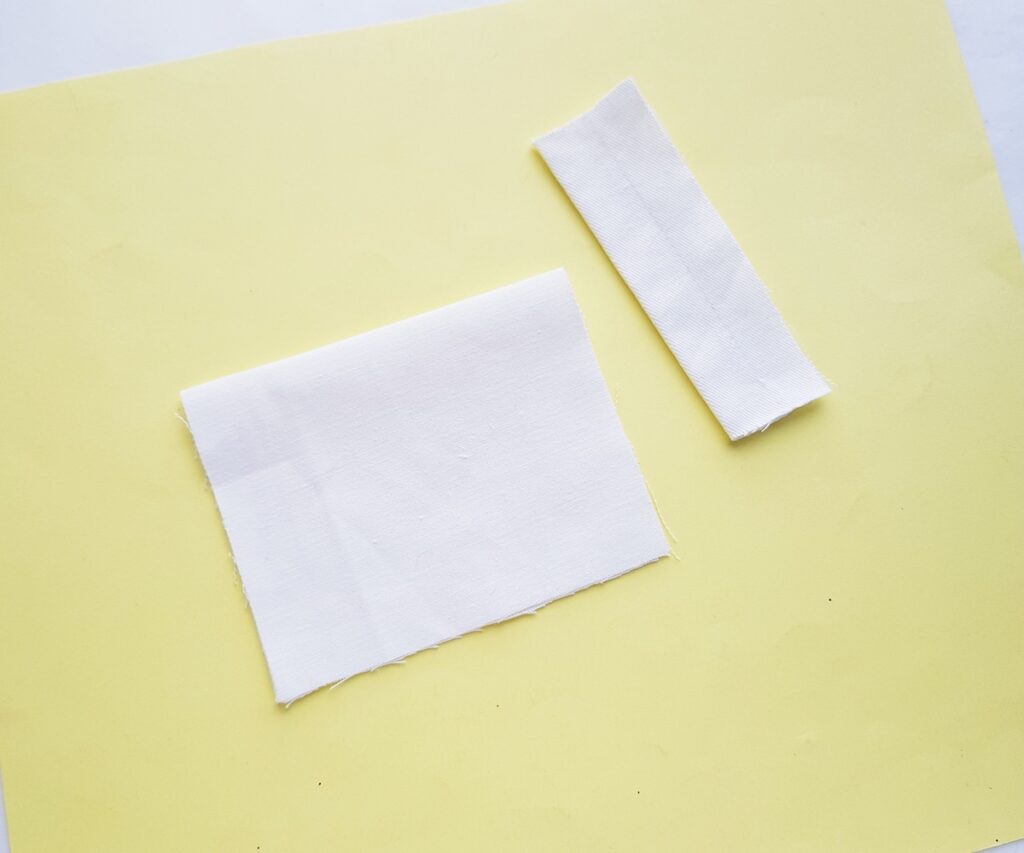
Sew closed two open ends of the folded big square. Sew across from the folded edge, plus one of the small ends. Do not sew the third open edge yet.
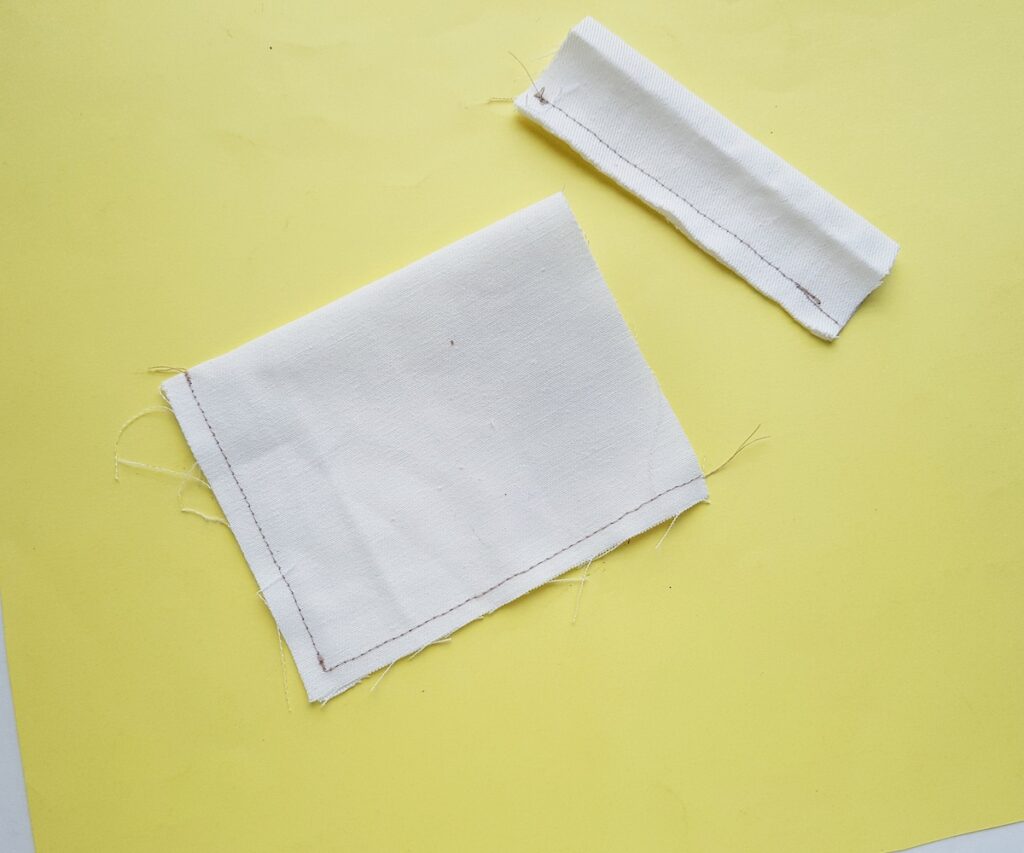
Sew along the longer open side of the small square (across from the folded edge). Keep the 2 smaller ends open.
Turn both pieces inside out to reveal the right sides of the fabric.
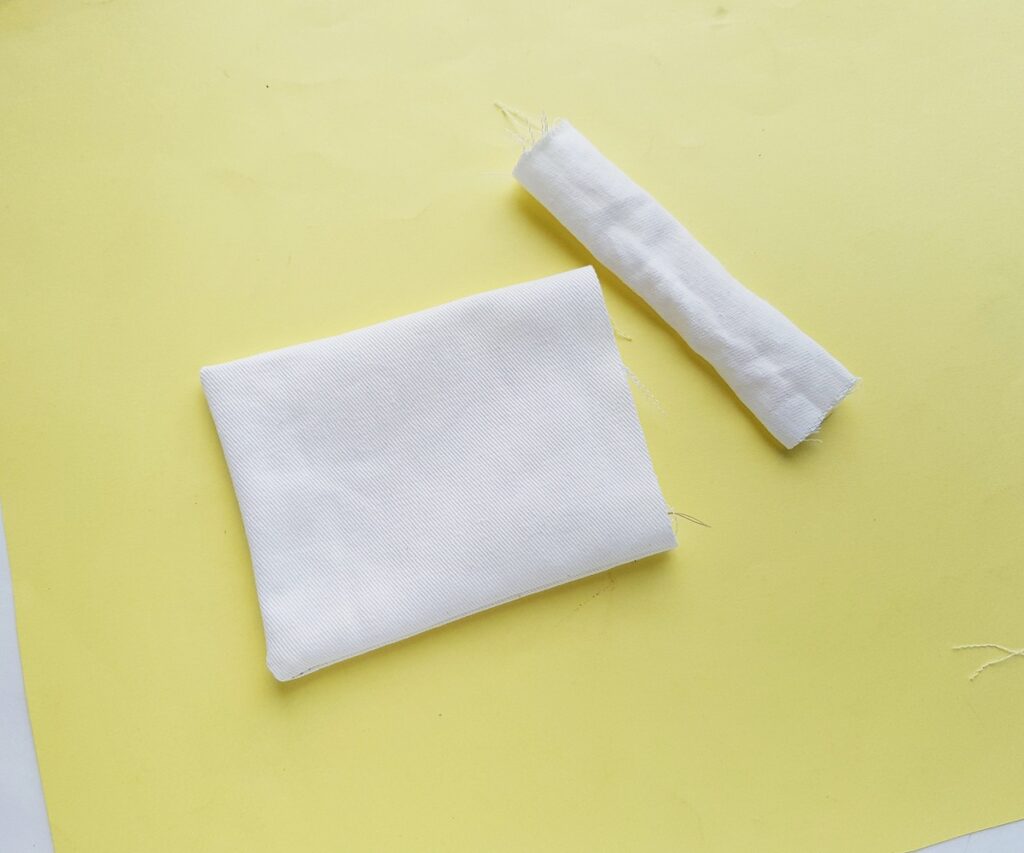
On the open side of the big square, fold the fabric edges under about 1 cm. Then stitch together to secure the seam. [mv_img id=”5810″] [mv_img id=”5811″]
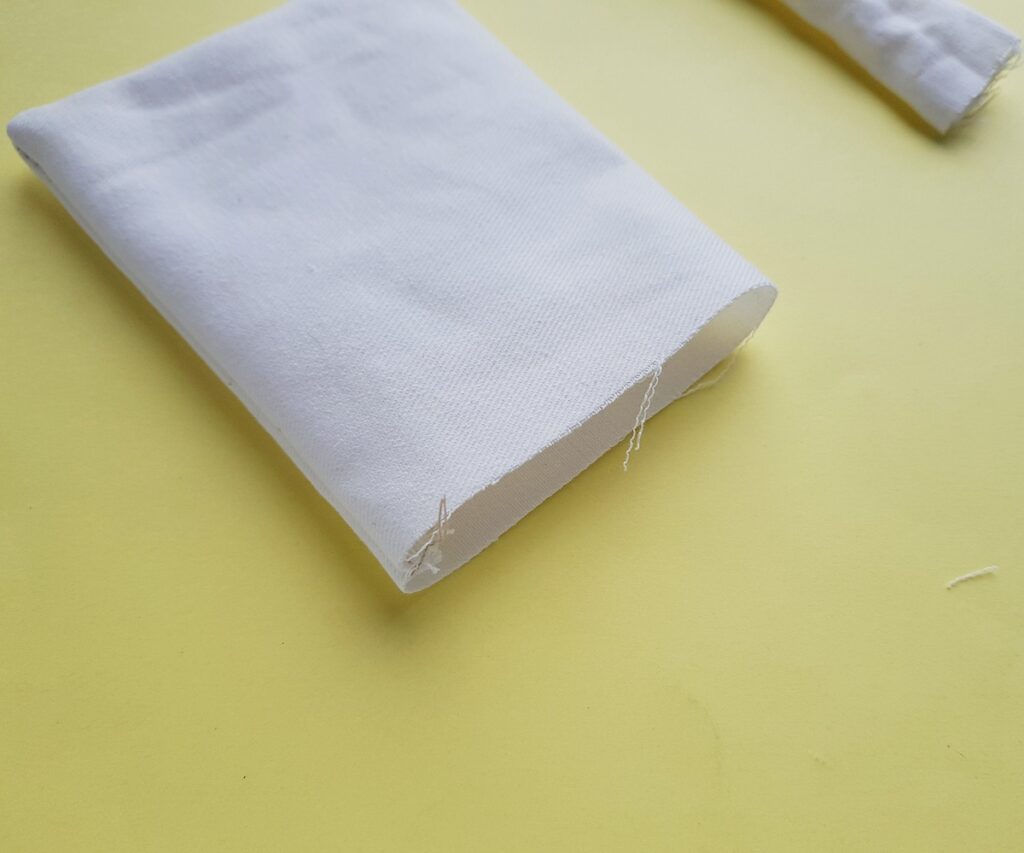
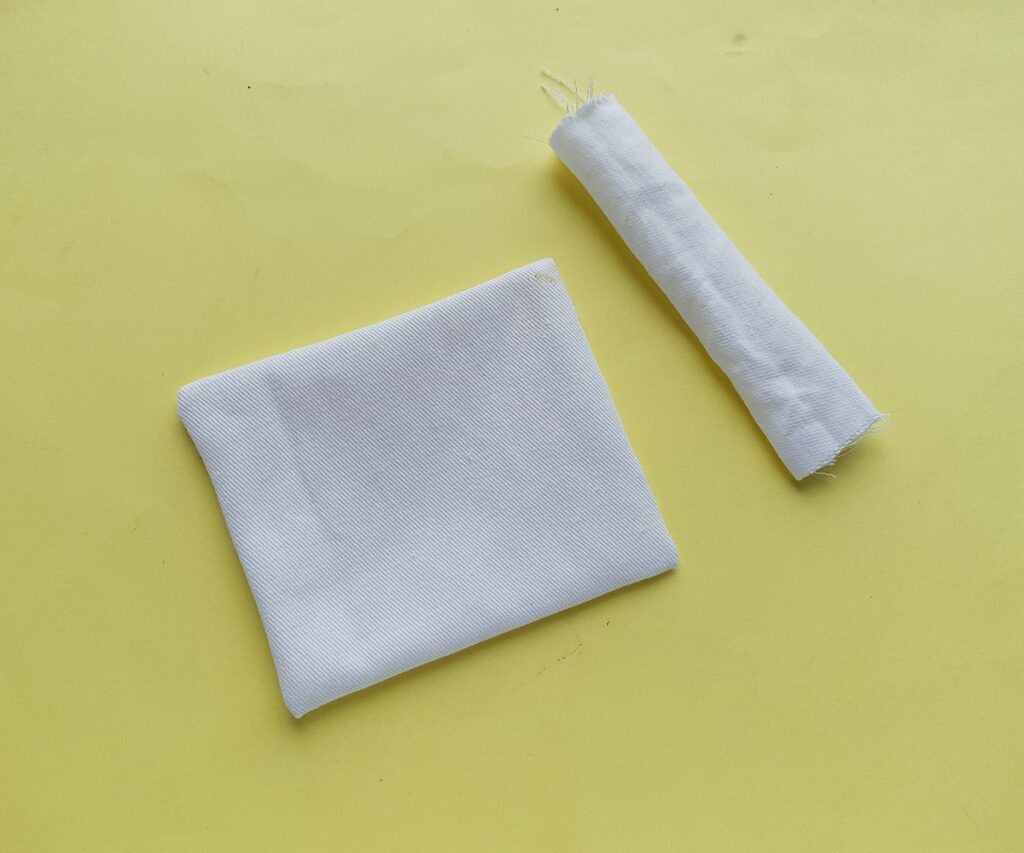
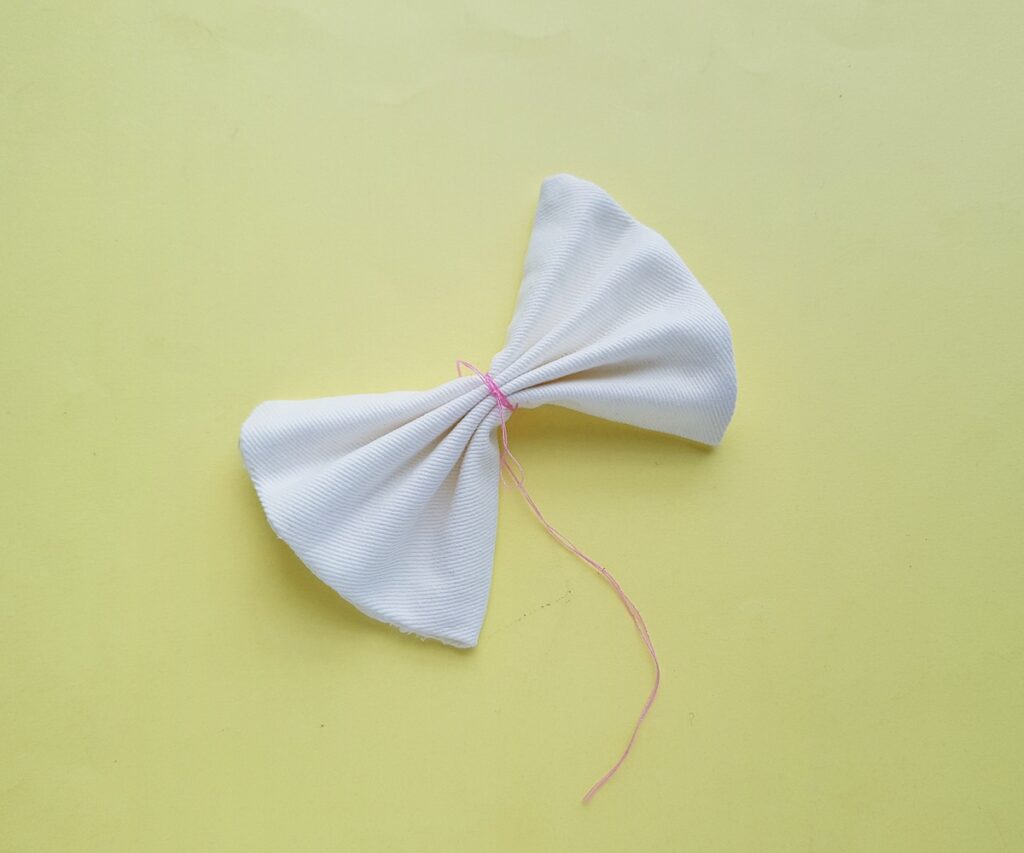
Fold the big fabric square into accordion folds in the middle. Tie a piece of thread tightly around the middle to secure it in place.
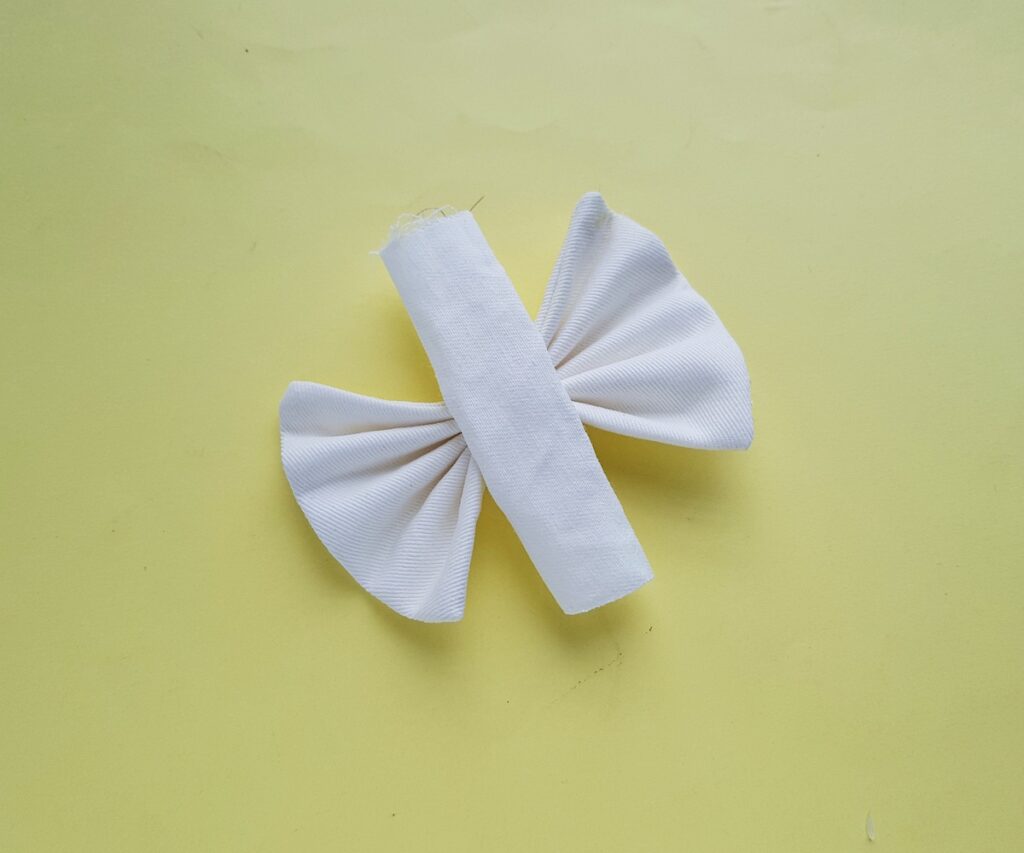
Place the small fabric piece in the middle of the bow, covering the stitched part. Wrap around and cut off any excess fabric that won’t be needed to stitch together seams.
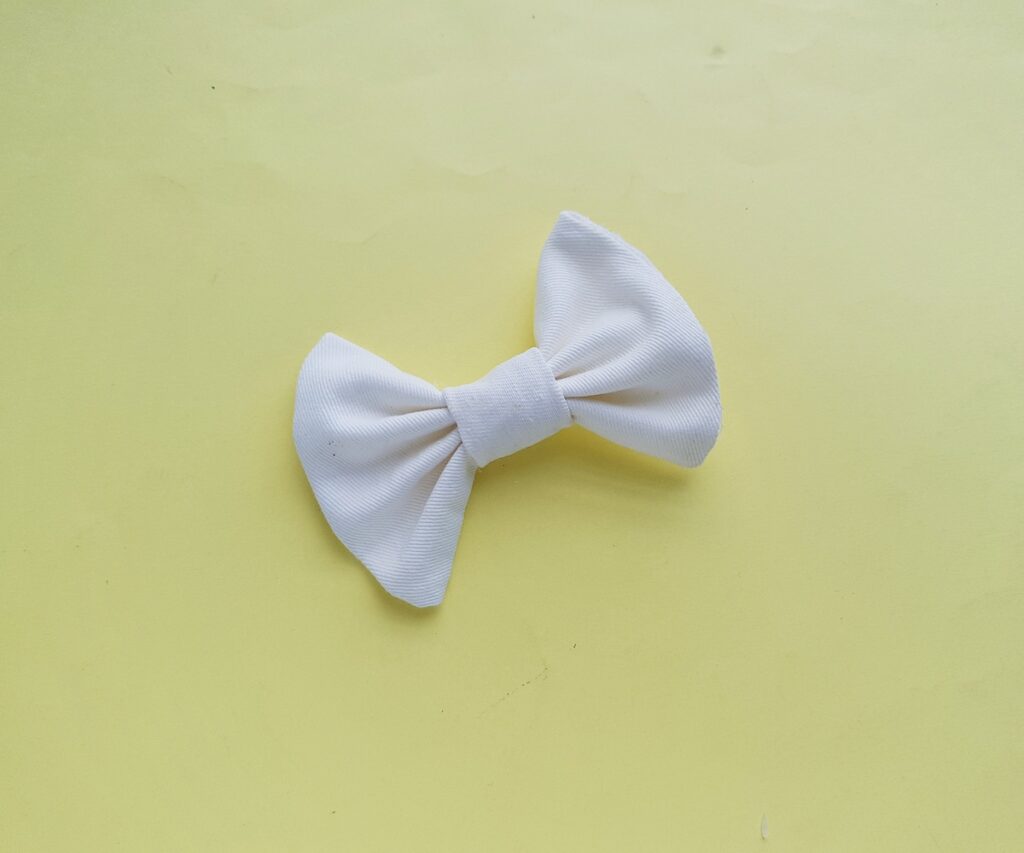
Using a needle and thread, hand stitch the overlapping seams together in the back and secure with a couple knots.
Pin this project to a sewing or DIY board to save for later, and to share with friends!
If you love bows, see our easy DIY scrunchie with bow sewing tutorial next.

