Halloween Treat Bags
Make four Halloween treat bags with just one fabric fat quarter in 5 minutes or less!
This quick and easy DIY Halloween candy bag tutorial can be made at the last minute to make your Halloween treats look extra-special!
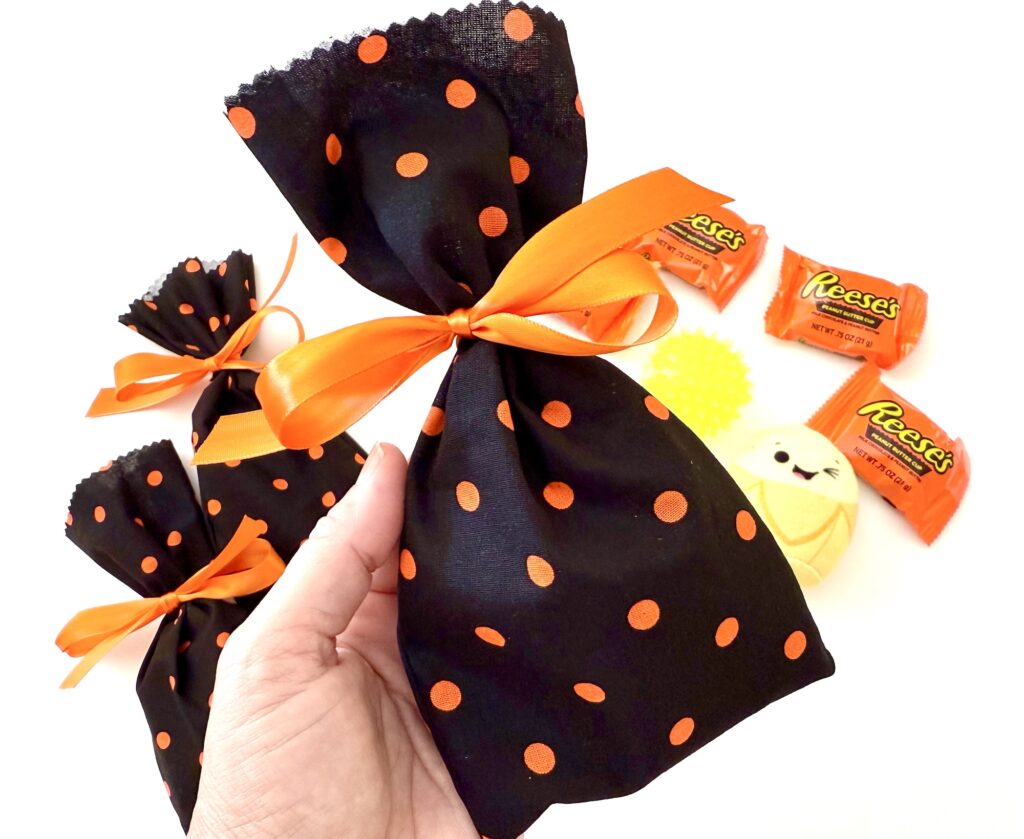
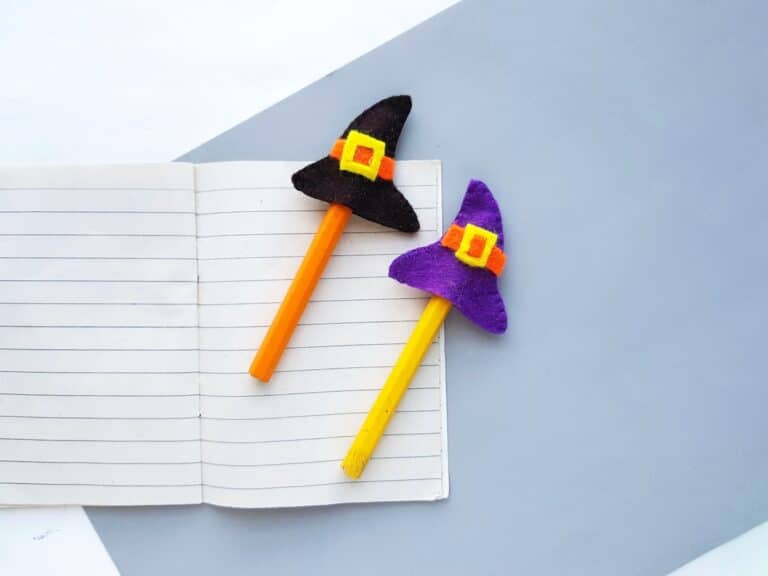
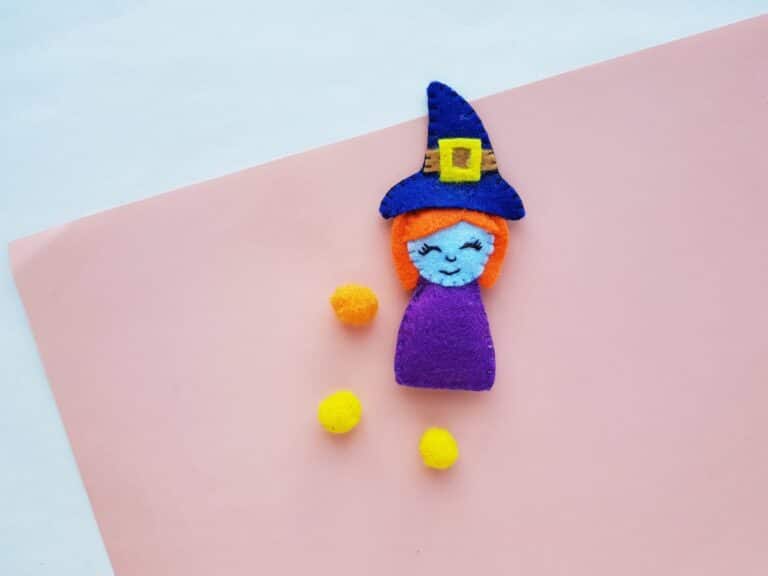
The bags are the perfect way to give candy, stickers, small toys or our cute felt Halloween plushies.
This is just one of our many easy Halloween sewing projects!
How to Sew Halloween Candy Bags
As there are four fat quarters in a yard of fabric, you can make 16 bags for each fabric yard.
Watch me make these Halloween snack bags in my YouTube video below.
Supplies
- One Fabric Fat Quarter (18 X 22 inches)
- Ribbon (at least 64 inches)
- Pinking Shears (optional)
Directions
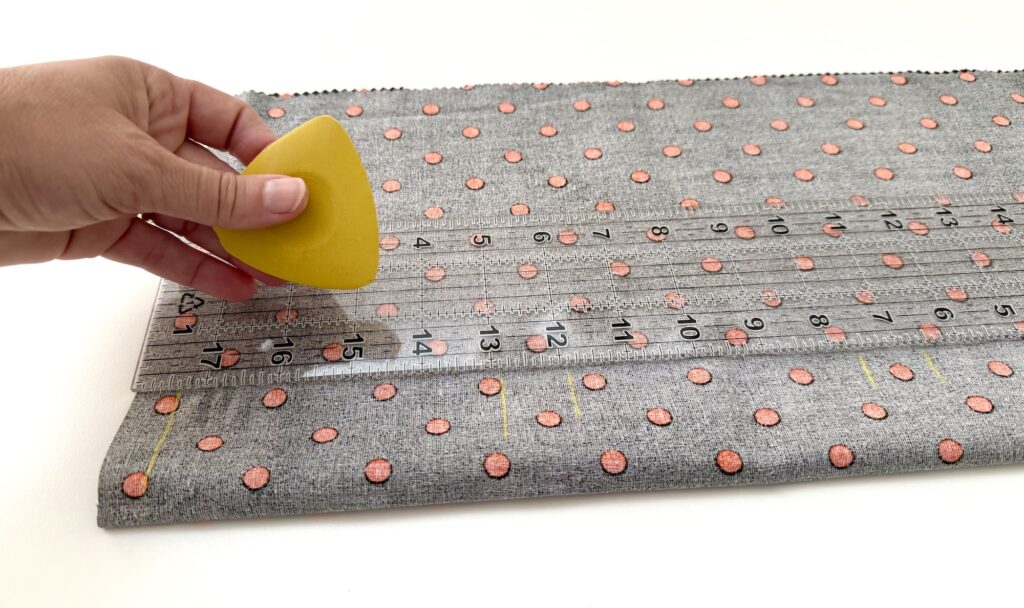
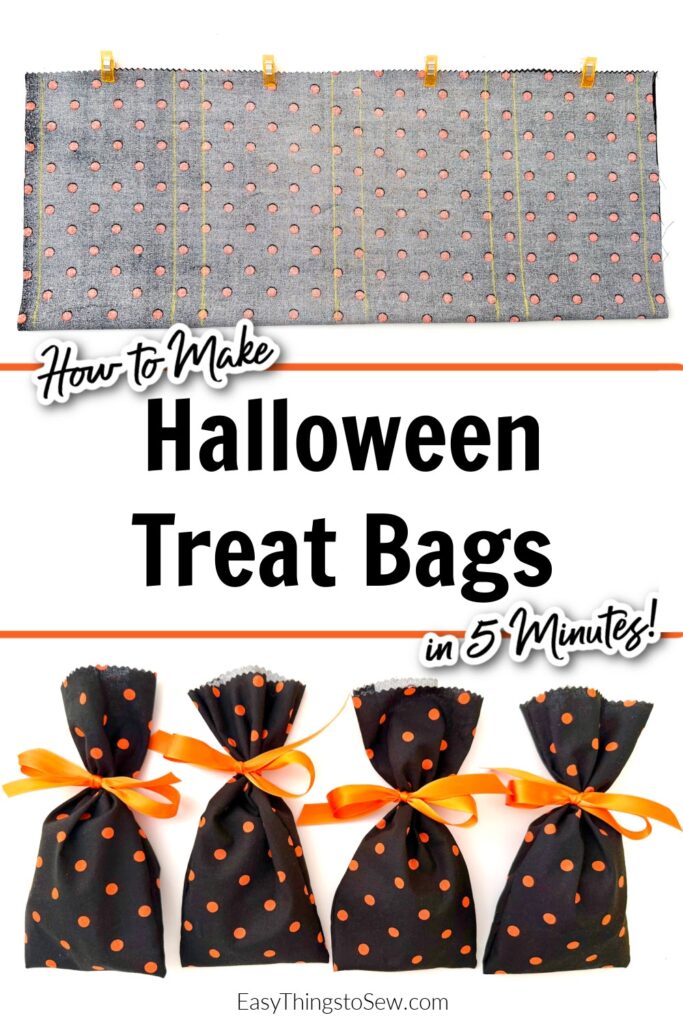
Fold the fabric in half lengthwise with right sides together.
Cut the top raw edges with pinking shears for a decorative touch.
Make marks across the fabric at these measurements and draw a straight line from top to bottom:
- ½ inch
- 5 inches
- 6 inches
- 10 ½ inches
- 11 ½ inches
- 16 inches
- 17 inches
- 21 ½ inches
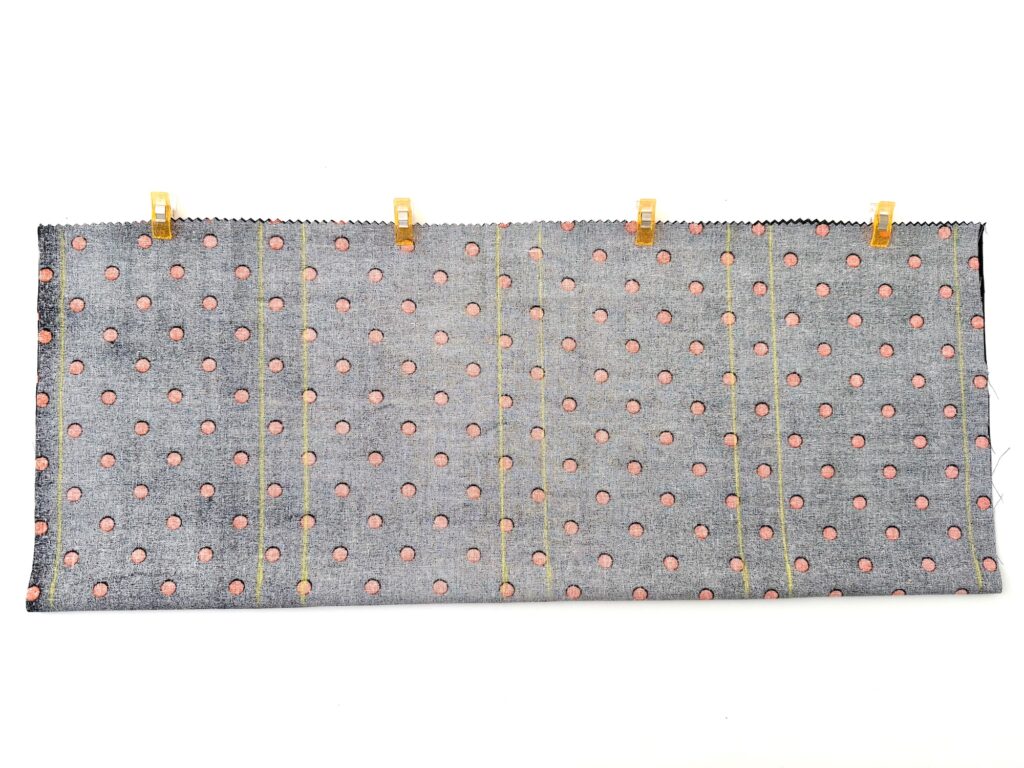
Clip the fabric together.
Sew along the marked lines, being sure to backstitch at the top and bottom.
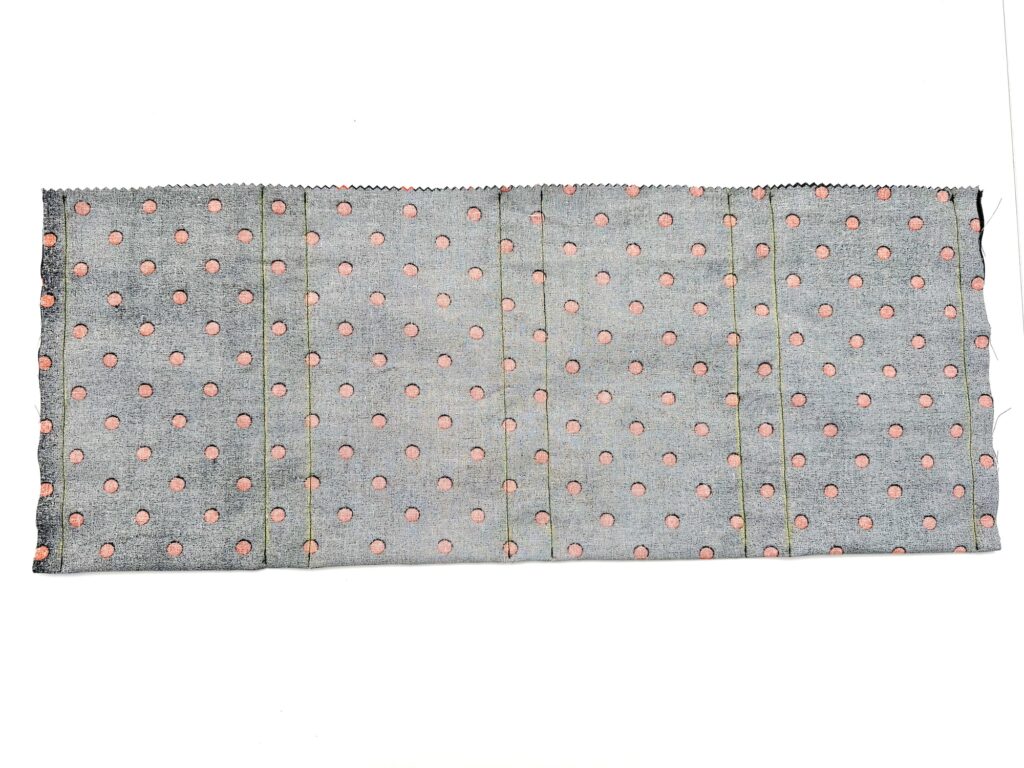
Cut in the middle of the 1 inch gaps to create four bags, each with a ½ inch seam.
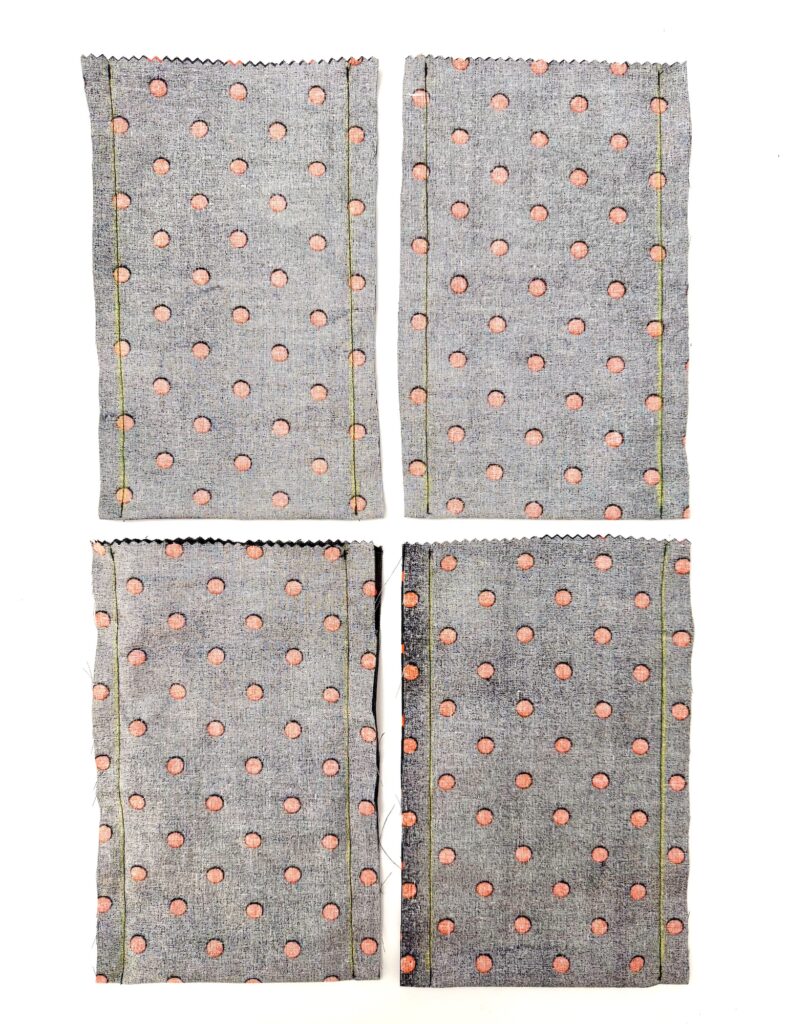
Turn the bags inside out. Press with an iron
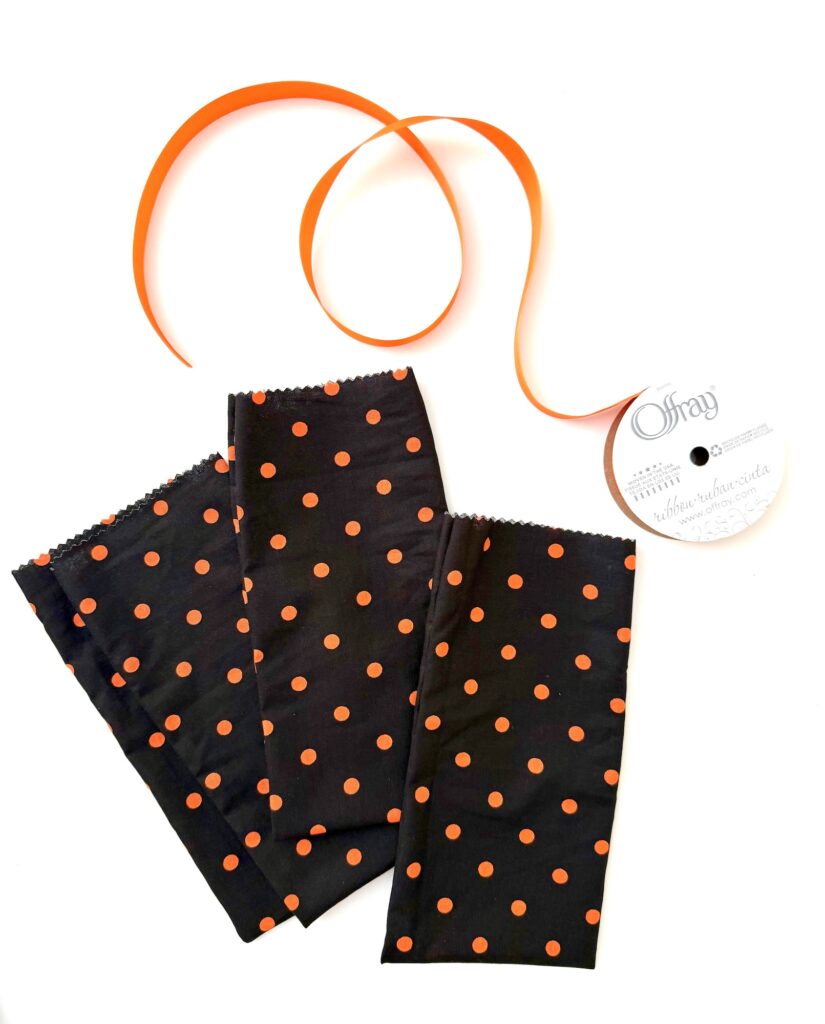
Fill the treat bags with candy. Tie a ribbon around the top of the bag (we used 16-inch long pieces of ribbon).
Watch me make these Halloween candy bags in my YouTube video:
Save this idea for later and Pin It!
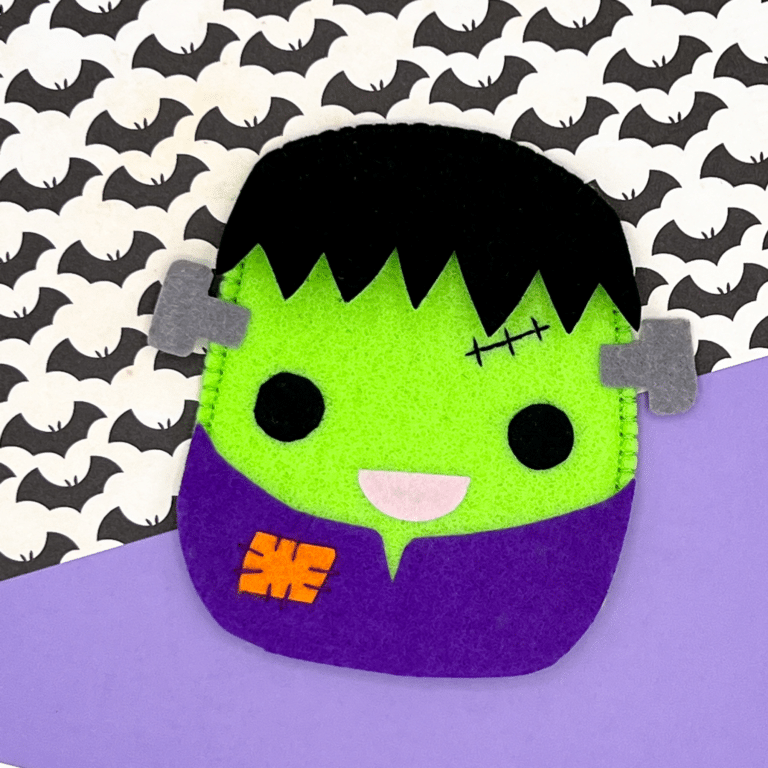
Our felt Frankenstein Candy Pouch is also a fun way to give Halloween treats.