Felt Shamrock Plushie (Free Pattern)
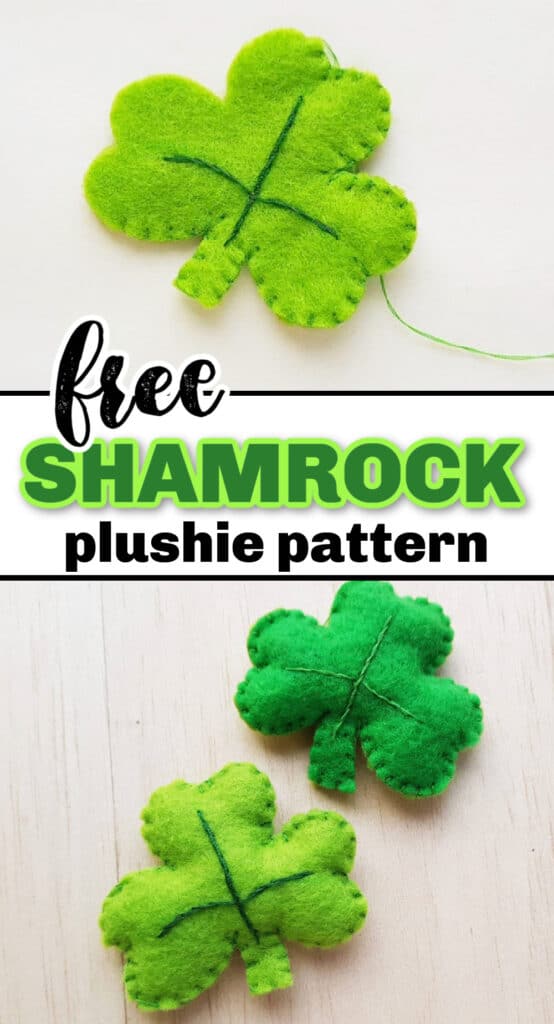
These stuffed felt shamrocks are the perfect craft for St. Patricks Day! Get your free shamrock pattern download to make three different sizes.
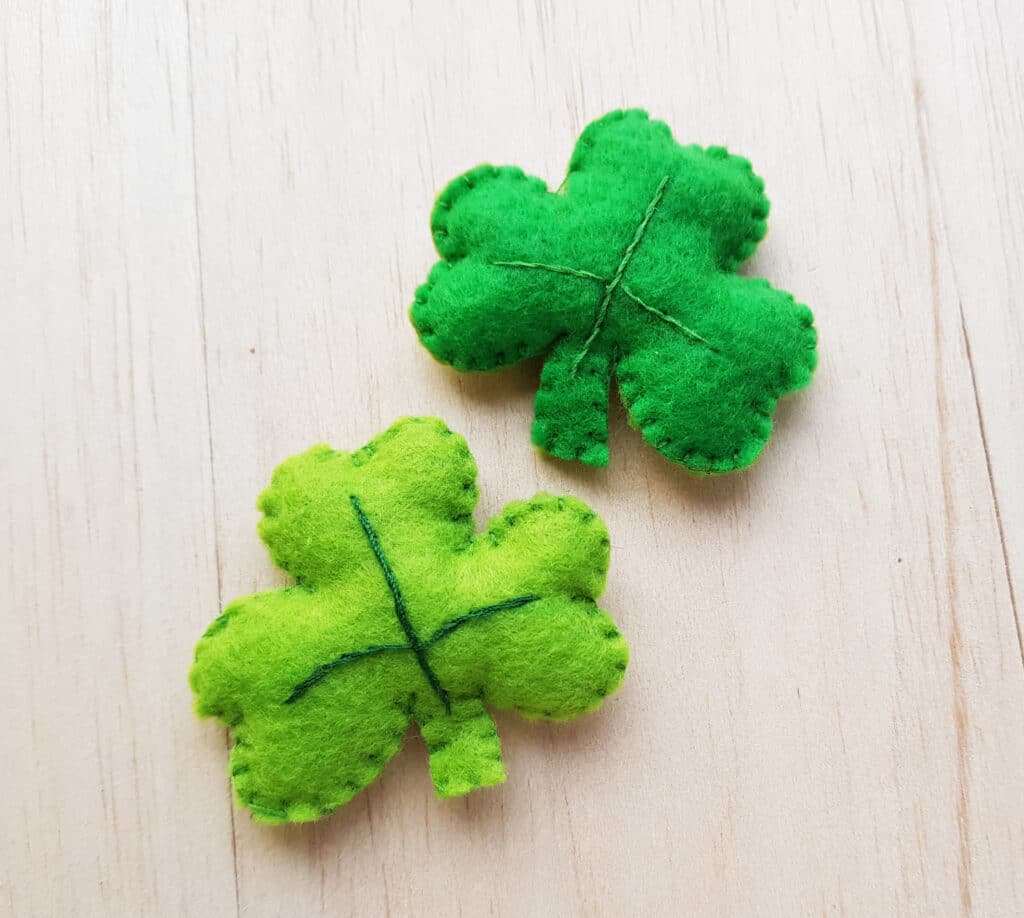
Looking for an easy St. Patrick’s Day craft? Then you’ll love these stuffed shamrocks!
They are so easy to hand stitch that any beginner sewer can do it!
❤️ ☘️ Be sure to see our other easy holiday plushies! 🎃 🦃
These shamrocks are great displayed in a bowl, or attach a magnet to the back for a St. Patrick’s Day magnet.
You could even attach a hair clip if you wanted to wear a bit of green on St. Patrick’s Day so that you don’t get pinched!
How to Sew a Stuffed Felt Shamrock
Supplies
- Green Felt
- Shamrock Pattern
- Needle
- Thread (2 different shades of green)
- Cotton stuffing or Poly-fil
- Scissors
✅ This is a great source for getting lots of different colored felt for sewing projects.
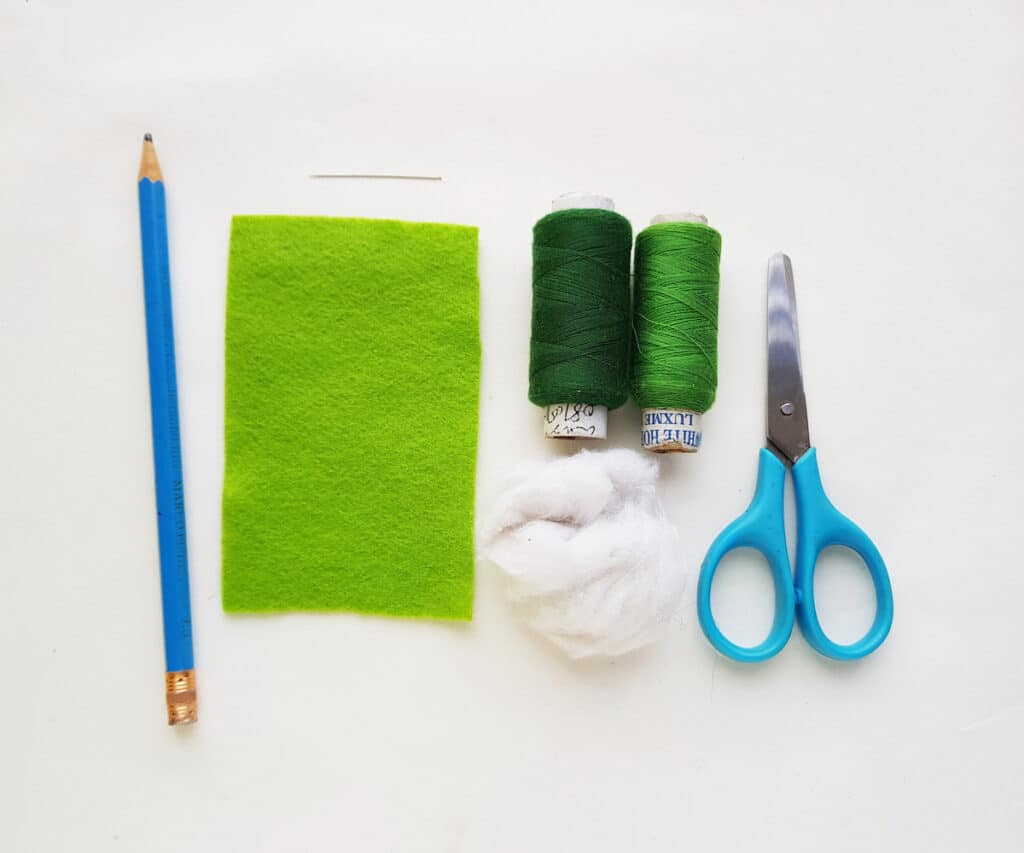
Instructions
Step 1
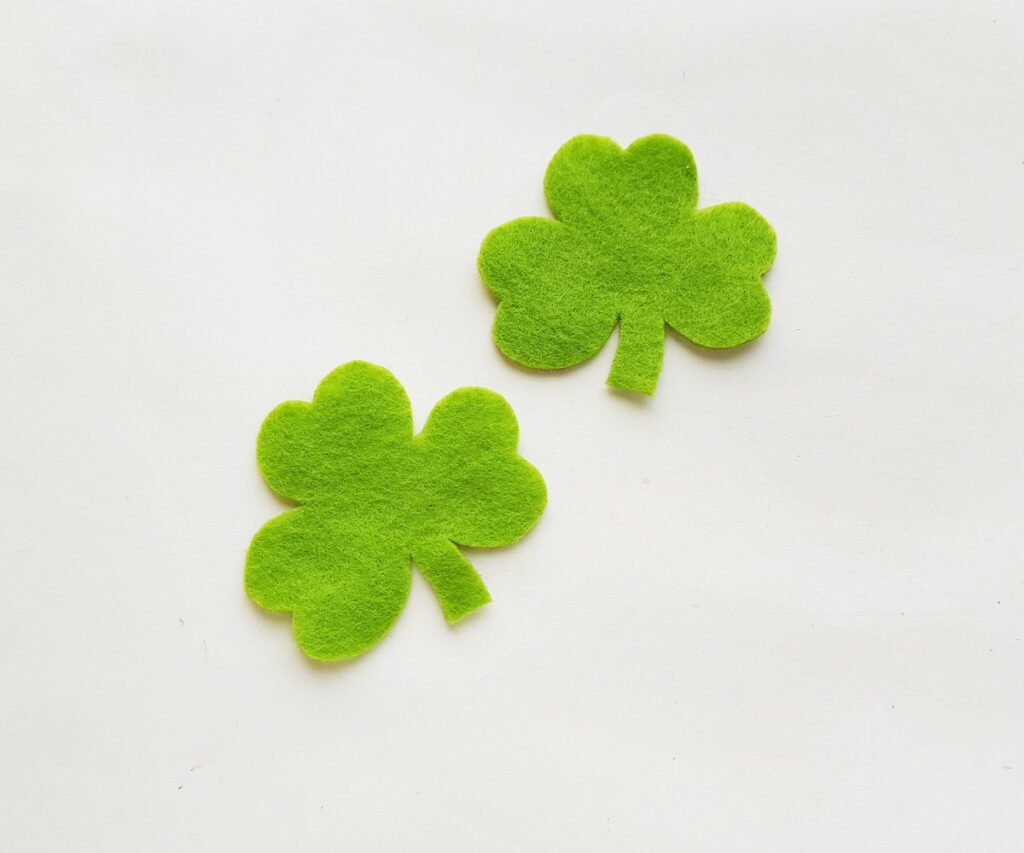
Print and cut out the shamrock pattern of your choice. The template includes 3 different sizes.
Trace and cut out 2 pieces of shamrock patterns from the felt to make one shamrock plushie.
Step 2
Use a color of thread about one shade darker or lighter than the felt for contrast.
Hand stitch along the vein lines of the shamrock.
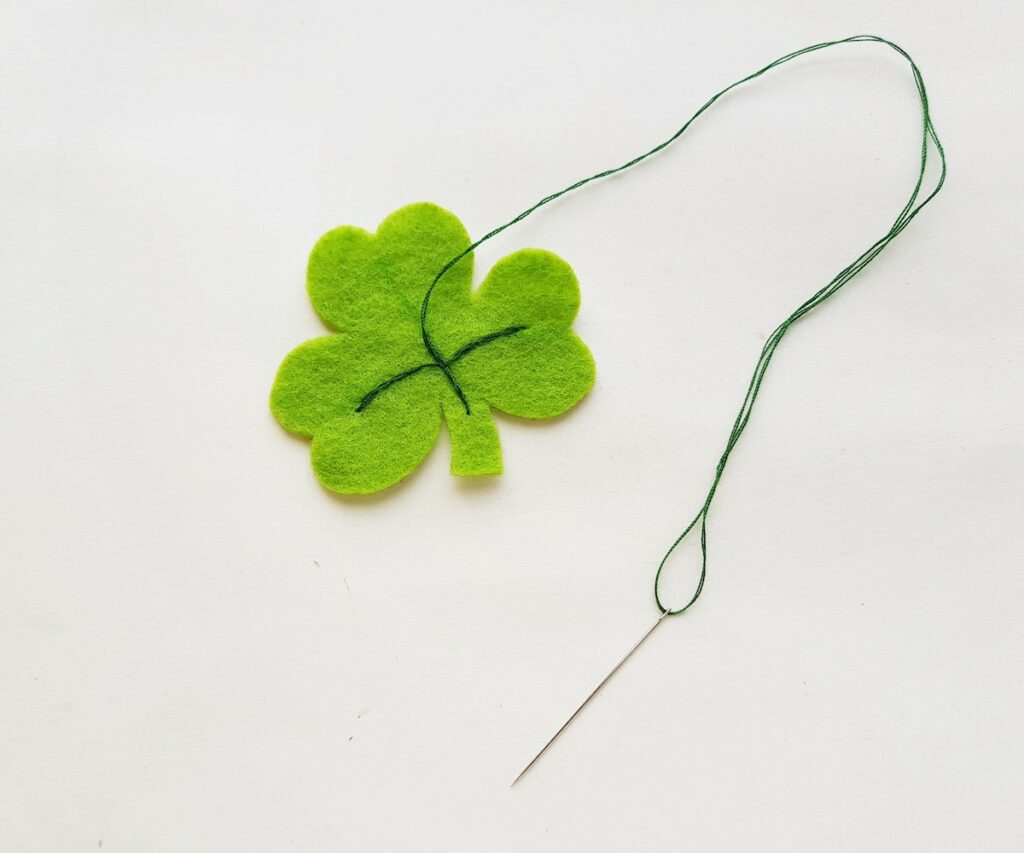
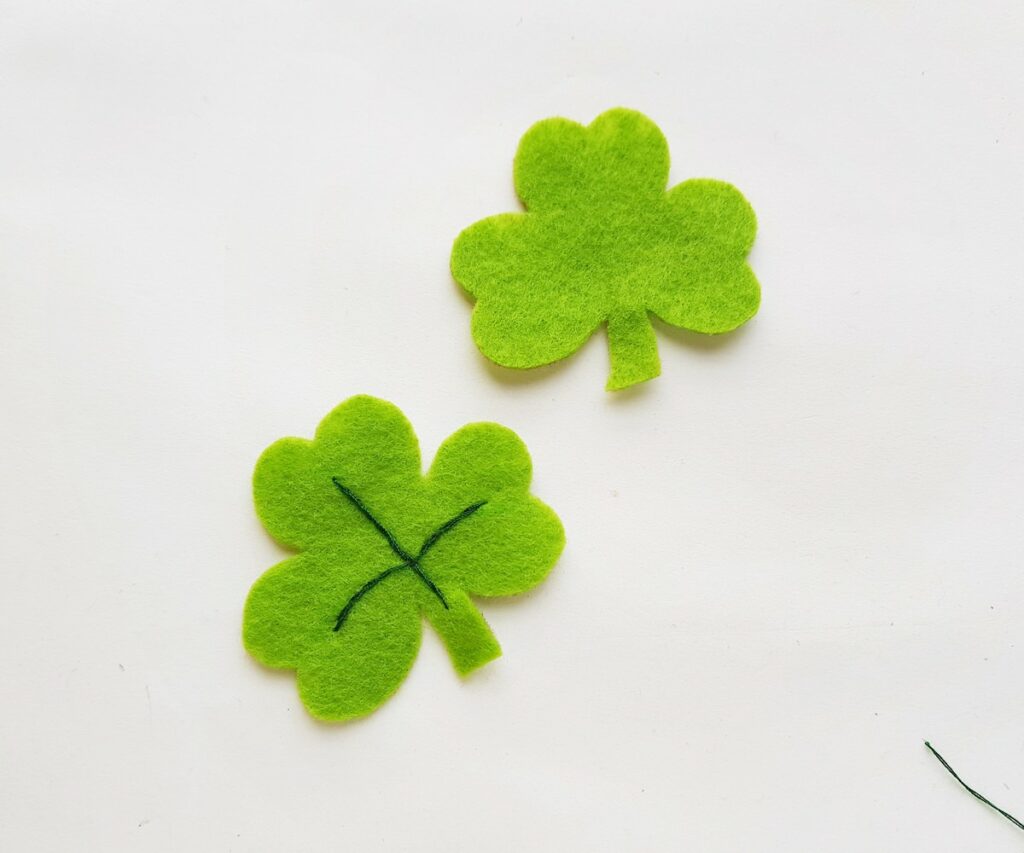
You can stitch the vein lines on both shamrock felt pieces or you can stitch one, however you wish. The stitched one will be placed to the front side of the plush.
Step 3
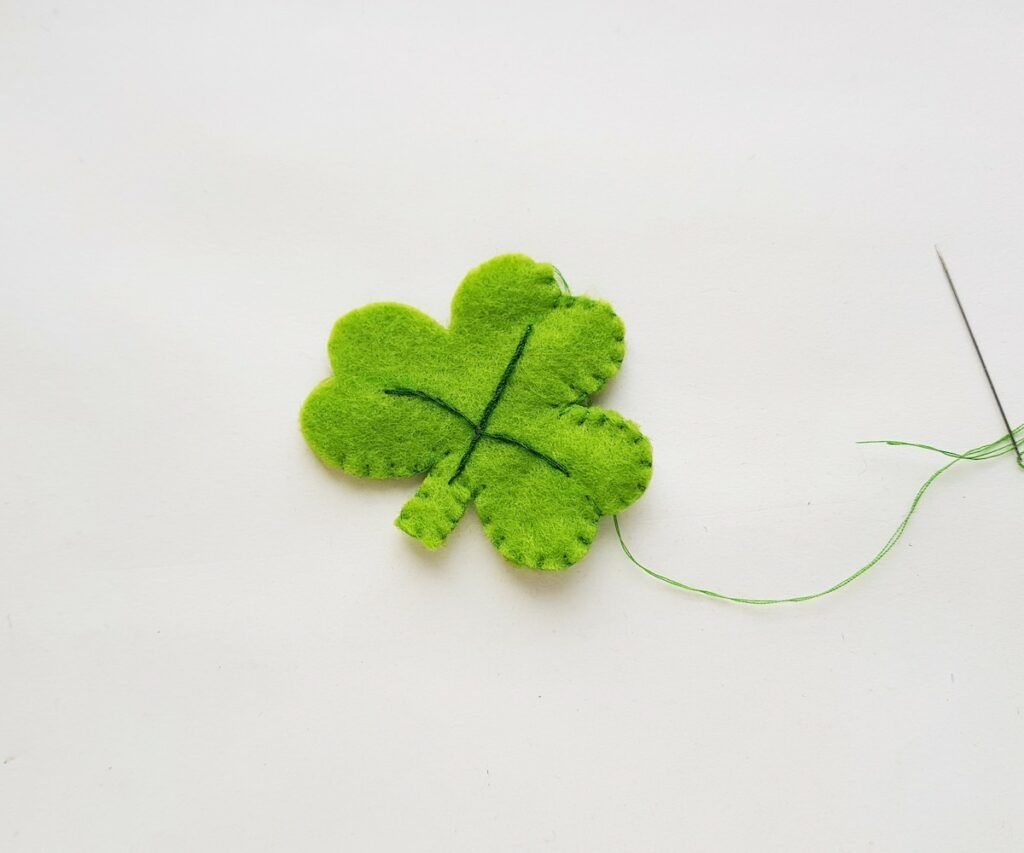
Place both shamrock felt cutouts together, keeping the stitched one in the front. Using a coordinating color of thread, stitch around the sides to join the shamrock patterns together.
I used a flat blanket stitch around the side.
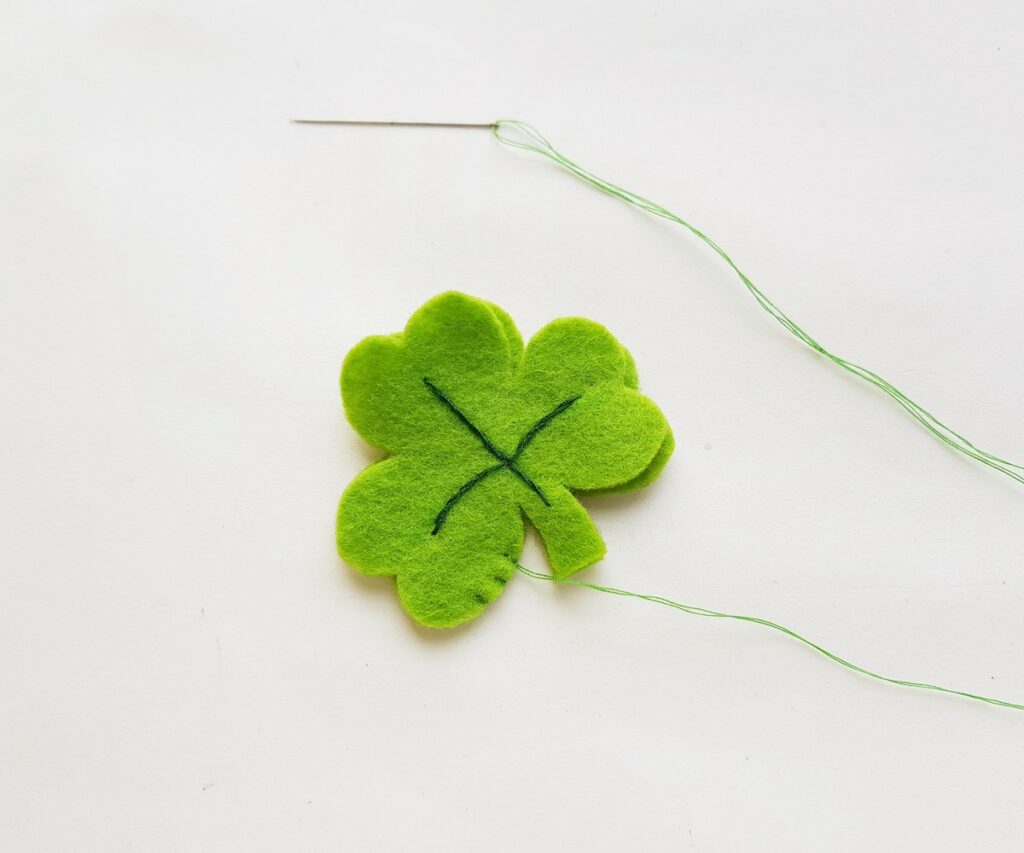
Keep a small opening for stuffing.
Step 4
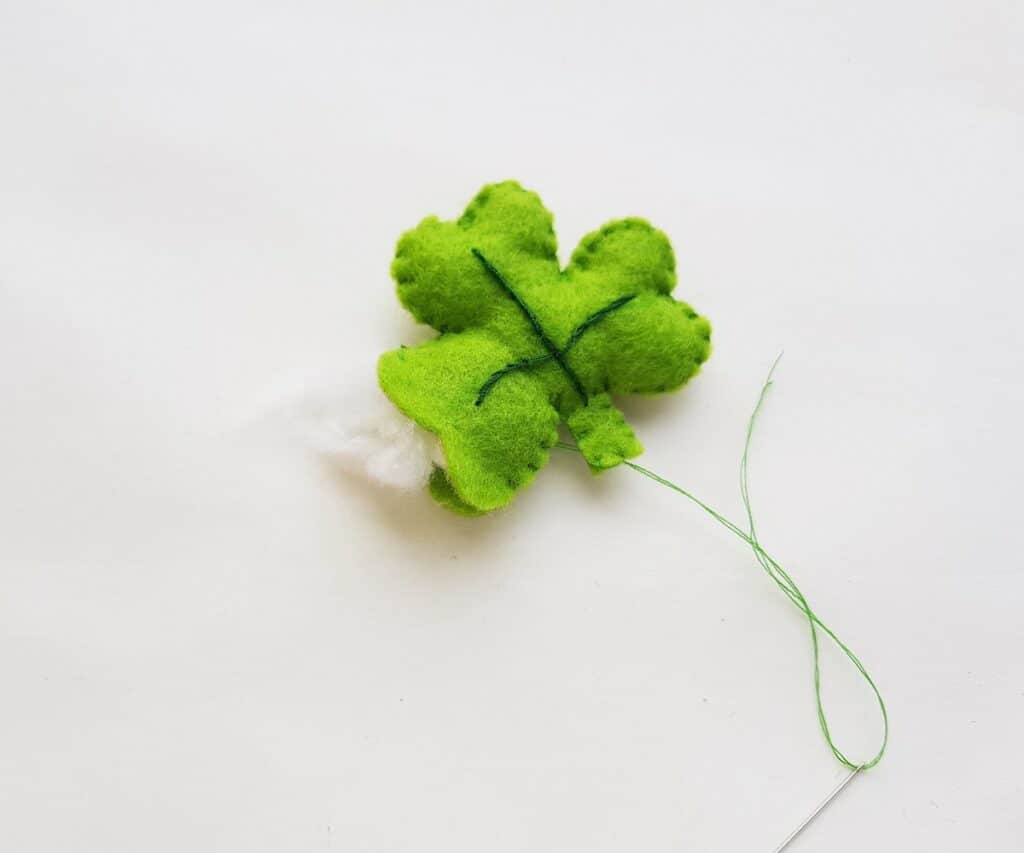
Stuff the shamrock as plush or as thin as you’d like.
Step 5
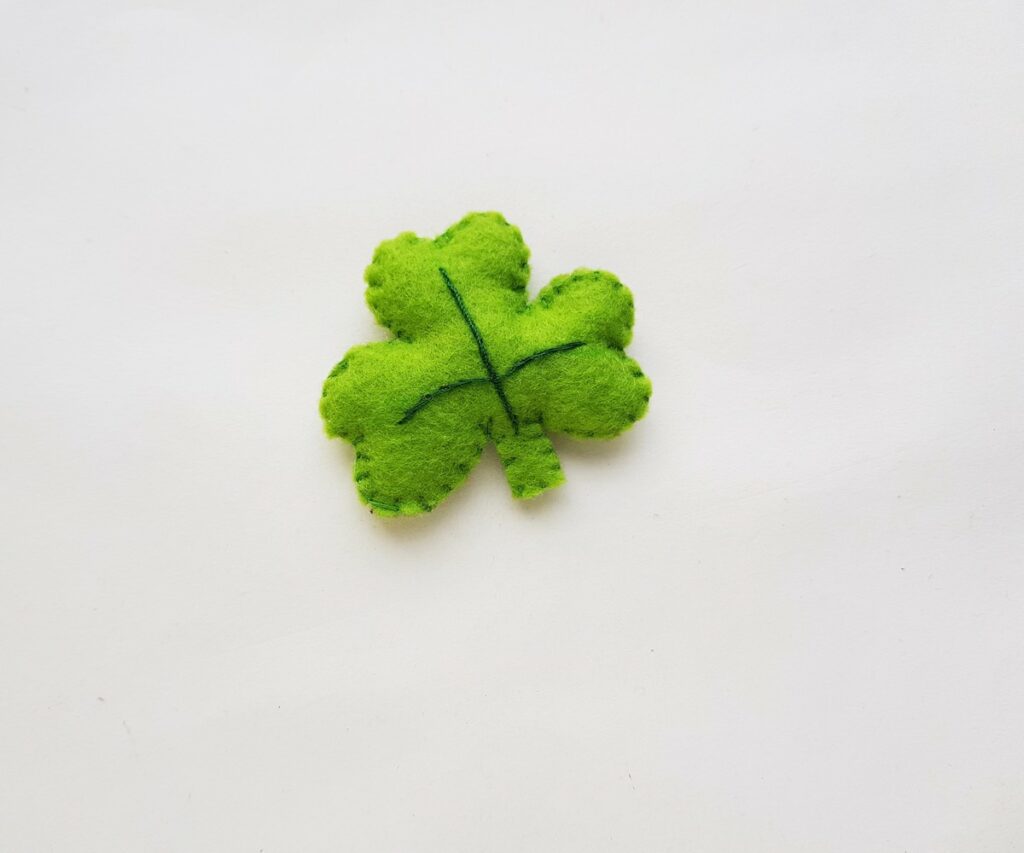
Stitch the small opening closed and tie a knot in the thread to secure.
Be sure to Pin This felt shamrock craft to save for later!
If you are looking for St. Patricks Day craft ideas, see our easy felt shamrock bookmark corner next.


