DIY Cookbook Bookmark (with Video Tutorial)
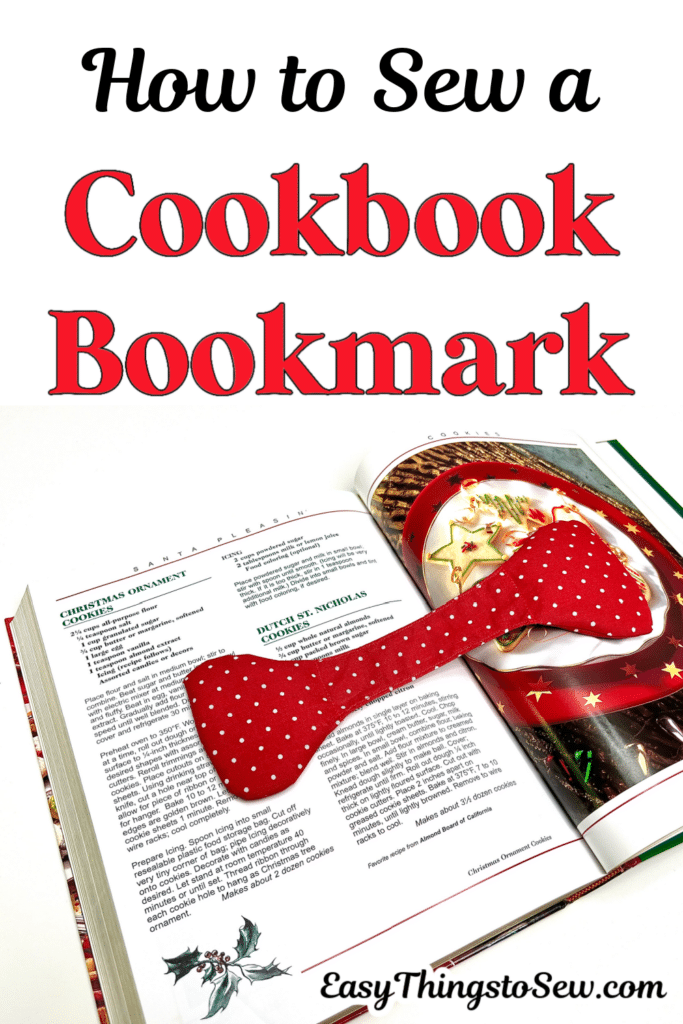
If you are frustrated with trying to keep a cookbook open while baking or cooking, you are not alone! Our easy DIY cookbook bookmark solves the problem!
This quick beginner sewing project is easy to make. Not only can the length be adjusted, but the bookmark can also be positioned to help you remember the place you left off in the instructions.
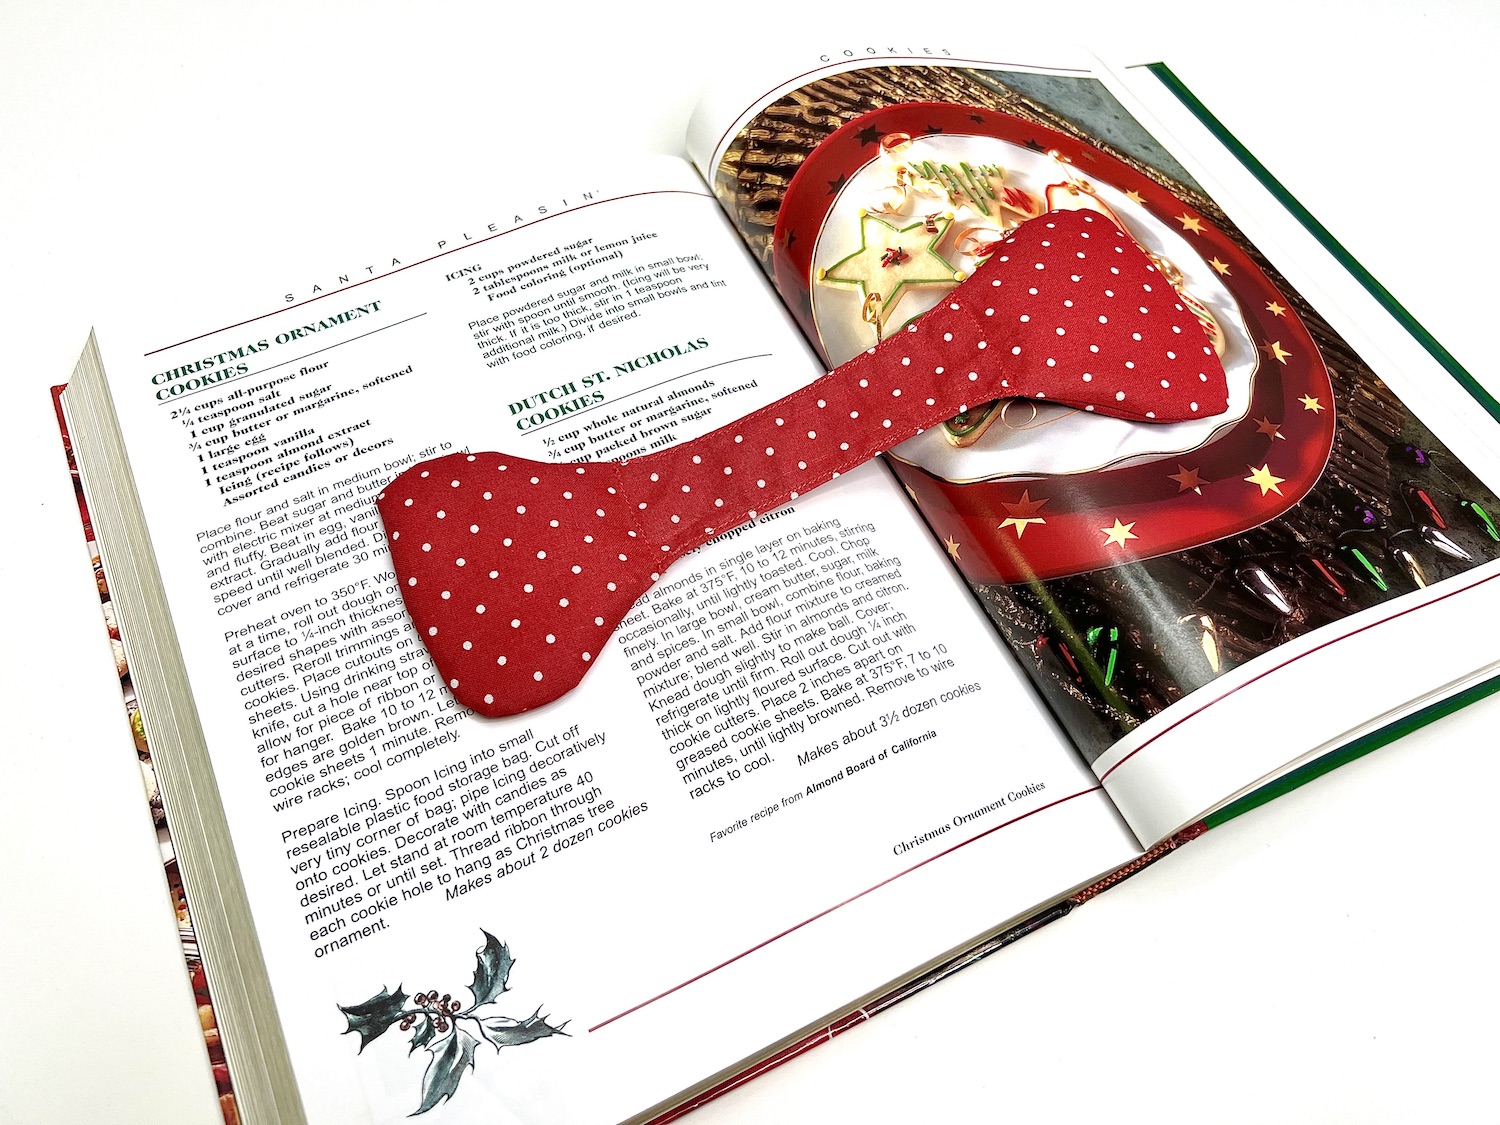
This is just one of our many easy DIY bookmarks to sew! They all have free patterns!
How to Sew a Cookbook Bookmark
My video tutorial making this lay-flat bookmark is found at the end of this tutorial.
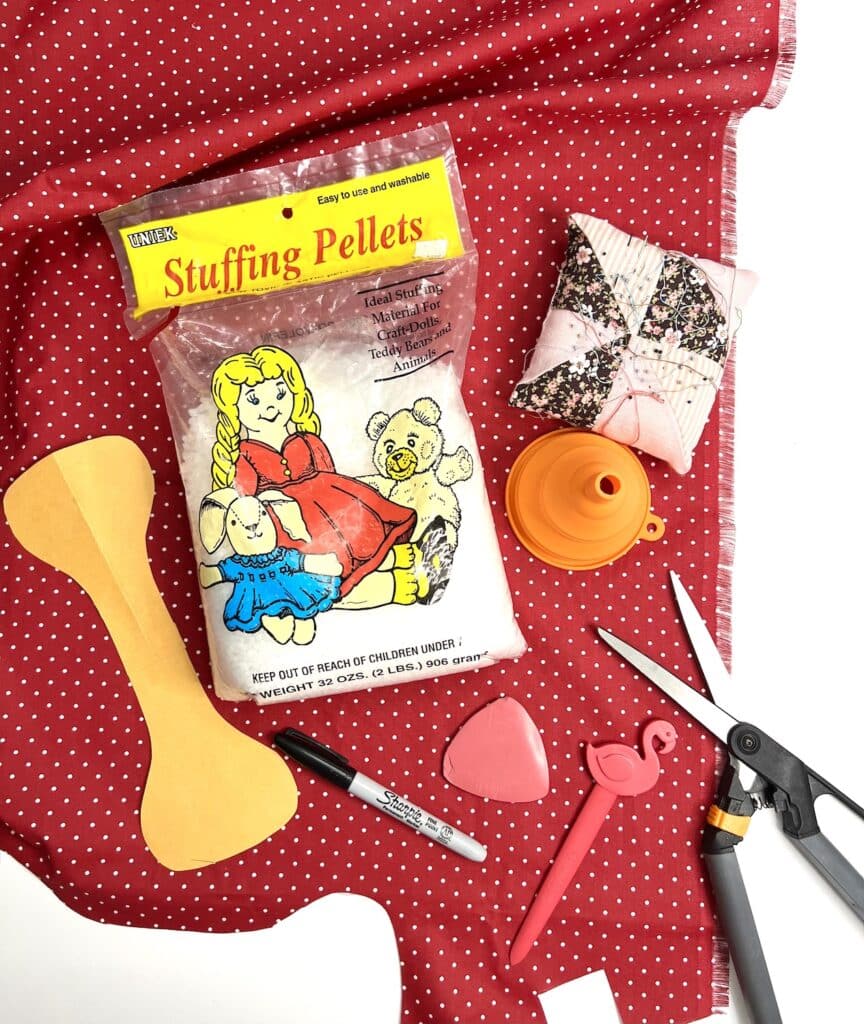
Supplies
- Free Cookbook Bookmark Template
- Material
- Thread
- Scissors
- Pen, Tailor’s Chalk or Sharpie
- Pins or Sewing Clips
- Turning Tool
- 6-8 Tablespoons of Poly-Pellets / Stuffing Beads (or sand, beans, etc.)
- Funnel (optional)
Directions
Step 1
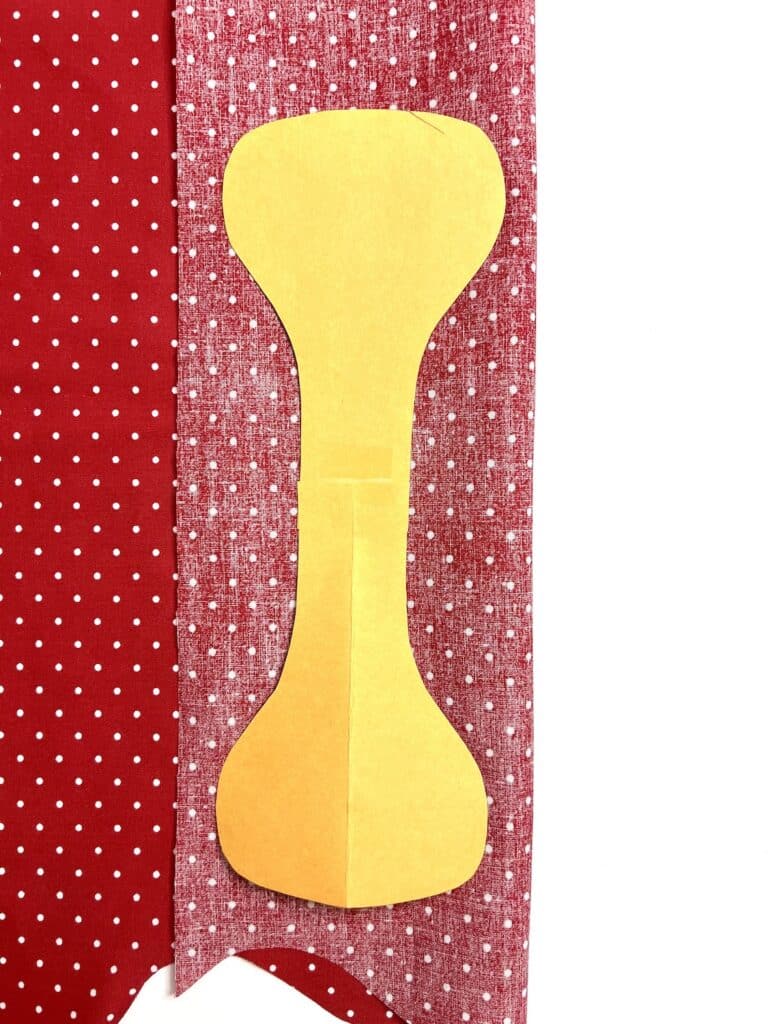
Download, print, cut out and assemble the cookbook bookmark pattern. The pattern is adjustable in the middle part. You may overlap the straight edges more to make a shorter bookmark, or add more in the middle to make it even longer.
When you find a size you like, tape the pattern pieces together.
Step 2
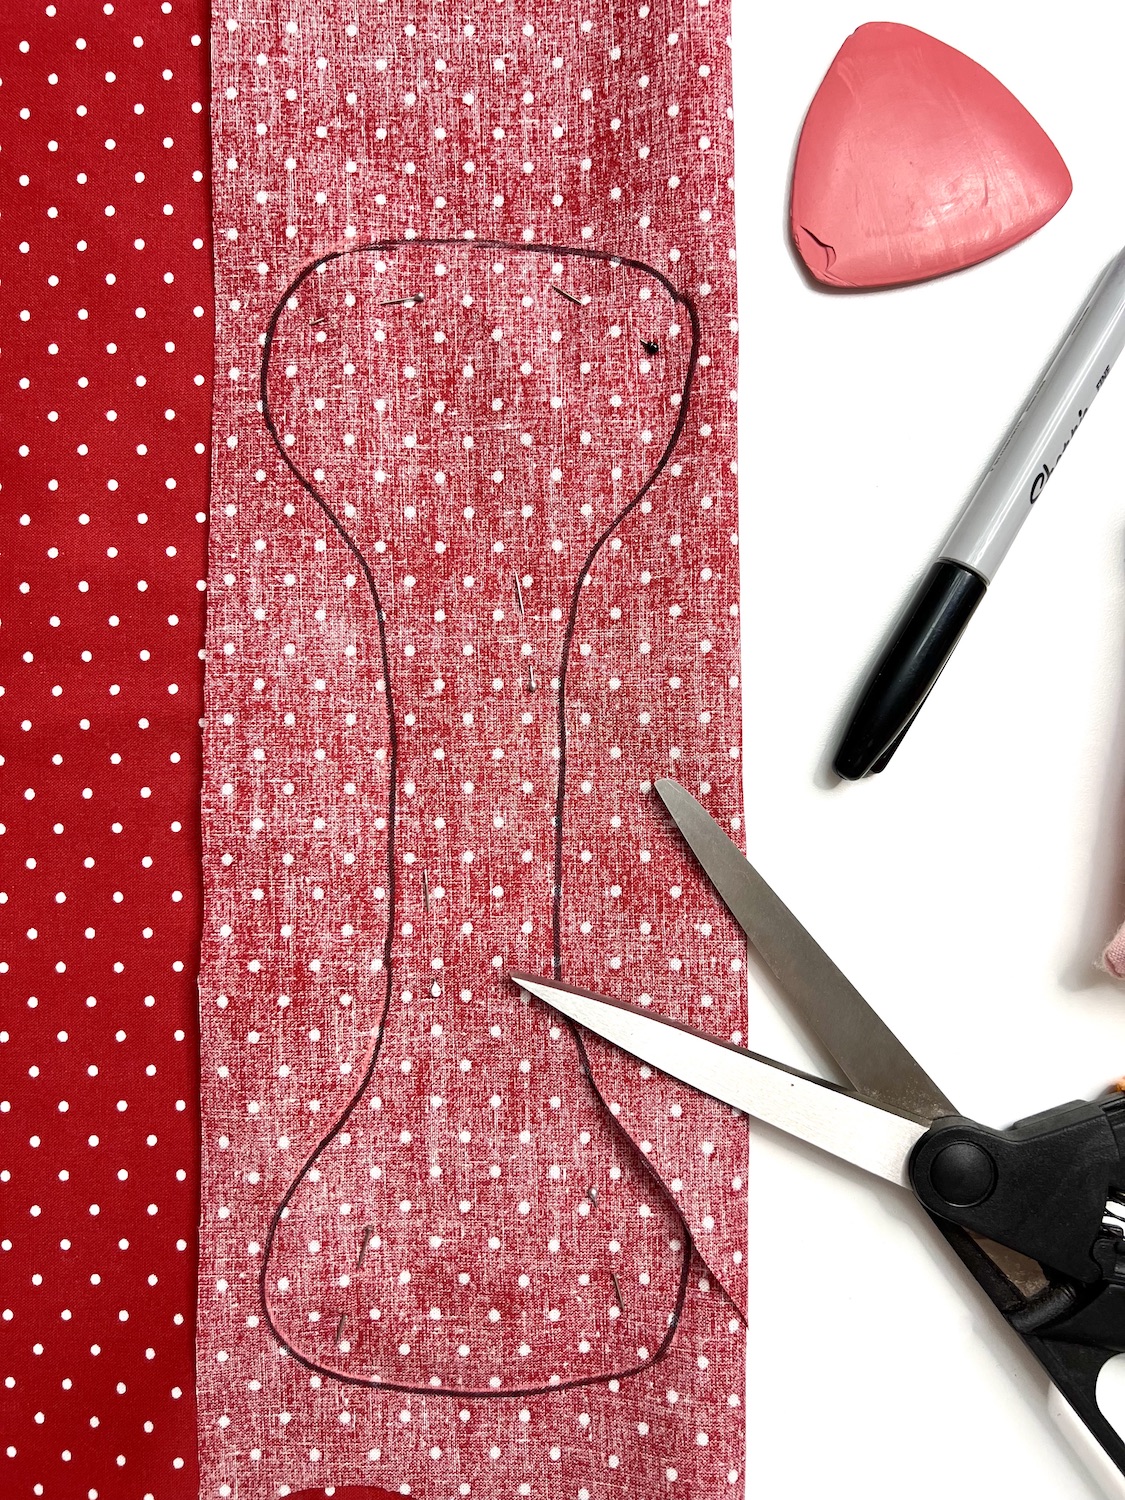
Trace the pattern on two pieces of fabric.
Pin or clip the fabric together while cutting the pieces out.
Cut out the pattern pieces.
Step 3
Pin the pattern pieces together with right sides facing together and wrong sides facing out.
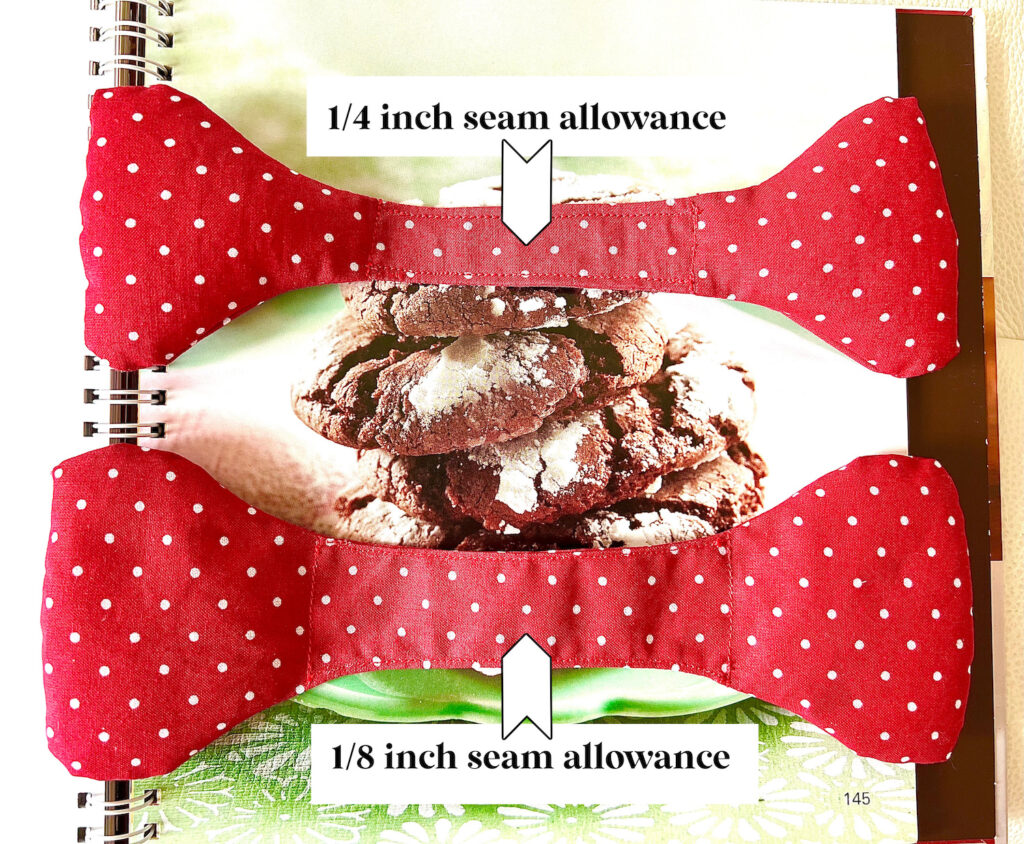
Stitch around the outer edge of the pattern, leaving a 2-3 inch gap open along one of the middle straight edges.
A 1/8 inch seam allowance is preferable, however a 1/4 inch seam allowance also works. Backstitch at the beginning and the end of the stitching.
Step 4
Clip or notch around the curves of the seam allowance, being careful not to snip the stitching. This prevents the curves from puckering when turned inside out.
Do not clip or notch the seams on the middle straight edges.
Step 5
Turn the pattern inside out. Use a turning tool to push out the edges.
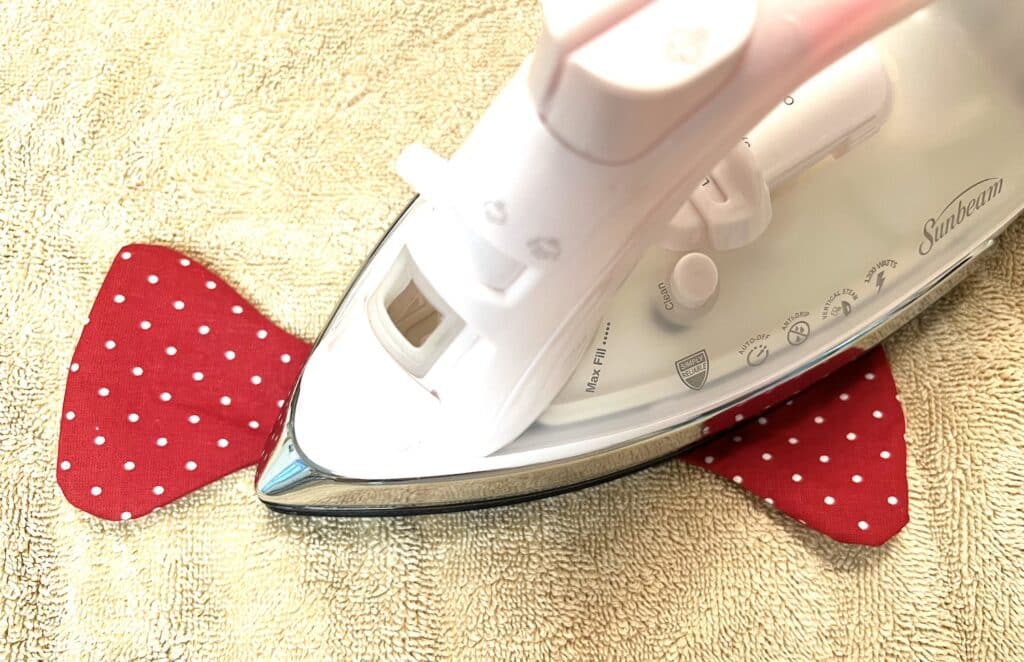
Press the fabric with a hot iron to smooth out wrinkles.
Step 6
Insert a funnel (or a rolled up piece of paper in a cone shape) into the gap on the straight edge.
Add about 2-3 Tbsp. of Poly Pellets into the end of one side of the bookmark. You can add more if you prefer.
Be sure to push all of the pellets (or other filler) as far down as possible with nothing in the middle, straight part of the bookmark.
Sew a line across the fabric where it starts to curved towards the straight end. Think of it like a Hershey’s Kiss…you want to sew across the top of the kiss. Backstitch at the beginning and end.
Repeat the same process on the other side.
Step 7
Finish the open seam in the middle of the bookmark.
I sewed a top-stitch across the fabric. Then I top stitched on the other side to match it.
You could also hand sew the seam closed.
Video
Watch me make this cookbook bookmark in my YouTube video below (and be sure to subscribe to my channel!):
Be sure to Pin This idea or share on Facebook to remember for later!
This easy DIY cookbook bookmark is just one of our free sewing patterns for holiday baking and a Christmas kitchen. See these sewing projects next:

