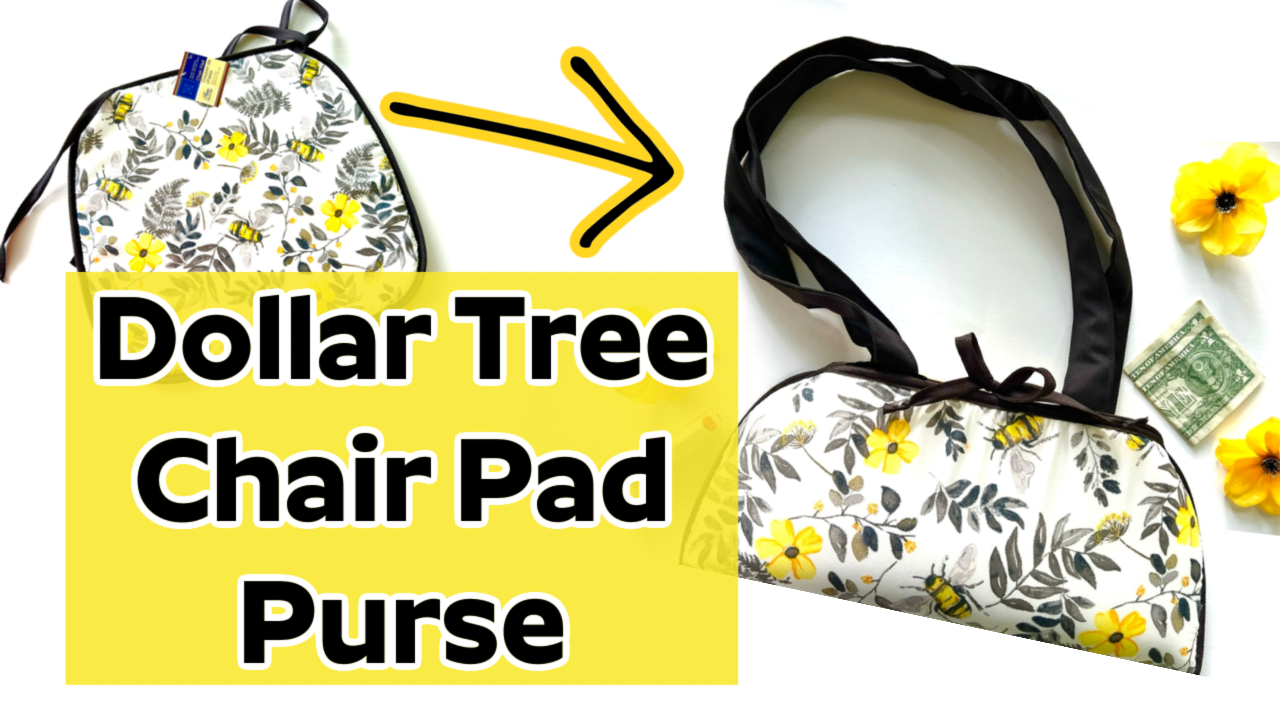
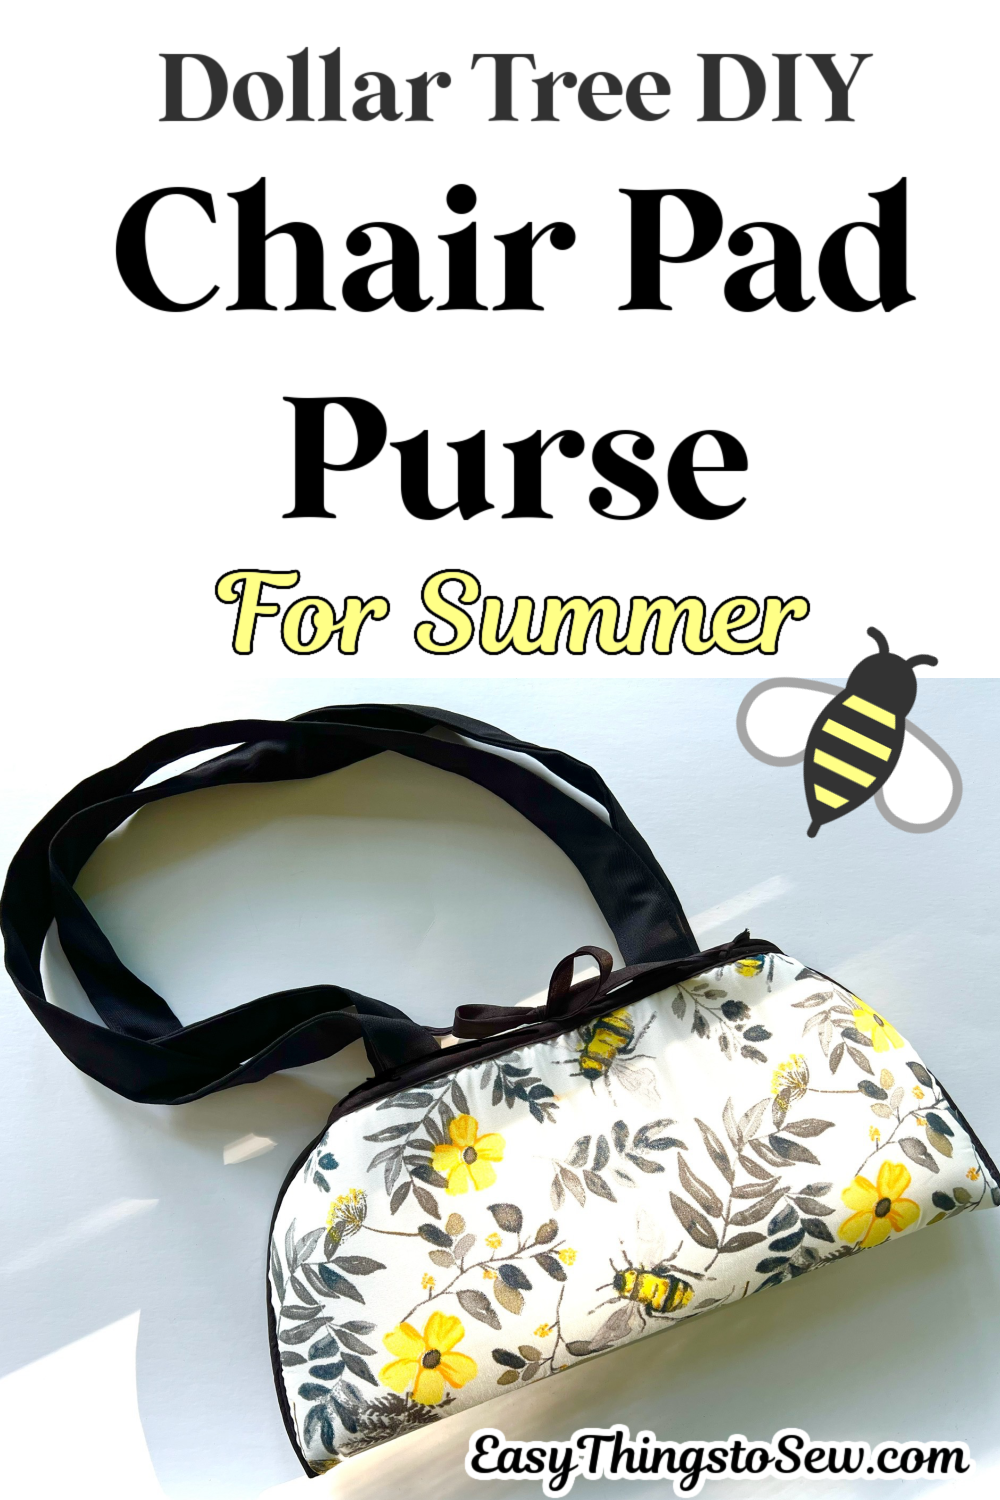
How to Make a Chair Pad Purse
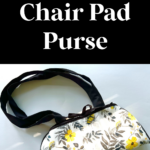
Use an inexpensive chair pad to make a pretty purse that costs less than $2! This Dollar Tree DIY sewing project is so much fun to make to add a custom accessory to your wardrobe for each season.
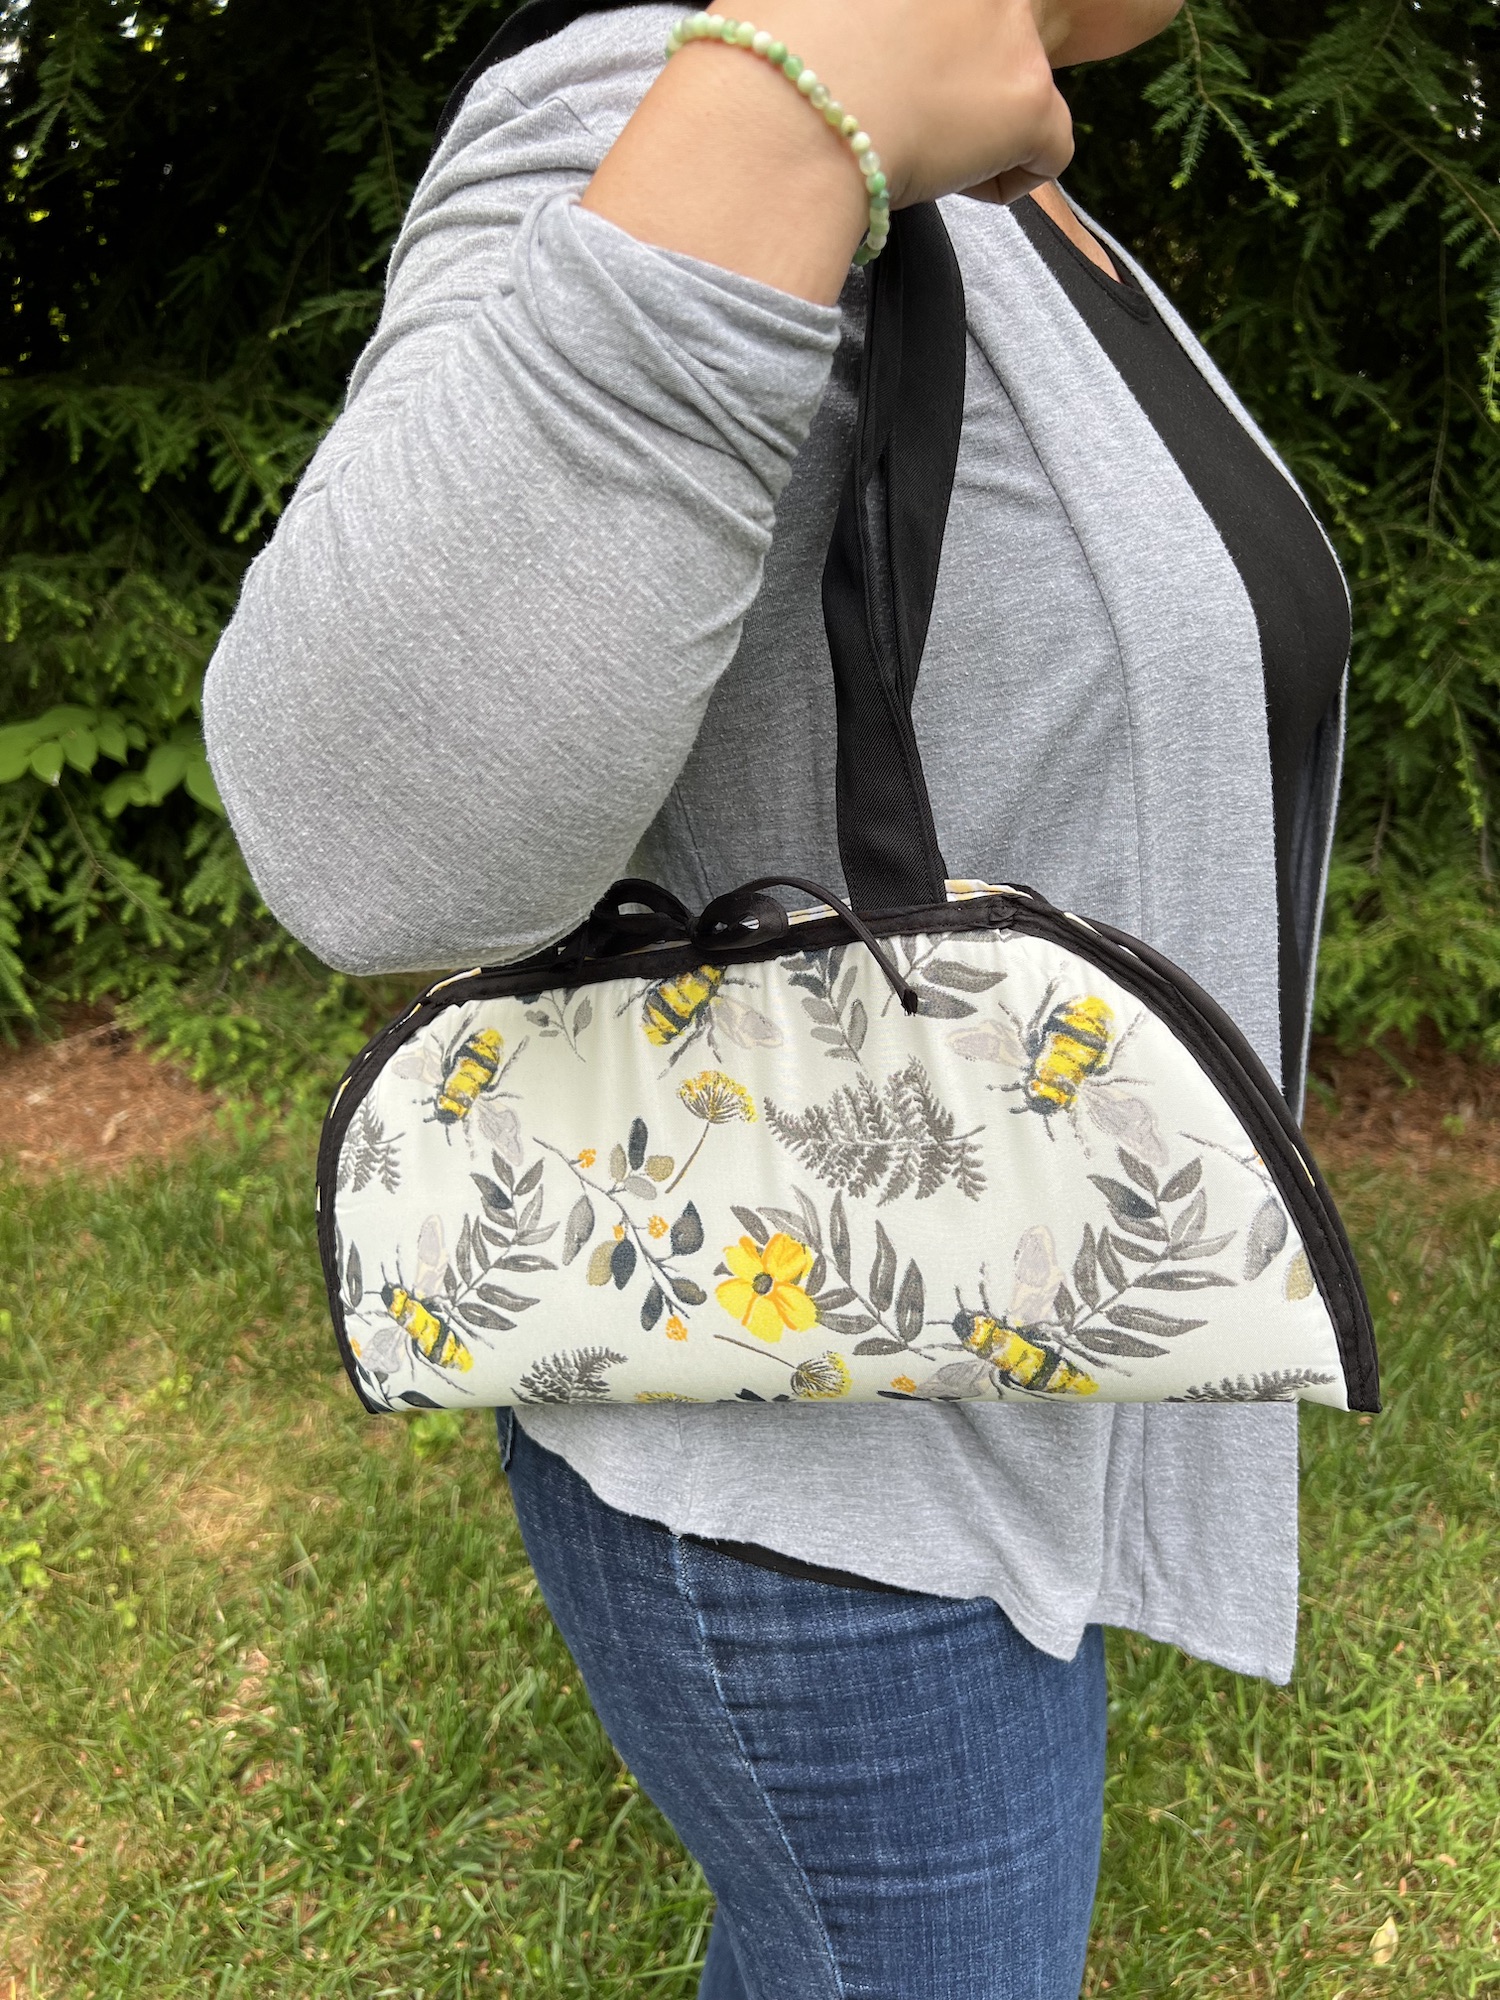
This clutch-style purse is such a fun DIY fashion accessory!
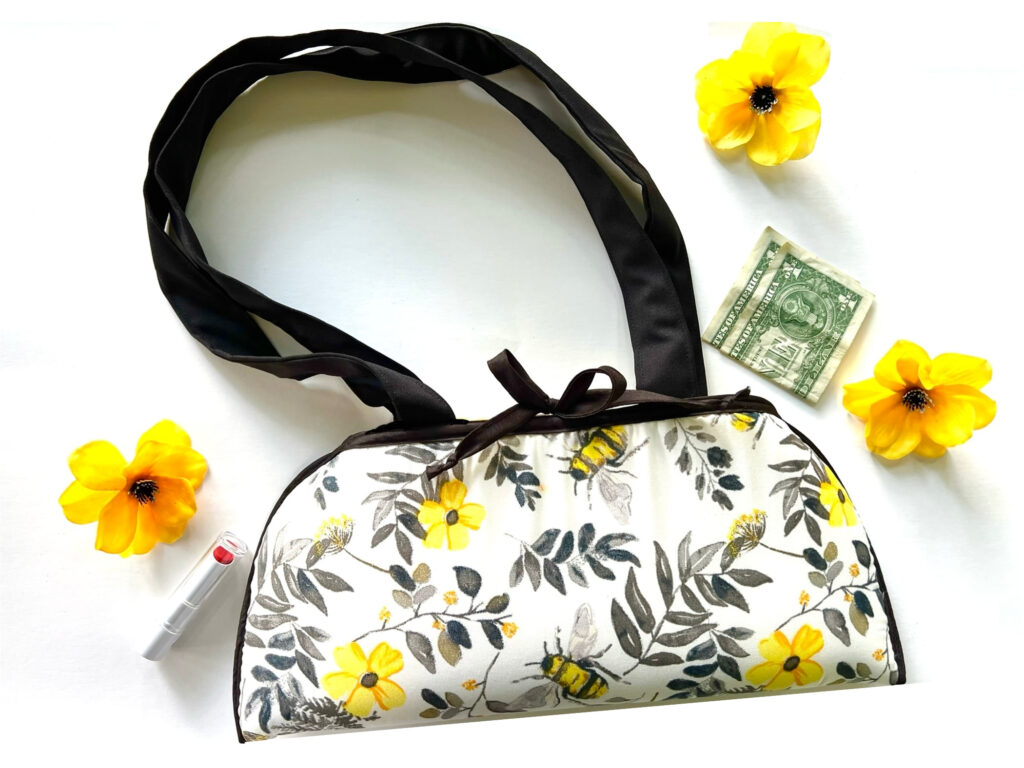
Here are the easy instructions for using a chair pad to make a padded purse with long straps.
You can customize the length of the straps to fit your needs.
DIY Chair Pad Purse
I have a video tutorial at the end of these directions that shows exactly how I sewed this purse.
Supplies
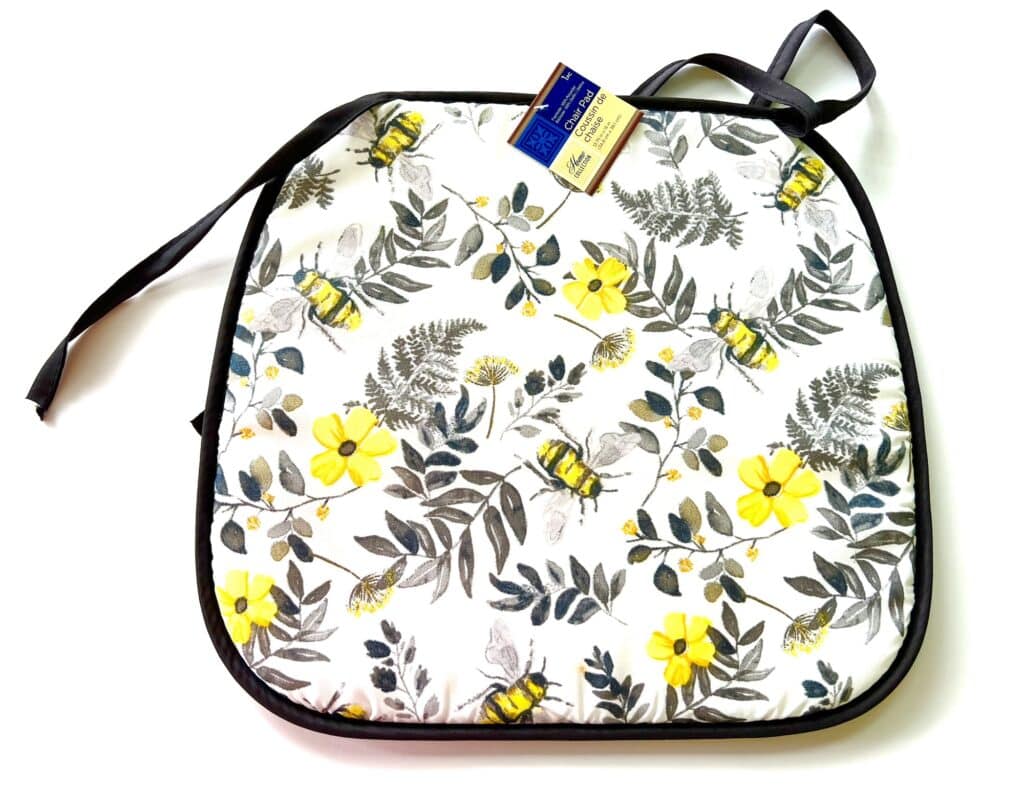
- One chair pad (we used the thin Dollar Tree kind)
- Fabric for lining
- Fabric for handles (two pieces 29 in X 5 in each) (74 cm X 12 cm)
- Thread
- Sewing Clips
- Sewing Machine
- Scissors
- Embroidery scissors (optional)
- Tailor’s Chalk (optional)
Directions
Step 1
Cut off all of the tags from the chair pad.
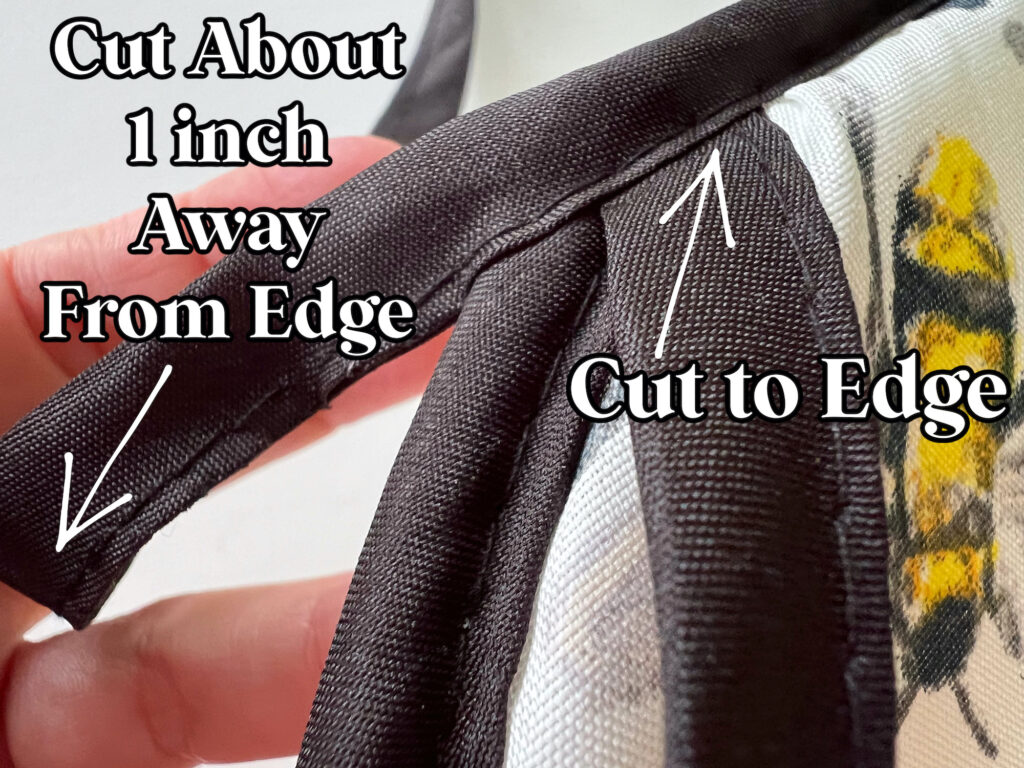
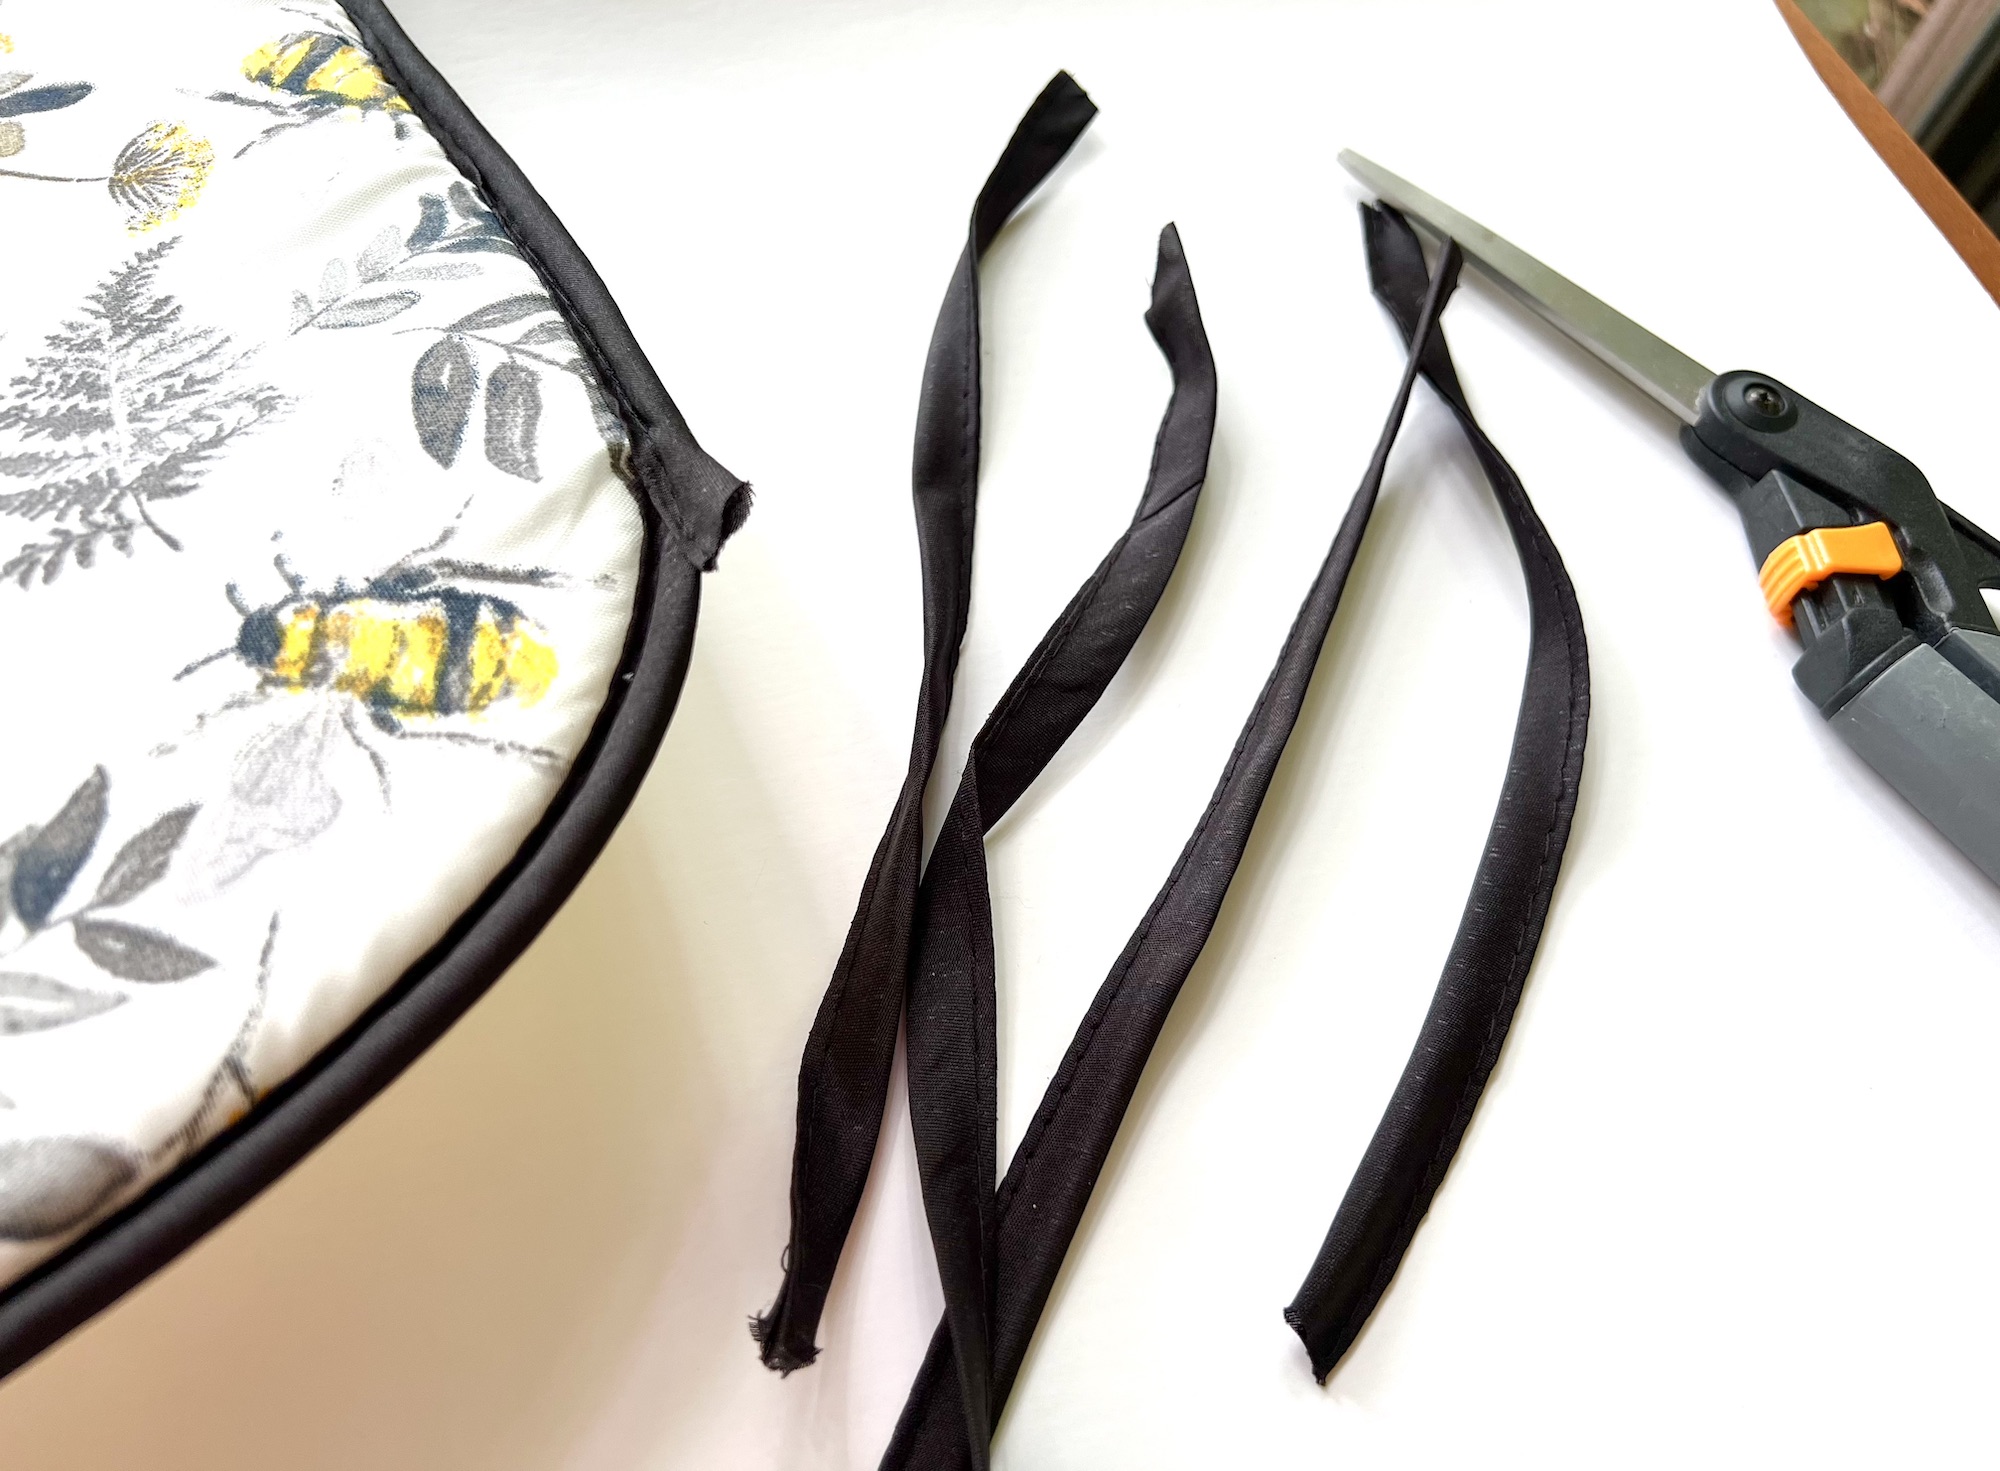
Cut off the chair ties. For the chair tie in the very front, cut it right up to the edge of the bias tape edging that goes across the top.
For the other tie, cut about 1 inch away from the edge of the pad.
Keep the longer two chair tie pieces to use later.
Step 2
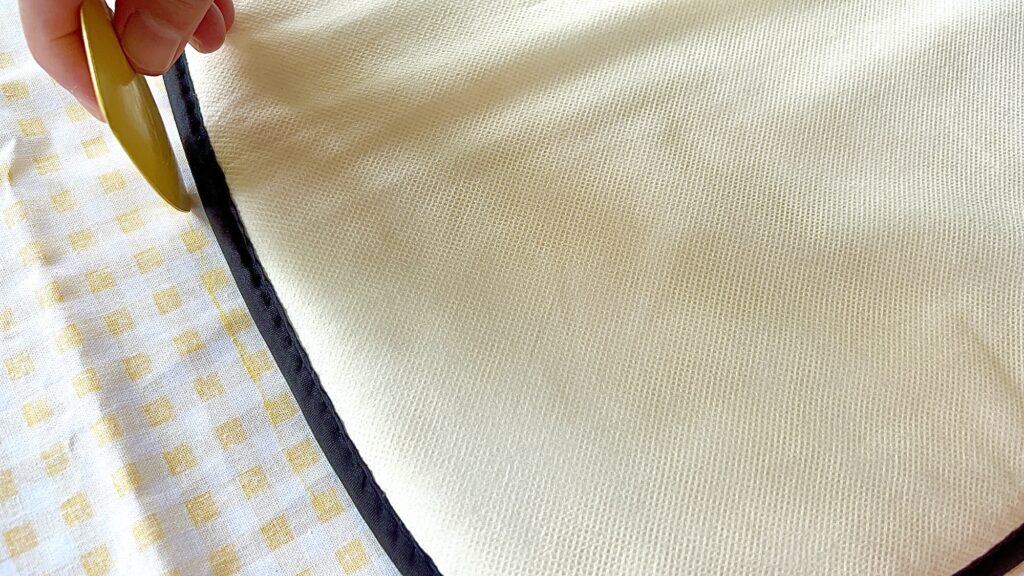
Lay your lining fabric on a table, with wrong side up. Using tailor’s chalk or a pen, trace around the chair pad onto the fabric, creating a ½ inch seam allowance as you go.
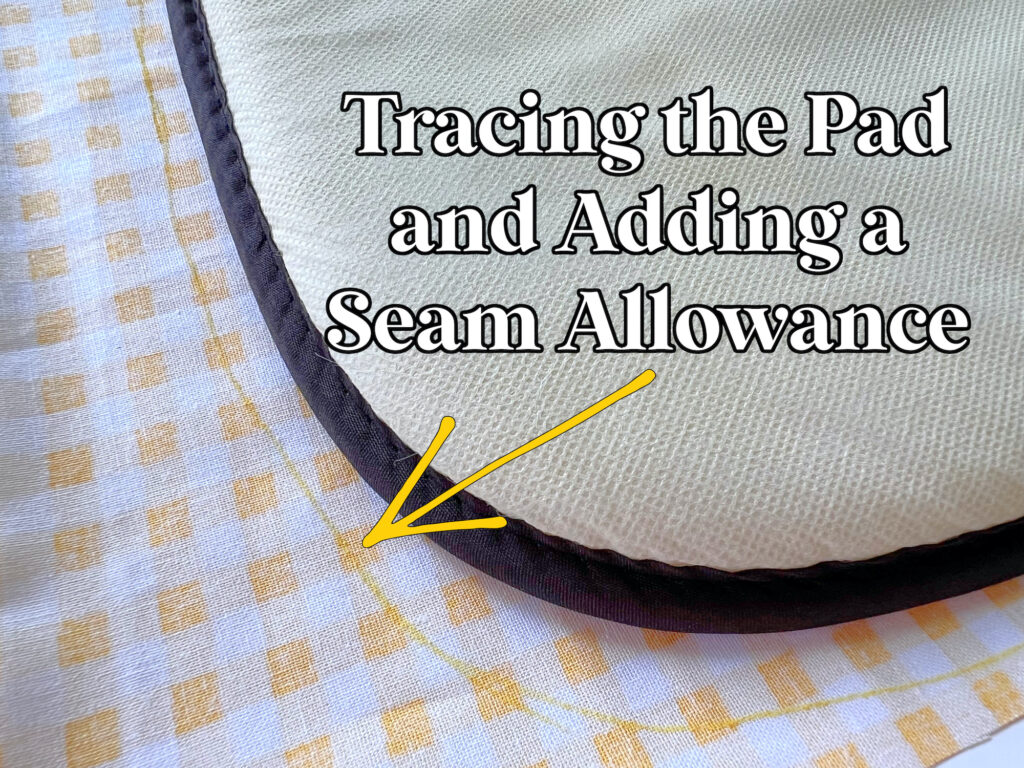
Cut out the fabric.
Press with a hot iron to remove wrinkles.
Step 3
Turn the chair pad over so that the unfinished side is facing up. Place the fabric with the pretty side facing up on top of the chair paid.
Tuck the edge of the fabric under all the way around the pad so that the folded edge slightly overlaps the bias tape edge all around the chair pad.
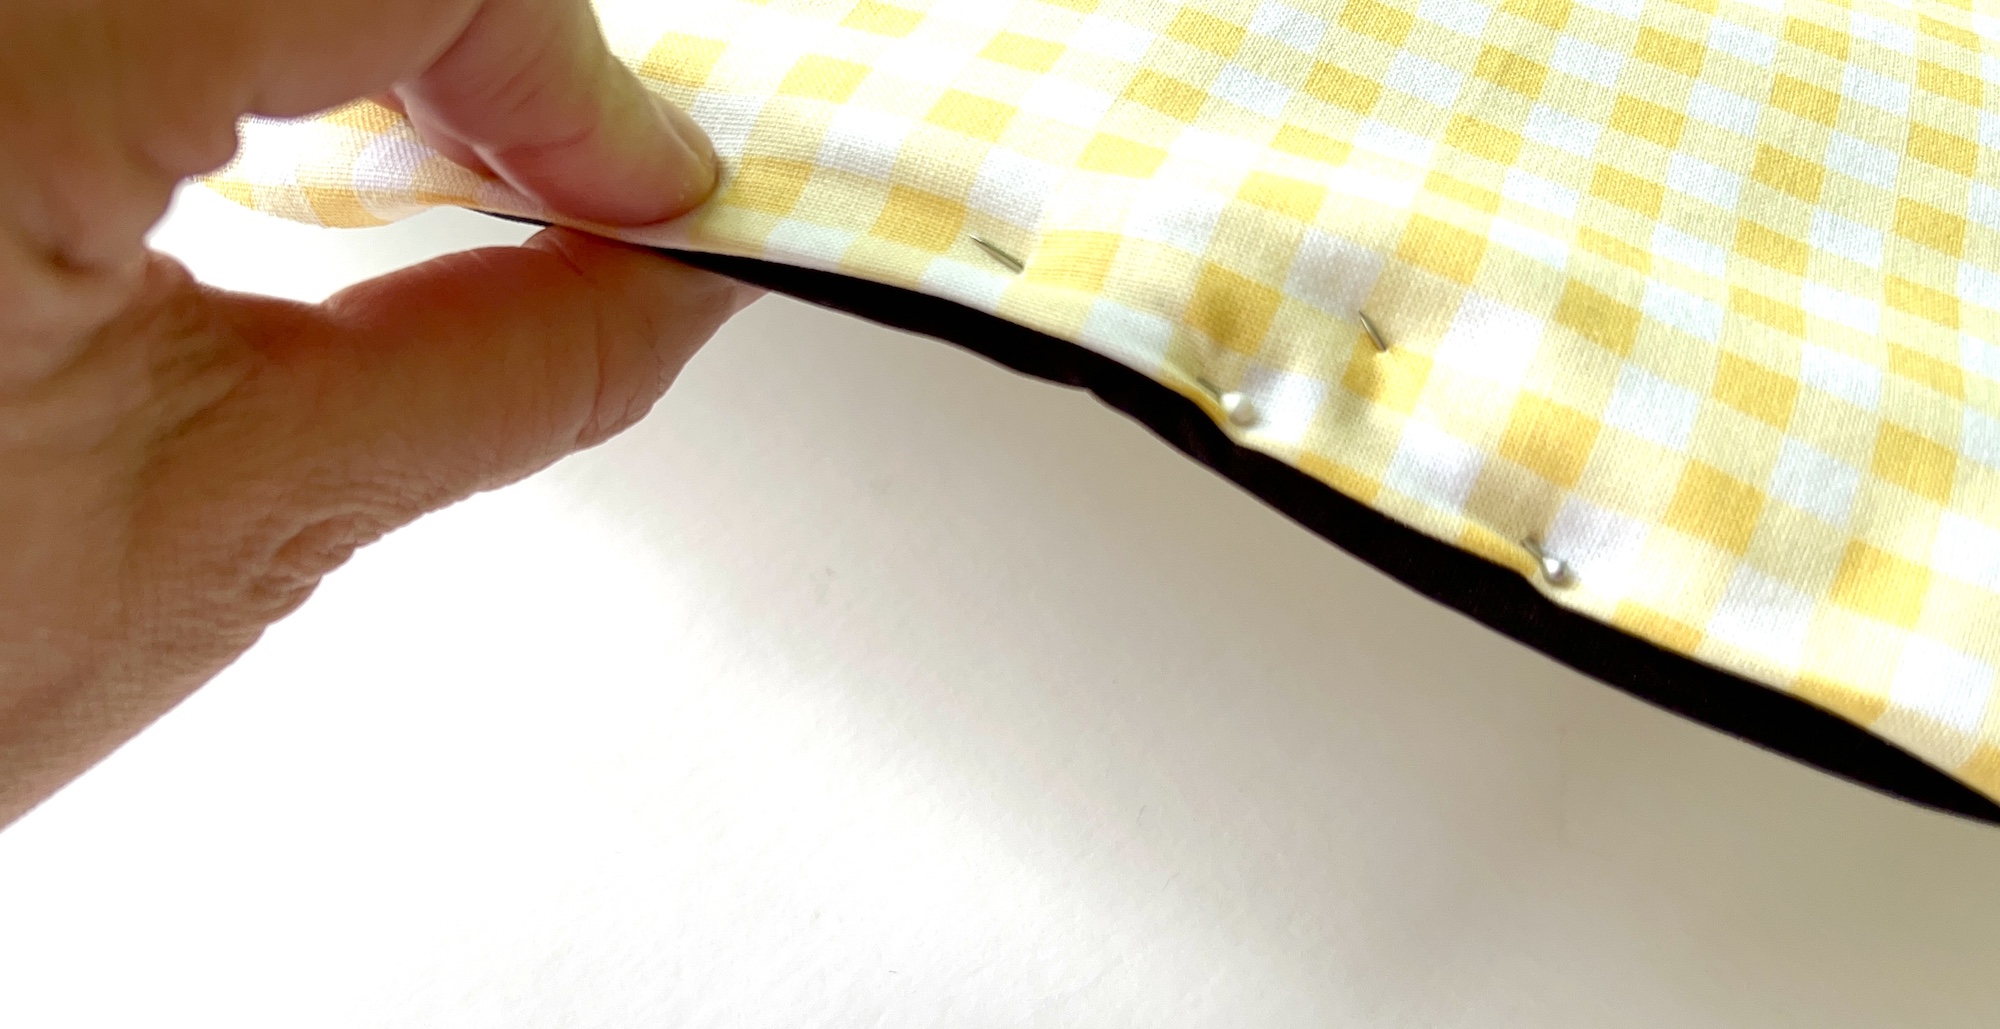
When you get to the rounded edges, you will need to do a few tucks and folds to get the fabric to curve and lay flat. This is fine because you won’t really see it.
As you are working around the curved edges on the top, tuck the cut end of each side of the cut tie pieces under (the ones that are about an inch long) and fold them along the bias tape edge to match and “disappear.” You will be sewing these edges down on the outer edge to secure them and to prevent fraying.
Use sewing clips to keep the fabric attached to the pad. You can use sewing pins, but it is more difficult with all of the foam and many layers of fabric.
Note: You will be unclipping some portions of the lining fabric in Step 5 to allow for the strap placement.
Step 4
Now make the straps for the purse.
I used a pair of old black pants for my fabric to save on cost. So think outside the box when sourcing material if you want to keep this project inexpensive.
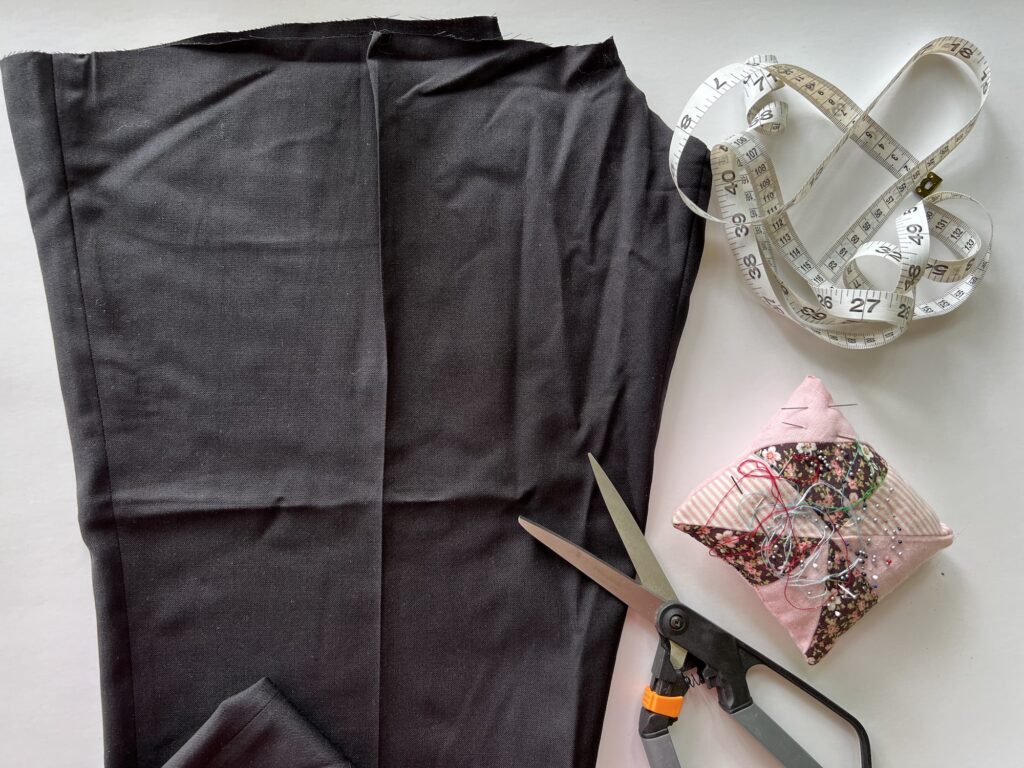
I cut two 29″ X 5″ pieces of black fabric.
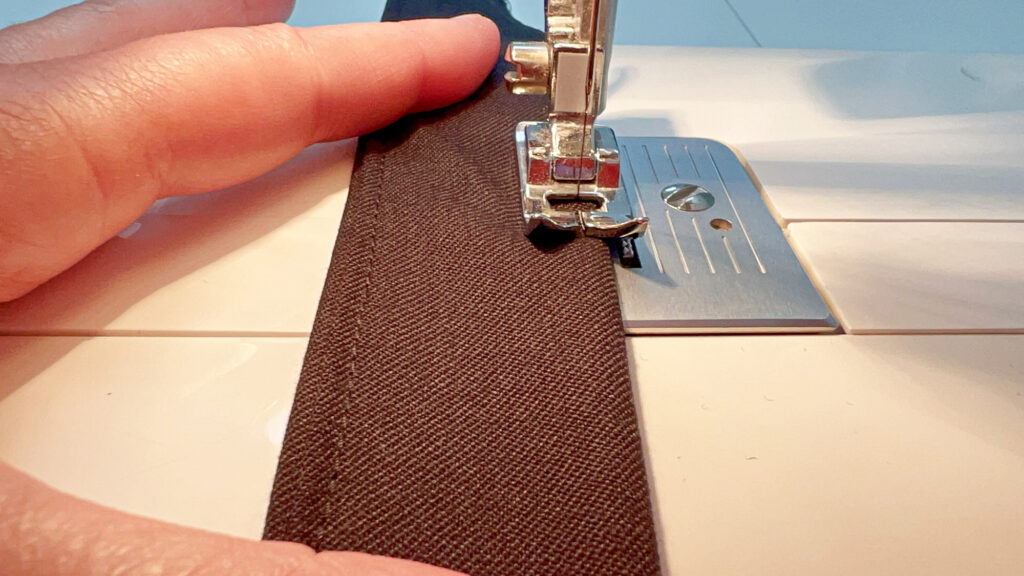
On each piece of fabric, I folded one long edge in to the middle. Then I folded the other long edge in toward the middle. Then I folded the fabric in half again. It is the same process as if you were making bias tape.
Be sure to watch the video below if you need a visual tutorial.
Sew along the open edges to secure, using about 1/8″ seam allowance or close to the edge.
Optional Steps:
- Sew along the folded long edge, too, so that there is stitching on either side of the strap.
- Finish off the edges of the short ends of the straps so that they don’t fray as much.
Step 5
Now position the straps on the outer edges of the chair pad. I like to figure out where the straps should go, and pin them in place temporarily.
Place one end of a strap on the outermost edges of the top of the chair pad, towards where the pad starts to curve downward.
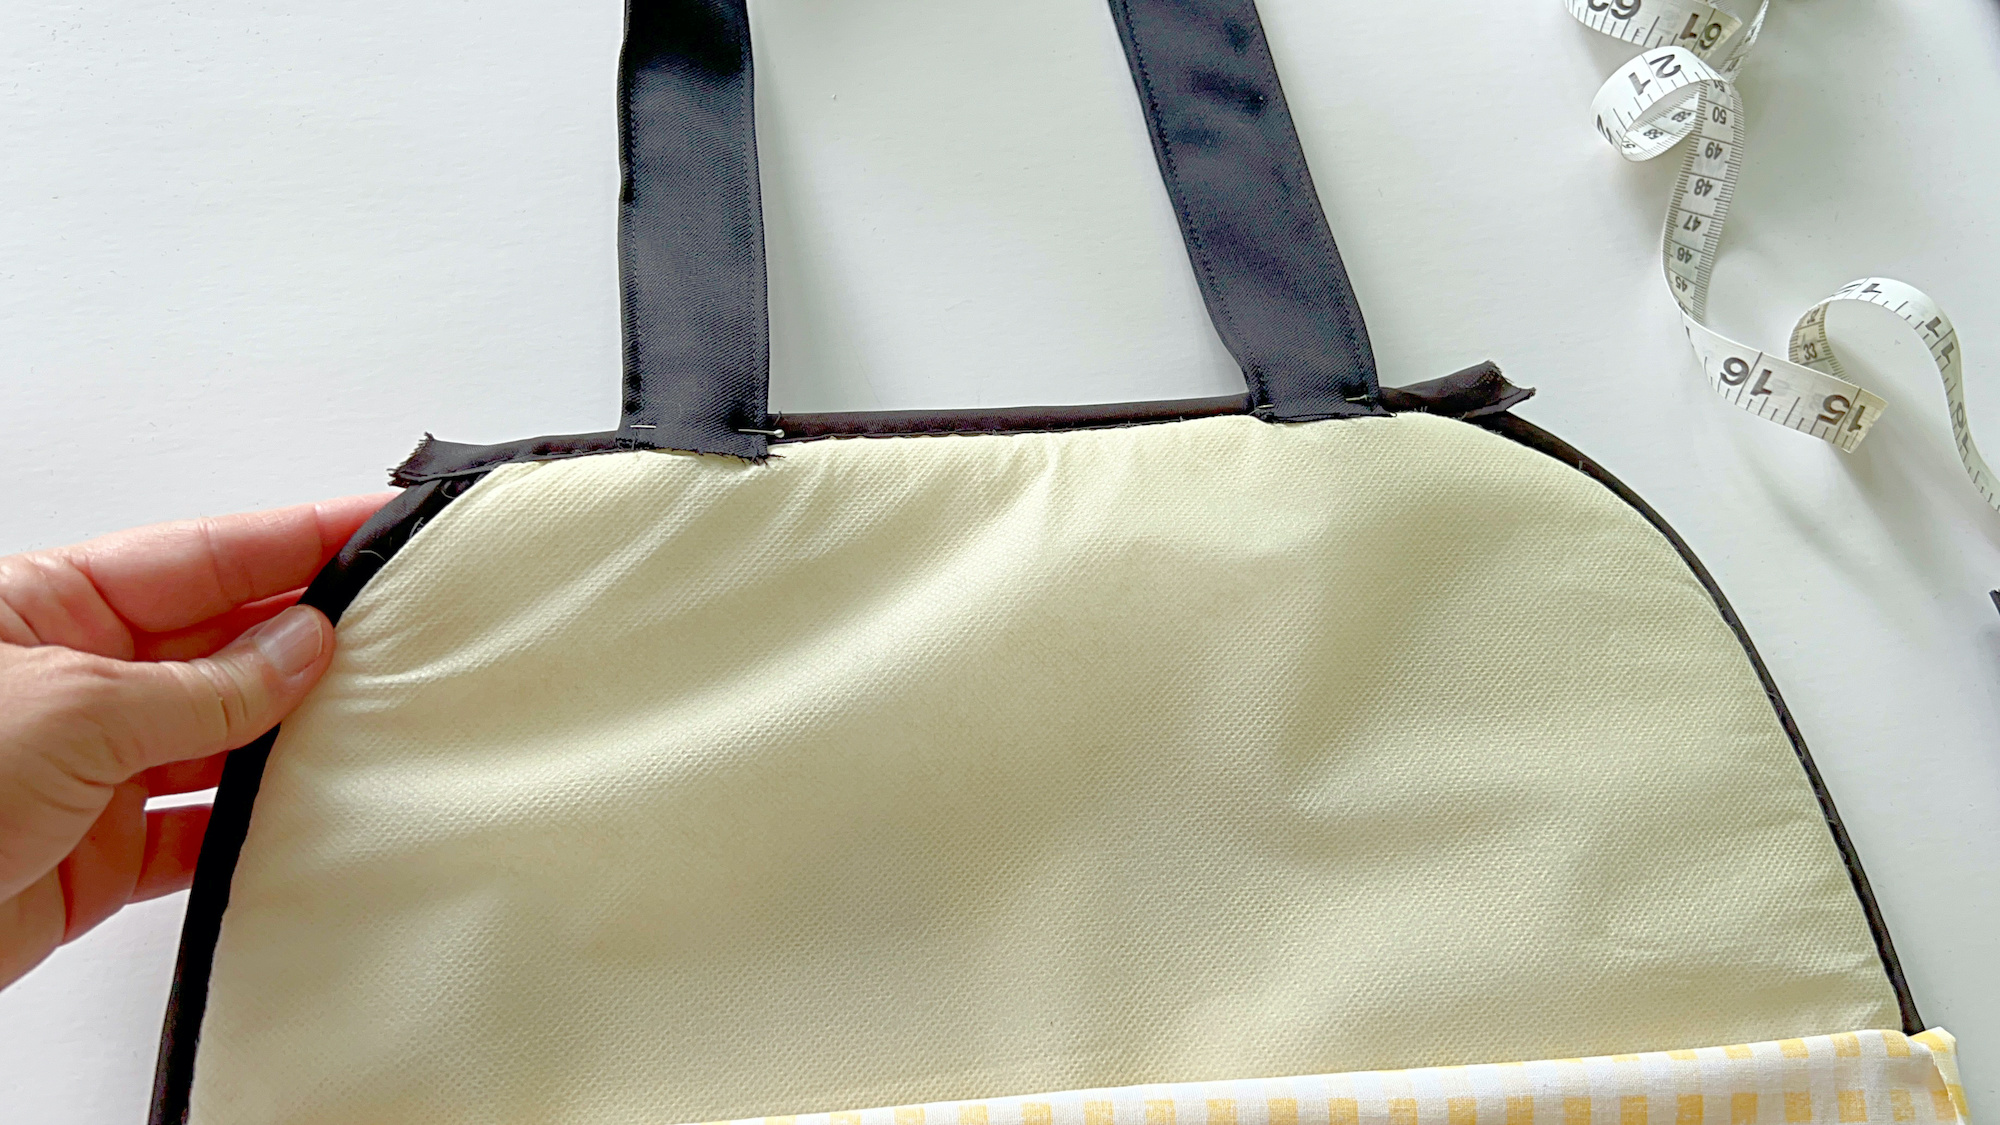
Then, with the other strap, pin the ends on the long straight edge opposite of the position of the straps on the top of the chair pad.
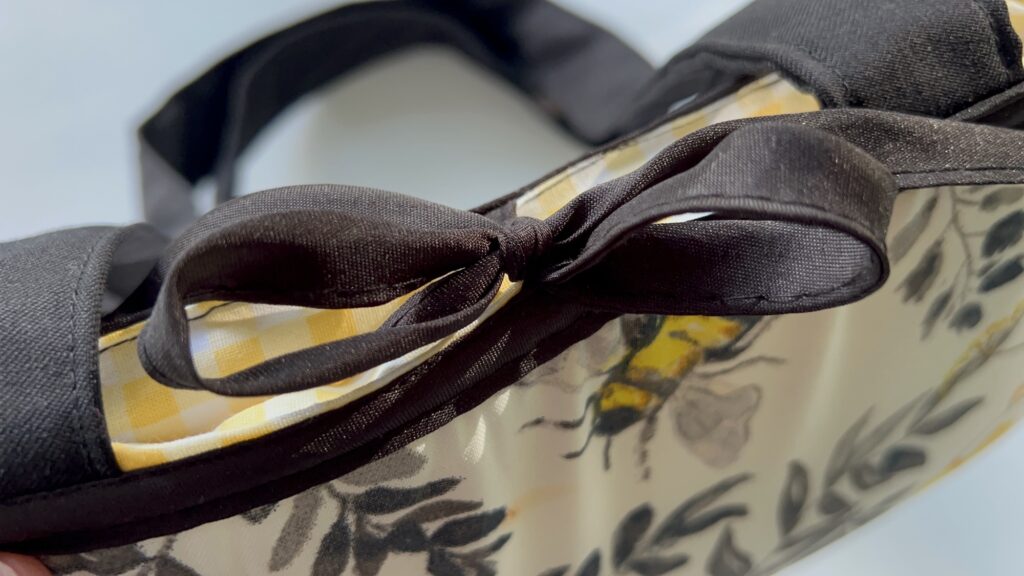
Use two of the chair pad ties that you cut off to make a tie-closure. You will pin one tie in the middle of the straps on the top of the chair pad, and then pin the other tie opposite it on the long bottom edge of the chair pad.
Then fold the pad in half, making sure that the straps line up opposite of each other.
Once you are sure that the straps and ties are placed opposite each other, you can unclip the lining fabric and tuck the ends of the straps and ties underneath. Then re-clip together.
Step 6
Sew around the chair pad, sewing along the edge of the folded fabric to attach it to the back of the pad.
The areas where the straps and ties are located underneath the lining can be thick, so you may need to move the needle more slowly over these bulky areas.

Be sure to backstitch at the beginning and end of your stitching.
Keep in mind that the thread will be visible on the exterior of the purse, so be sure to use a complimentary thread color.
Note: I sewed my fabric lining all the way to the edge of the chair pad, as seen in photo above. I do not recommend doing this, as some of the lining is visible in the seams on my purse. Attach the lining about ½ way up the bias tape edging of the pad and secure there.
Step 7
To finish the purse, fold the chair pad in half.
Match the outer edges together from the curved portion on top of the purse down to the folded crease.
Do not just fold the chair pad in half because the outer edges will not match up. You will need to allow for some bunching up on either side of the purse as you match the finished edges together.
Sew along the outer edge over the bias tape to secure the edges together. Be sure to backstitch at the beginning and end of your stitching.
Keep in mind, there will be a LOT of thickness sewing the edges. Your presser foot will probably not lay flat. That’s okay. Just sew slowly and very gently tug the pieces as you are sewing if you find that there is much resistance.

Tie a knot on the end of each chair tie to prevent fraying and to add a decorative touch. Then tie the ties together to close the purse.
Want to watch me make this chair pad purse? Be sure to see my YouTube video below (and please subscribe to my channel!):
Be sure to Pin This idea to save for later! Or save it to Flipboard.
If you like this easy sewing project, be sure to see these fashion sewing projects next: