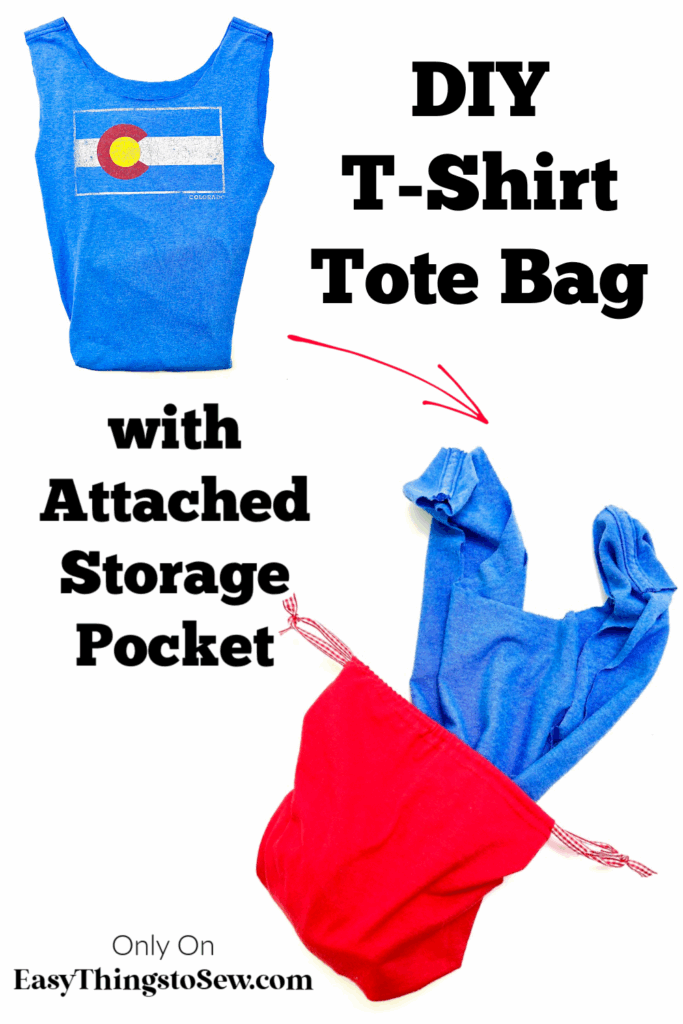
T-Shirt Bag That Folds Into Attached Pocket
This easy DIY t-shirt bag with an attached storage pocket makes storing your reusable bags much easier.
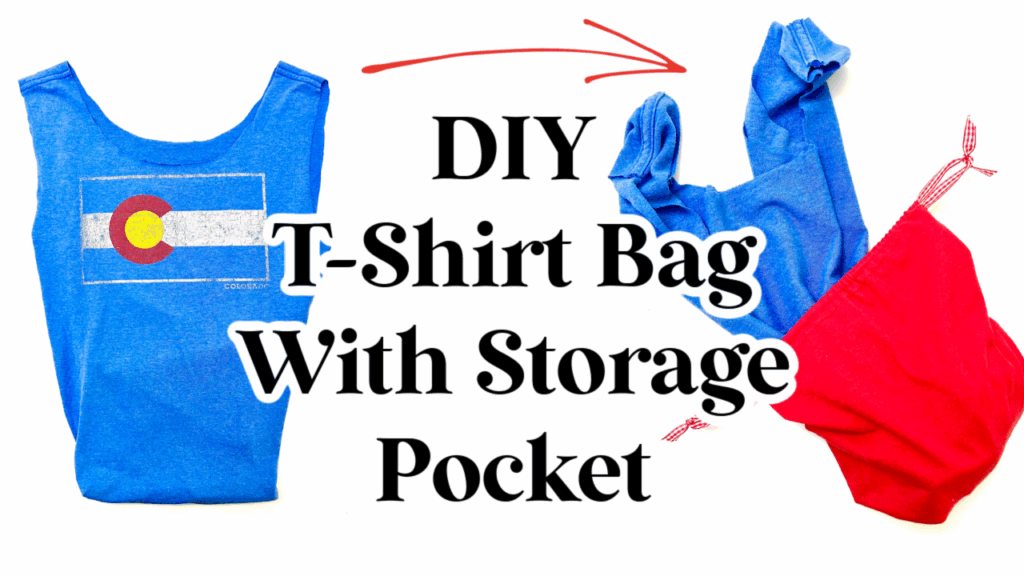
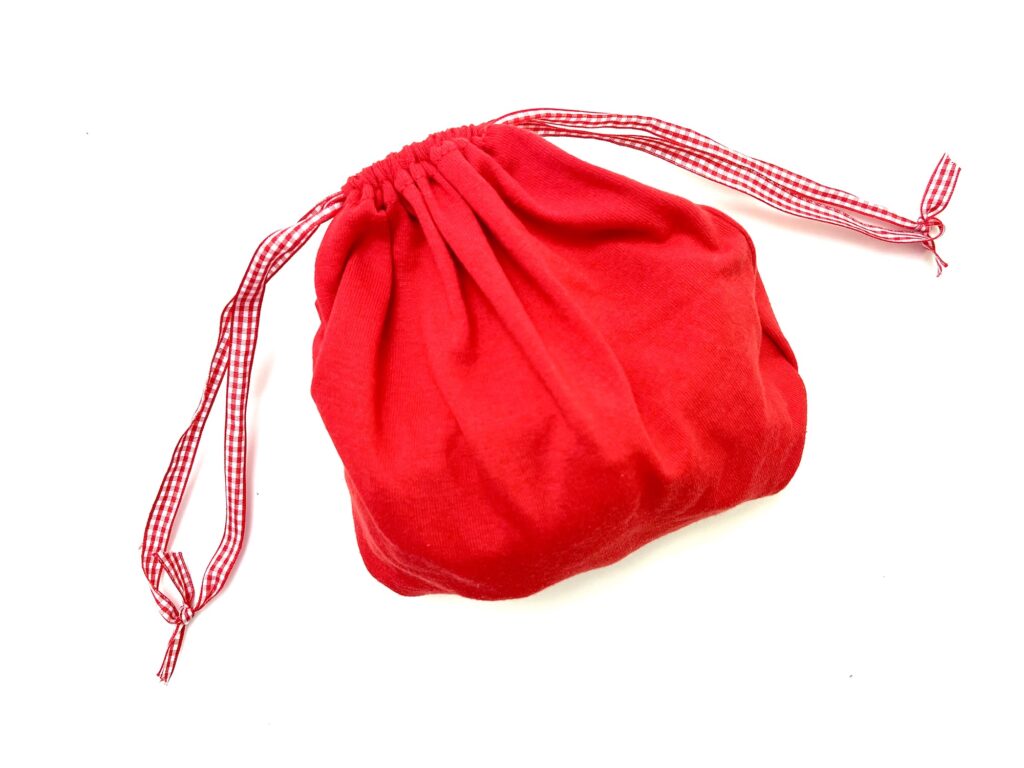
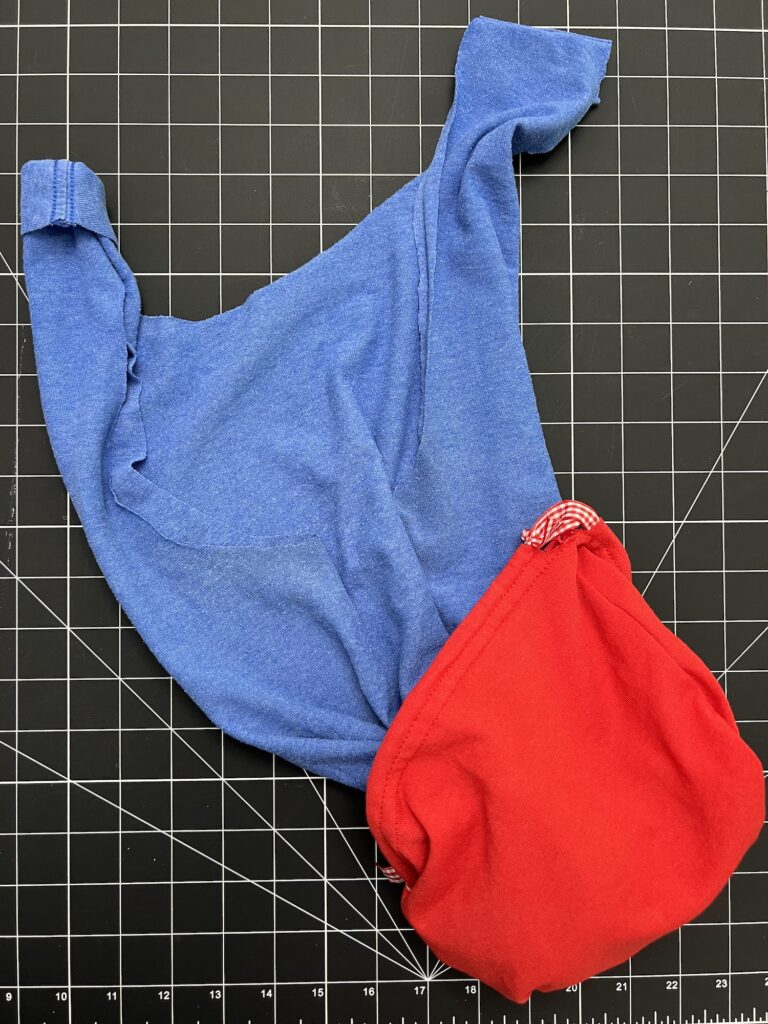
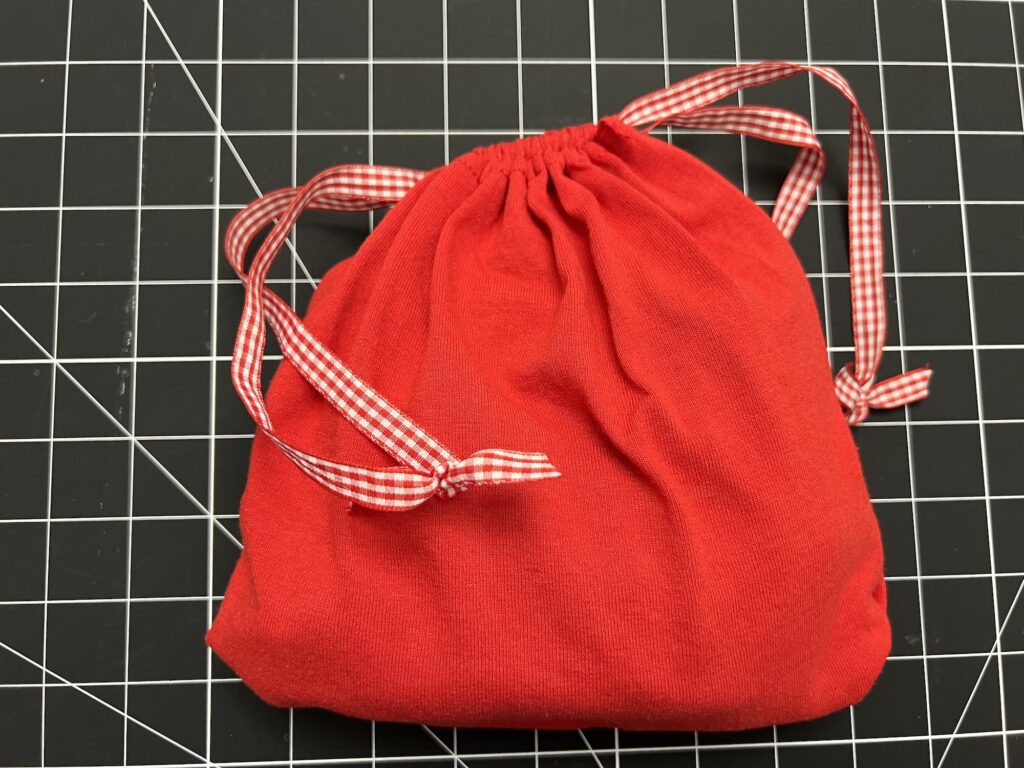
This bag folds into an attached storage pouch and takes up less room. Plus it also looks nicer stored in a pretty drawstring bag!
This DIY bag tutorial is very similar to our easy t-shirt bag, with the addition of a storage pocket sewn in, similar to our t-shirt sleeve drawstring bags.
You may also like our easy tank top bag to repurpose clothing into fashion accessories.
DIY T-Shirt Bag with Attached Storage Pouch
Not all t-shirts are the same. Thicker fabric will create a stronger, more durable bag. Try to avoid the really thin, slinky fabric shirts.
Both scoop neck or v-neck t-shirts will work.
Supplies
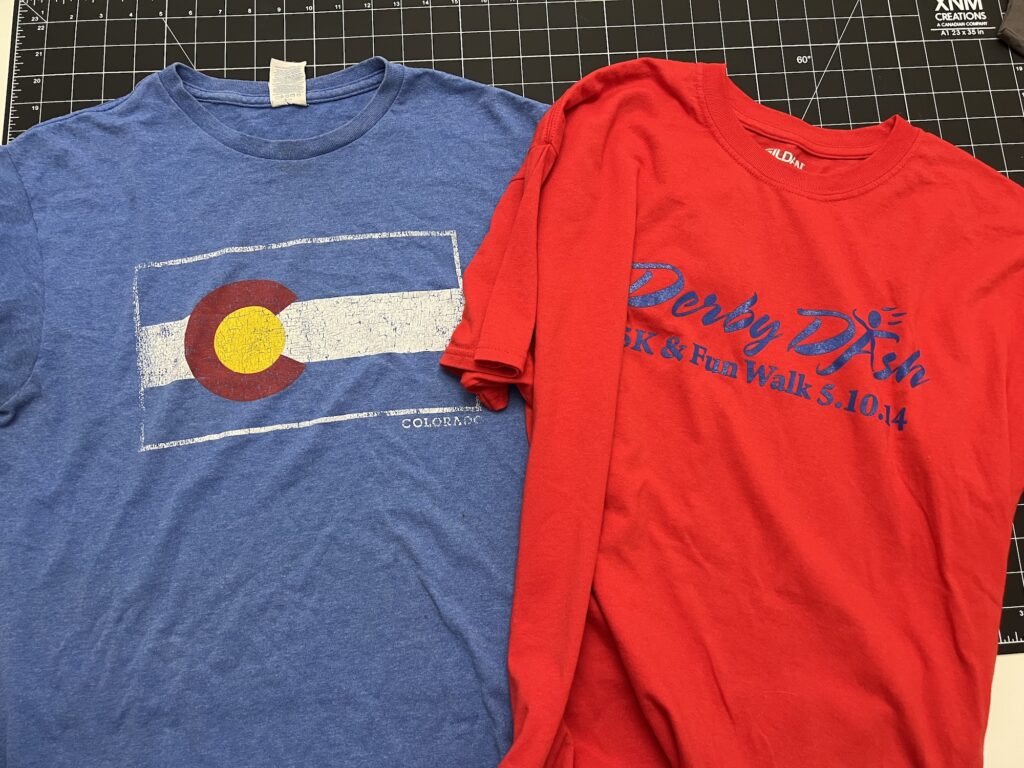
- 2 Short-sleeved t-shirts (the larger the shirt, the bigger the bag)
- Ribbon or t-shirt yarn
- Safety pin
- Scissors
- Thread
Directions
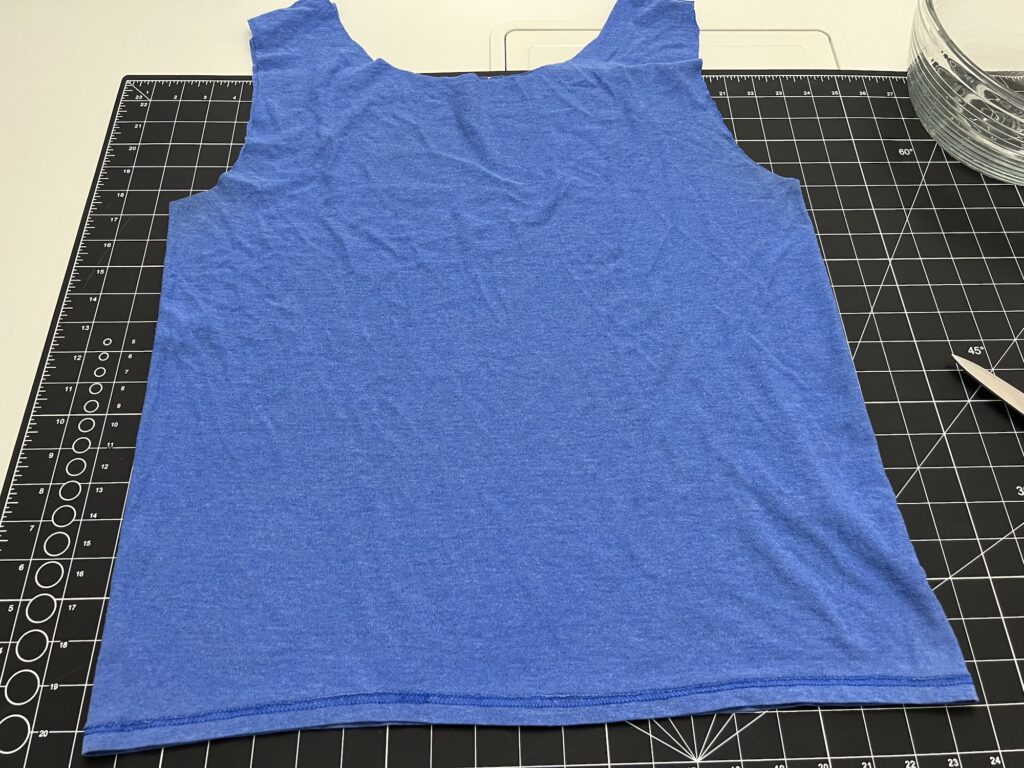
Decide which t-shirt will become the bag and which one will be used as the attached pouch. Set aside the shirt used for the pouch and continue the tutorial with the shirt used for the large bag.
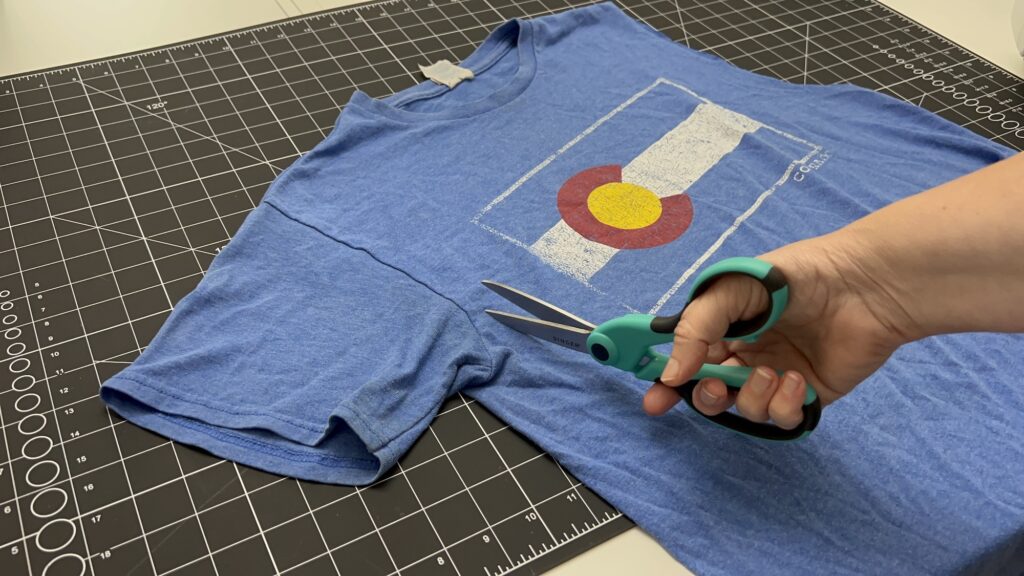
Cut off the sleeves of the t-shirt, cutting just inside the shoulder seam so that the seam stays on the sleeves.
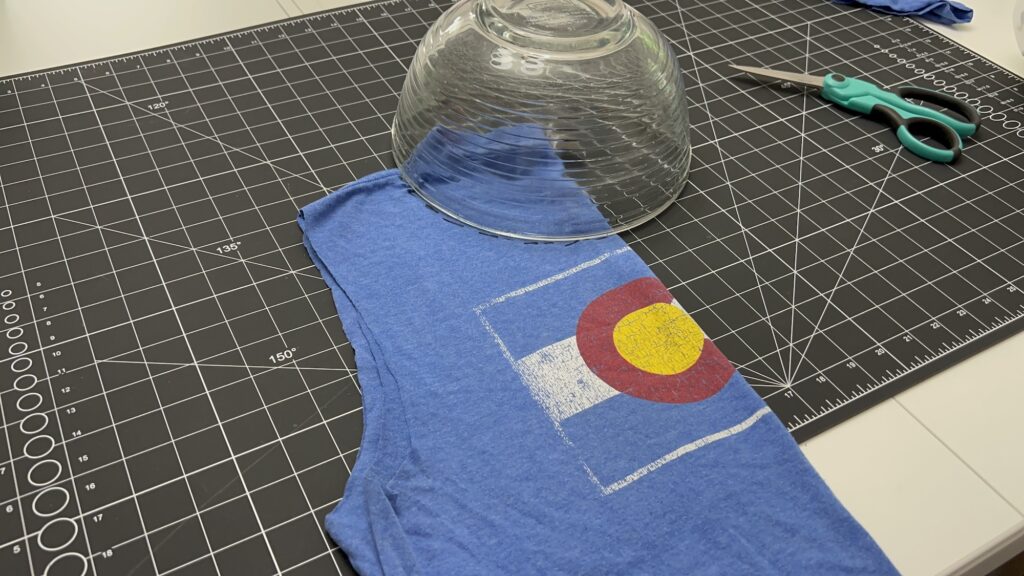
Fold the t-shirt in half, with the right sides facing out.
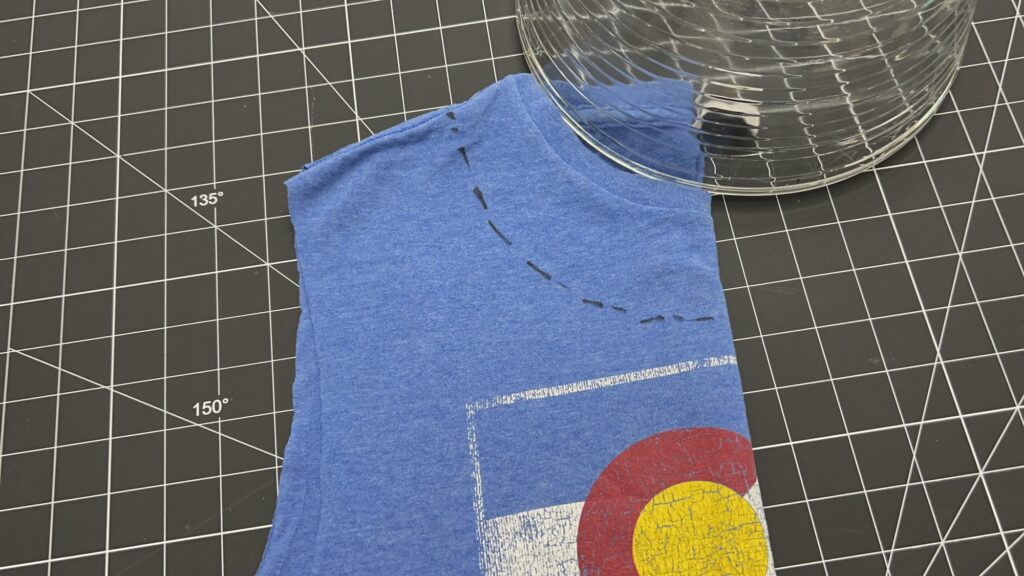
Cut a half circle shape around the neck of the shirt. The bigger the half circle, the longer your handles will be.
You can trace a pattern on the shirt with a marker or tailor’s chalk if you want a line to follow. A large bowl can be used as a template to make a half circle. Or you can just freehand the design.
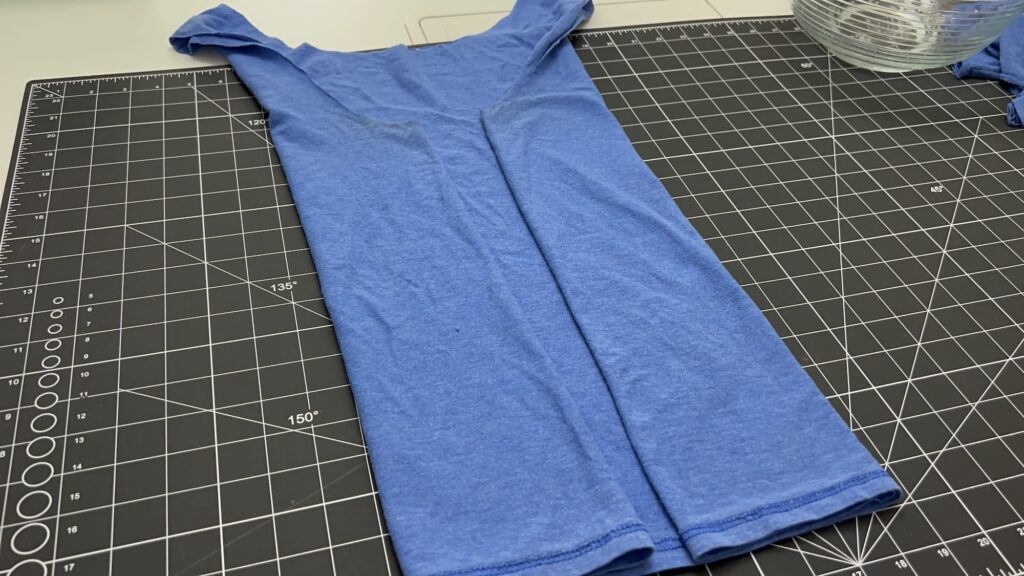
Turn the shirt inside out.
Match up the bottom t-shirt edges.
Fold over each side of the shirt inwards until it almost reaches the center.
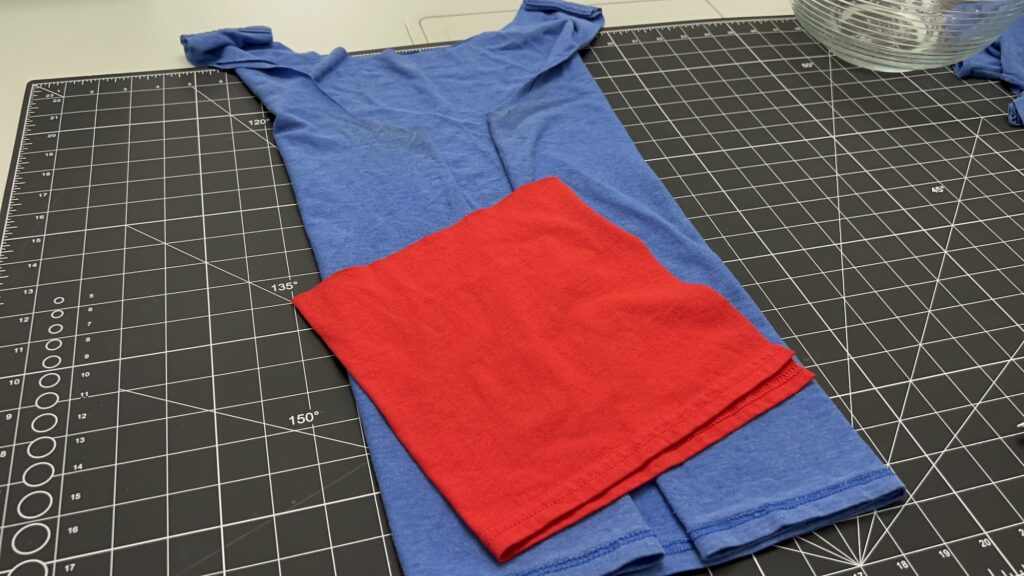
Now take the other t-shirt and lay it across the folded t-shirt, bringing it in about an inch or so from the edge. Take a measurement of how wide the shirt is up to a point about one inch from the other edge (each t-shirt will be different due to their sizes).
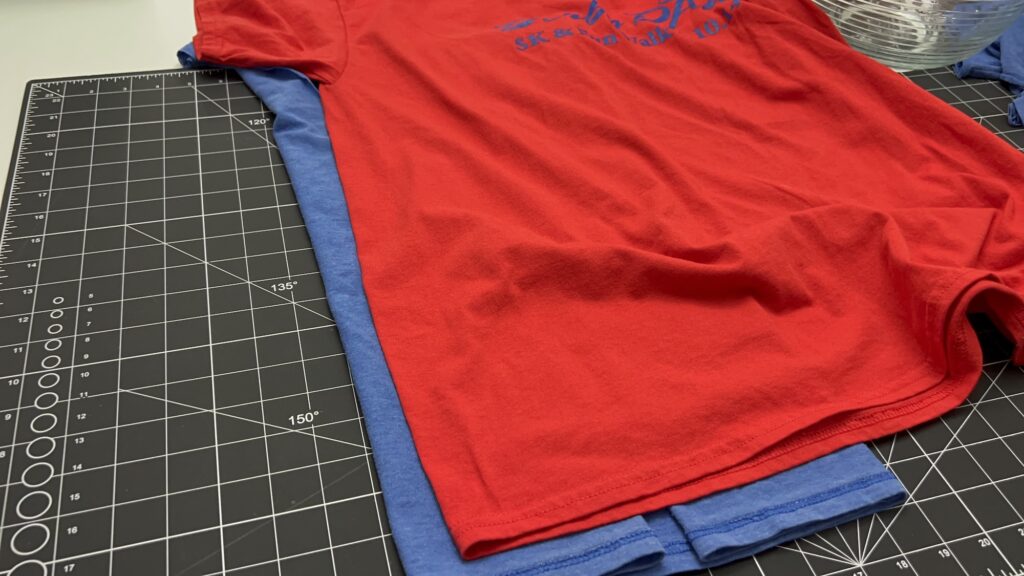
Cut through both layers of the red t-shirt using that measurement (about an inch in from each folded edge) for the width and about 6 inches for the height.
(I cut the height for the bag at 8 inches in these photos and I think the bag is too big. Measuring a 6 inch height will create a smaller drawstring pouch that will hold the bag inside more tightly and be smaller to store.)
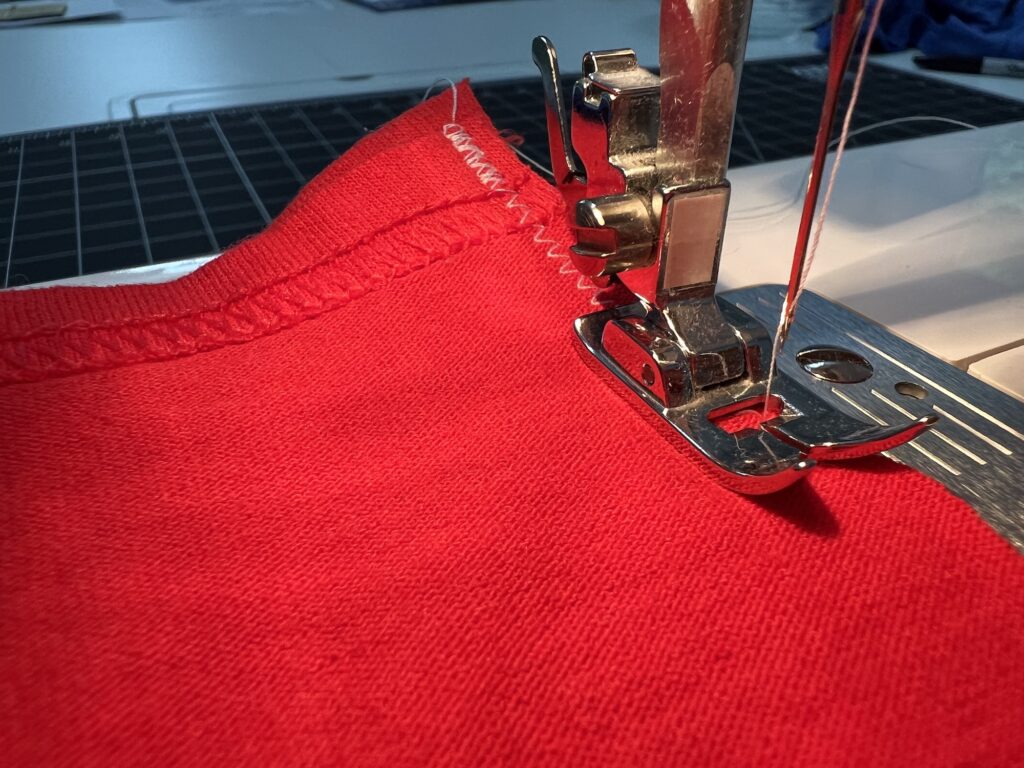
With right sides together and wrong sides facing out, sew a seam along the 6-inch cut edges.
I used a ¼ inch seam allowance. Be sure to backstitch at the beginning and end of the stitching.
Use a small zig zag stitch to sew. Zig-zag stitching allows stretchy jersey fabric, such as t-shirts, to stretch without the stitches popping.
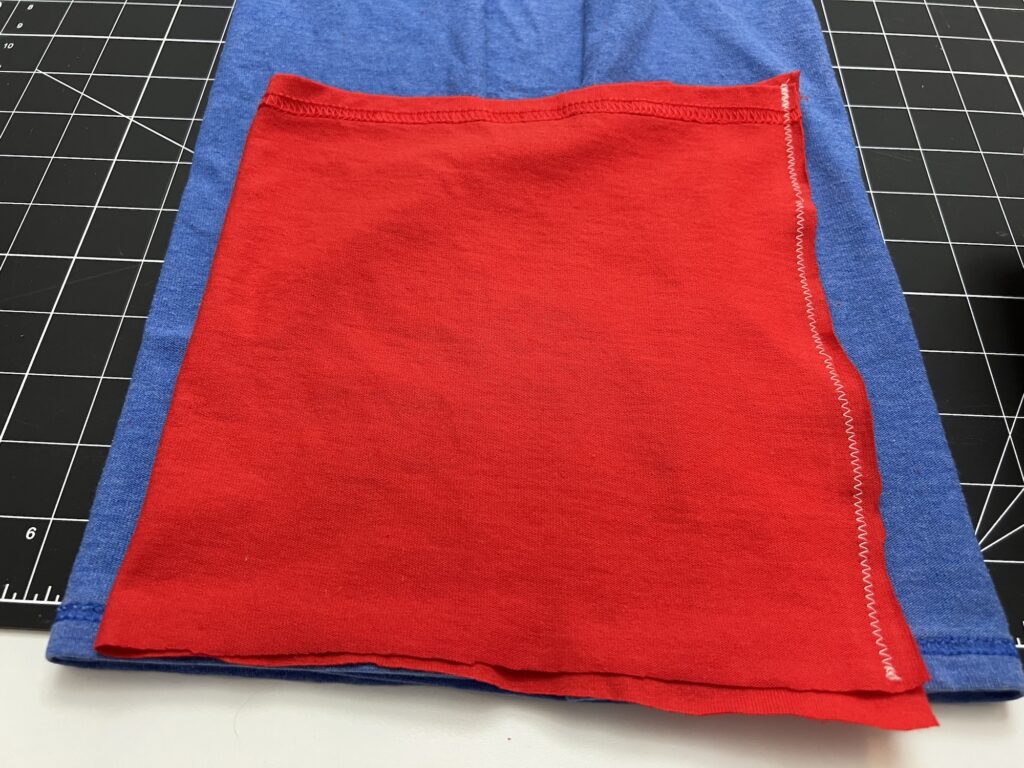
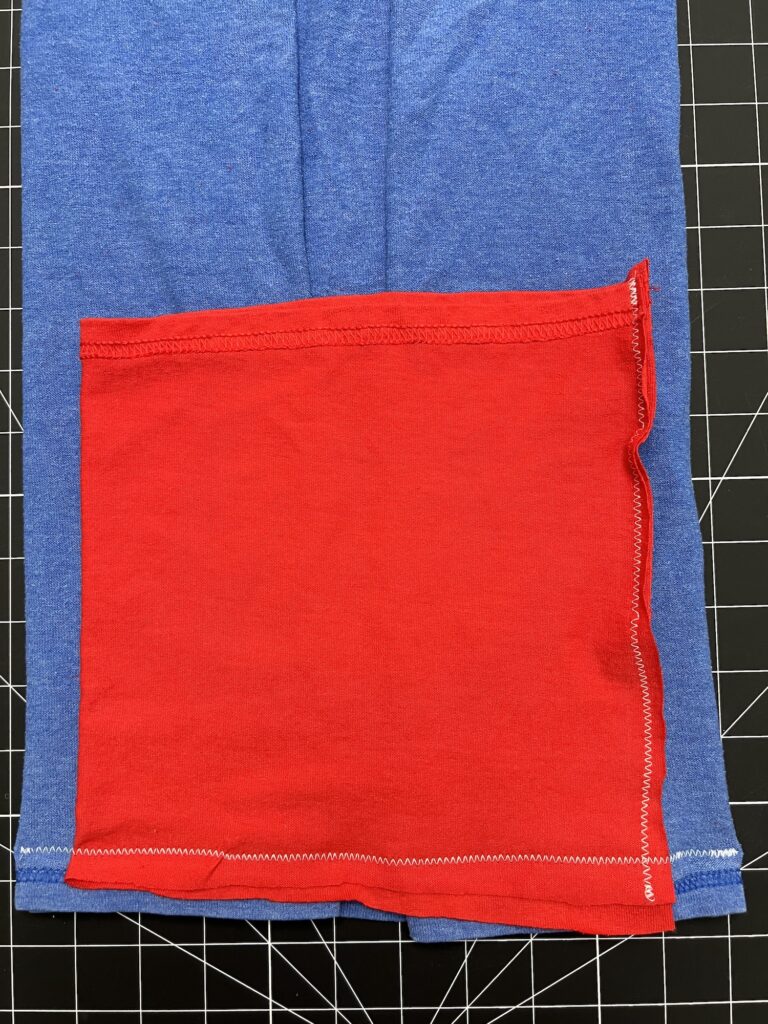
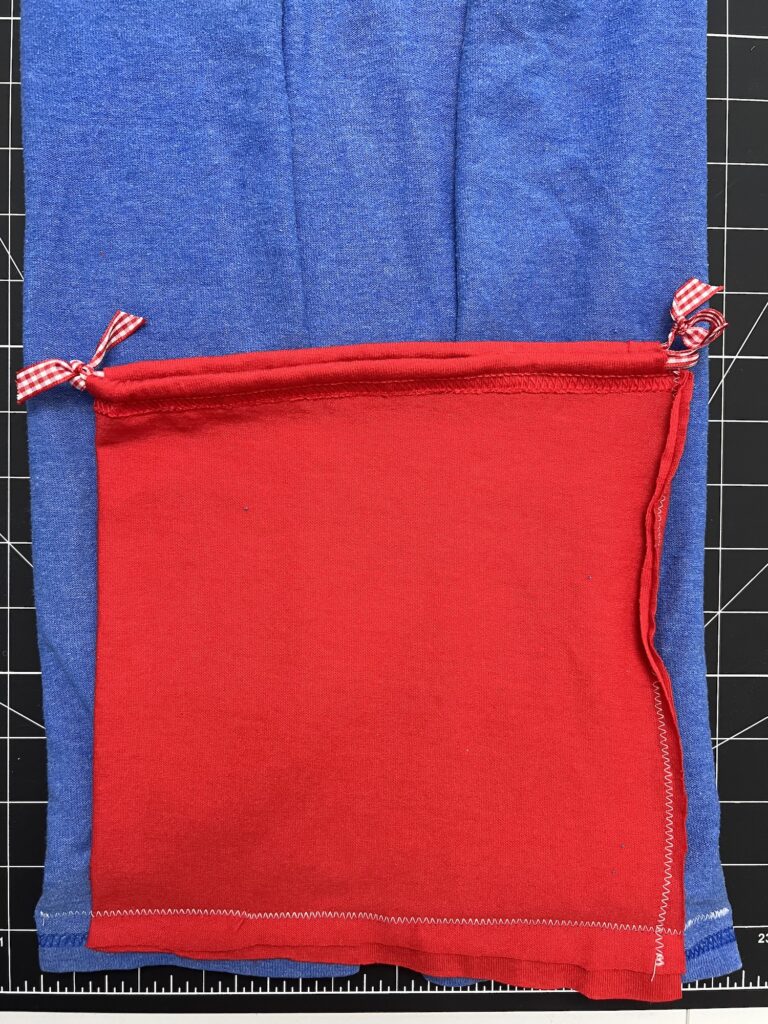
Place the sewn t-shirt pouch (do not turn inside out yet) on top of the folded t-shirt bag, matching up cut edges on the bottom. (You can see my cuts weren’t perfect so I overlapped the edges with the excess.)
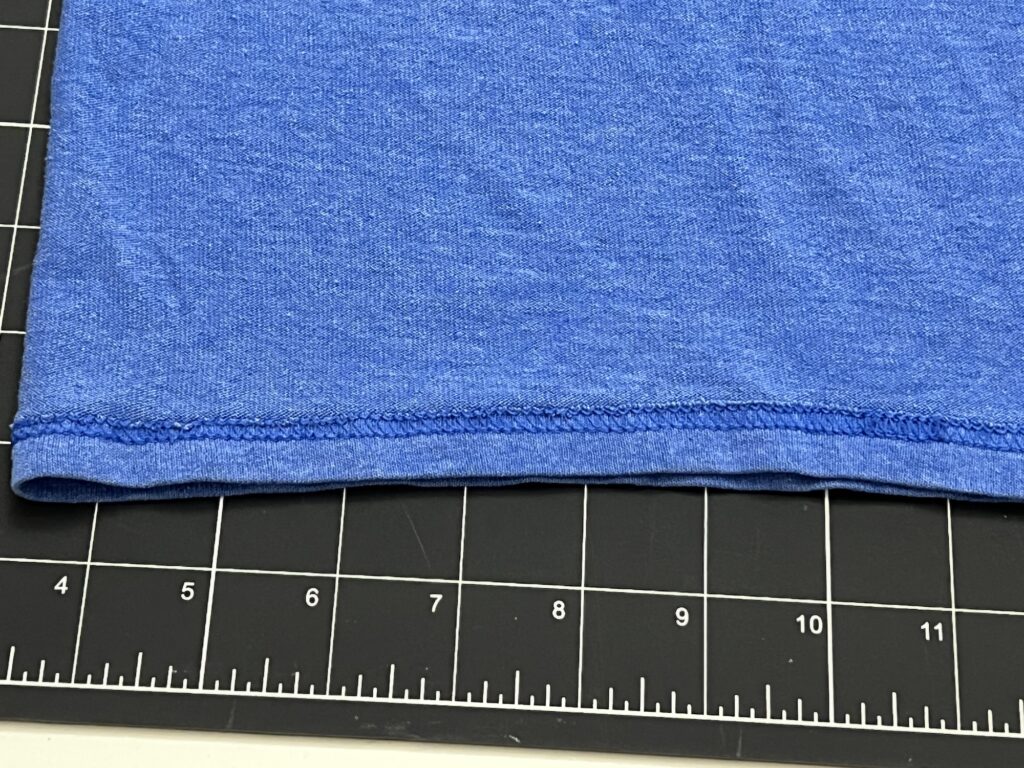
Sew across the bottom of the t-shirts, sewing just above the existing t-shirt seams. Backstitch at the beginning and end of the stitching.
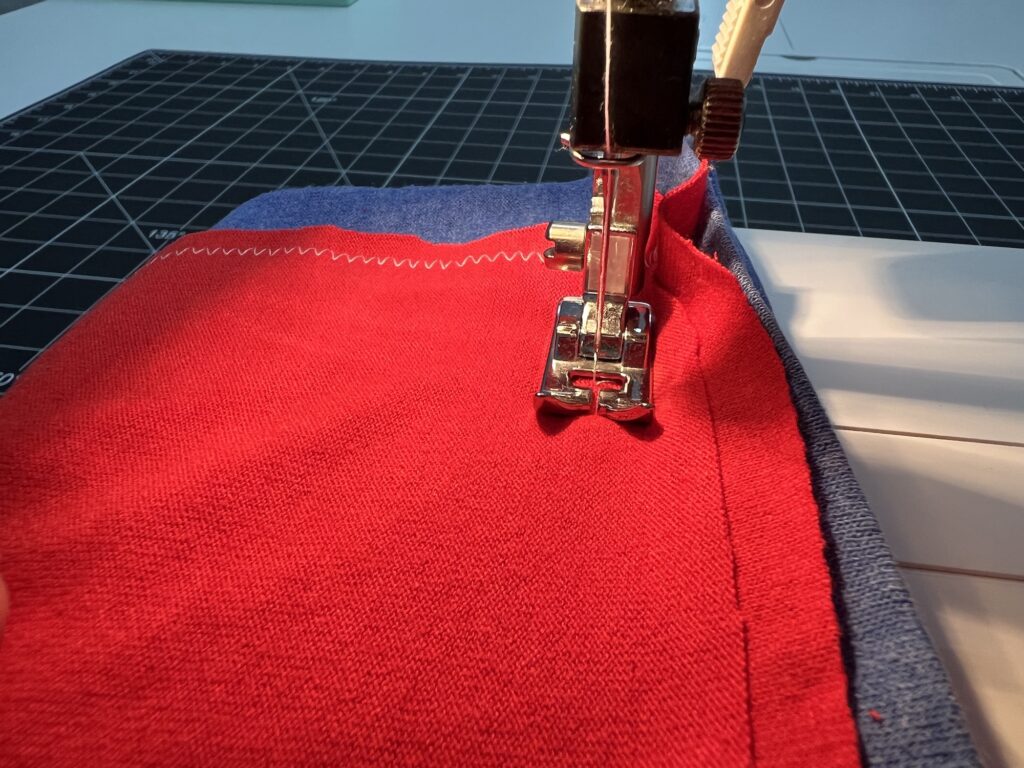
Use zig zag stitches again.
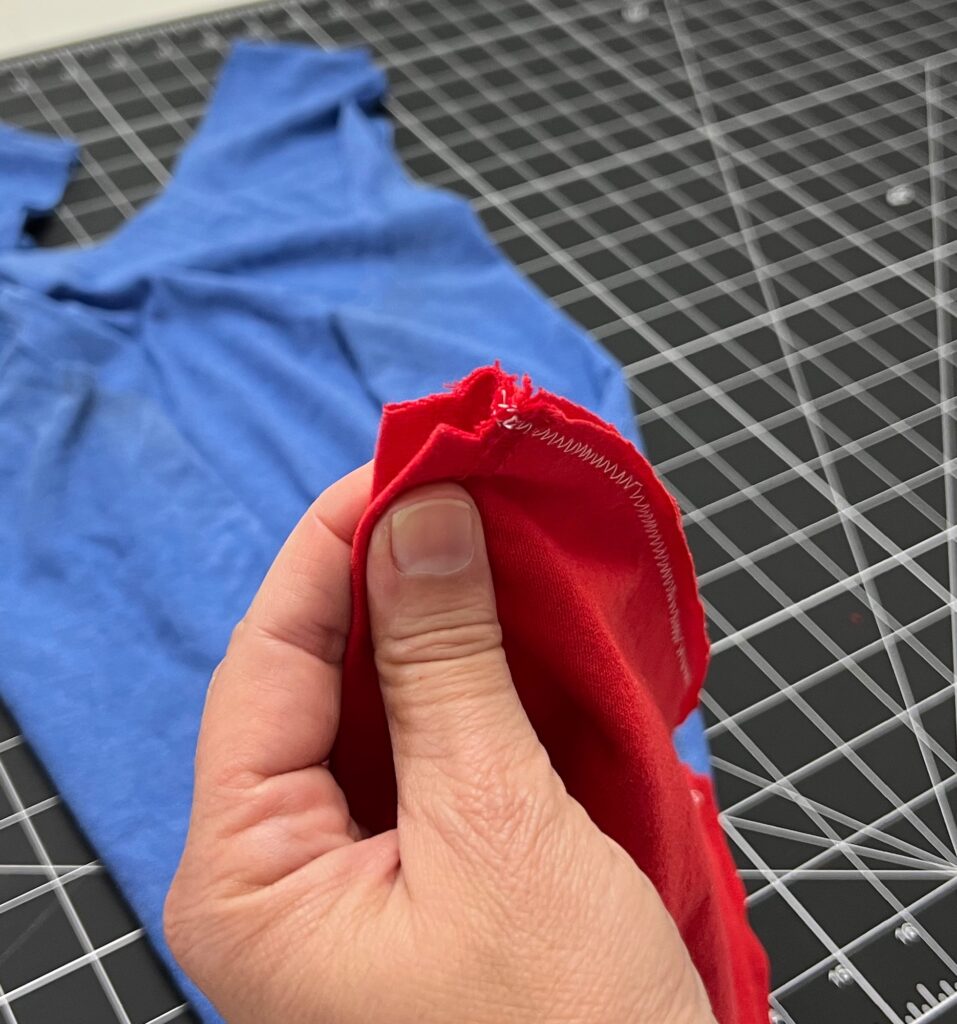
Now it’s time to cut small slits in the t-shirt sleeve hems (the ones the t-shirt came with) to make the drawstring cord casings. These cuts will be on the natural folds of the sleeve, which are now the outer corners of the drawstring bag.
Using small sewing scissors, cut through the folded hem up to the stitching but do not cut through the stitching.

Make one cut on each folded edge. On one of the edges you will have the stitched seams, which will be bulky and not allow you to pass a cord through the casing. Cut away the stitching, making a very small square to remove the bulk.
Cut two lengths of cord or ribbon for the drawstrings. For the measurement, lay the ribbon across the top of the drawstring bag. Double that measurement then add 2 inches.
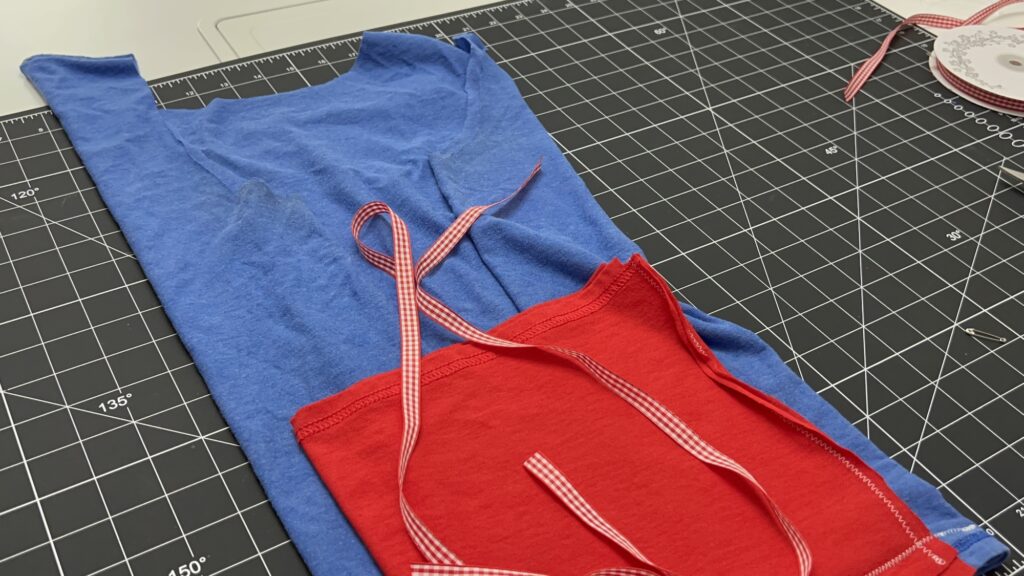
Using one piece of ribbon, attach a small safety pin to the end.

Insert the safety pin through one open end of a casing. Using a push then pull method, work the safety pin through the casing to come out the other side.
Be sure to hold on to the other cut end of the ribbon so that you don’t accidentally pull it completely through the casing!
Once the safety pin has been drawn through one casing, put it into the other casing and use the same method to draw it through. Once the safety pin comes out the other side, adjust the gathers on the bag so that you have the long ends of the ribbon hanging out. Then tie the ends of the ribbon in a knot.
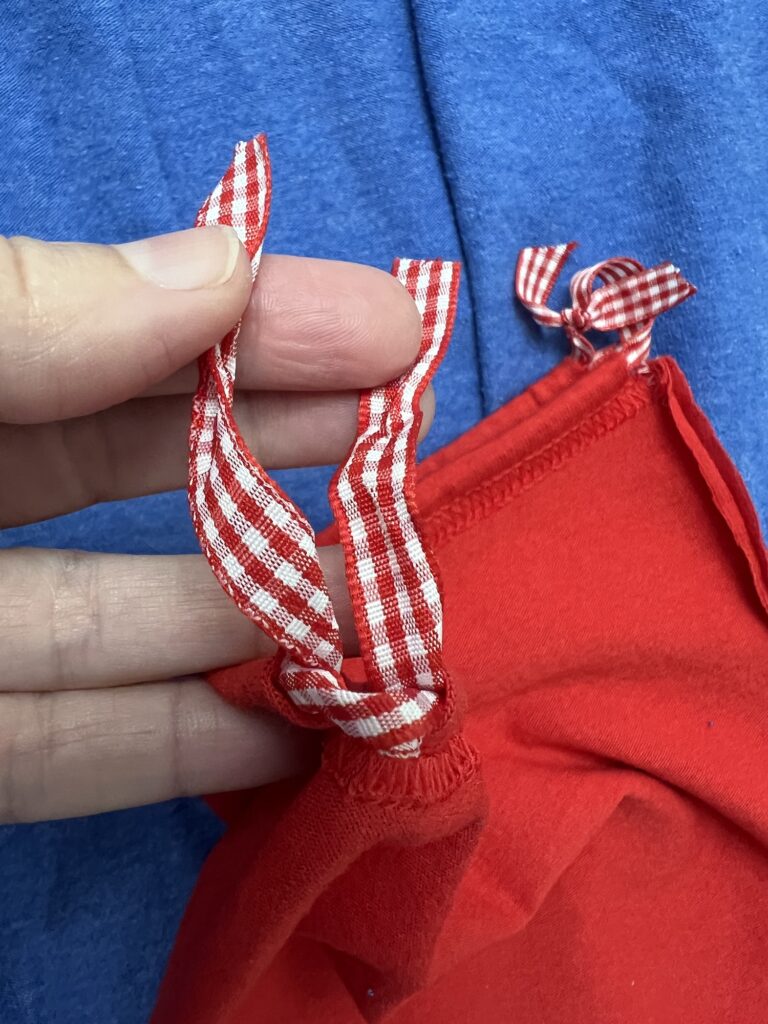
Repeat this same process using the other piece of ribbon. Insert the safety pin into a casing on the side with the folded ribbon going through the casings (not the side with the knotted ribbon).
Optional: You could just use one piece of ribbon if you choose to have just one drawstring.
Your bag is now done.
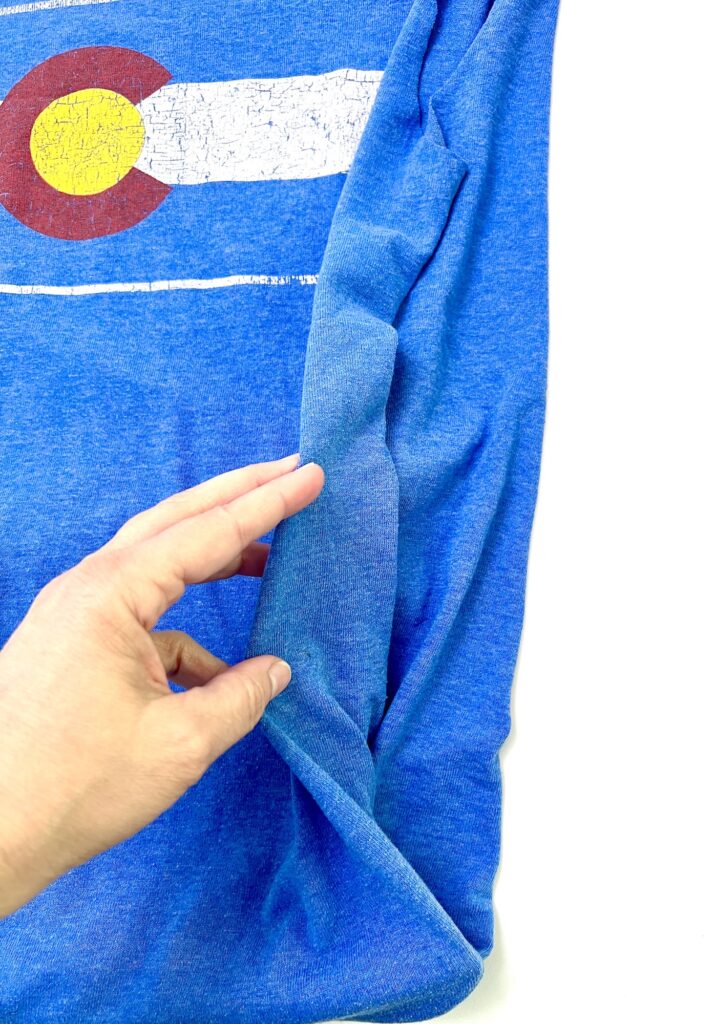
Turn the bag inside out to use. The small pouch will lay on the bottom of the bag when it is in use.
The pleats on the sides of the bag will expand as you put weight into it.
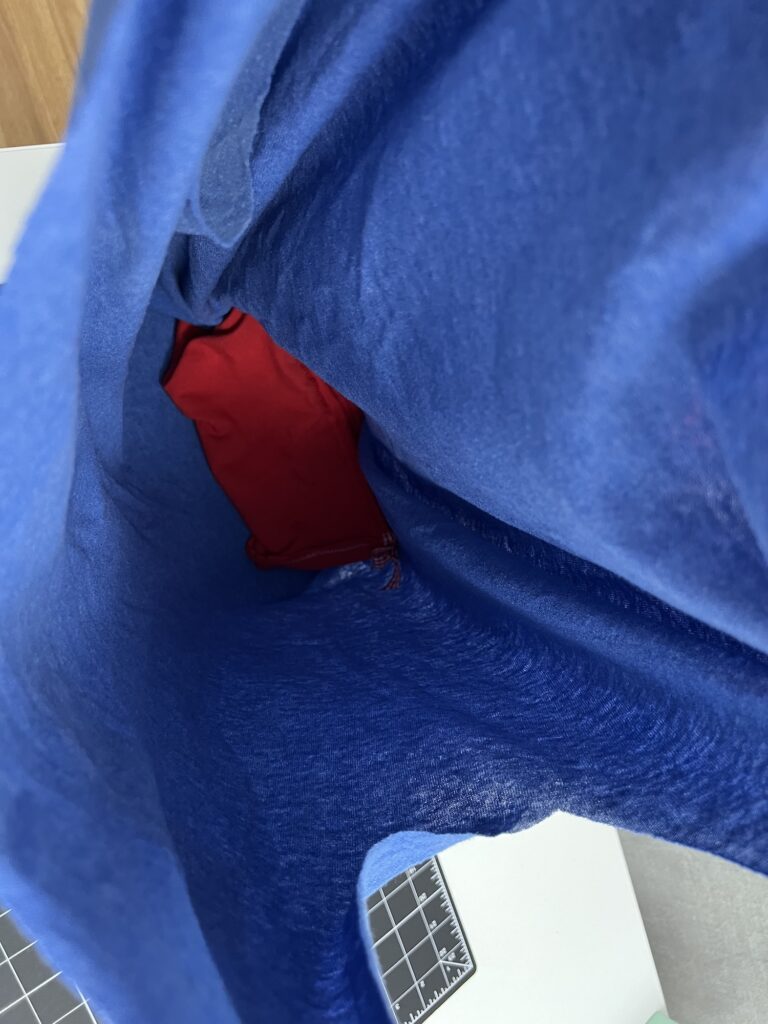
To store the tote bag in the attached storage pouch, turn the tote bag inside out. Then turn the attached storage pouch inside out and stuff the t-shirt tote bag inside.
Watch me make this t-shirt bag in our YouTube tutorial below:
Pin This Idea to Remember for Later!
This is just one of our many sewing projects that cost less than $1 to make and a fun summer sewing project!