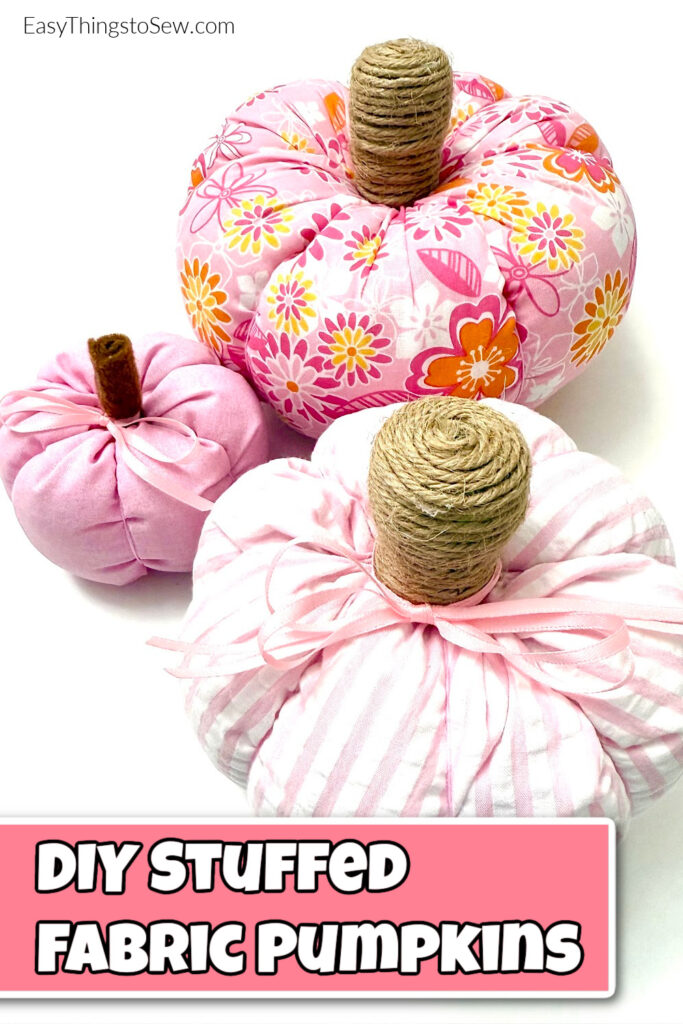
DIY Fabric Pumpkins
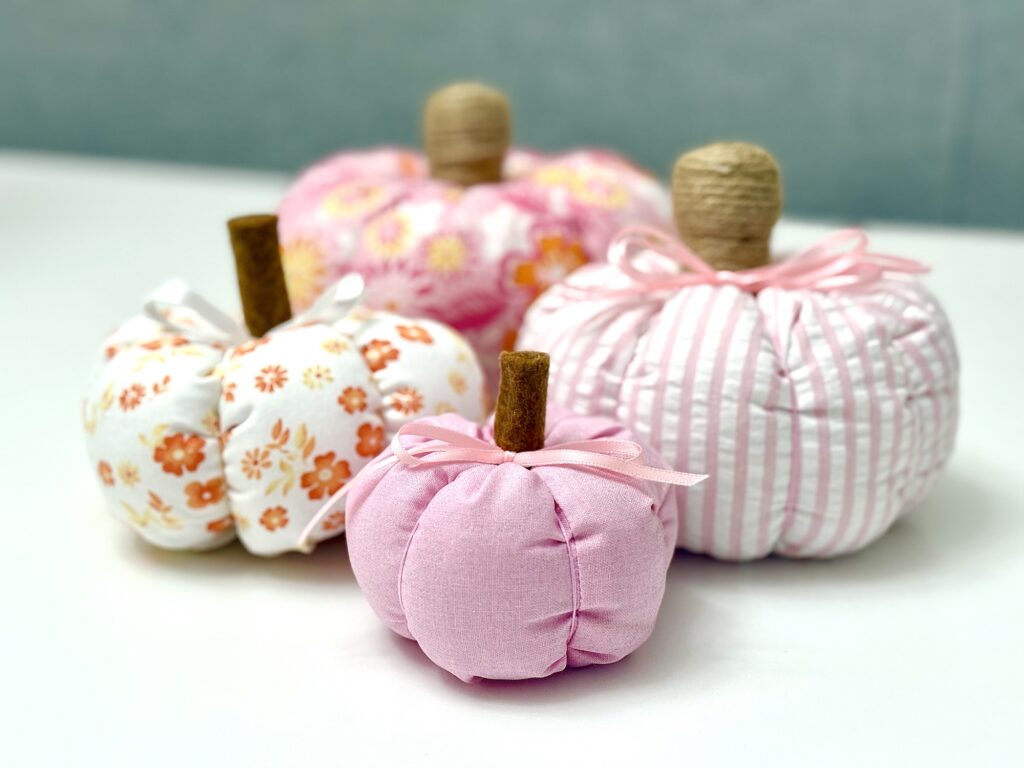
These quick and easy fabric stuffed pumpkins can be made in any size and with whatever material you want! They are the perfect way to make custom fall decor in your favorite colors!
We used cotton fabric, but you can also use velvet, satin, jersey, flannel or old sweaters!
Be sure to see all of our Halloween sewing projects!
REALLY, REALLY IMPORTANT TIP: You will save yourself so much stress if you use a long tapestry needle rather than a small sewing needle. If you don’t have one, you can still get this sewing project done, but a tapestry needle is definitely a great investment for this project (and others)!
Our easy stuffed scarecrows use a similar sewing method, so you can easily make both of these sewing projects!
How to Make Fabric Pumpkins
Watch me make these pumpkins in my YouTube video found at end of these instructions.
Supplies
- Fabric
- Stuffing or Polyfill
- Heavy-Duty Thread
- Tapestry Needle
- Embroidery Floss
- Faux Pumpkin Stem (such as a wine cork, felt roll, etc.)
- Hot glue gun
- Optional: Embellishments (leaves, flowers, ribbon, etc.)
Directions
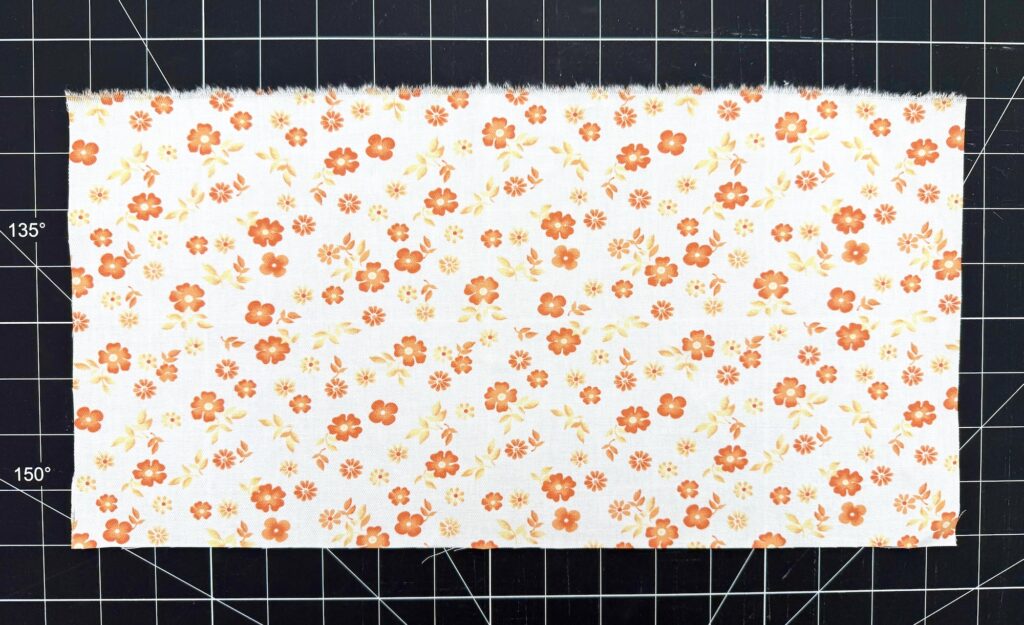
Step 1
Cut a rectangle of fabric. The length should be twice the width.
I used 8 inches wide X 16 inches long fabric.
Other good sizes for fabric rectangles are:
- 5″ X 10″ (perfect for scrap busting sewing projects!)
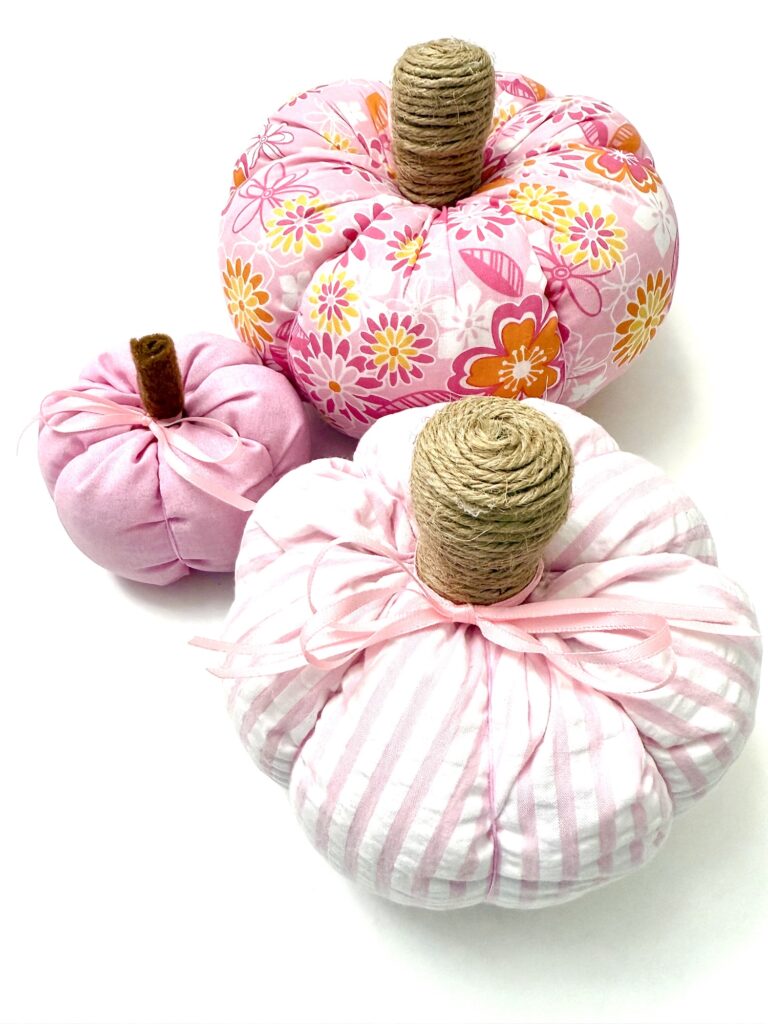
- 6″ X 12″ (the size of the small pink pumpkin in my photo)
- 10″ X 20″ (the size of the retro floral pink pumpkin in my photo)
- 12″ X 24″
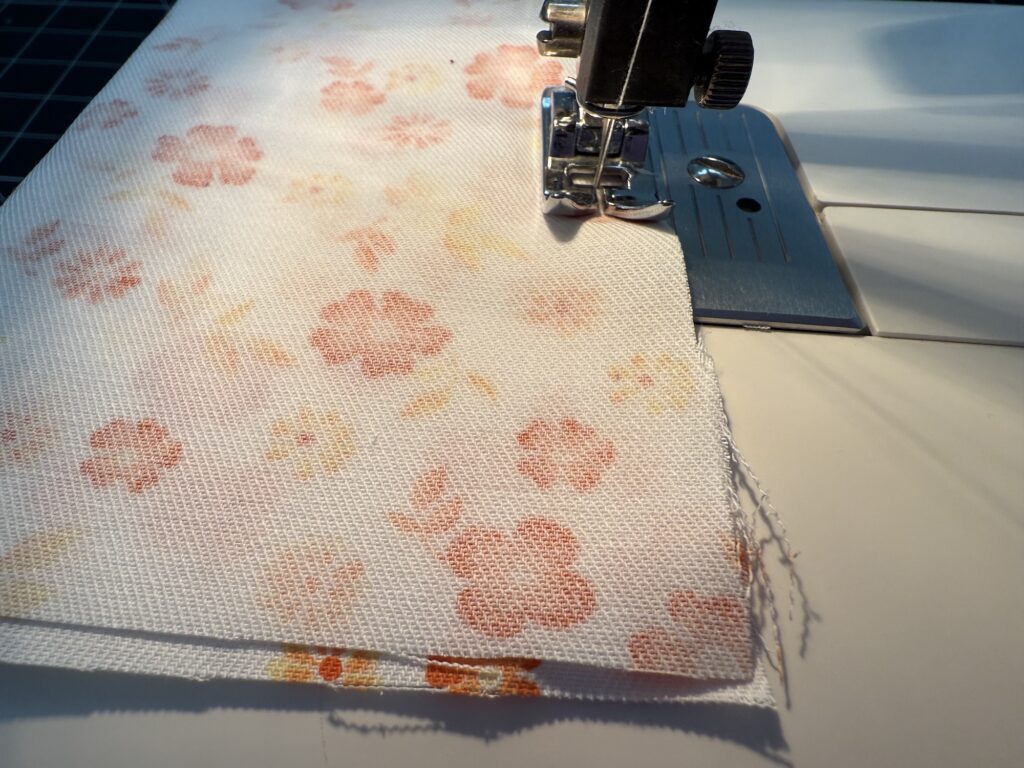
Step 2
Fold the fabric in half, matching the short sides, with right sides together.
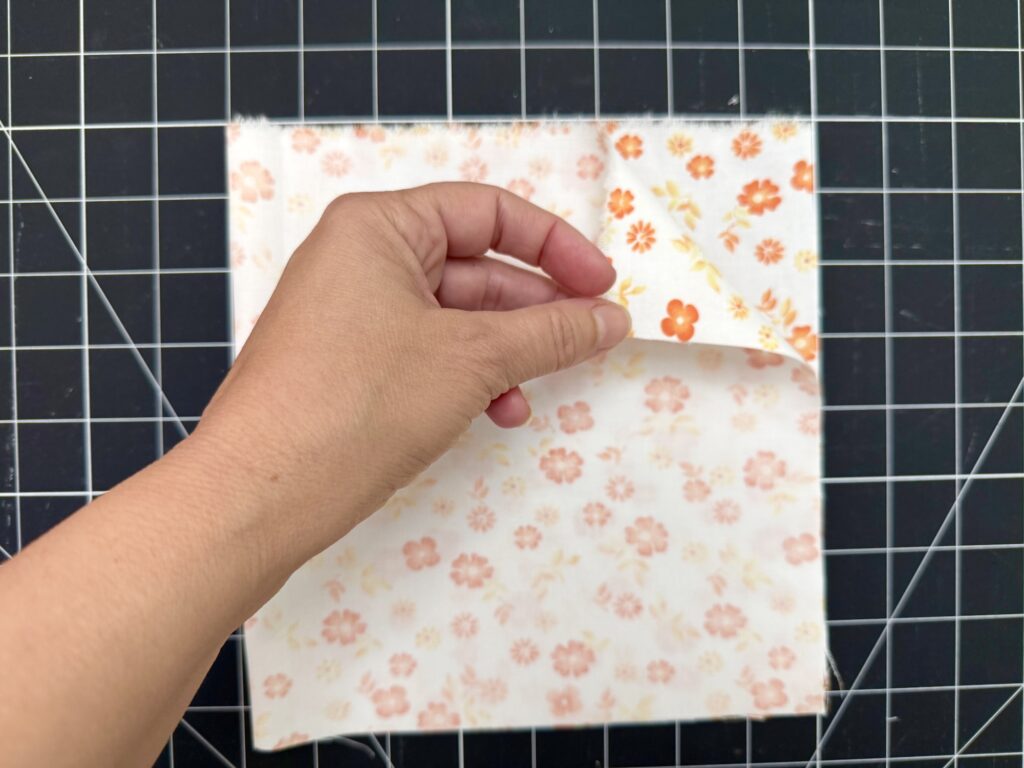
Sew along the shorter sides with a ¼ inch seam allowance. (You could hand sew this seam if you prefer.)
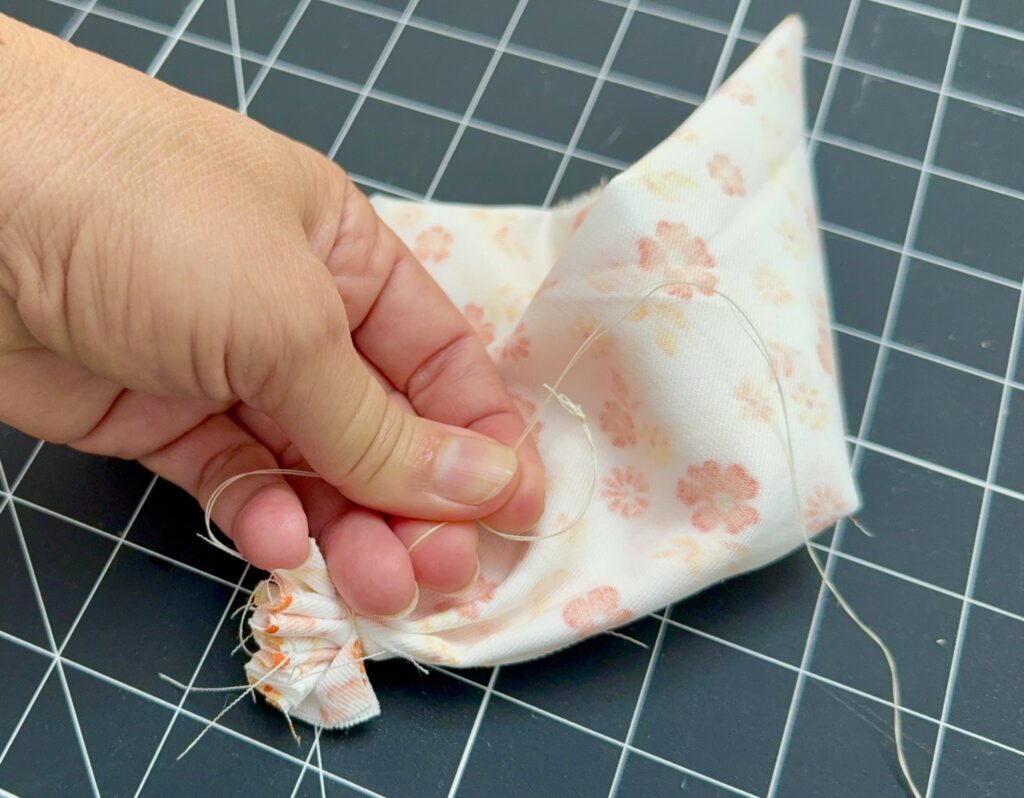
Step 3
Thread a hand sewing needle with a long piece of strong thread and knot the end. Begin doing basting stitches along one of the long edges, through both layers of fabric.
(The edge you choose will become the base of the pumpkin, so if you are using a directional fabric, keep that in mind.)
Stitch long, straight stitches at least ½ inch down from the fabric edge. Continue until you get to the other side of the fabric. Remove the thread from the needle but do not cut.
On the knotted side of the thread, pull out a few inches of thread to make a tail. Now you should have thread tails on either side of the fabric.
Pull on the thread to gather the fabric. Once it is gathered tightly, wrap each side of the thread around the base of the gathers several times (going in opposite directions)and pull snuggly. Then knot the threads together to secure.
Step 4
Turn the fabric inside out. Now, do another basting stitch along the fabric edge. This time, only sew through one layer of the fabric all the way around.
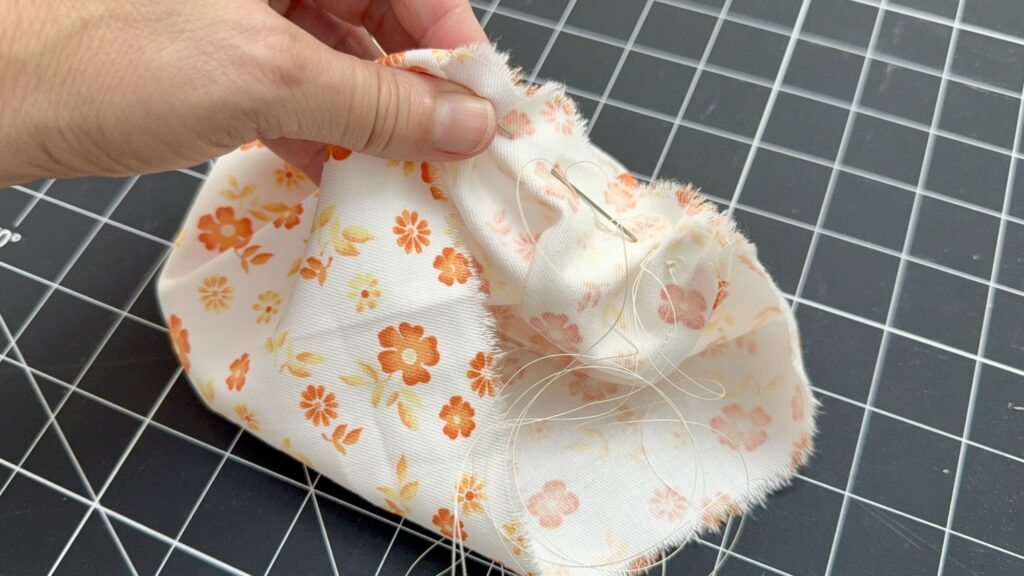
Just like before, gently pull on the threads to slightly start gathering the fabric to make a circle.
Step 5
Add stuffing or Polyfill into the middle of the pumpkin form, stuffing until reaching the desired firmness. You may need to gather the stitches together more tightly every now and then to keep the stuffing inside and not falling out.
Once the pumpkin is stuffed, pull on the threads to close the opening on top of the fabric pumpkin. This can be a little challenging, especially if you have a really stuffed pumpkin, but just keep pulling until there is no opening in the top of the fabric and it is all gathered together.
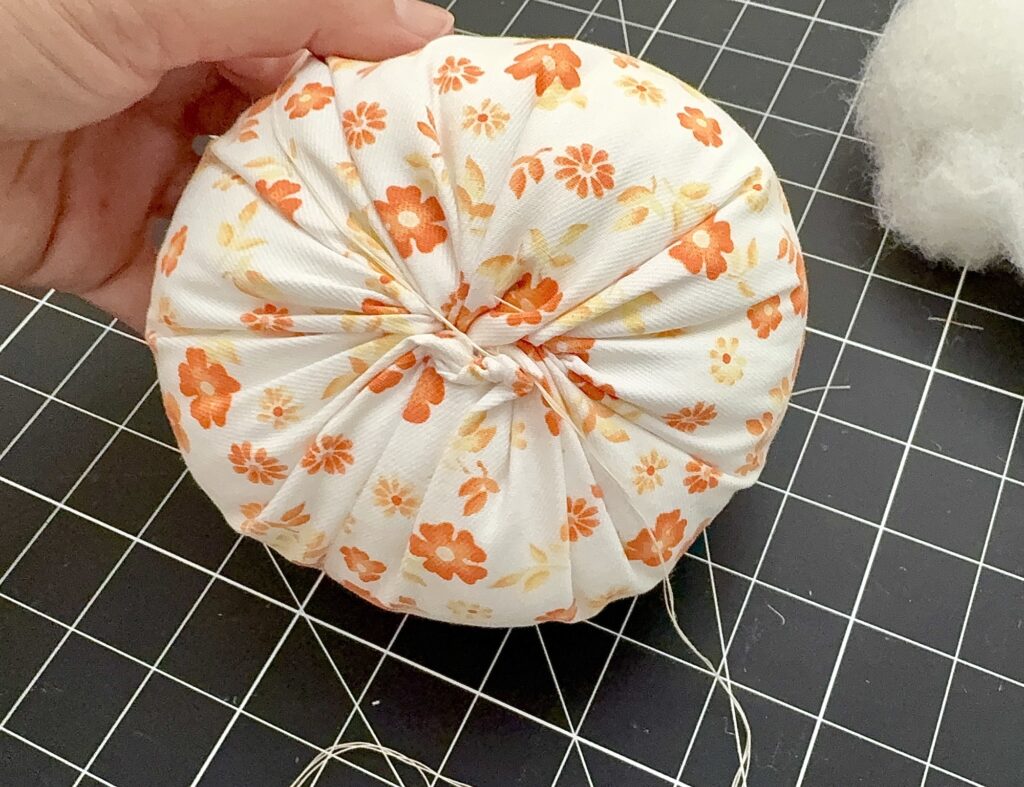
Tie a knot with the threads to secure. I suggest doing at least 3-4 knots.
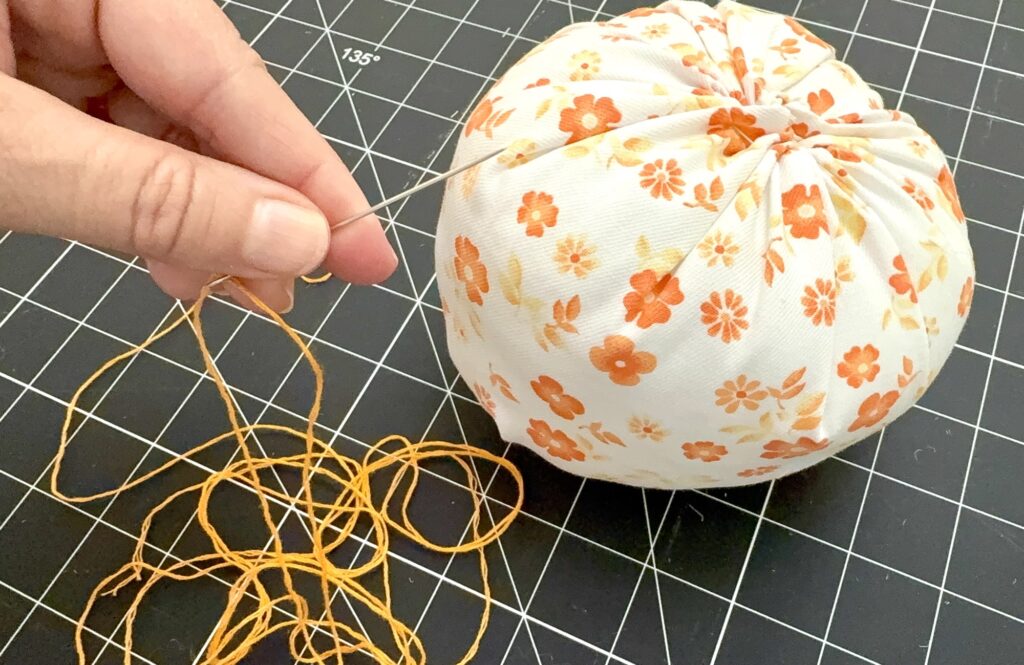
Step 6
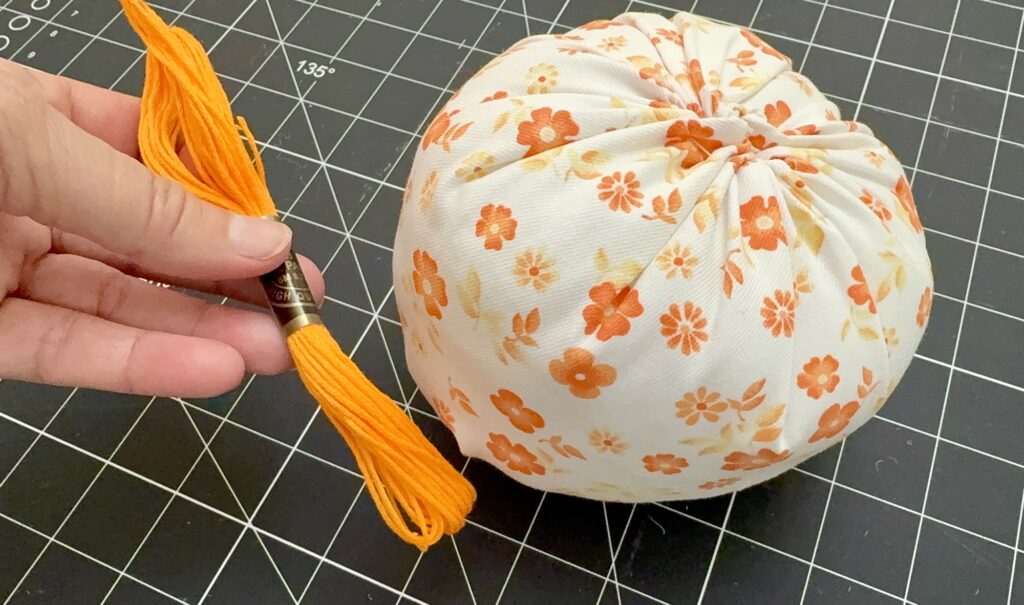
Cut a really long piece of embroidery floss (you are going to use a lot!) and thread on a tapestry needle. Knot the end.
Insert the floss through the center of the bottom of the pumpkin. Push the needle through the pumpkin until it comes up through the center of the top of the pumpkin.
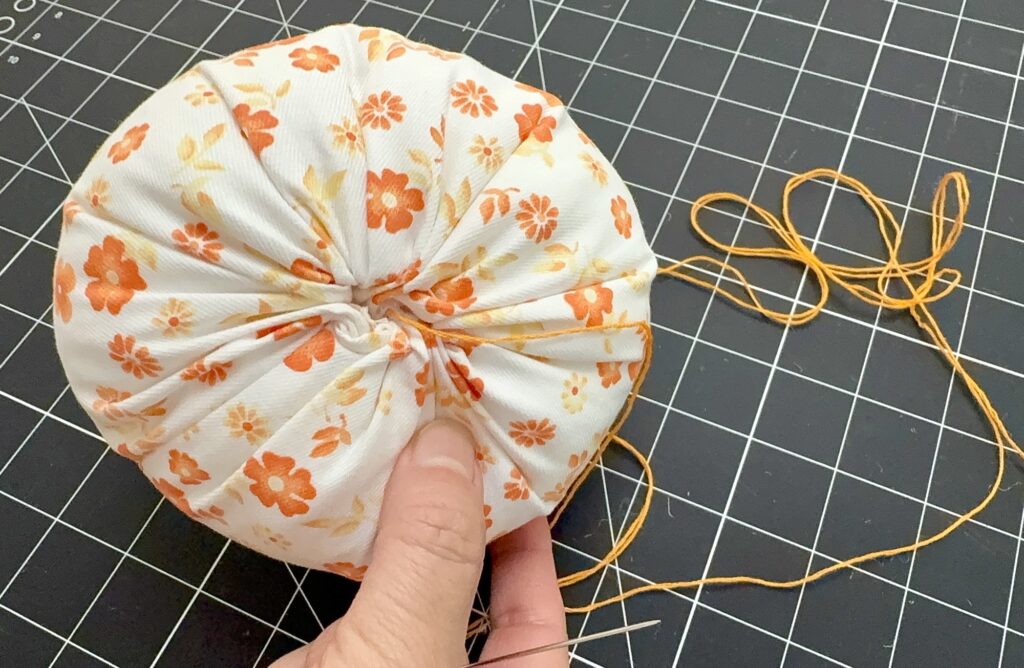
(Sometimes you will need to push down on the stuffed pumpkin to get the needle to come out. It can be helpful to use pliers to pull out the needle for larger pumpkins.)
Wrap the floss from top to bottom on any side of the pumpkin, then insert the needle through the base and push it through to the top, again. Once the needle has come back through the top, pull on the floss to make an indentation in the fabric.

Repeat this process over and over until you have made as many pumpkin indentations as you would like. Usually 6-8 indentations are good.
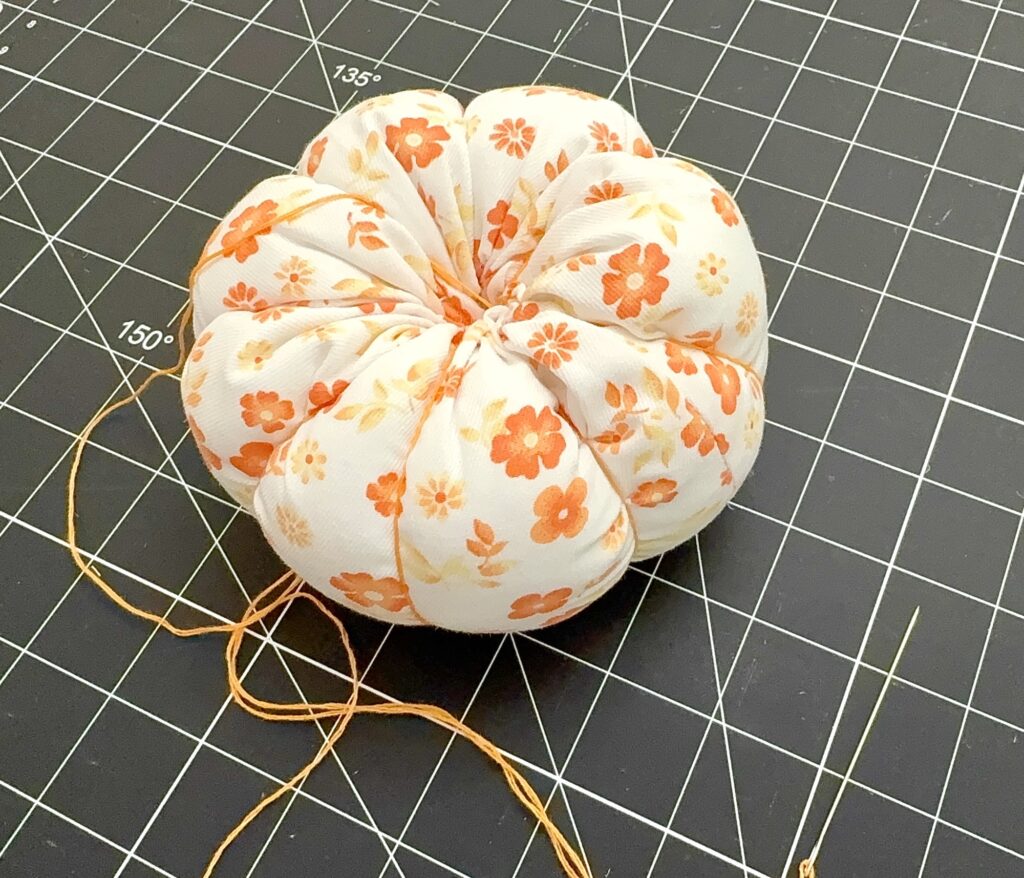
Knot the floss and cut off the ends.
Step 7
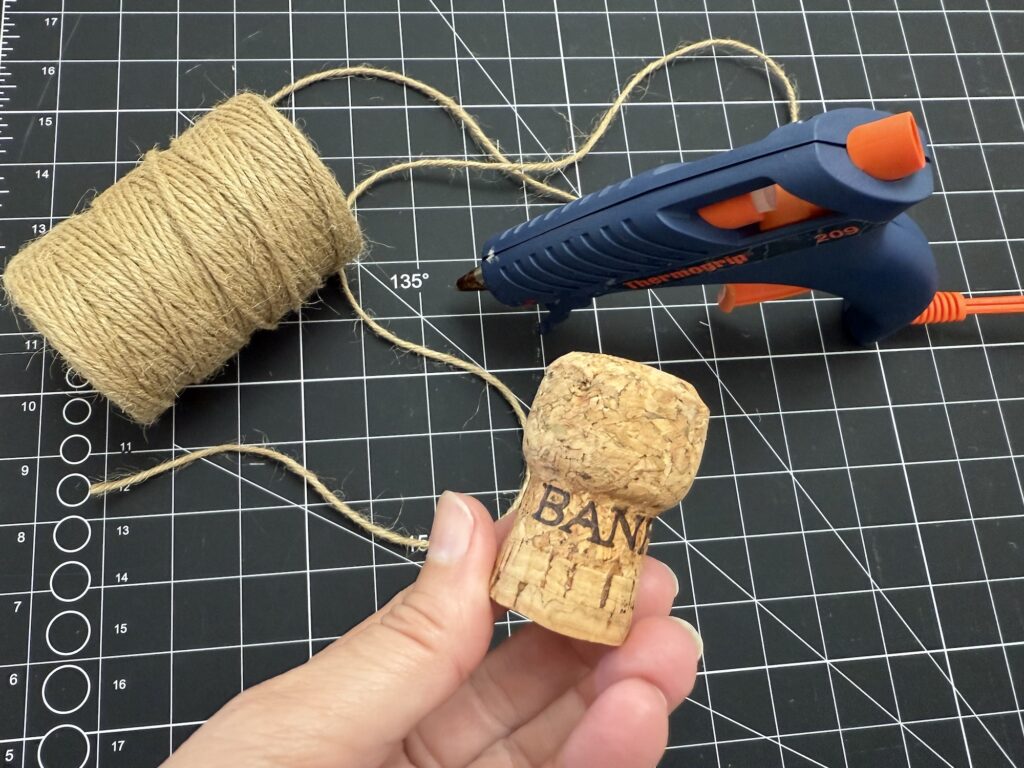
Hot glue a pumpkin stem to the middle of the pumpkin, covering the gathered top of the pumpkin. You can make a faux pumpkin stem by wrapping twine around a wine cork, rolling a piece of brown felt into a stem shape, etc.
Optional: Add extra embellishments, such as flowers, leaves or ribbons tied around the pumpkin stem.
Watch me make these pumpkins in my YouTube video:
Be sure to Pin This sewing project to remember for later!
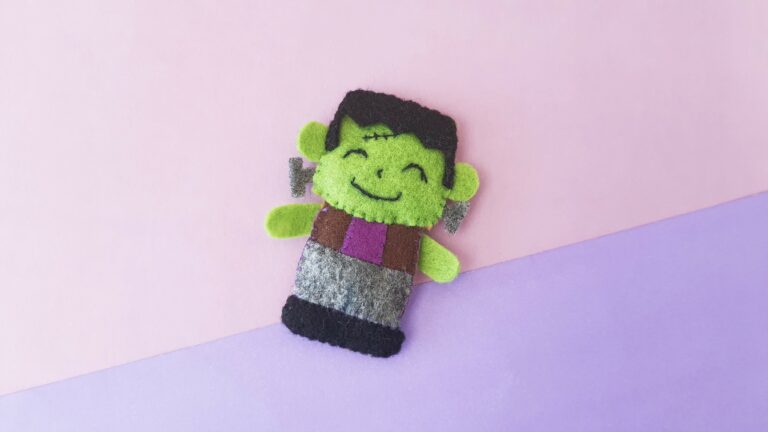
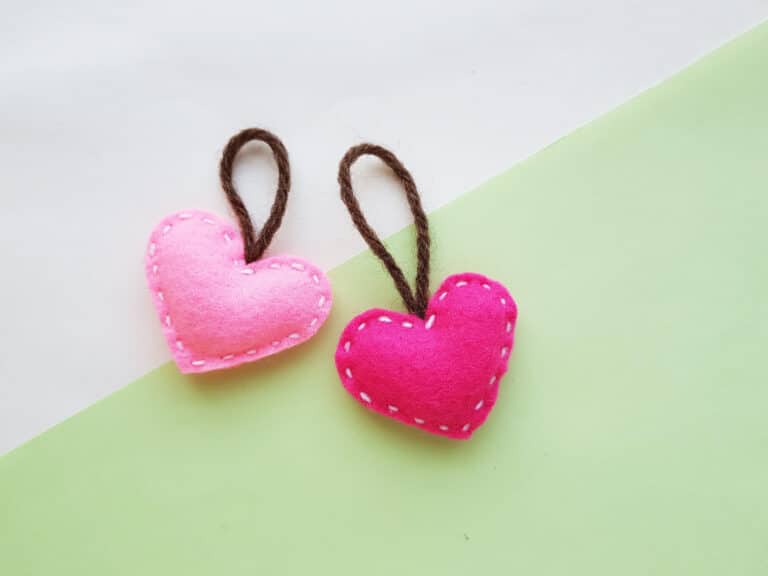
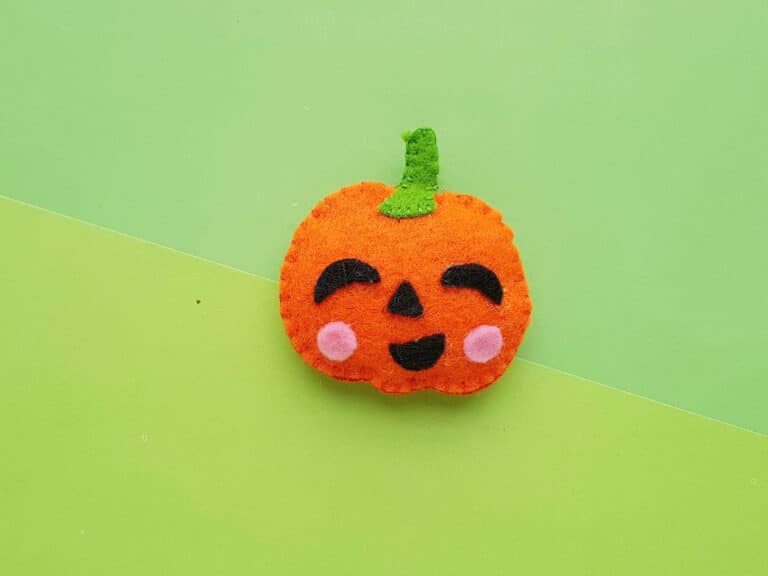
If you love pumpkin crafts, check out these easy felt pumpkin sewing projects:
The pumpkins are really cool! Looks like a fun project! Vivian
Thank you, Vivian! They are so much fun to make!!!