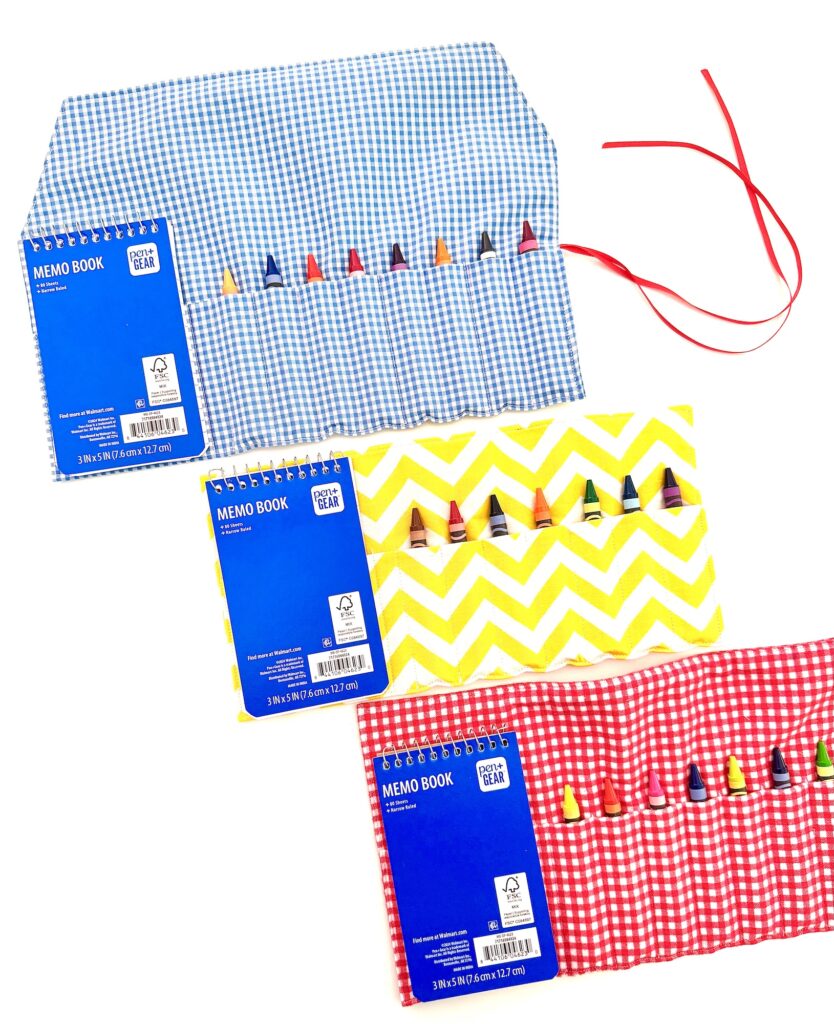
Crayon Roll with Notepad
This DIY Crayon Roll with Notepad Holder is the perfect way to keep children entertained! Tuck a crayon roll in your purse or bag and bring it out when the kids are bored and looking for something to do!
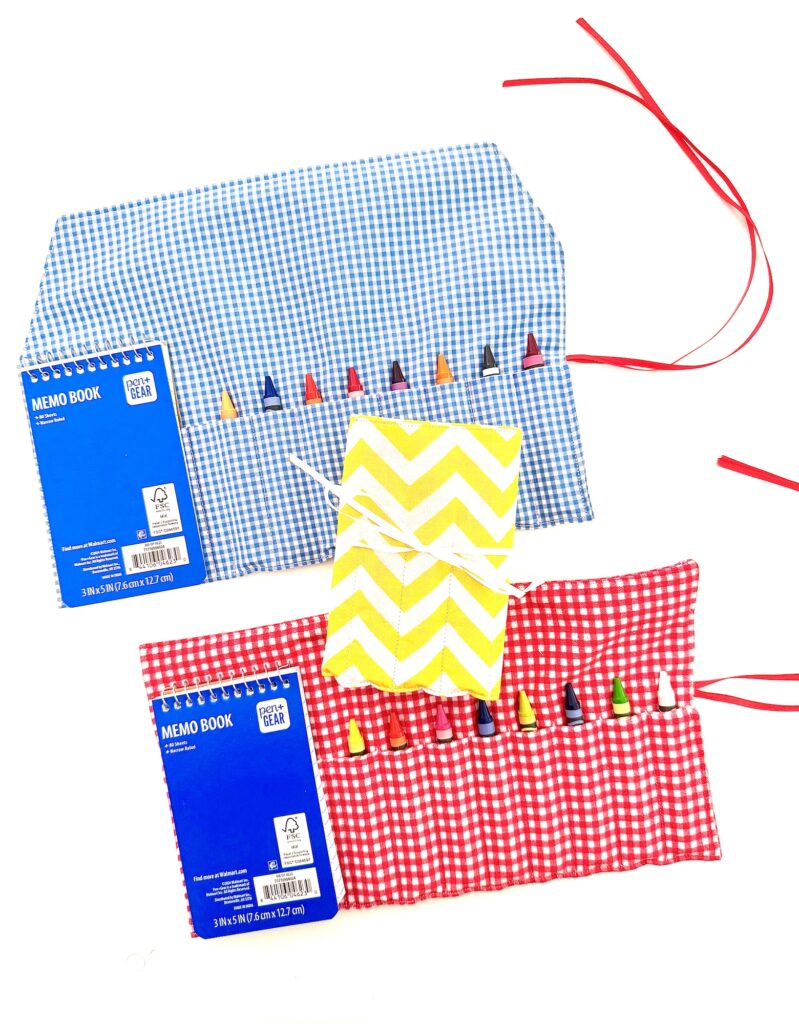
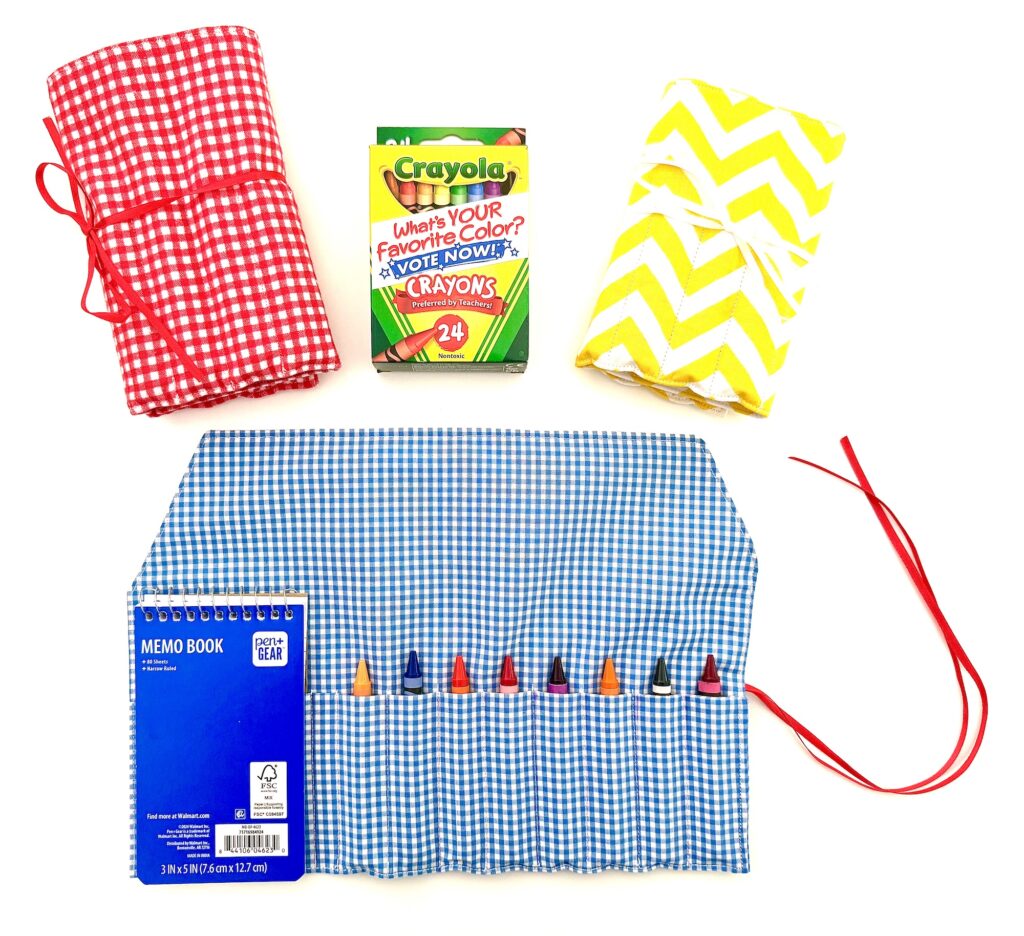
Our easy crayon roll holder sewing project has a mini memo pad and 8 crayon pockets, plenty of colors for lots of creativity!
This sewing pattern can be modified to have more or less crayons, and you can even add a flap. These modifications will be listed at the end of the post, giving you plenty of options to customize your own crayon roll with attached notebook.
These crayon rolls also make great stocking stuffers, kids gifts, or party favor ideas.
Use your wedding colors to make these for kids at your wedding to ensure quiet-play!
Of course, this notebook and crayons roll is ideal for travel, too, just like our DIY Roll Up Car Play Mat. No music, no sounds, no beeping, and no screens, just creative expression!
How to Sew a Crayon Roll with a Notepad
I used these 3 X 5 memo pads. For different colors, I would use these spiral bound memo books.
I like using a thin flannel fabric because it adds more grip to the crayon pockets. However, cotton works just as well!
Watch me make these crayon rolls in my YouTube video found at the end of these instructions.
Supplies
- Fabric (24.5 inches X 10 inches)(62 X 25 cm)
- Fusible Interfacing, Lightweight (24.5 inches X 10 inches)(62 X 25 cm)
- Ribbon (25 inches)(64 cm)
- Disappearing Ink Pen (or tailor’s chalk)
- Plastic Ruler or other type of straight edge
Directions
Step 1
Cut the fabric and the lightweight fusible interfacing.
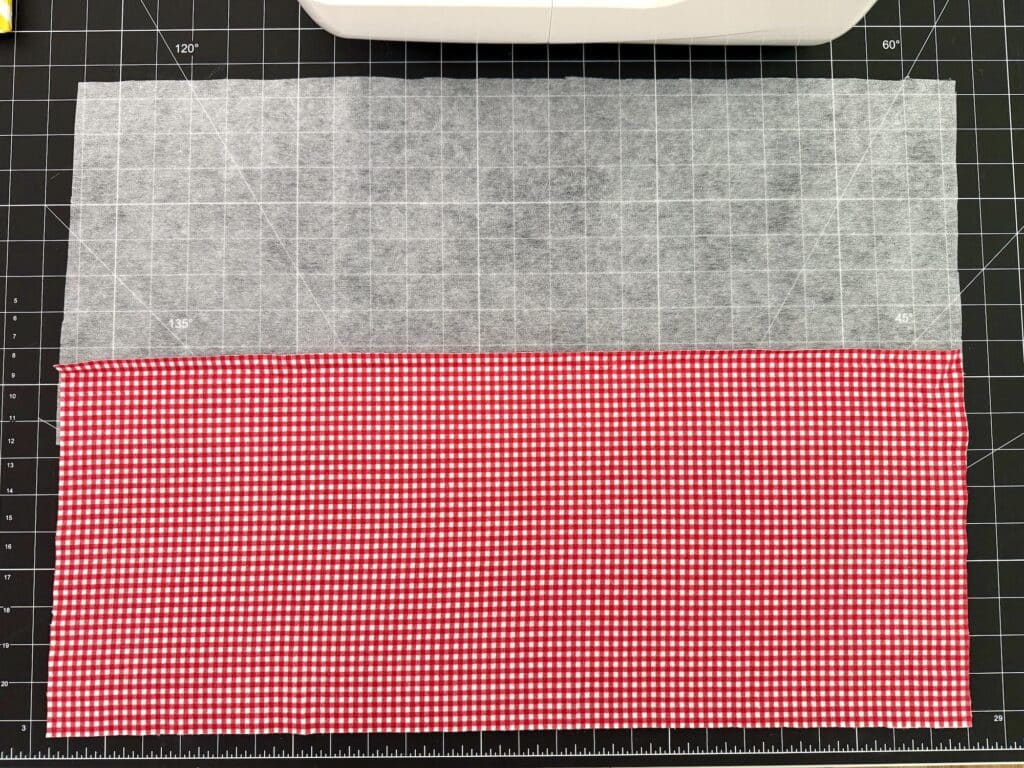
Apply the fusible interfacing to the wrong side of the fabric.
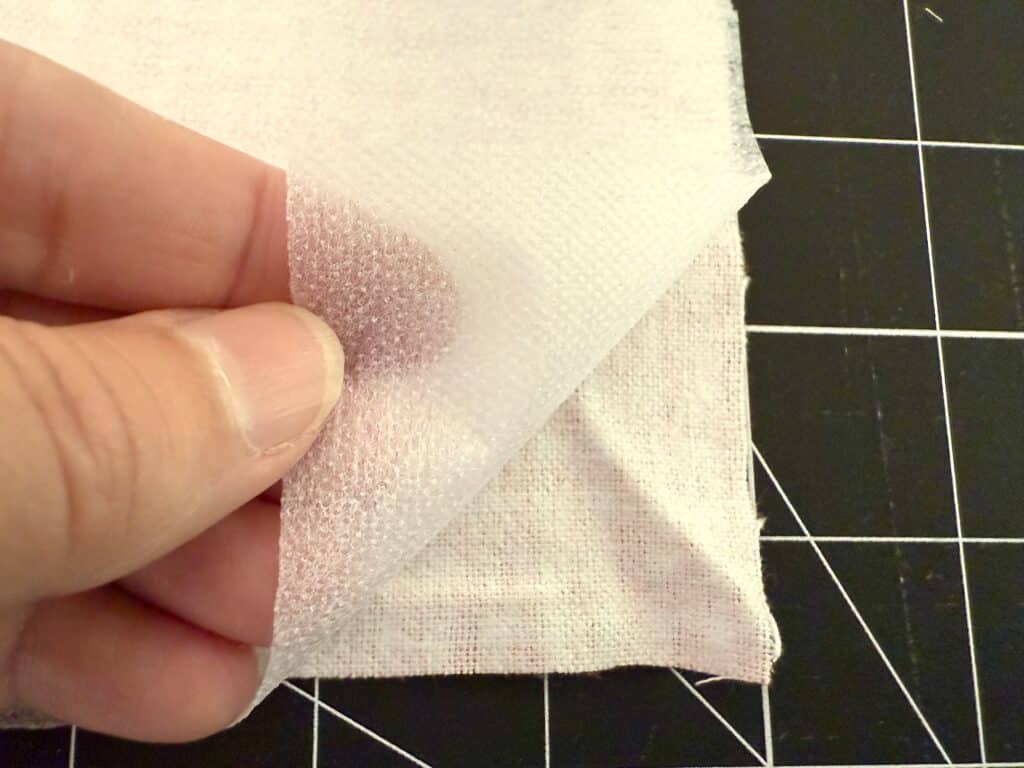
If you are new to using interfacing, see our Beginner’s Guide to Interfacing for important tips on applying it to fabric.
Step 2
Fold the fabric in half with wrong sides together to make a square-like shape.
Pin or clip the edges. Measure 2 inches down from the top, raw edge side and make a mark. Then leave a 2-3 inch gap and make another mark.
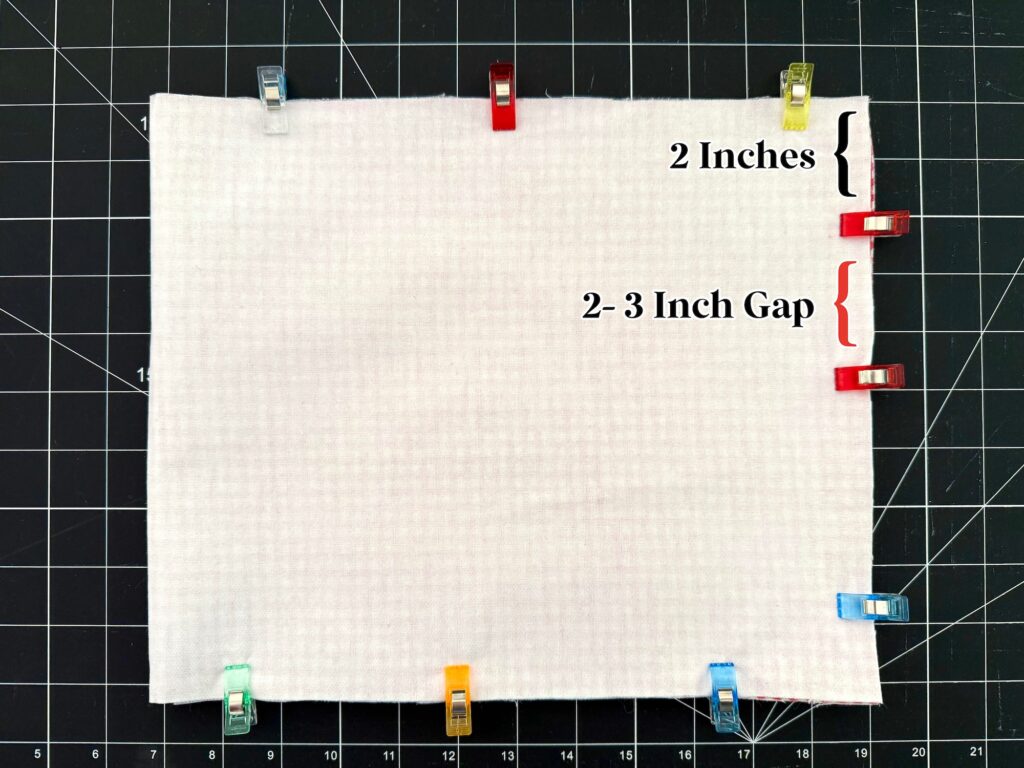
Sew around the cut edges using a ¼ inch seam allowance, but keep the 2-3 inch gap open. Be sure to backstitch on both sides of the open gap.
*You do not need to sew the folded edge unless you want to.
Step 3
Clip the corners on the stitched side to reduce bulk.
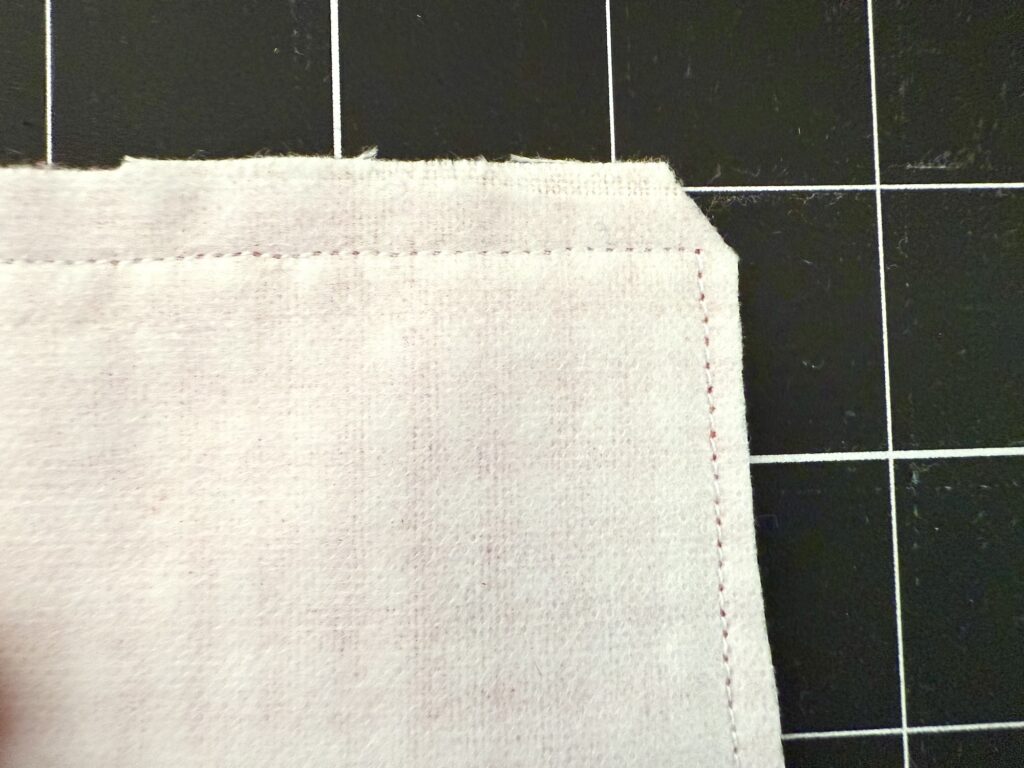
Turn the fabric inside out. Use a turning tool to push out the corners.
Fold the open gap edges under to match the rest of the seam allowance.
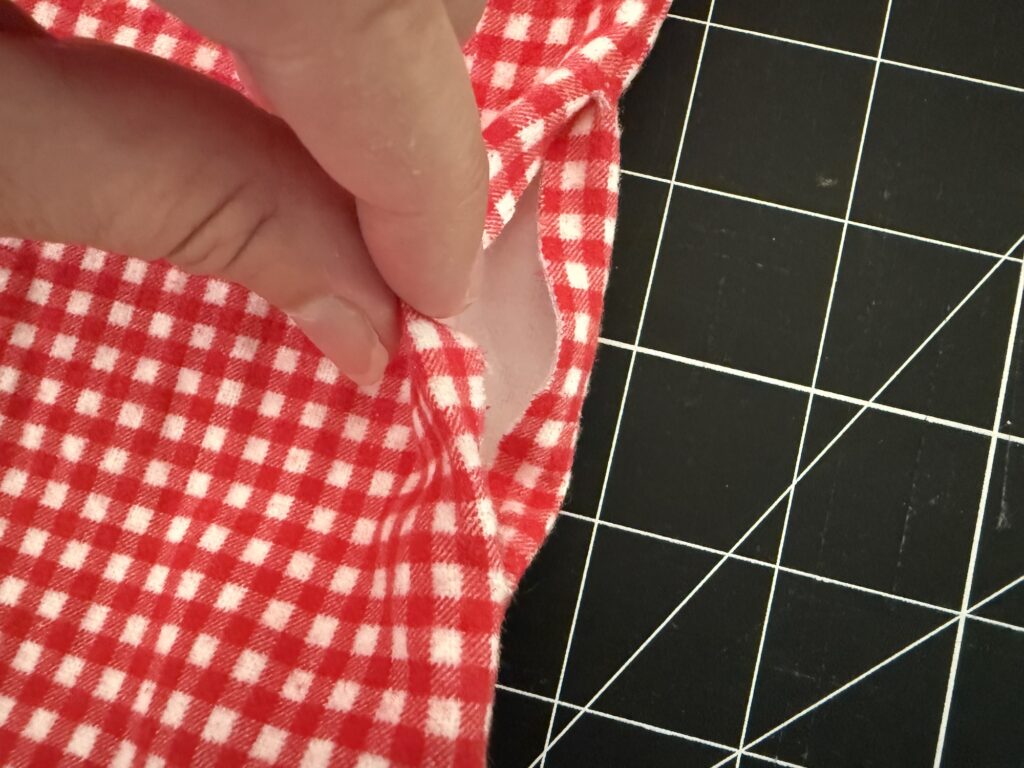
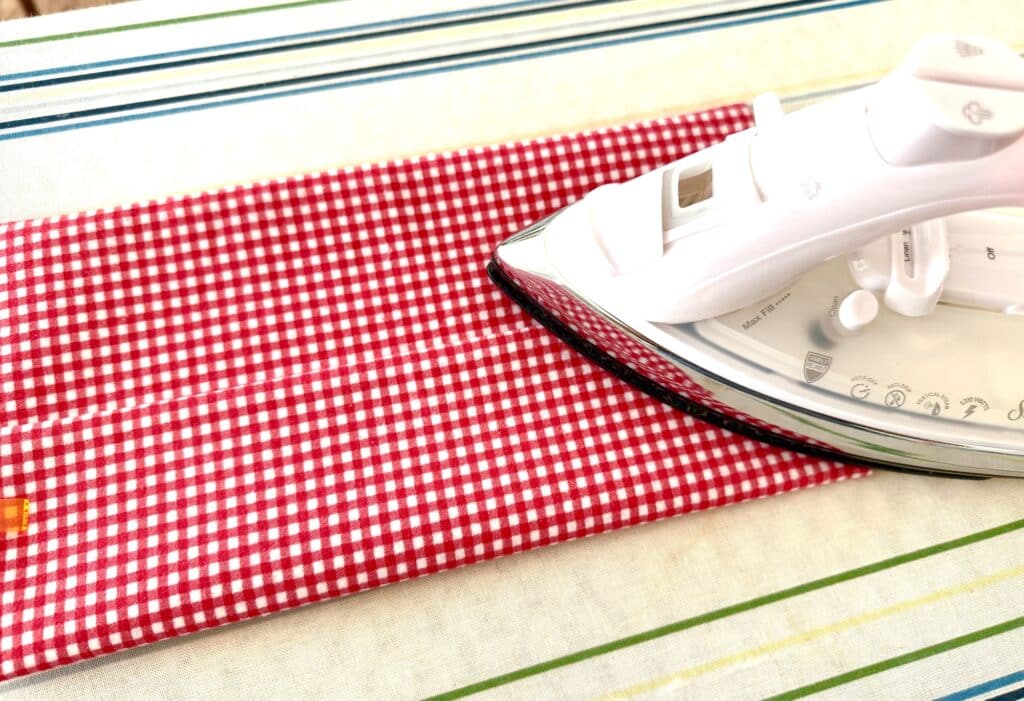
Using a hot iron, press the entire fabric piece.
Step 4
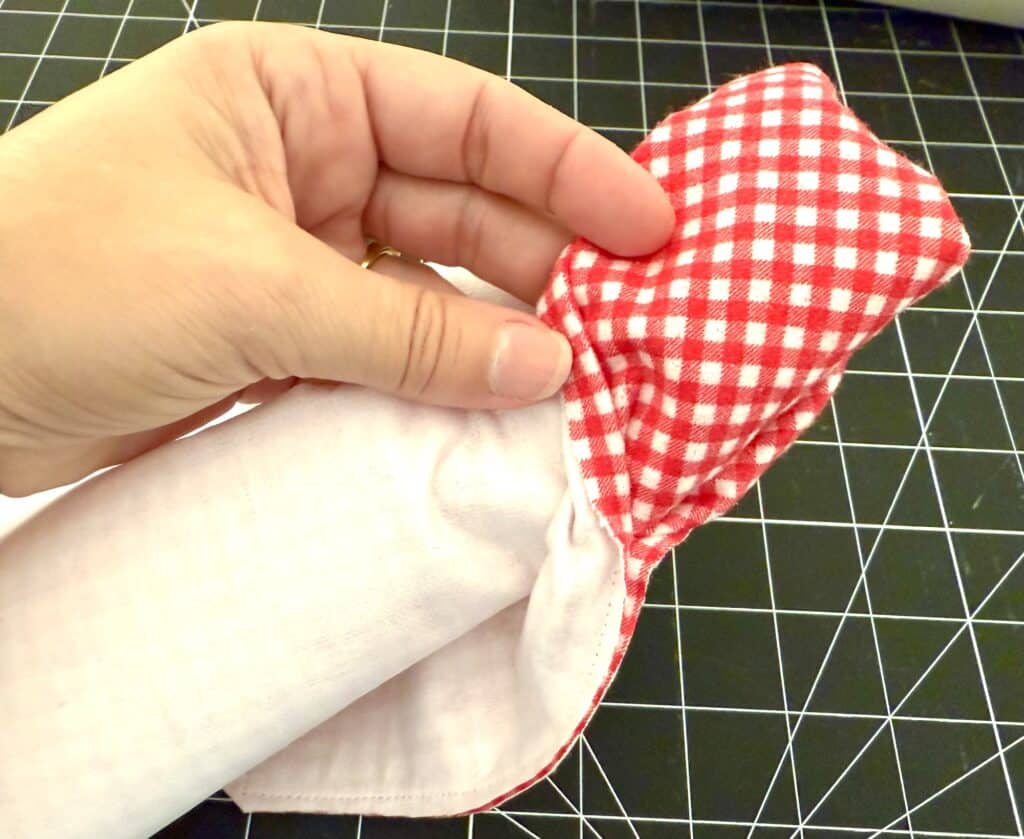
Place the fabric on a flat surface with the gap towards the top.
Fold the bottom of the fabric up by 3 inches. Measure on both sides just to make sure it is even!
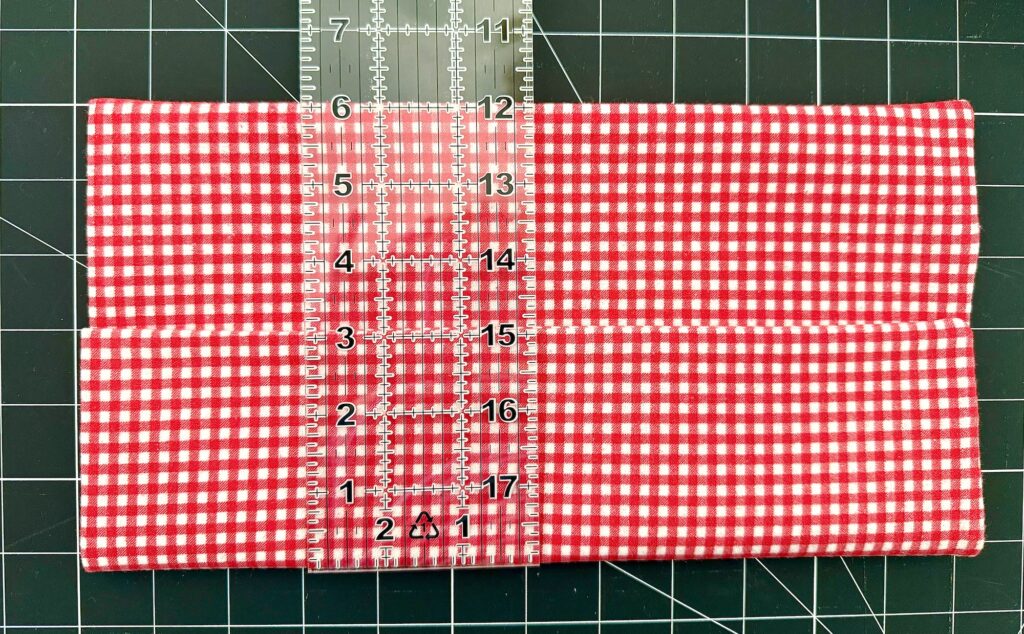
Clip the fabric in place. Then use a hot iron to press the folded fabric and make a crisp edge.
Step 5
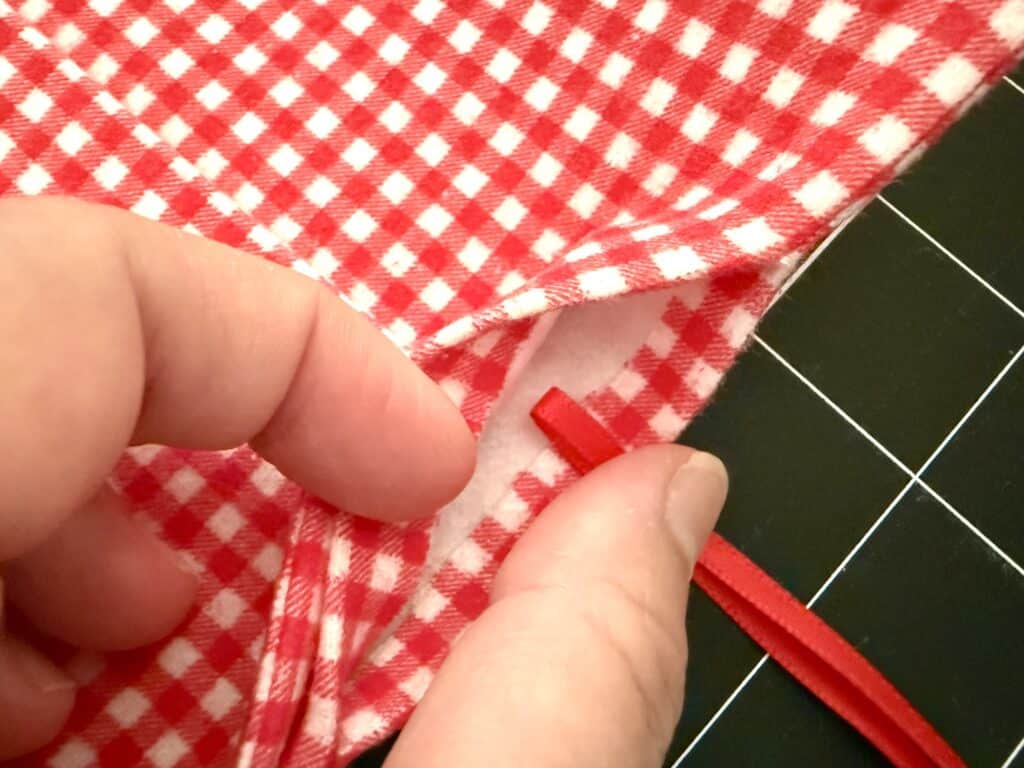
Fold the ribbon in half. Insert the loop end into the open seam allowance, just above the crayon pocket.
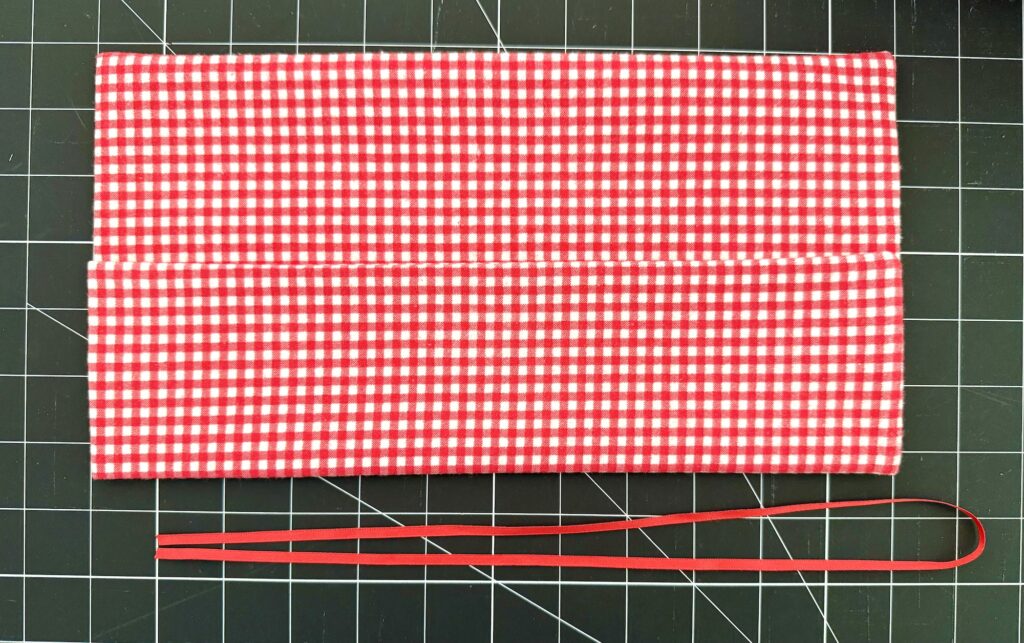
Be sure to insert the loop deep enough (at least a ¼ inch) so that you will sew over it when you top stitch the seam closed.
Step 6
Top stitch all the way around the fabric using a 1/8 inch seam allowance, whichever you prefer.
Keep in mind that the corners will be bulky with the fabric and interfacing, so sew slowly and you may need to hand crank your needle to get through the bulk, if necessary.
Step 7
Insert the cardboard back of the notepad into the pocket, pushing it close to the seam on the left hand side. Using a disappearing ink pen, draw a straight line on the pocket about 1/8 inch from the edge of the notepad back. Use a straight edge, such as a ruler, to draw the line.
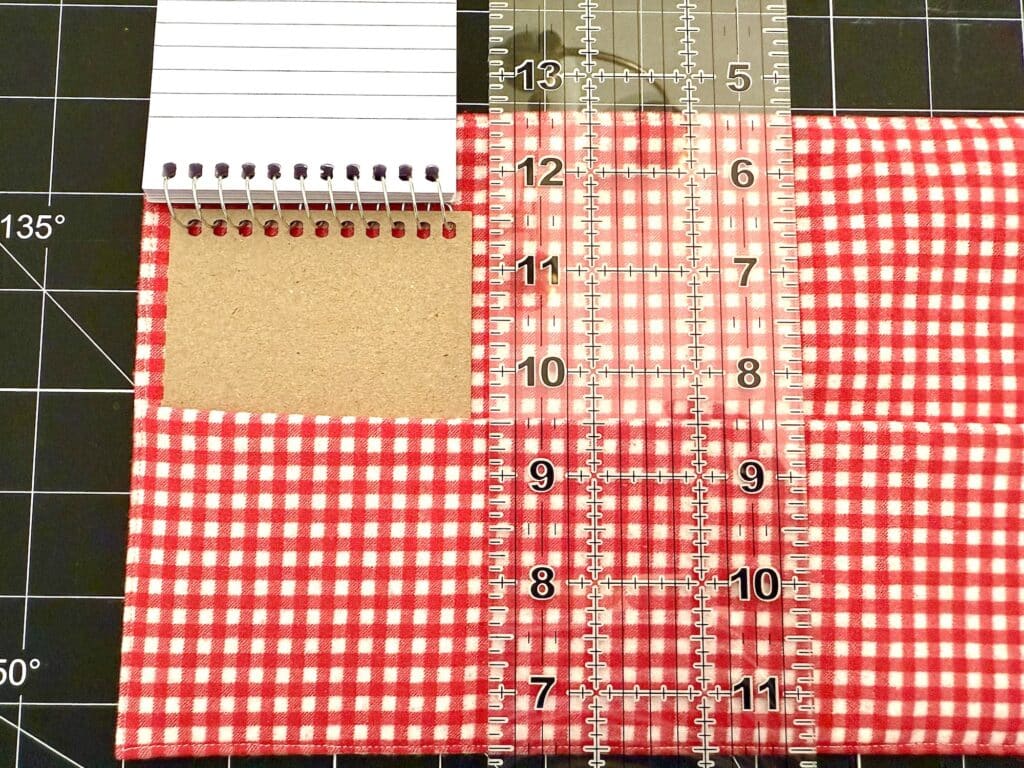
*My line is about 3 ½ inches from the left edge for the memo pads I used, however your pad may be smaller or larger so adjust as needed.
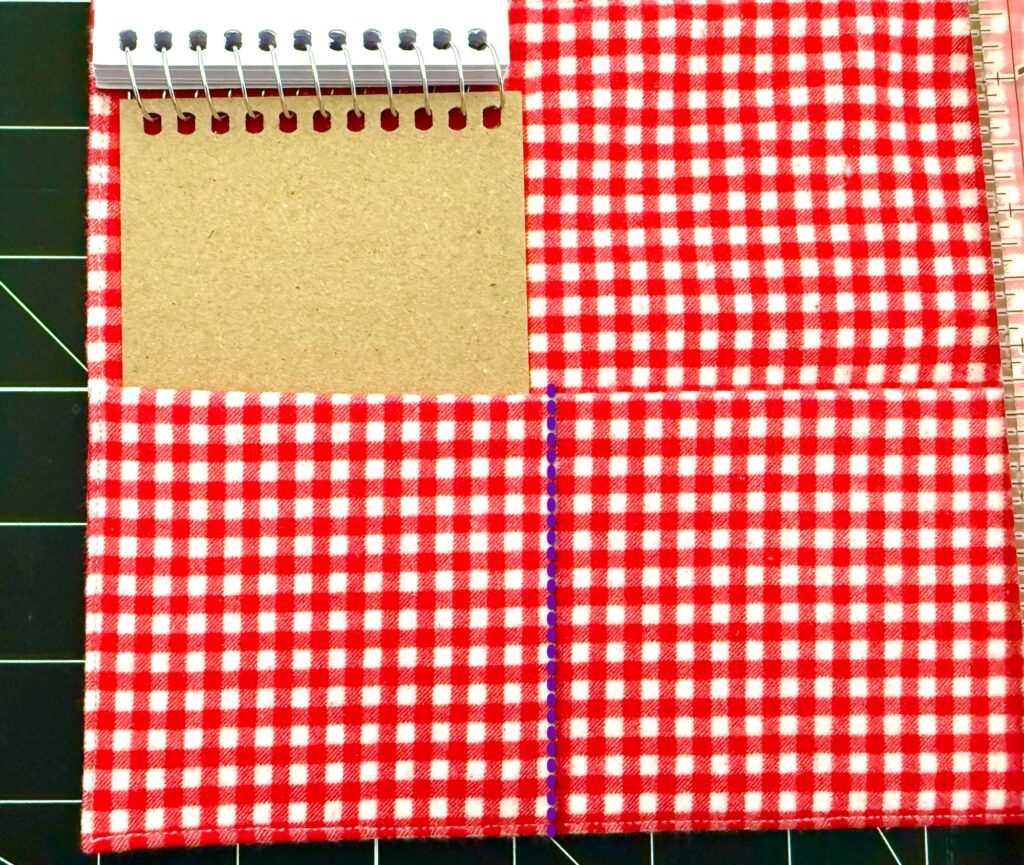
Now, from the right side, start measuring 1-inch increments from the stitched seam, not the edge of the fabric. Draw a line with the disappearing ink on the pocket only.
There may be a gap of fabric near the notepad that is not wide enough for another 1-inch crayon pocket. That will be okay if that happens.
Step 8
Sew along the ink lines starting from the folded edge on the bottom and working up, backstitching at the beginning and end. I did a few stitches past the top of the pocket.
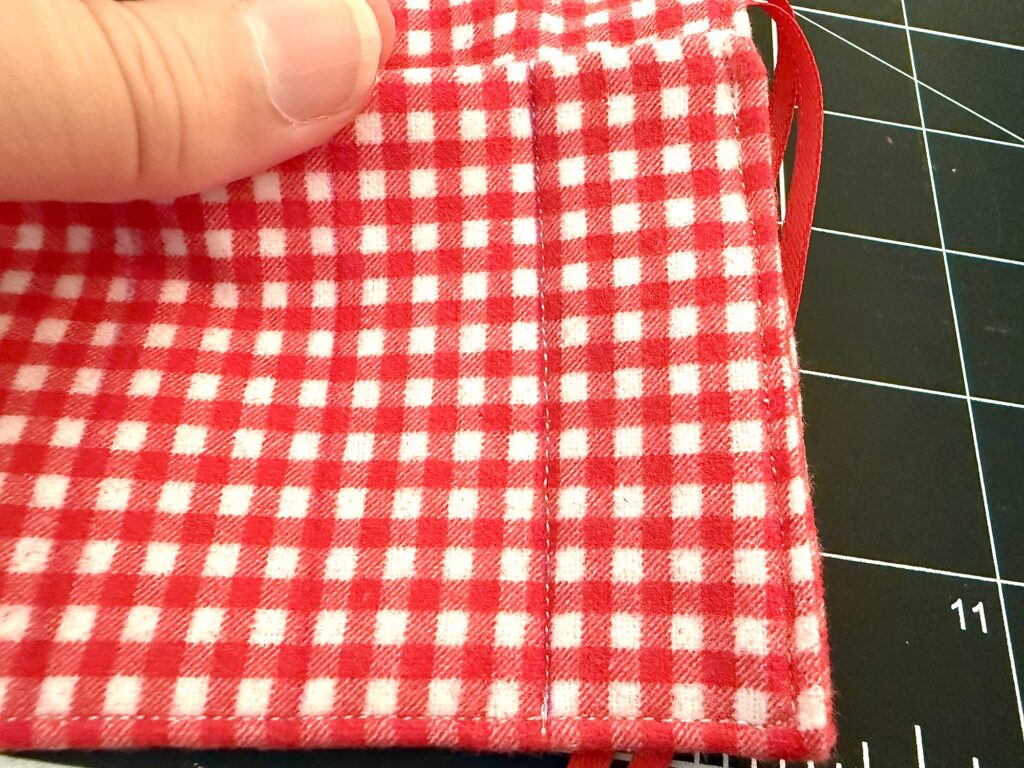
Disappearing ink will disappear on its own in a few hours. If you used ink that needs water or heat to erase, apply those now. If you used tailor’s chalk for the lines, remove the chalk dust.
Add your notepad and crayons. Then roll up and tie the ribbons in a bow to secure.
Modification to Add More Crayons
If you want to add more crayons to this roll, just add one inch of fabric for each additional crayon to the length of the fabric.
For instance, if you want to have 12 crayons, you will add another 4 inches (4 extra crayons in addition to the 8 crayon pockets in this tutorial) to the length, for a fabric piece that is 28 ½ inches X 10 inches.
How to Add a Flap to the Crayon Roll
We have not had a problem with the crayons or memo pad falling out of the crayon roll, especially when using flannel fabric. However, if you are worried about crayons falling out or you just want to add a finished edge to your sewing project, make these modifications:
- Increase the width of the fabric to 12 inches, rather than 10 inches
- When allowing for the open seam allowance in Step 2, measure down 4 inches rather than 2 inches.
- Slanting the top edges of the flap reduces bulk and allows the fabric to roll up more easily. (When you add the crayons the bottom pocket becomes more narrow while the top will still be wide.) That is why we suggest angling the fabric on the top.
- In Step 2, you will make a mark 3 inches down from the top edge and 1 ½ inches inward from the corner. Then use a straight edge to connect the dots, creating an angled line. Repeat the same process on the other side.
- Cut along the angled lines and sew a seam allowance as you would in Step 2. Be sure to trim off any bulk before turning the fabric inside out so that you can get crisp corners with your turning tool.
- All other directions are the same.
Helpful Tips
- If you are using a directional fabric, keep in mind that when you fold the bottom half up to make the pocket, the print will be upside down.
- I like using thin flannel fabric because it grips the crayons and notebook just a little bit better than quilter’s cotton.
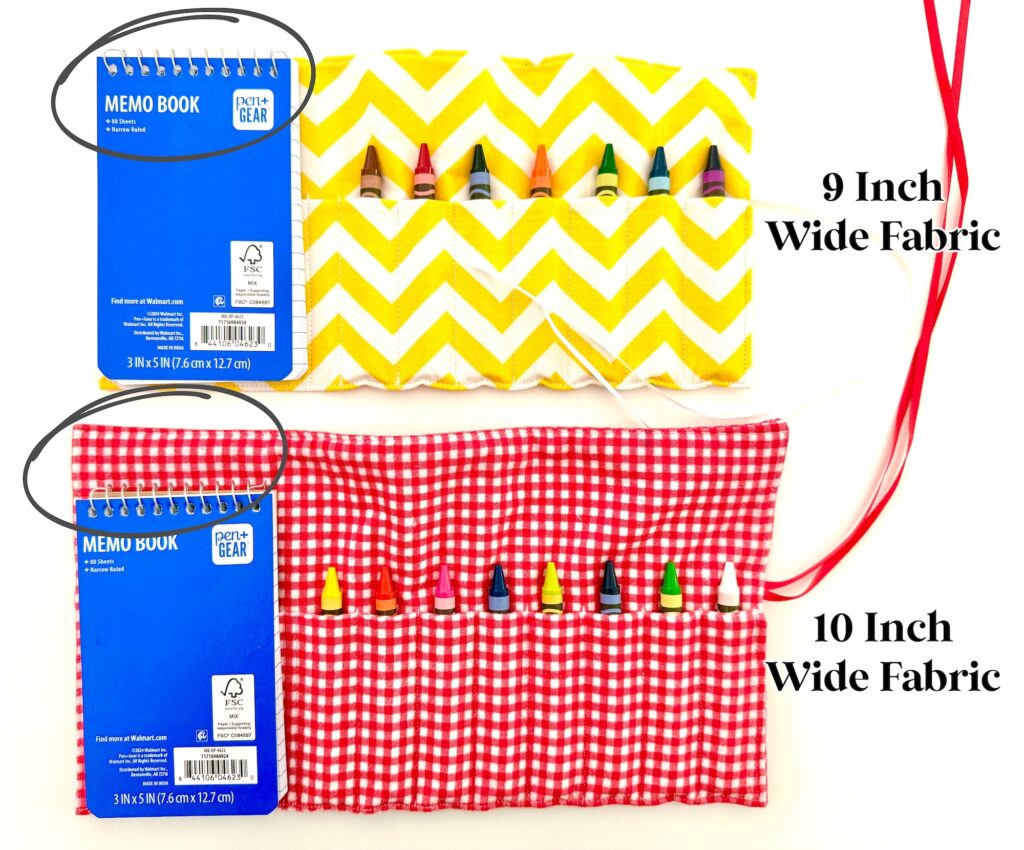
- You could reduce the width of the fabric to 9 inches (rather than 10 inches), however the top of the notebook will be flush with the opening of the roll.
- You will start measuring the 1-inch crayon pockets from the right side, and not from the notepad side, because if there is a gap leftover on the fabric that is too small to create another crayon pocket, you will want it to be near the notebook so that it is not as visible and to allow the crayon holder to fold more easily near the notepad.
Watch me make these crayon rolls with a notepad in my YouTube video below:
Selling These Crayon Rolls at Craft Fairs
Parents love this tech-free entertainment that is quiet and portable, which means this is a great sew to sell craft that is perfect for craft fairs and holiday bazaars.
I suggest adding the notepad and crayons in the roll so that shoppers know instantly what it is and how it will be used. This also allows parents to buy the crayon roll and give it immediately to their kids to enjoy!
- Memo pads are around .40 cents.
- We put 8 crayons in this roll, which means one box of 24-count crayons is enough for 3 rolls.
- When buying crayons on sale, that may be around .20 cents for 8 crayons.
So, for a .60 cent addition, you could dramatically increase the amount of crayon rolls you sell just by making it easier on the shoppers to buy a ready-made gift, rather than needing to buy the memo pads and crayons on their own.
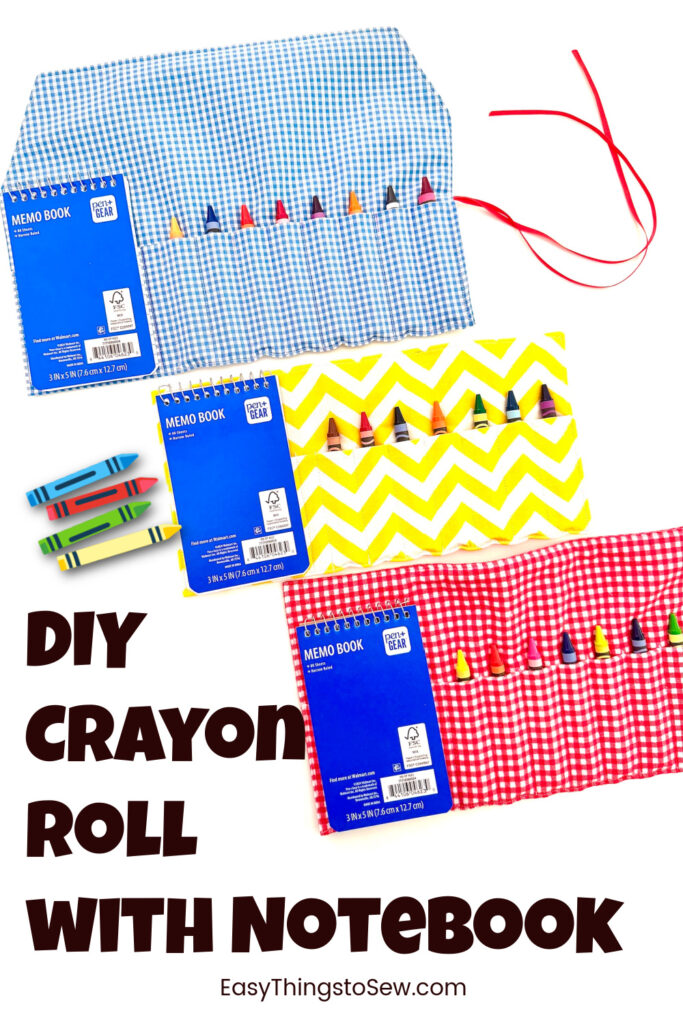
Pin This sewing project idea to save for later!
Crayon rolls are perfect gifts to make for Operation Christmas Child Shoeboxes.
For storing crayons at home, you may also like our DIY Crayon Bag.