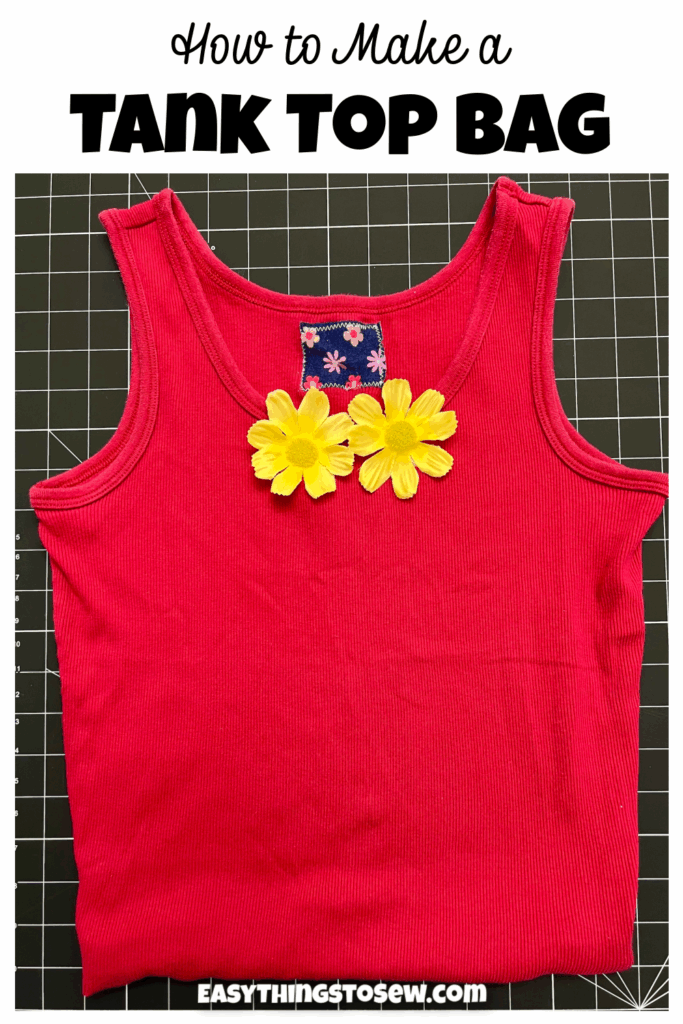
How to Turn a Tank Top Into a Bag
If you love the look of a t-shirt bag but hate the unfinished edges, our easy tank top bag is the perfect DIY project for you!
Use a tank top to make a cute tote bag in 5 minutes or less with just one line of stitching and no raw edges.
This is a fun summer sewing project!
How to Sew a Tank Top Bag
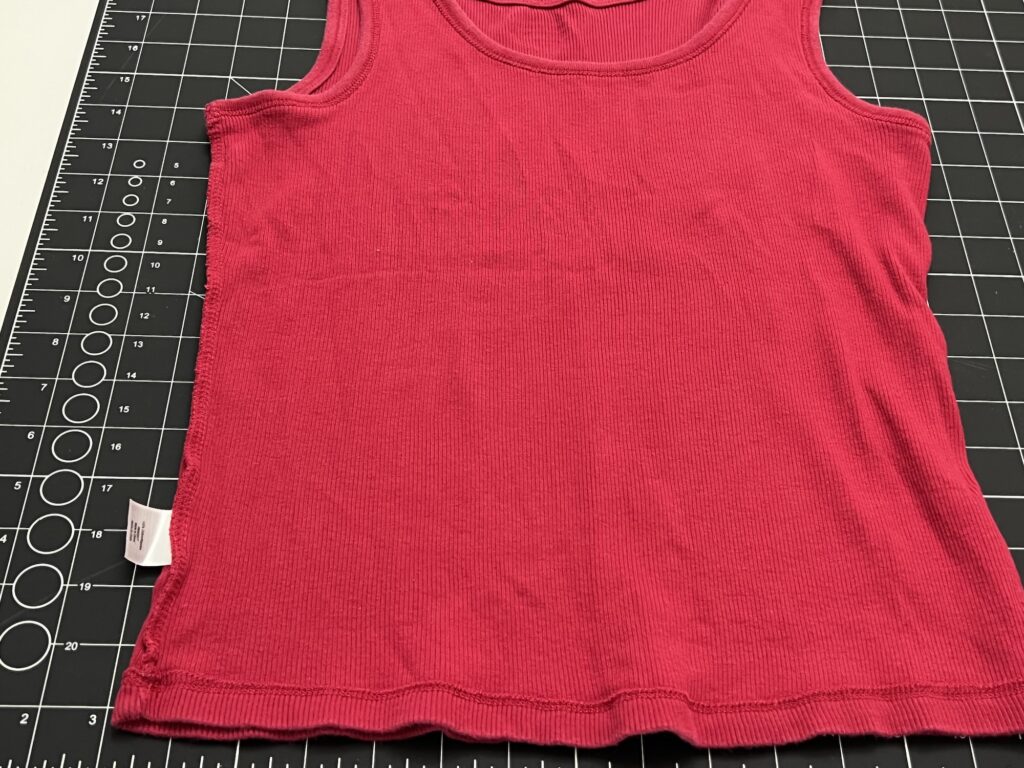
Not all tank tops are the same. Thicker fabric will create a stronger, more durable bag. Try to avoid the really thin, slinky fabric shirts.
Supplies
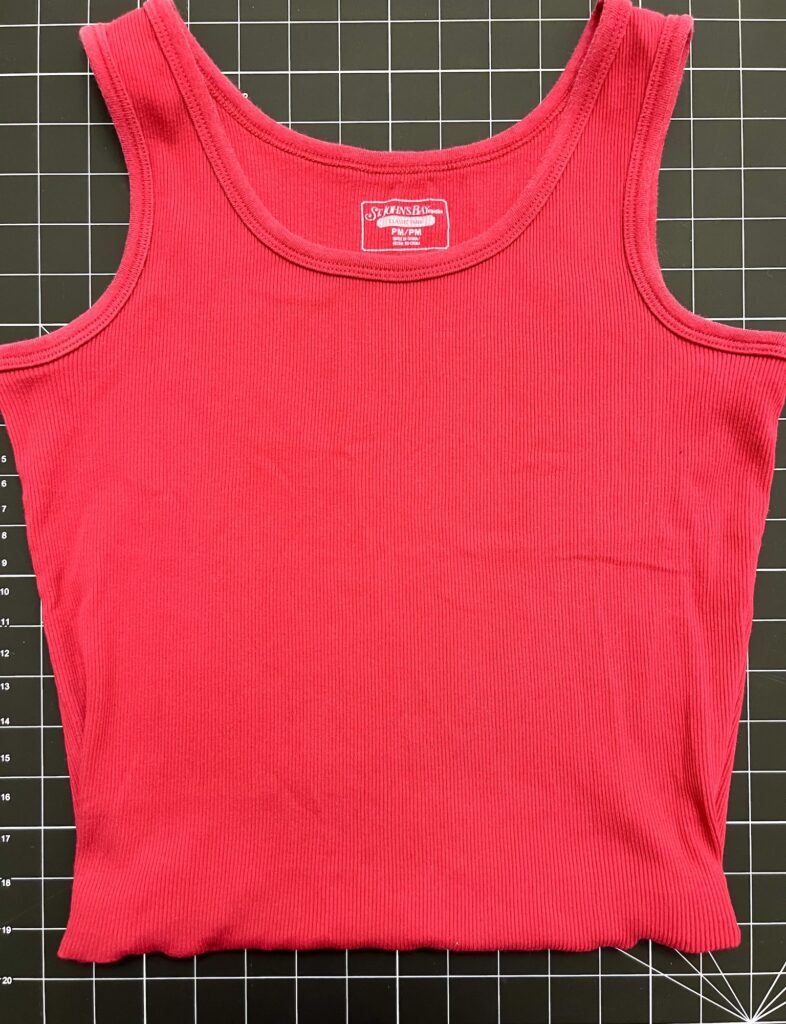
- Tank Top (the larger the shirt, the bigger the bag)
- Scissors
- Thread
- Small scrap of fabric (optional)
- Accessories and embellishments (optional)
- Hot glue (optional)
Directions
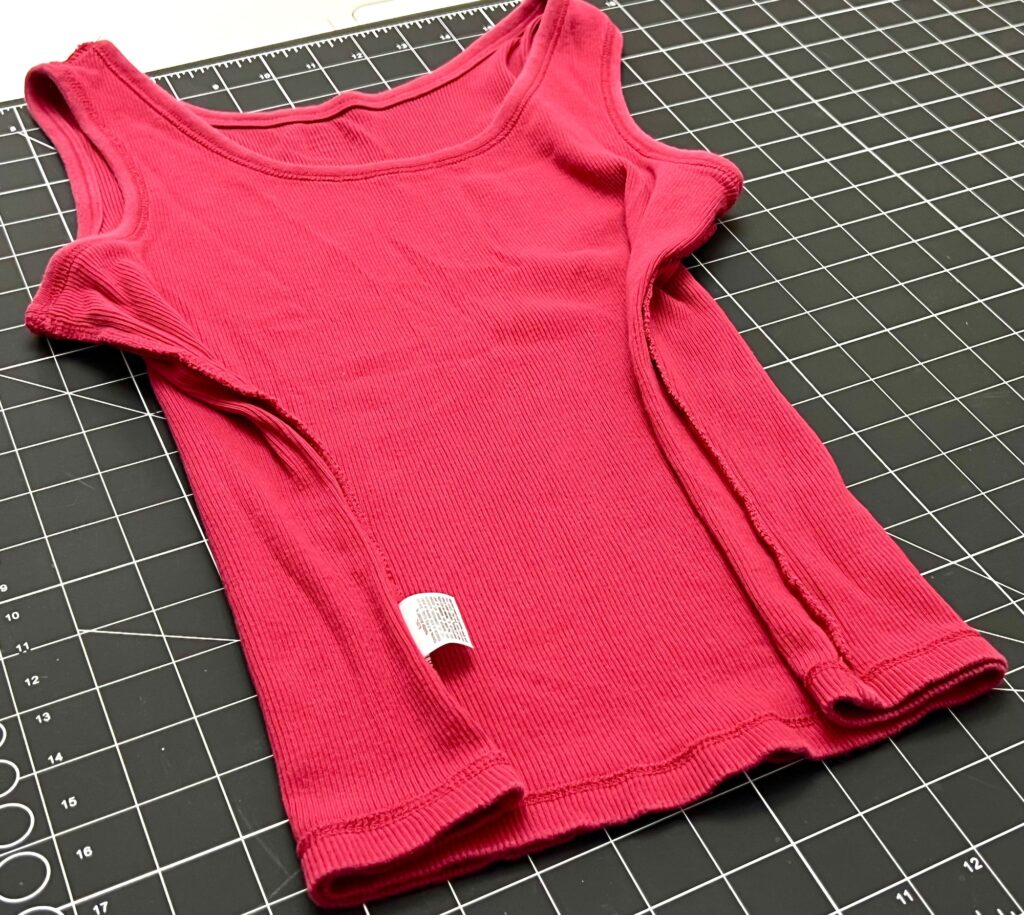
Turn the tank top inside out.
Match up the bottom edges.
Fold over each side of the shirt inwards about 2-3 inches.
Sew across the bottom of the shirt, sewing just above the existing tank top seams. Backstitch at the beginning and end of the stitching.
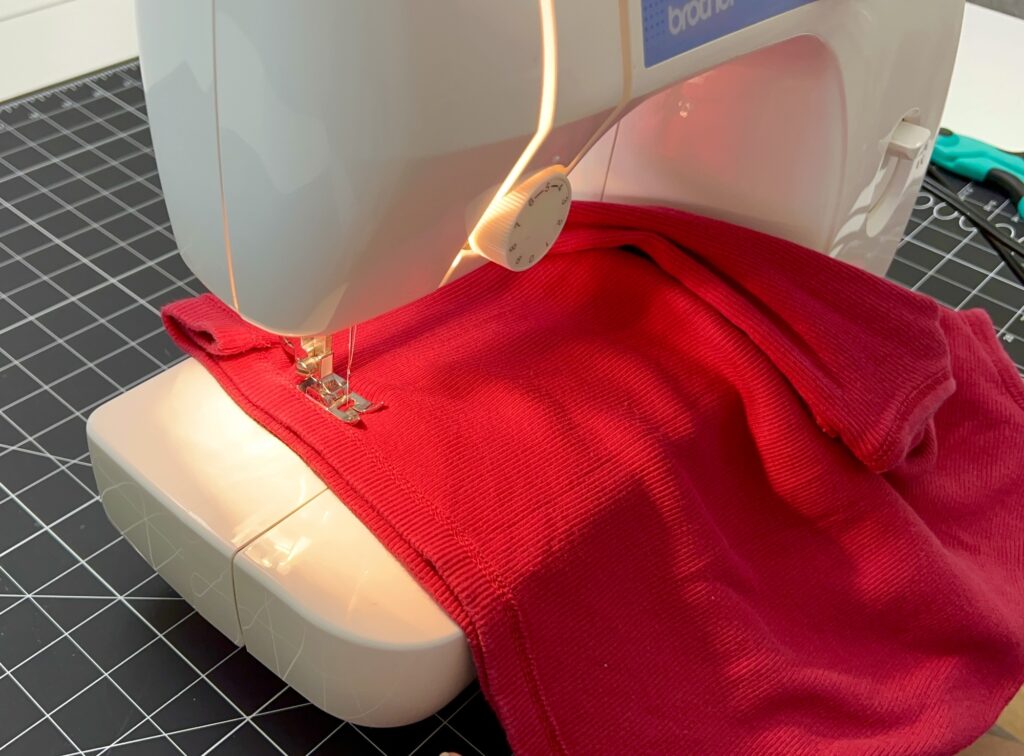
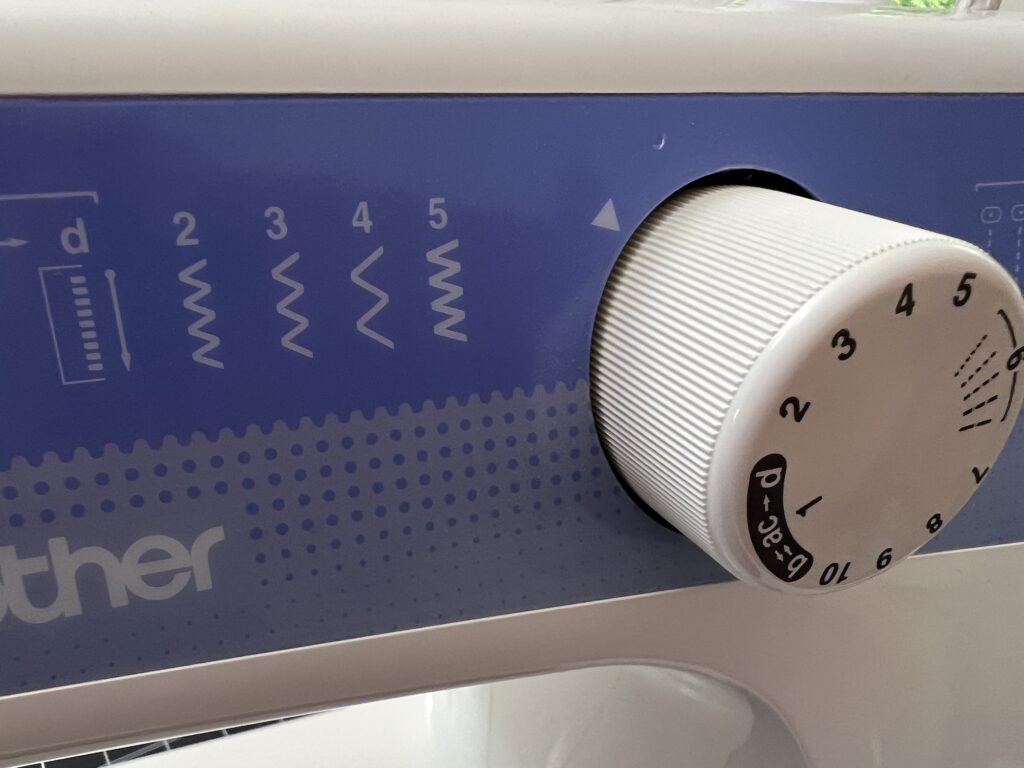
Use a small zig zag stitch to sew. Zig-zag stitching allows stretchy jersey fabric, such as tank tops, to stretch without the stitches popping.
Turn the tank top inside out and you are done!
The pleats on the bottom will expand as you put weight into the bag.

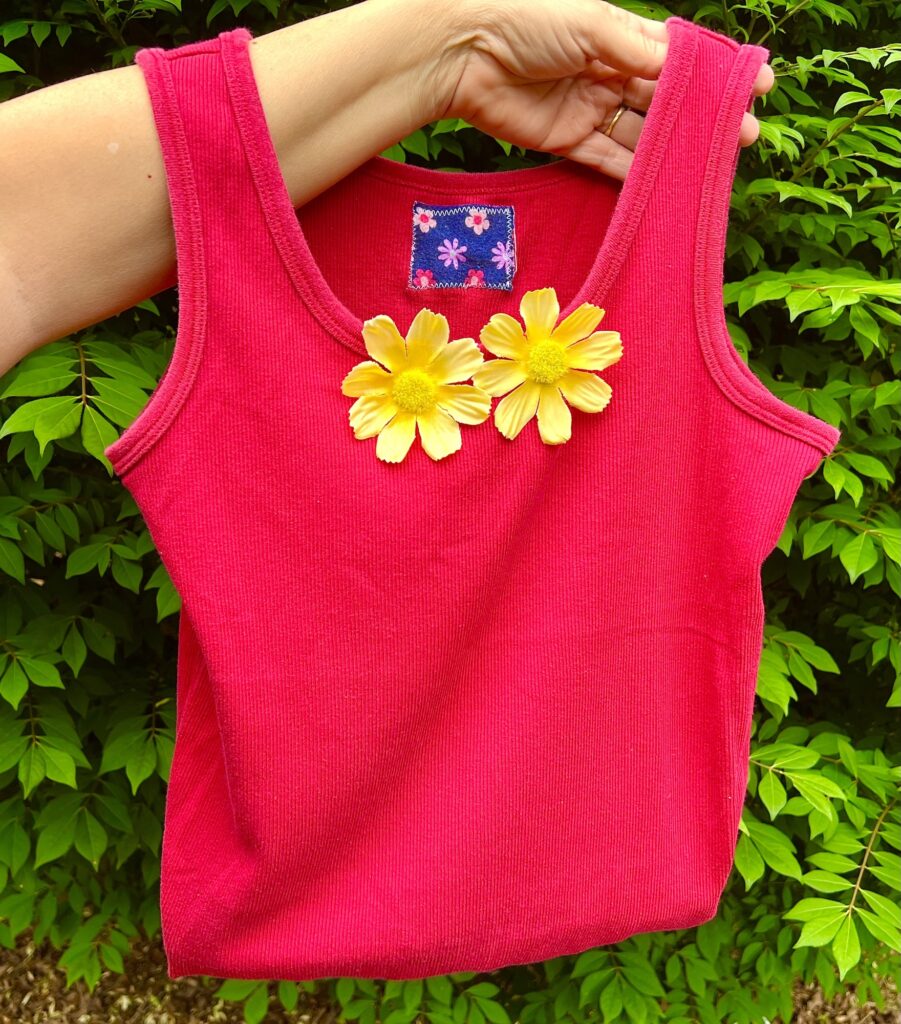
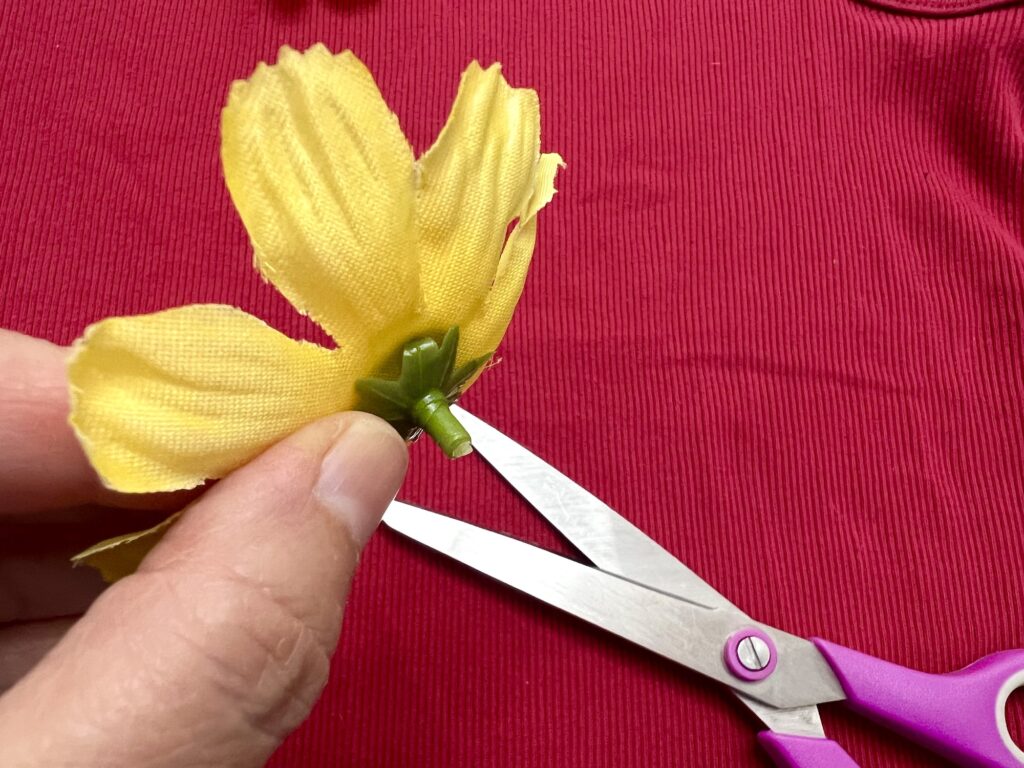
Optional: If you would like, you can add embellishments to cover the tag and to give the bag extra flair.
I cut two faux flowers close to the base and then glued onto the front of the bag.
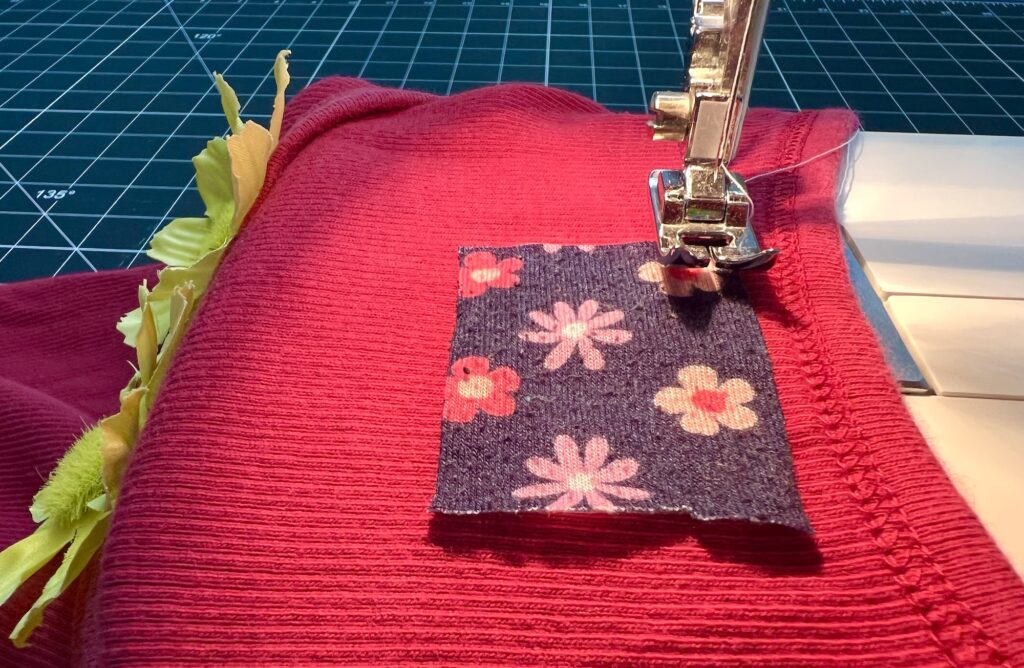
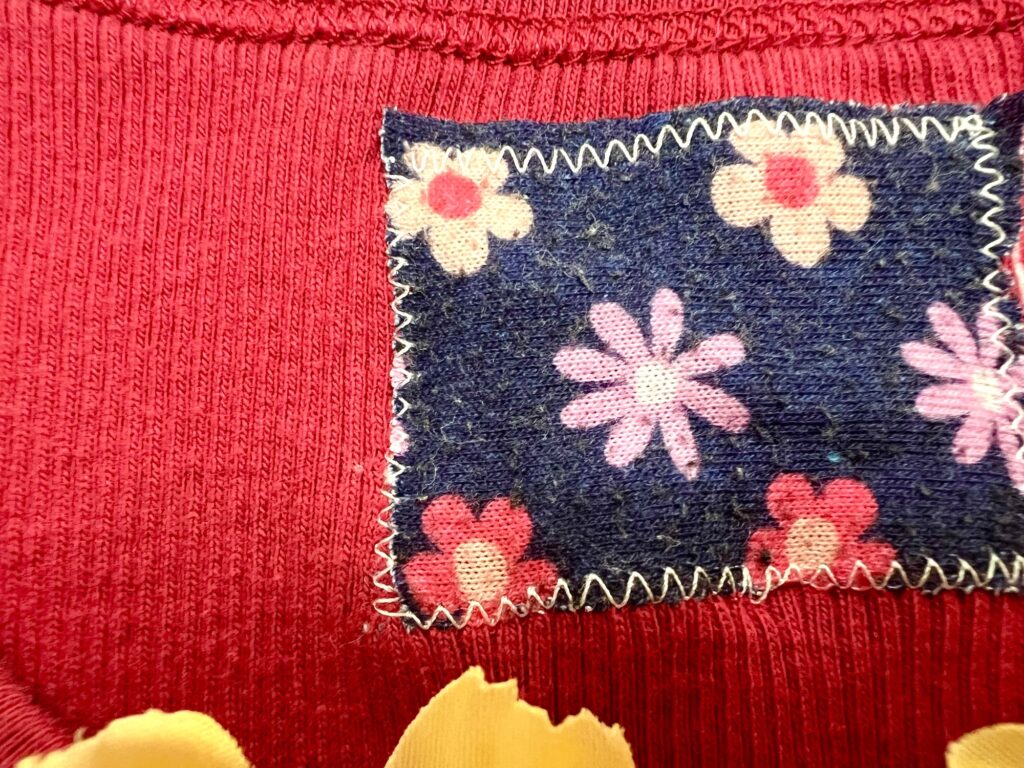
To cover the tag, I cut a small piece of jersey fabric from old leggings (the same fabric I used to make this Barbie shirt) and sewed it over the tag.
Cut a piece larger than you think you will need because it tends to shrink as you sew it with a zig-zag stitch.
Watch me make this t-shirt bag in our YouTube tutorial below:
Pin This Idea to Remember for Later!
If you want to spend a little more time making a bag, be sure to see our t-shirt bag with pocket storage, too.
This is just one of our many sewing projects that cost less than $1 to make!
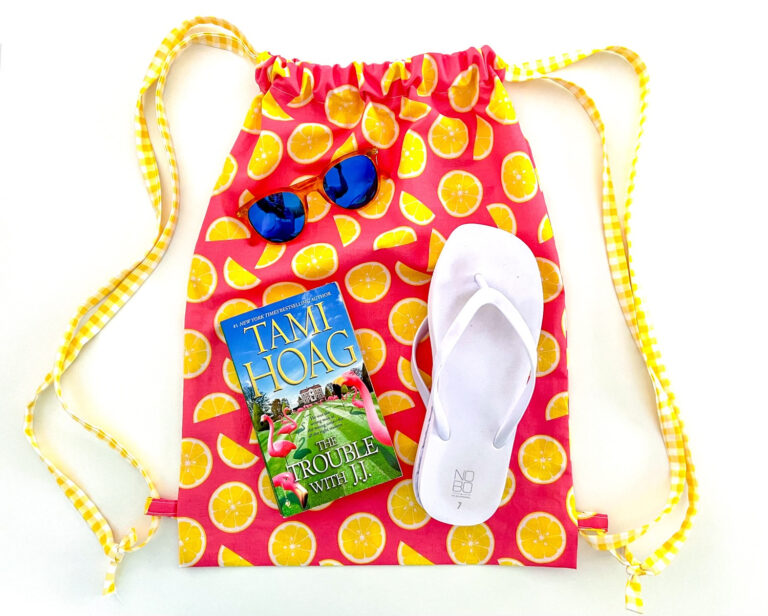
If you love repurposing clothing, see our cute t-shirt sleeve drawstring bags, too!
I really like this pattern. Wondering if you have any ideas on how to turn a razor-back tank top into a bag? I have this cool razor-back tank top with a artsy skeleton unicorn head on the front. The tank is too small, but I LOVE the applique on it. I hate to just cut the picture off and sew it onto something else. I would rather make a bag out of it, bit don’t know quite how to deal with that razor-back piece. Any ideas?
Hmmmm, a razor-back tank top is a challenge because of the position of the straps.