Reusable Bowl Covers For Christmas Baking (with Video Tutorial)
The holiday season is filled with baking, which usually means using a lot of plastic wrap and aluminum foil while cooking. Those disposable products are not only wasteful, they also cost a lot of money that you don’t need to spend!
Why not add some festive flair to your Christmas baking and cooking with these easy fabric reusable bowl covers?
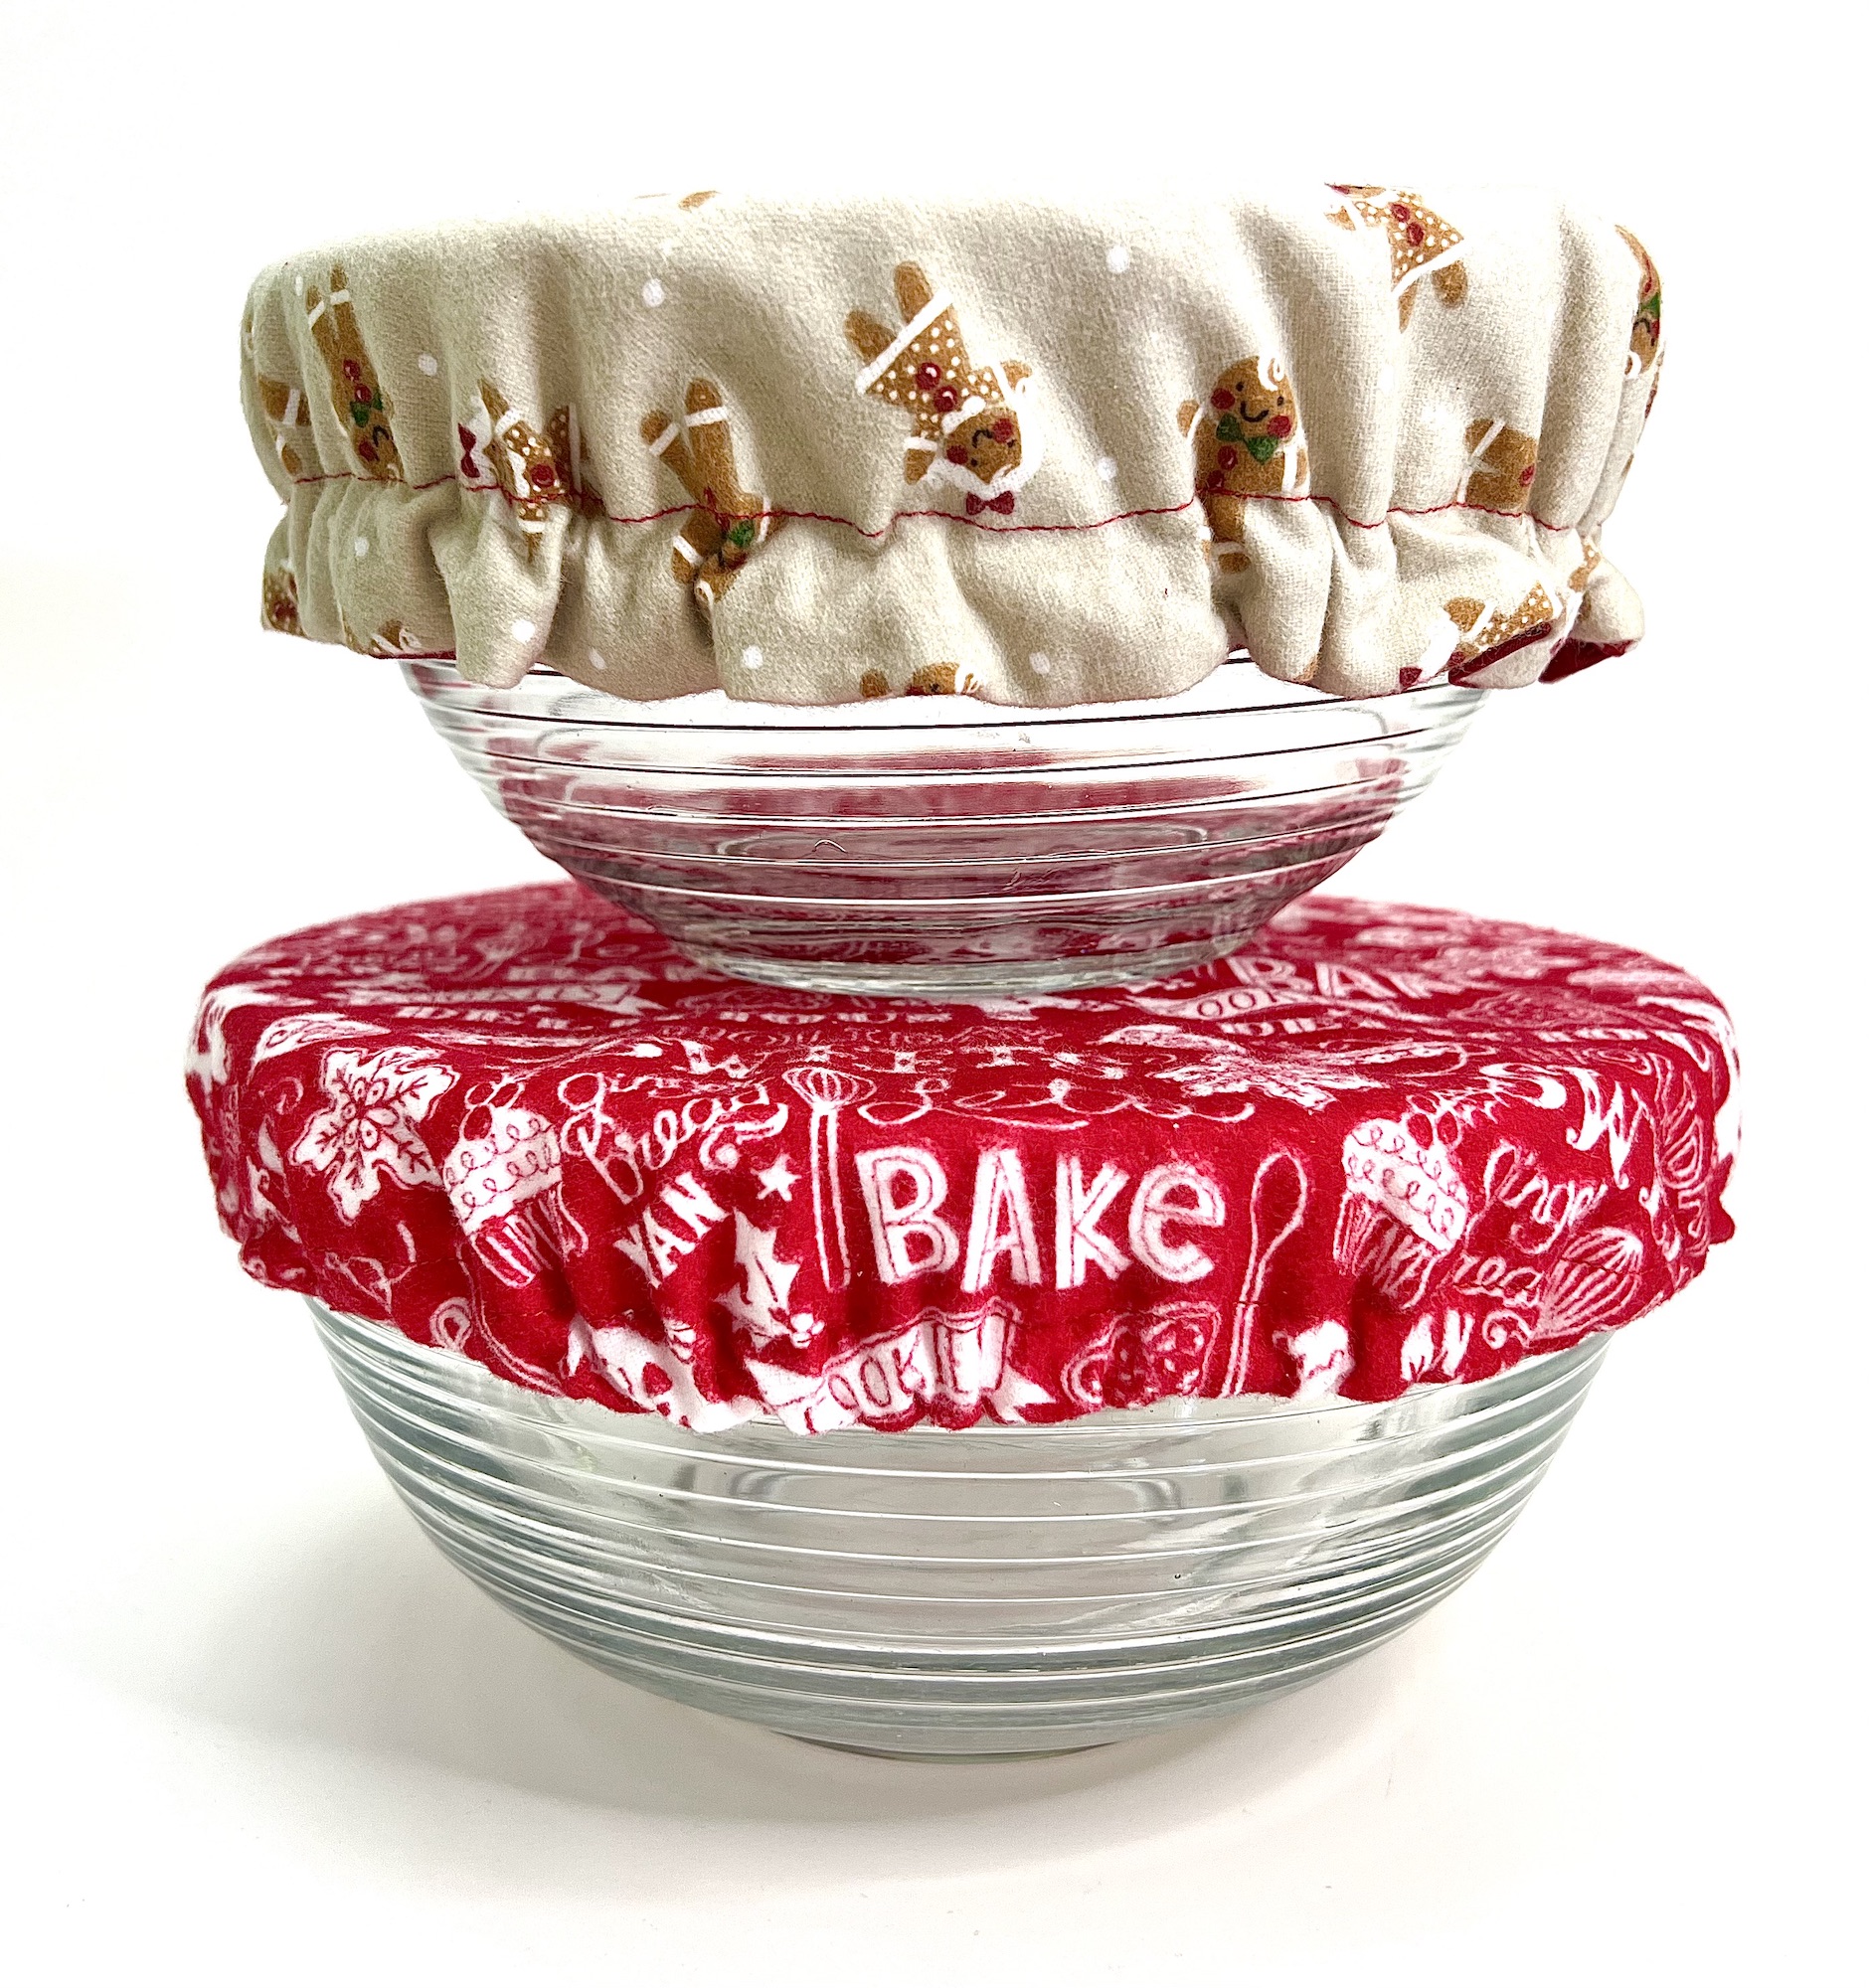
Our easy reusable bowl covers are perfect for covering cookie dough as it chills. Or use them to cover sourdough breads that are rising, keep the kid’s fingers out of your cake batters, or protect your recipes while sitting on the counter top before baking.
They even work on a stand mixer bowl, such as a Kitchen-Aid mixer.
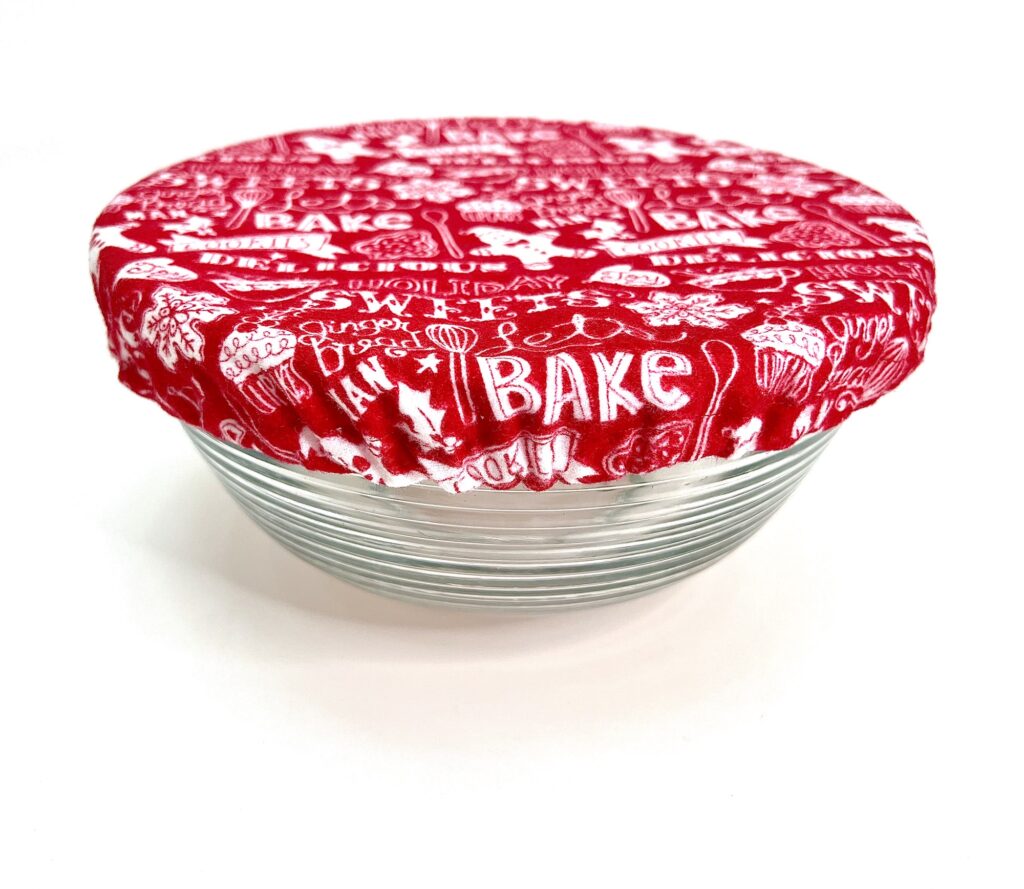
We made reversible bowl covers so that you can use these for an extended amount of time in your kitchen. Try making a reversible cover for both Thanksgiving and Christmas. Or make one that is suitable for Christmas and winter.
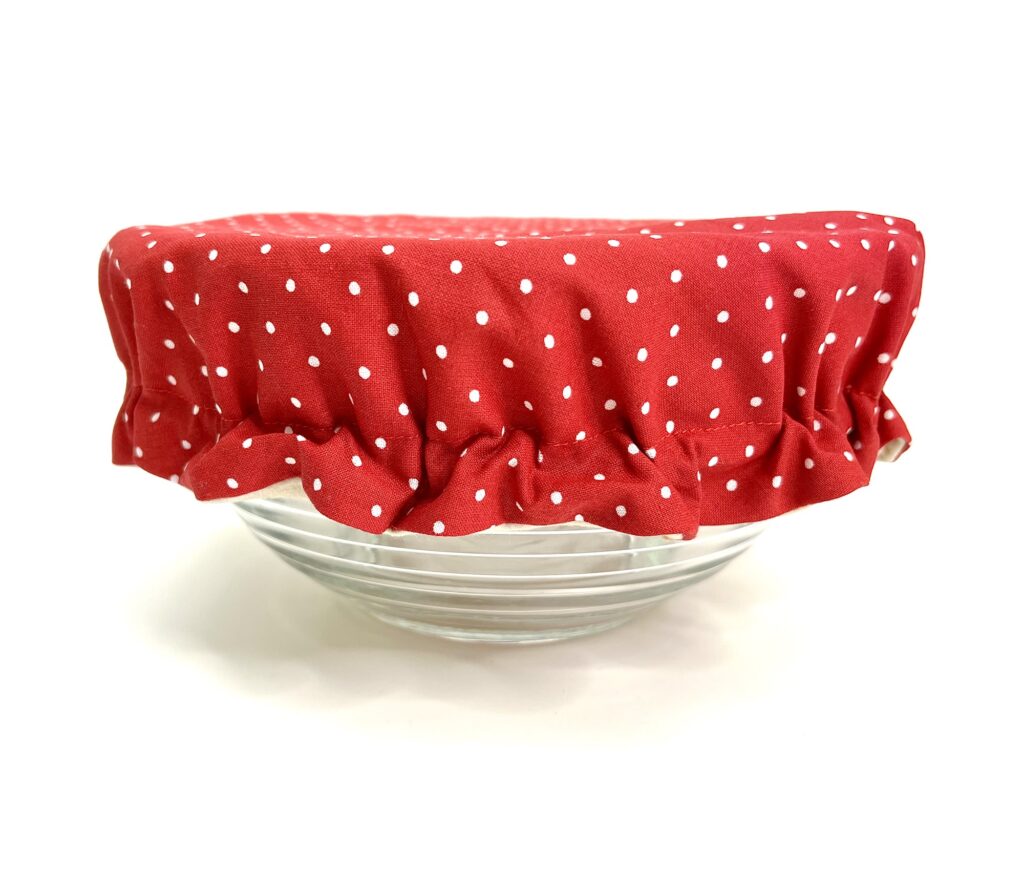
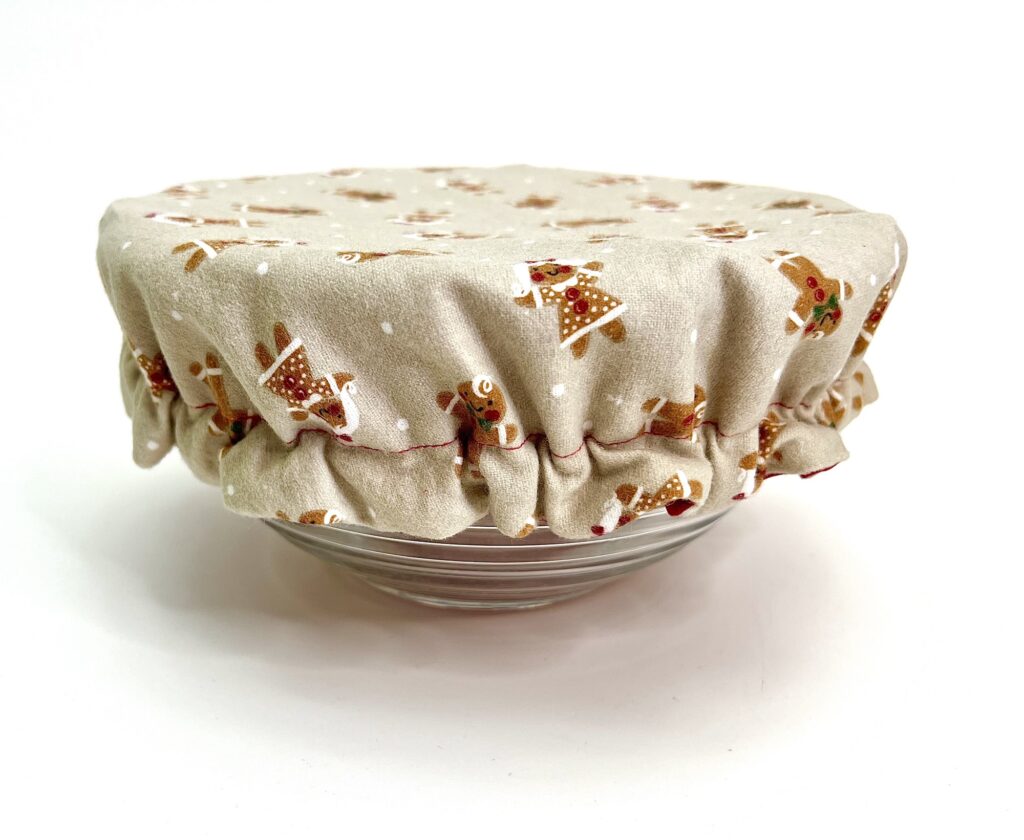
These handmade bowl covers are perfect if you lack storage space! They are easier to store because they lay flat. Or you can smush them up into small spaces or even store inside the bowl.
No more trying to figure out where to put the bowl lids and searching to find them when you need them!
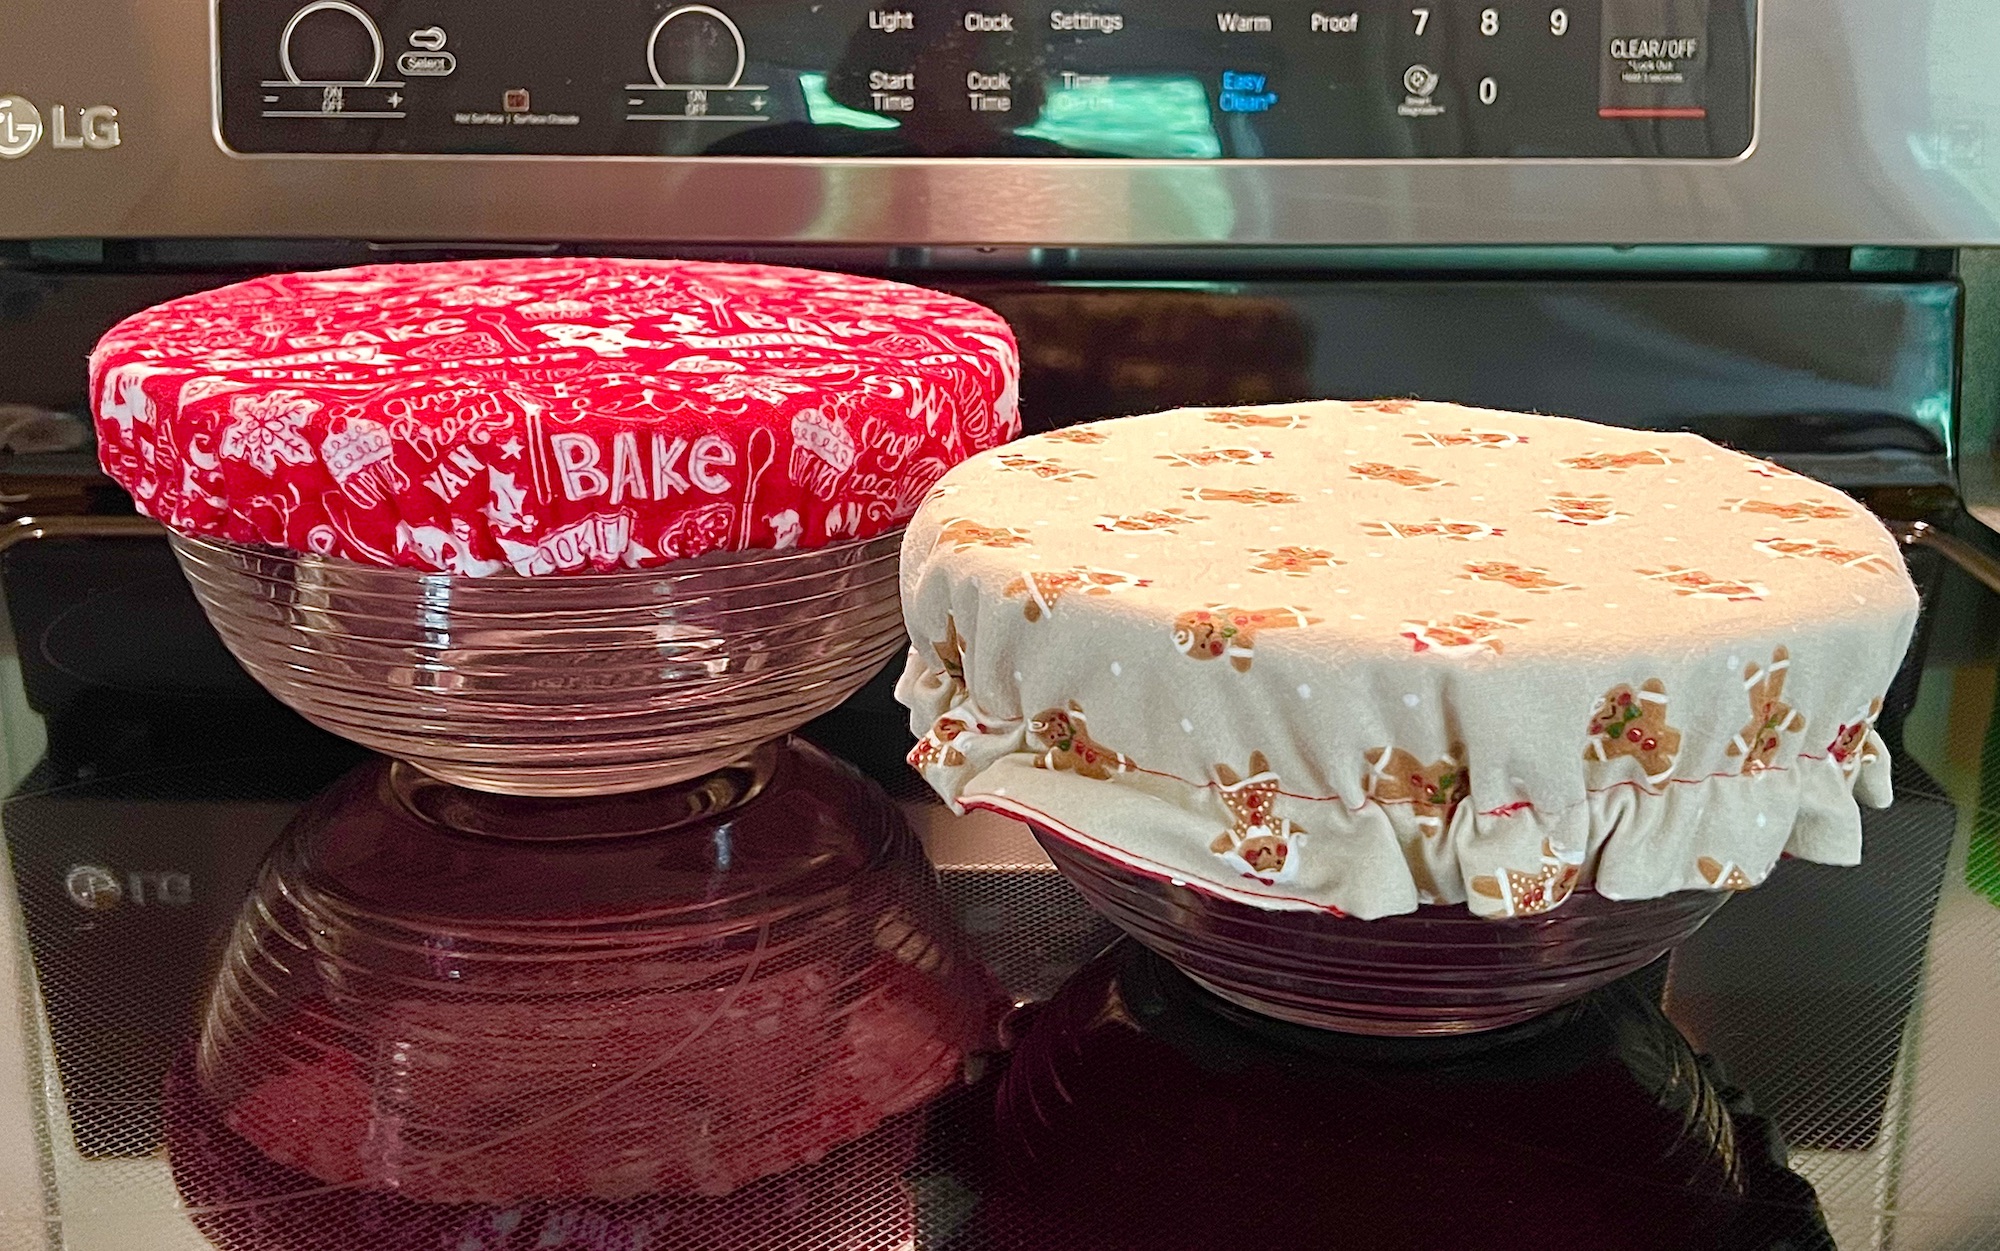
These holiday reusable bowl covers are perfect to use for:
- Baking with the kids, grandkids or friends and neighbors (make coordinating trivets, too)
- Christmas Cookie Exchange Party
- Cookie Baking and Decorating
- Covering Buffet Foods
- Holiday parties
- Transporting foods
- Church socials
- Covering food bowls on your holiday table
If you are looking for a great item to sell at craft fairs, this is something that everyone can use and it costs very little to make! You can sell reusable bowl covers at craft fairs and online stores for $3-6 each, depending on size.
This tutorial is similar to my other reusable bowl cover tutorial which uses bias tape to finish the edges.
Reusable Bowl Covers for Christmas
My video tutorial making two different styles of bowl covers is found at the end of this tutorial.
Supplies
- Fabric (be sure to prewash your fabric beforehand)
- Matching Thread
- Tailor’s Chalk, Disappearing Pen or Other Type of Marker (this is the chalk I use)
- Elastic (1/8 or 1/4 inch)
- Straight Pins or Sewing Clips
- Safety pin or bodkin
- Pinking Shears (optional)(these are the ones that I own)
- Ruler or Seam Gauge
- Turning tool (optional for double-sided bowl cover)

Directions for Single Layer Bowl Cover
Step 1
Turn your bowl upside down and place on the fabric, at least two inches from the edge.
Trace around the lid of the bowl using tailor’s chalk, disappearing ink pen or a pencil.
(Keep in mind that this circle may be seen if it doesn’t wash out of the fabric, so do not use a Sharpie or permanent pen or marker.)
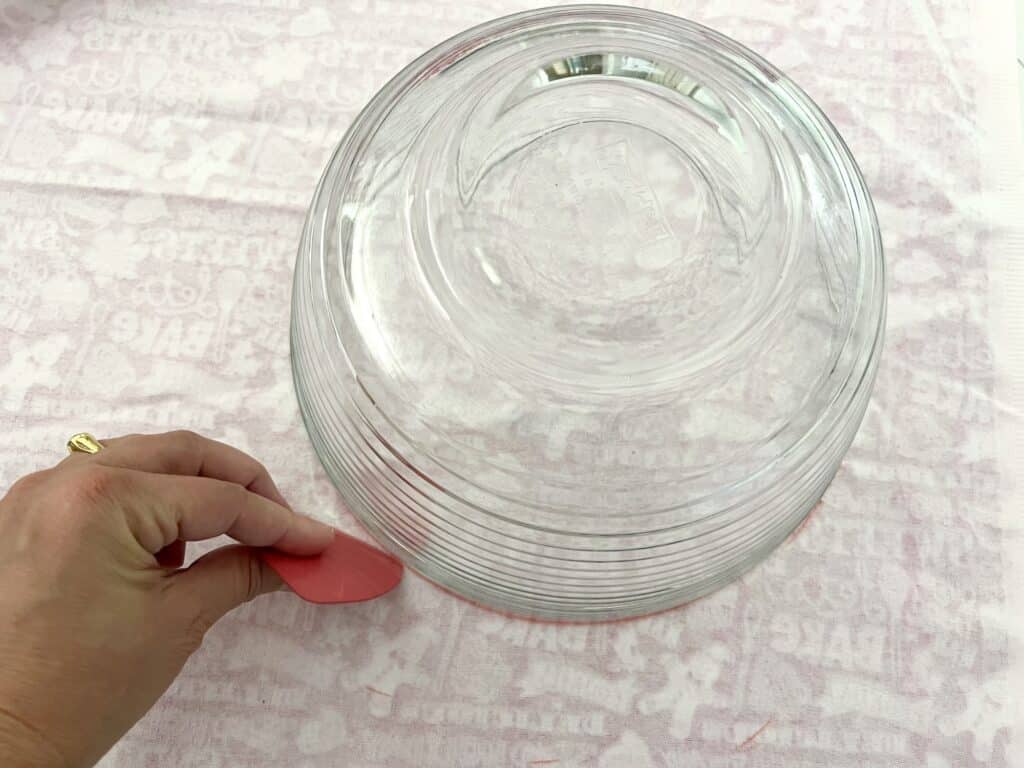
Remove the bowl. Use a ruler or a seam gauge to make two inch marks from the line all the way around the circle.
(If it’s not completely perfect, don’t worry! This pattern is very forgiving!)
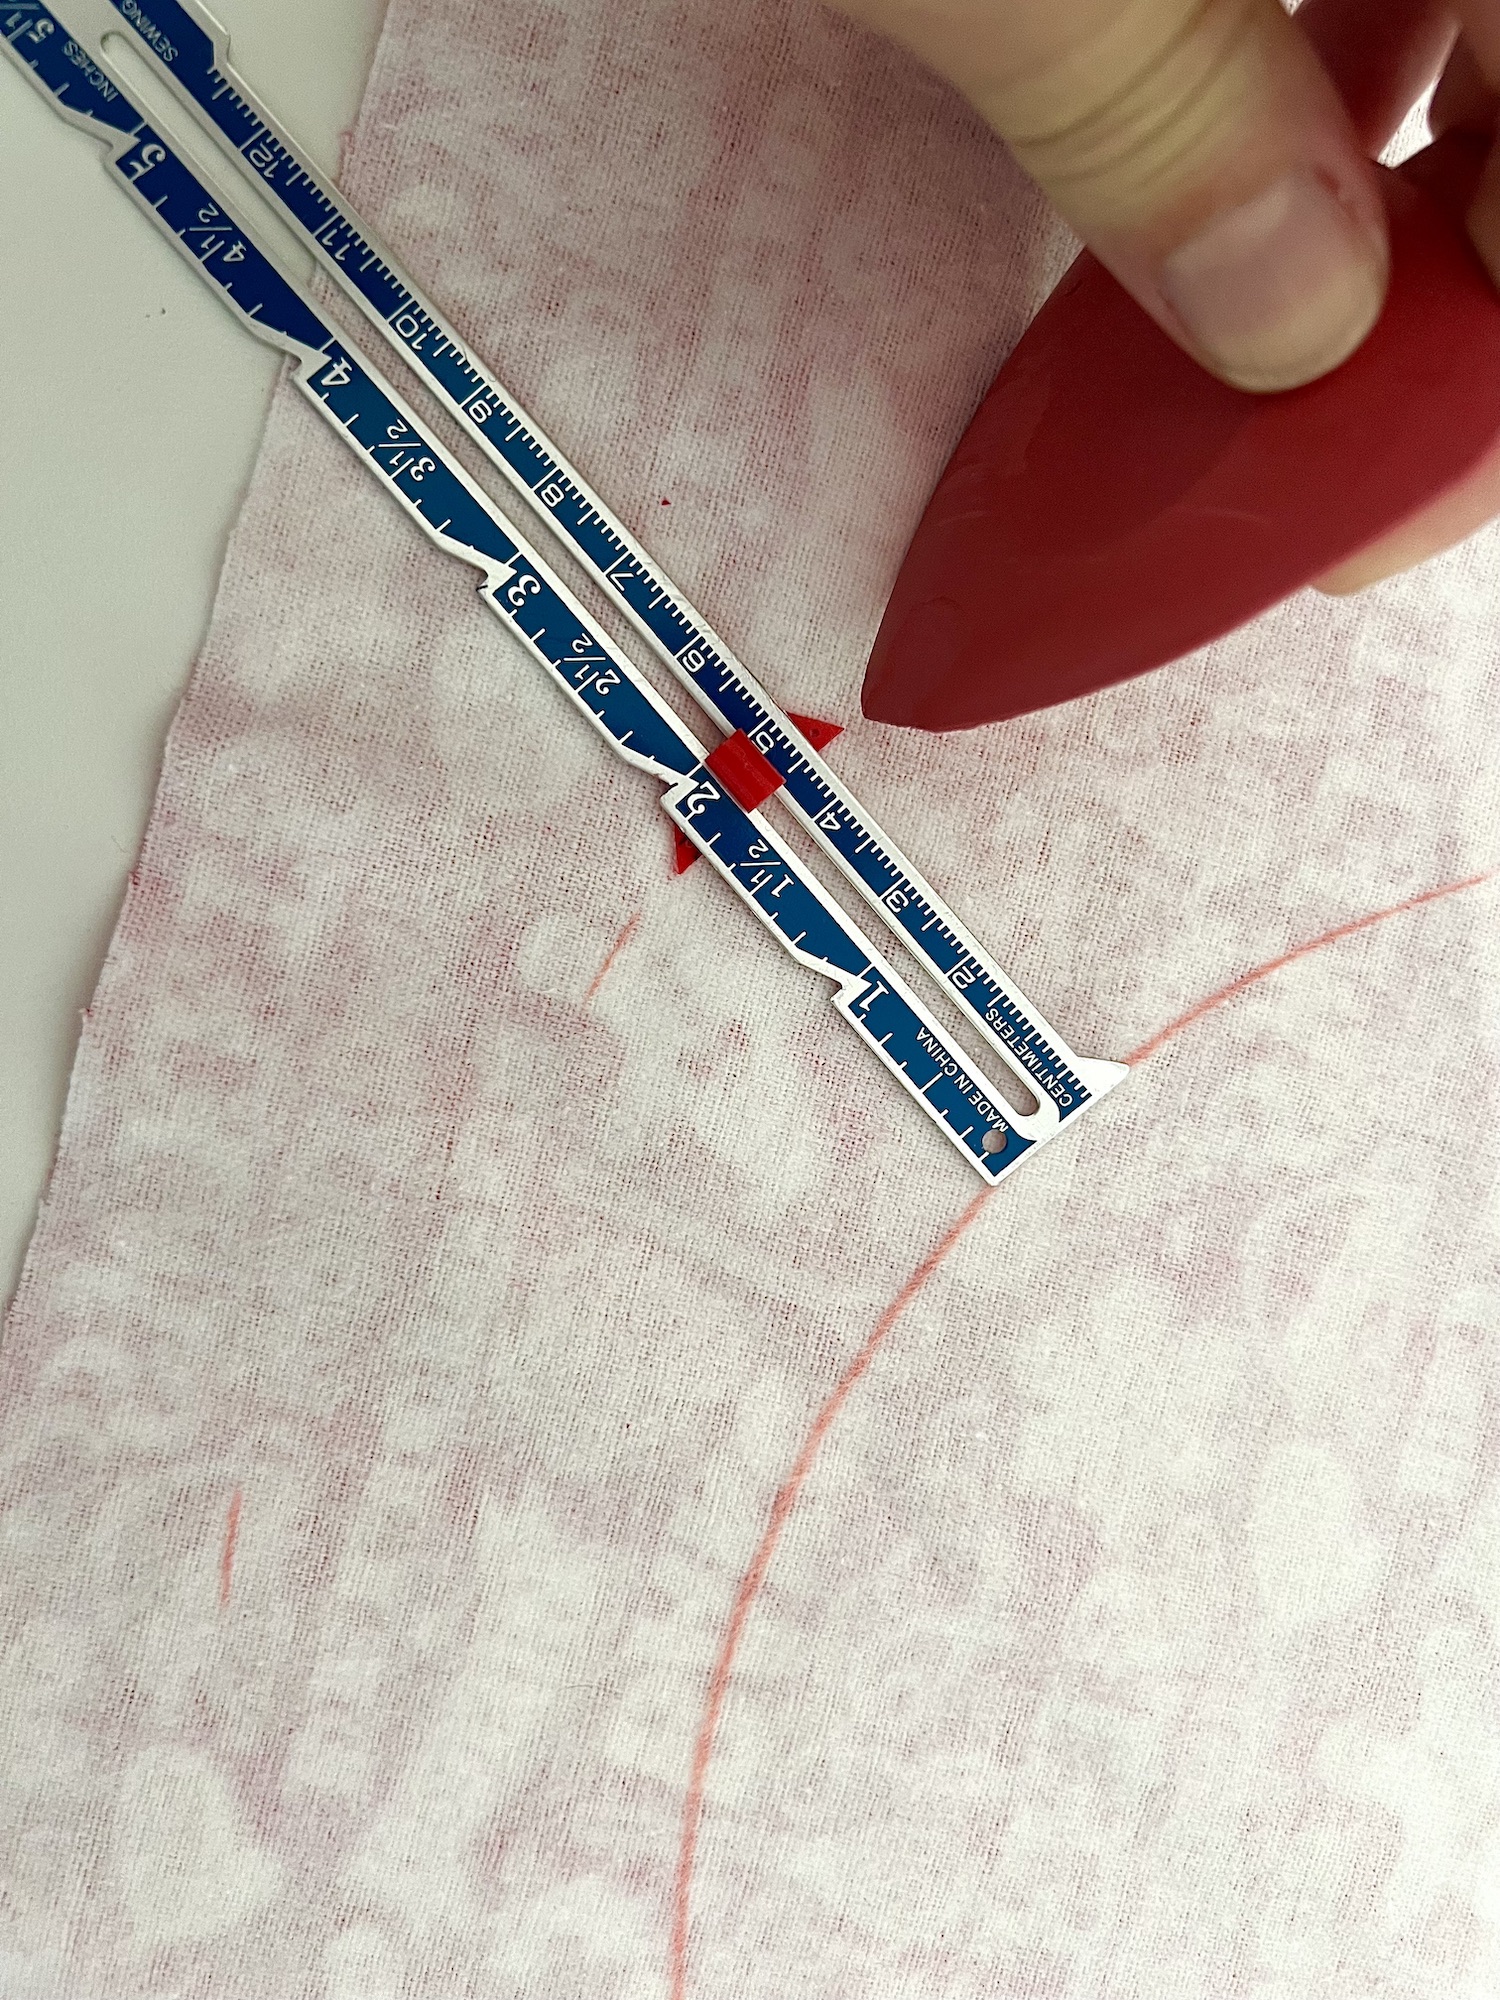
You can make marks every few inches and then join together by connecting the dots after you are done.
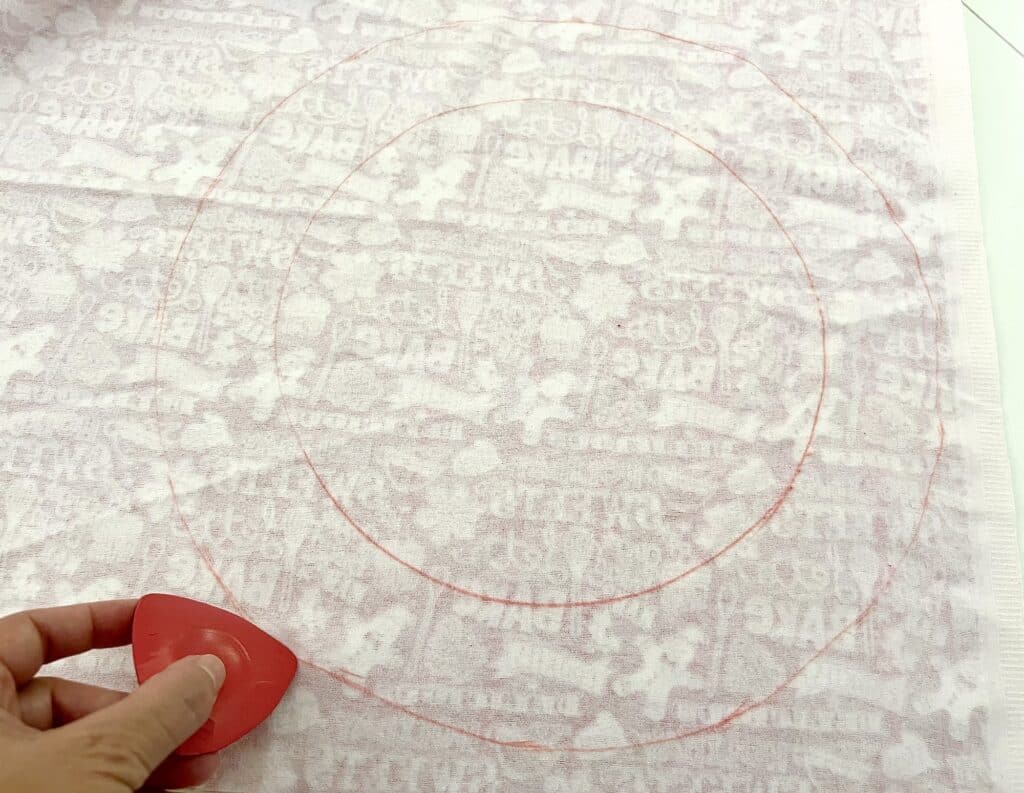
Alternatively, you could measure the width of the top of the bowl, add 4 inches to the measurement (that is 2 inches per side), and then use a compass to draw a circle that size.
Step 2
Cut out the circle around the larger, outer edge.
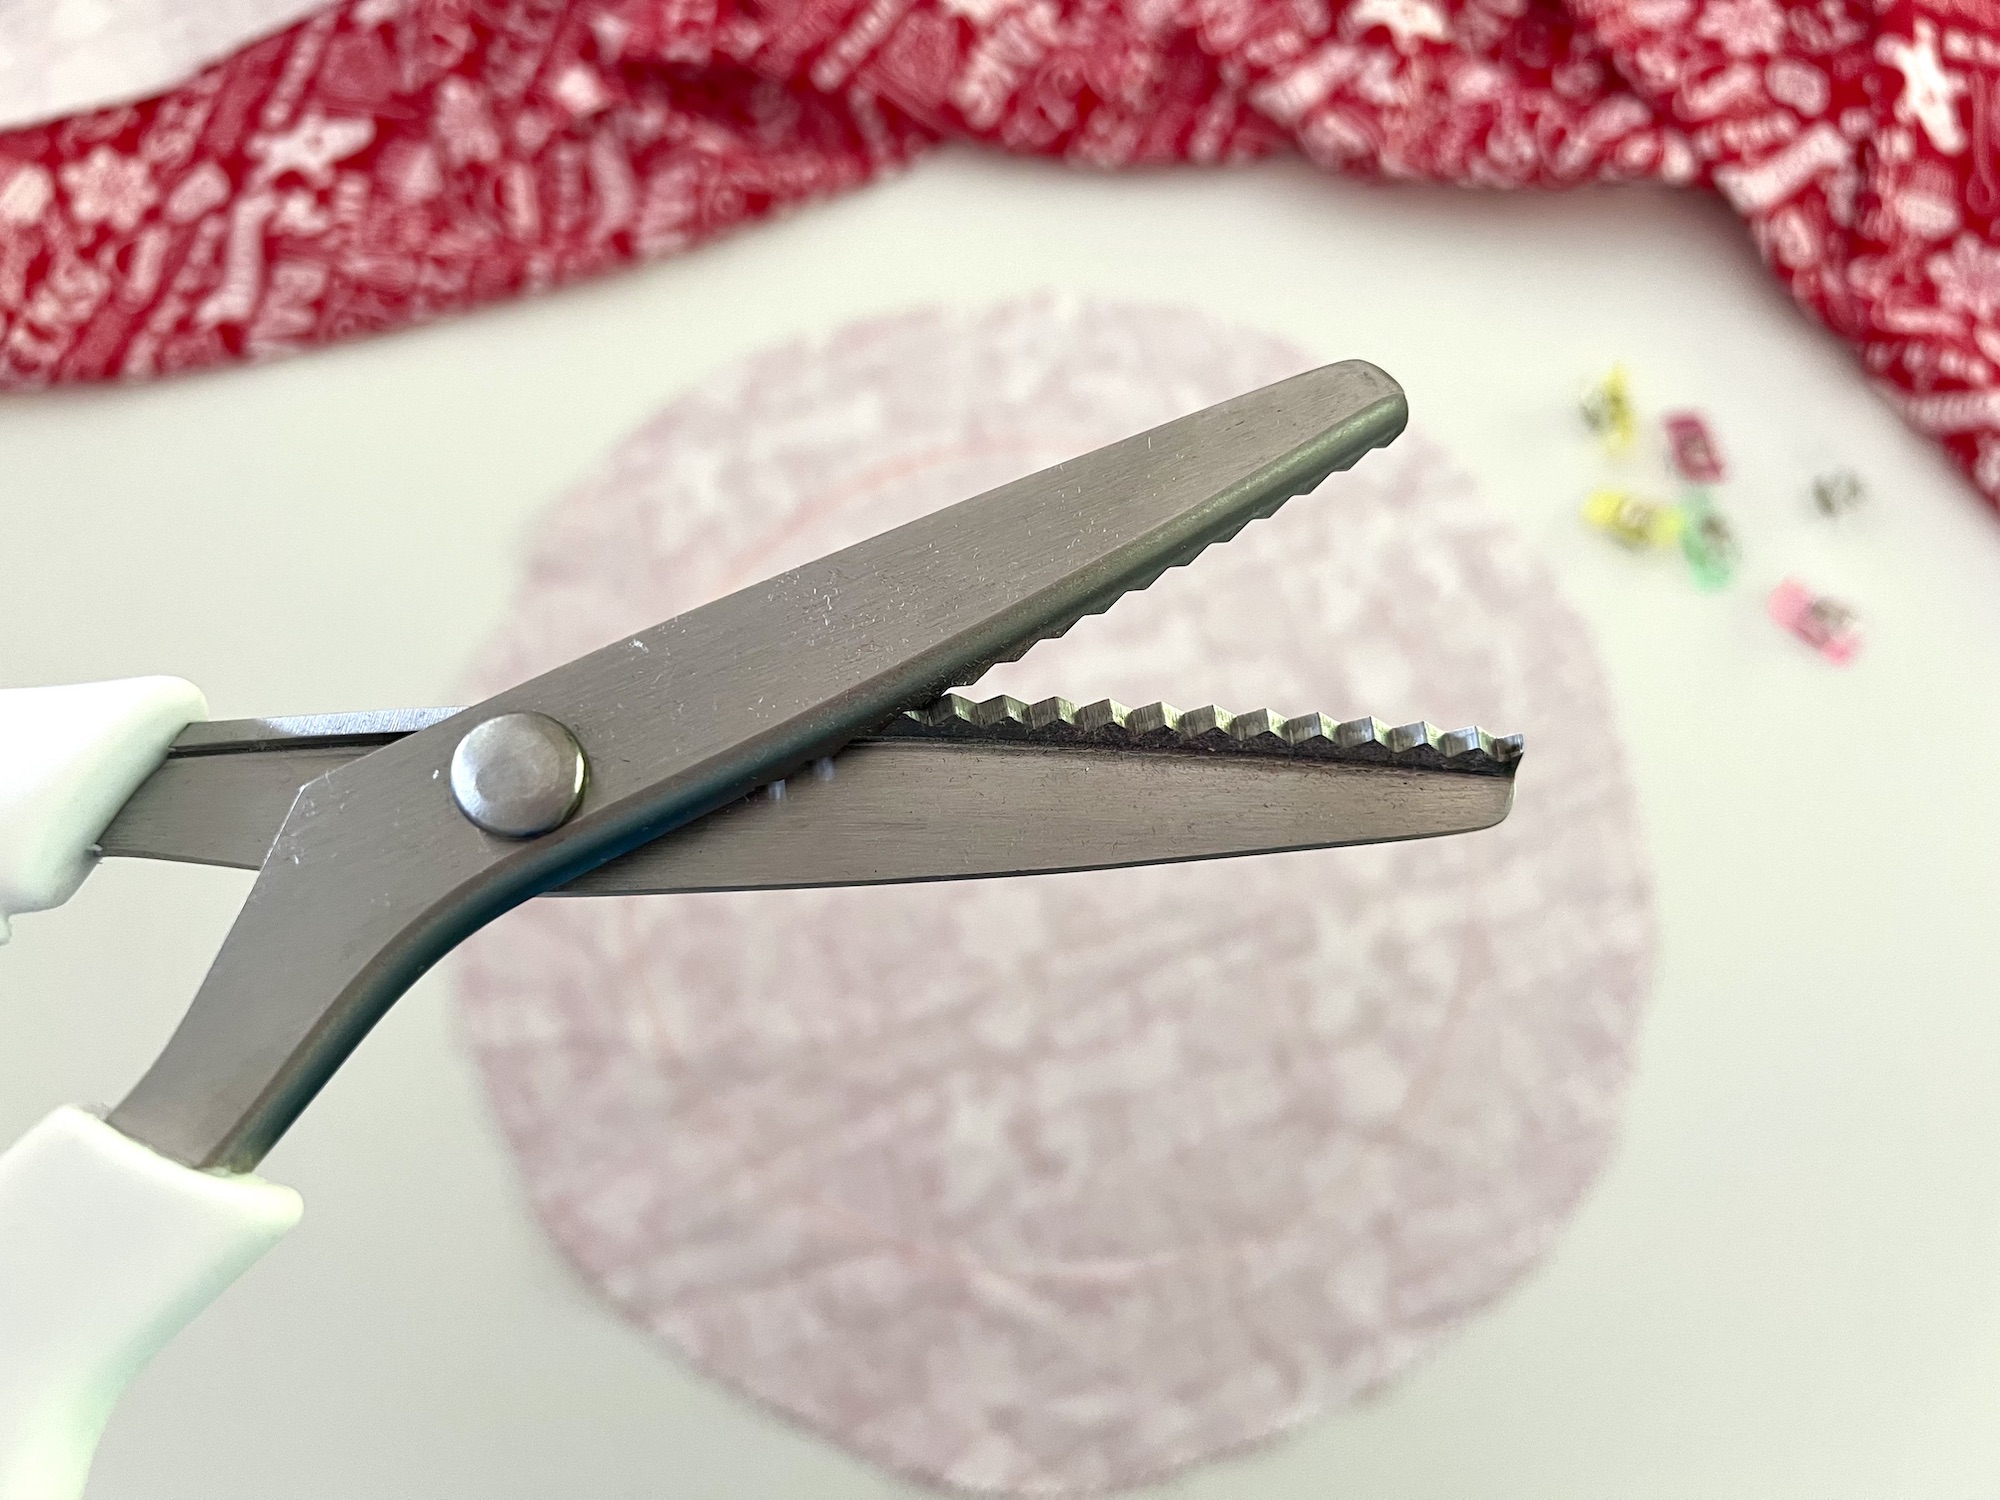
Because you won’t be using a folded hem, cut the fabric with pinking shears to prevent fraying when using and washing the bowl cover.
Pinking shears are one of the best types of sewing scissors to add to your sewing kit if you haven’t already!
Step 3
With the wrong side of the fabric facing up, fold over the edge of the circle about 1 inch. Clip or pin down the seam.
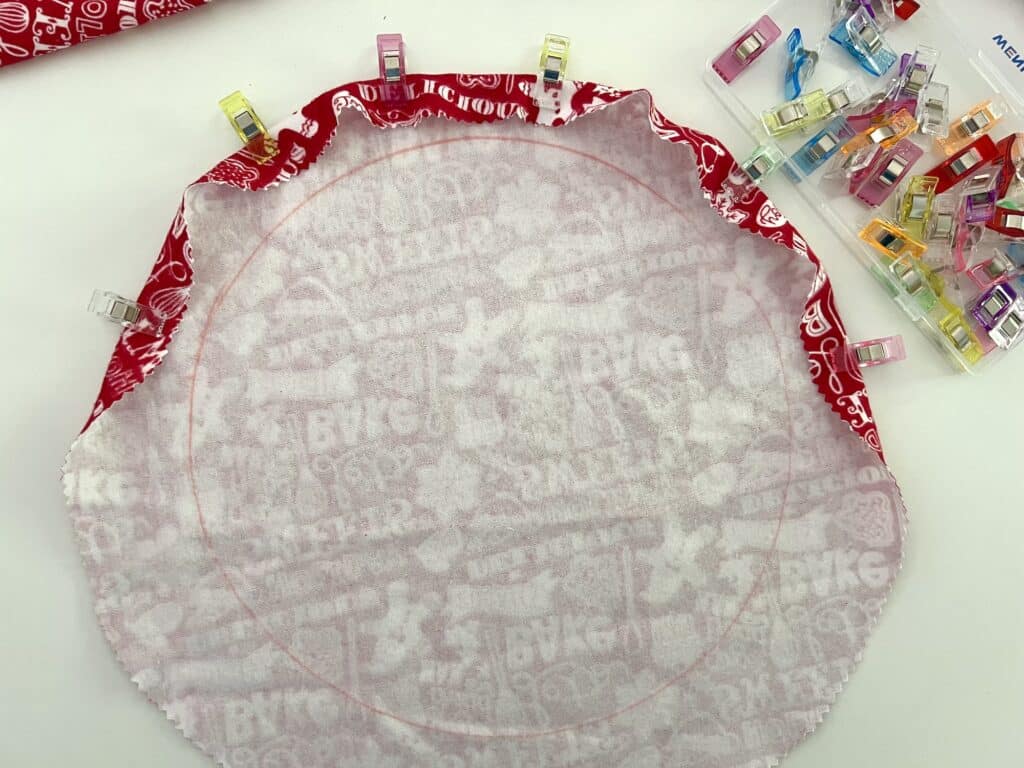
I suggest you add one clip on the top, bottom, and sides first (at the 12, 3, 6, and 9 positions on a clock face). Then go back in-between the clips and clip down the rest of the seam allowance.
You will need to tuck and fold over some parts of the fabric to lay flat. That’s okay!
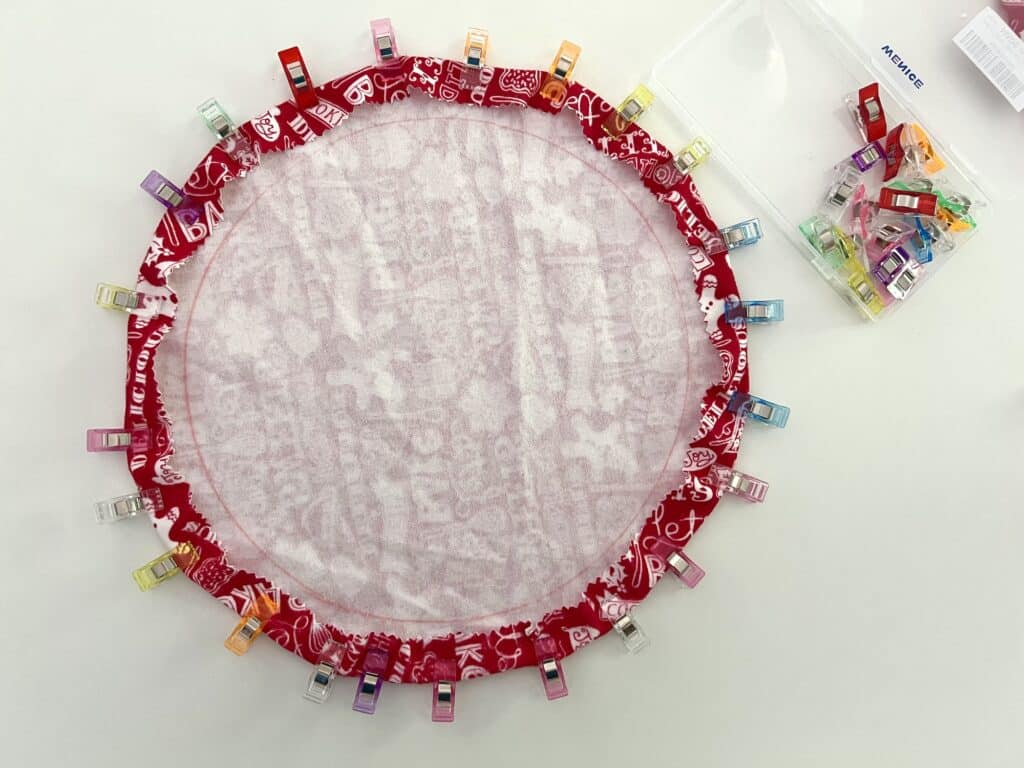
Again, this measurement doesn’t have to be perfect because the gathered seams on a reusable bowl cover are quite forgiving! So don’t stress about perfection.
Step 4
Using a sewing machine, sew the seam allowance near the cut edge (the pinked edge). I used a 1/4 inch seam allowance.
Be sure to keep a two-inch gap in the stitching to insert the elastic in later.
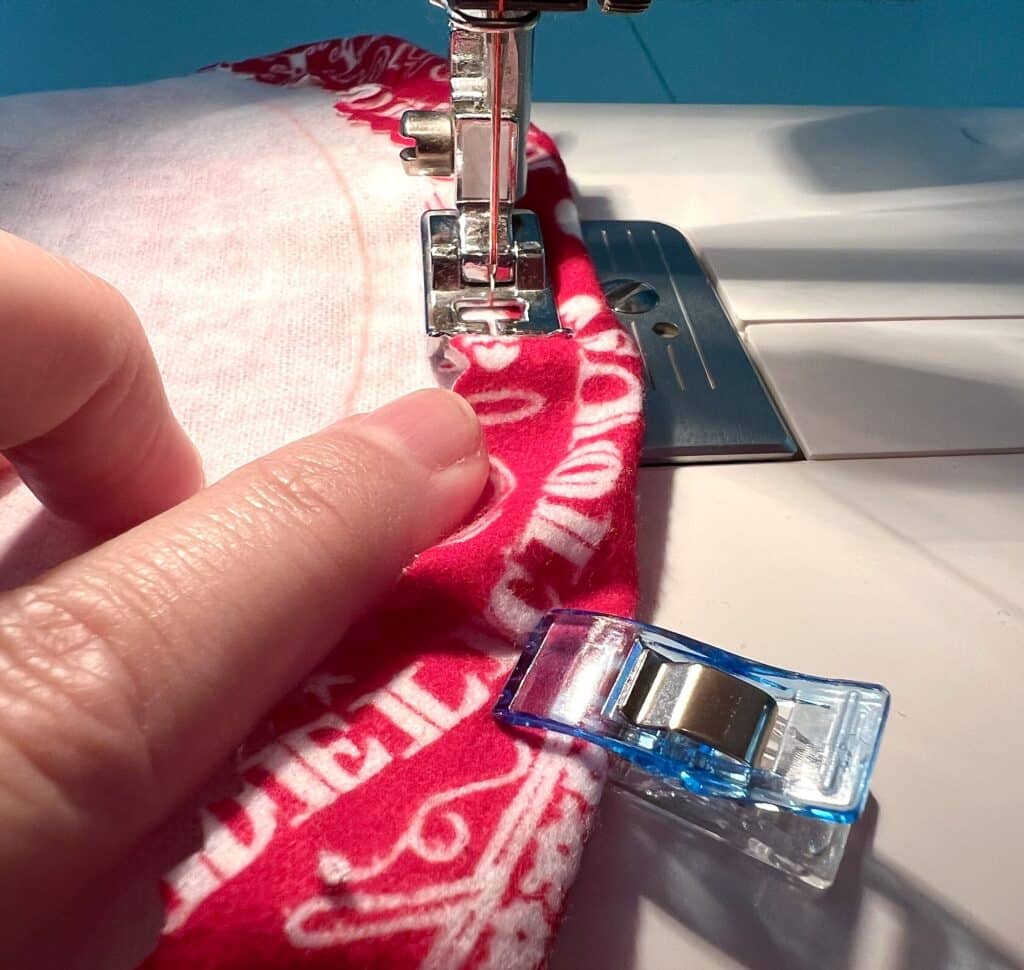
Backstitch at the beginning and end of your stitching.
Step 5
Measure your elastic by wrapping it around the top of the bowl. You don’t need to pull it tight.
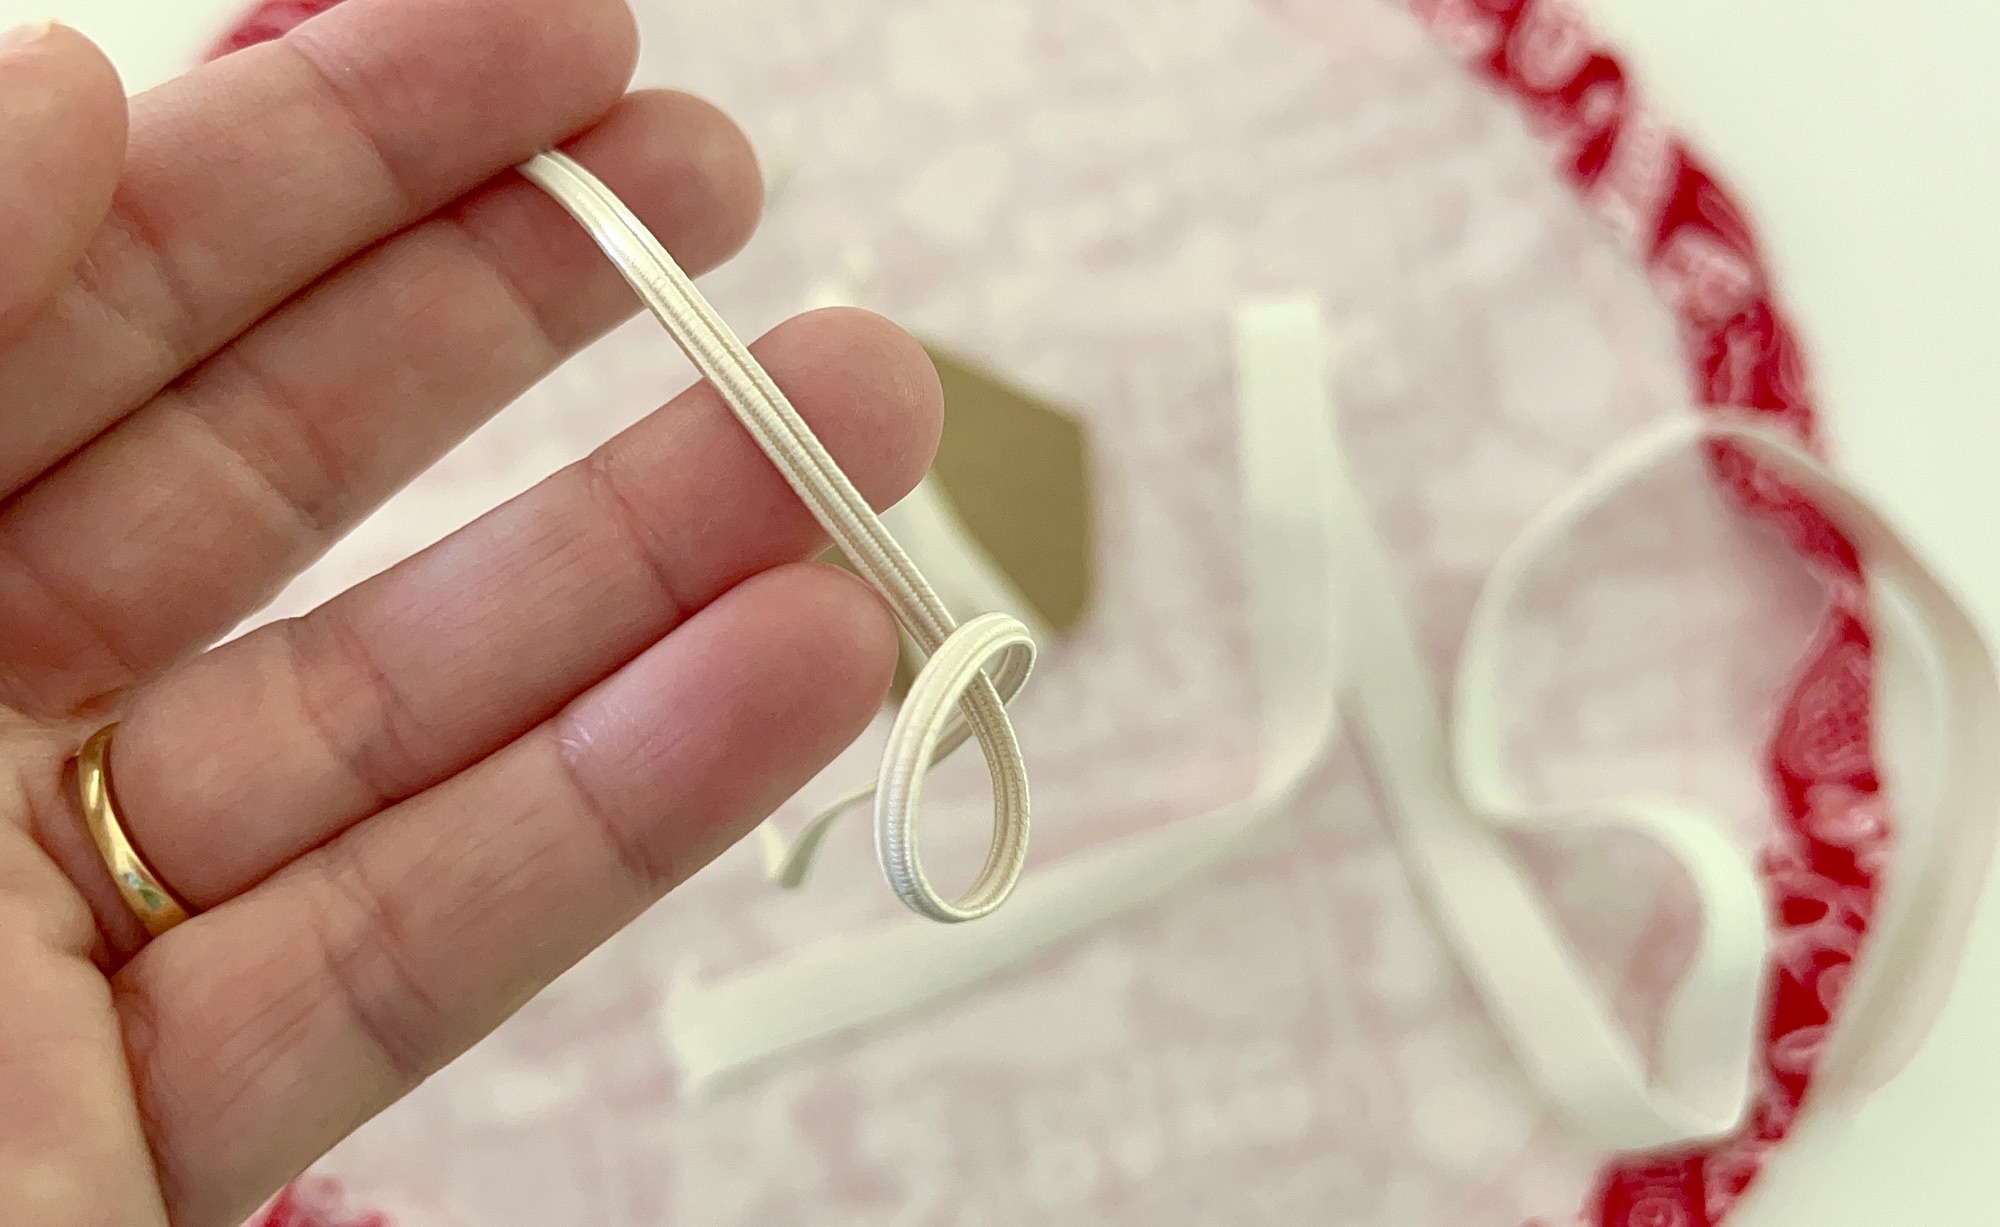
Cut the elastic piece. Then attach a safety pin or sewing bodkin to one end.
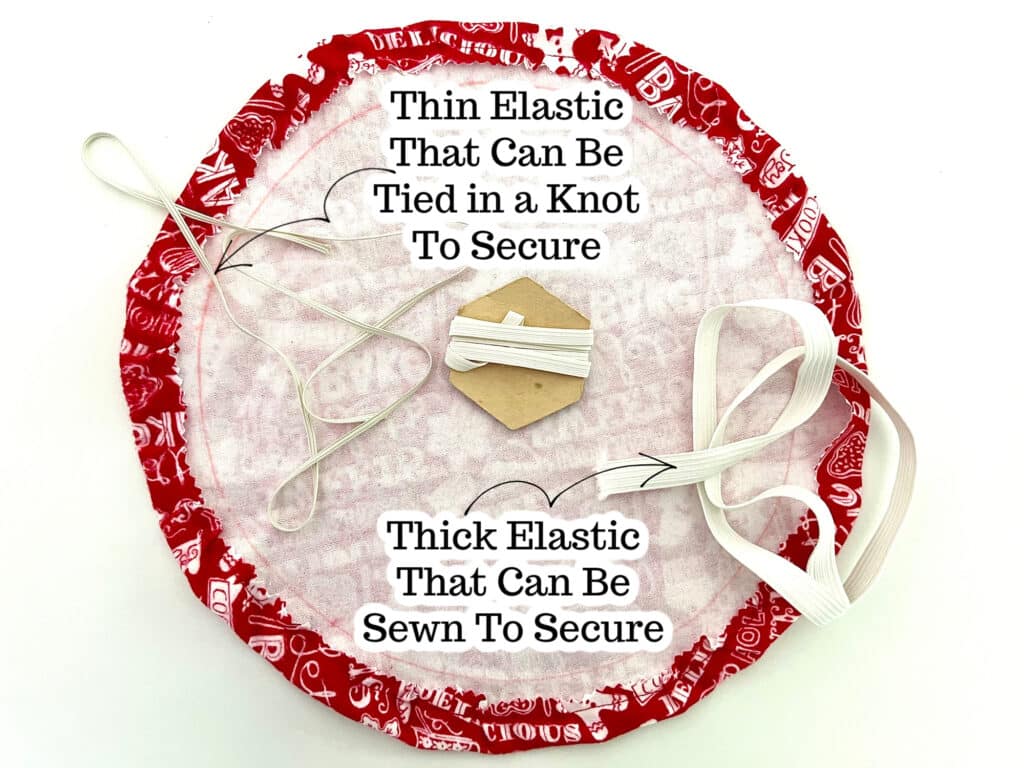
Helpful Tip: Because we are using thin elastic, it is easier to tie it into a knot later to secure it. However, if you are using a thick piece of elastic, it would be easier to sew the ends together, rather than knot. In that case, you would want to stretch the elastic around the top of the bowl to the right tension for the bowl cover, then add on an inch to the measurement to allow for the seam allowance of stitching the elastic together.
Step 6
Insert the safety pin or bodkin into one side of the two-inch gap that you left in the seam allowance. Start pushing the pin or bodkin through the gap with one hand, while pulling it through with the other hand in a push-pull inchworm motion.
Your fabric will start to bunch up along the elastic. Push the gathering down the elastic as you go, but be sure that the other end of the elastic doesn’t disappear into the seam allowance! You may want to clip it to the fabric just to be sure it doesn’t disappear.
Once you get to the end, tie a knot (I triple tie a knot) in the ends of the elastic and cut off long ends.
Now is a good time to make sure that the tension of the elastic is snug enough to fit around the bowl. If not, untie the knot and re-tie it again.
If you are using thick elastic, you will want to sew the ends together. I suggest using a couple rows of stitches, and be sure to backstitch at the beginning and end.
Step 7
Bring the cover back to your sewing machine and sew the gap closed, using the same seam allowance as before and being sure to backstitch at the beginning and end of the stitching.
Directions for Reversible Bowl Cover
The steps to make a reversible bowl cover are very similar to the method above.
Step 1
Trace the top of your bowl on top of the fabric using tailor’s chalk, disappearing ink pen or another marker. You can choose two different types of fabrics or two layers of the same fabric.
Add two inches to either side of the traced circle using a ruler or seam gauge, and draw a large circle around the inner circle pattern. (See steps above for reference.)
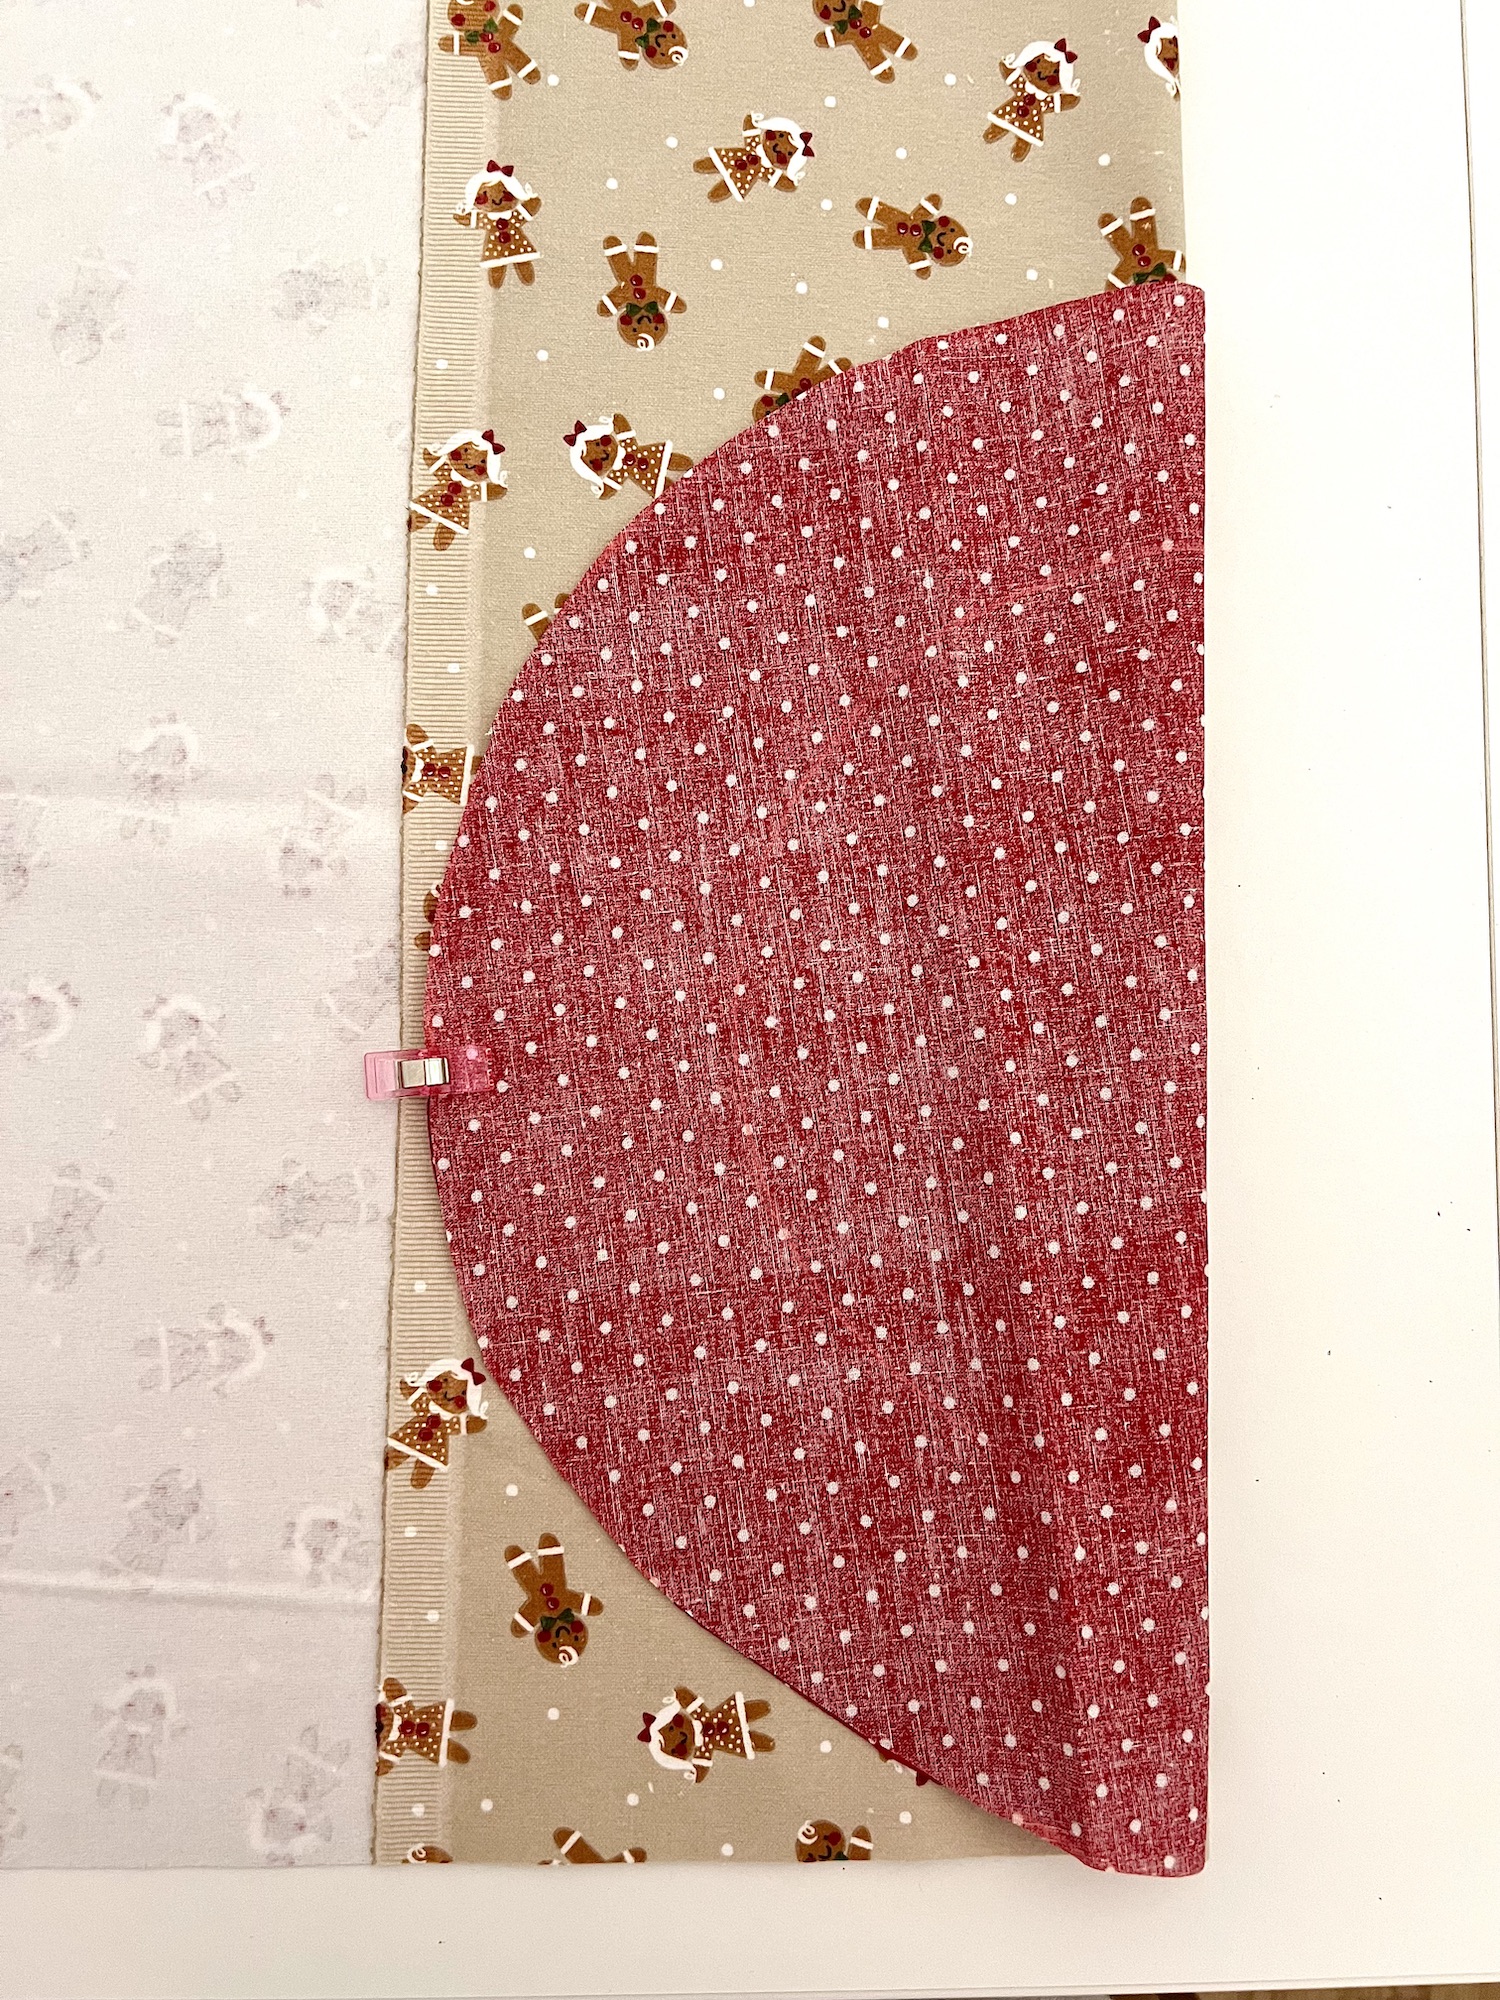
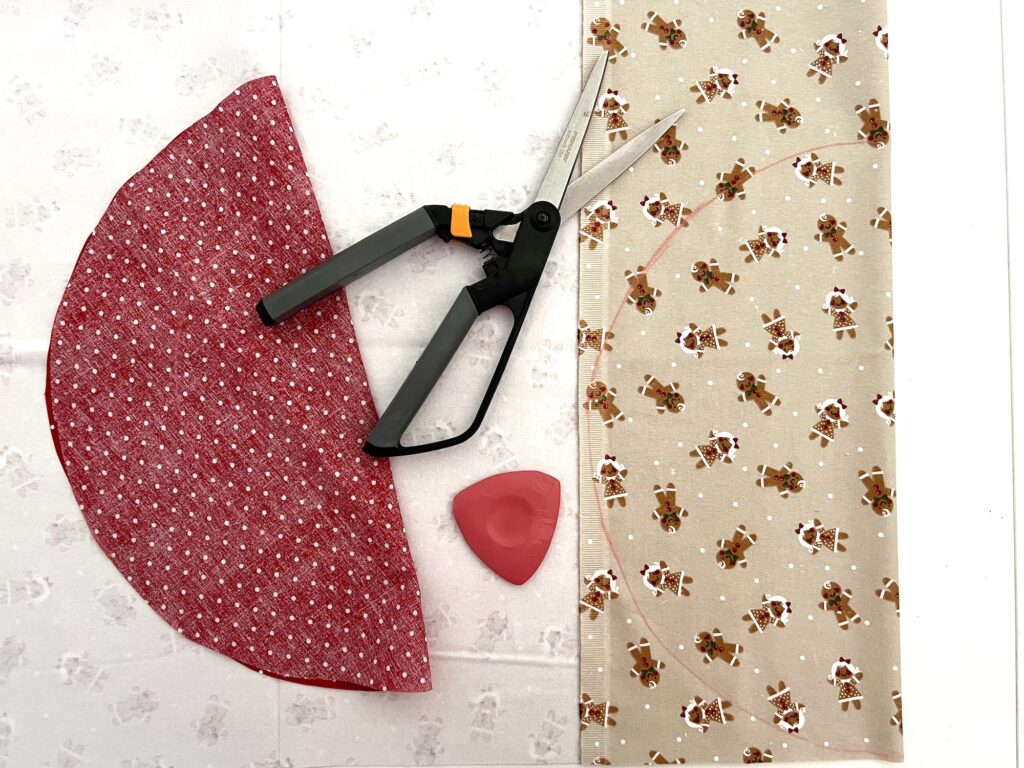
Helpful Tip: You can create a large circle pattern with one fabric and then trace that pattern on to your second piece of fabric. We folded our circle in half, then placed the fold on the fold of our second fabric piece and traced around then cut out. This saves some tedious time of measuring out the two inch marks and joining them together.
Step 2
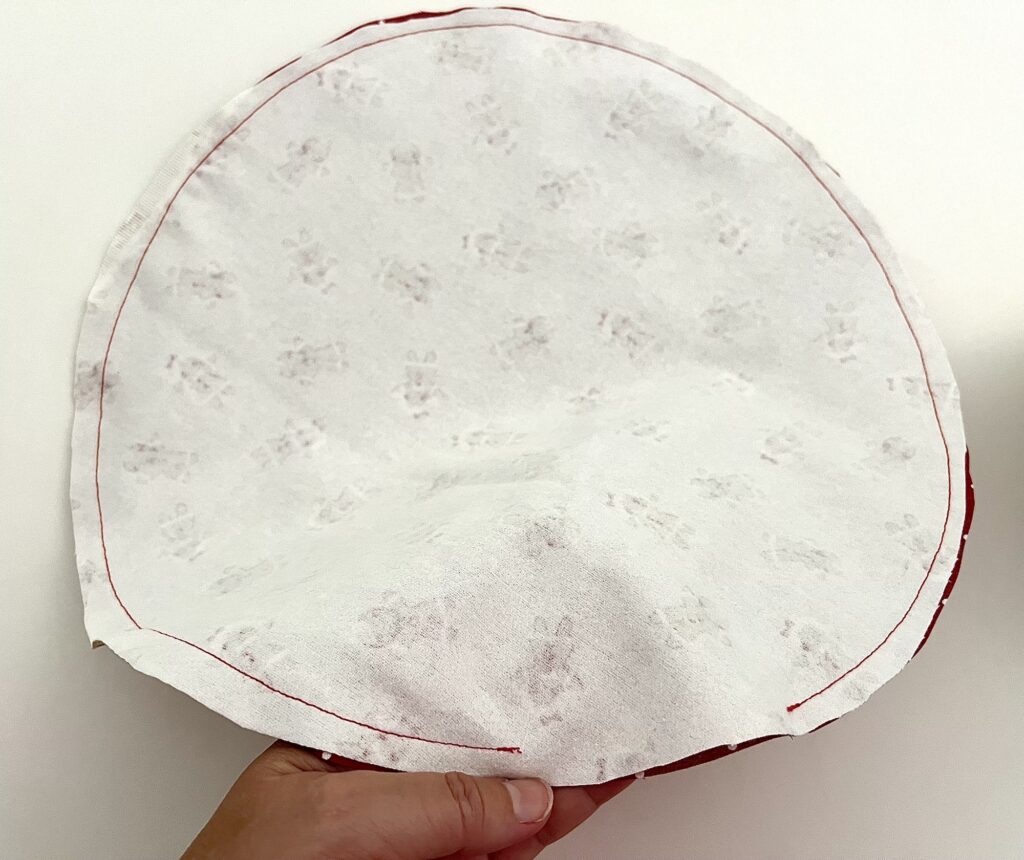
Place the two circles on top of each other, right sides facing inwards and wrong sides facing out.
Clip or pin together.
Sew around the edge using a 1/4 inch seam allowance. Be sure to leave a 2-3 inch gap for adding the elastic later. Backstitch at the beginning and end of your stitching.
Step 3
Clip around the curves so that they will turn out easier. Be sure not to clip into the stitches. However, do NOT clip or trim the seam allowance at the gap you left open.
Turn the bowl cover inside out. Be sure to push out the edges with your finger, a wooden spoon or a turning tool.
Now is a good time to press the fabric if you would like. You can also press out the seams so that they are crisp and lay flat.
Step 4
Now sew another line of stitching 1 inch from the edge.
While measuring from the outer edge of the cover, turn under the open seams to match the remainder of the bowl cover and measure from that point.
Be sure to sew all the way around the circle, not leaving any gap open.
Step 5
Using same method as in Steps 5 and 6 above, measure elastic and insert it into casing with a safety pin or bodkin.
Step 6
Once elastic is tied or sewn and secured, finish off the seam either by top stitching along the outer edge or by hand sewing.
Helpful Tips
- Any size of elastic can be used, but you may need to adjust the size of the casing and therefore the size of the circle if you are using a really thick elastic.
- Throw these bowl covers in the washing machine and wash like normal to remove food residue.
- I tried using a 2 1/2 inch wide measurement around the bowl. It works great, too, and creates a much wider coverage around the bowl.
- Pre-wash your fabric before starting. This is important because you will be washing these bowl covers in your laundry and you want to prevent color transfer and shrinkage.
If you would like to see a video tutorial of how to make reusable bowl covers, watch my YouTube video:
Be sure to Pin This idea to save for later!
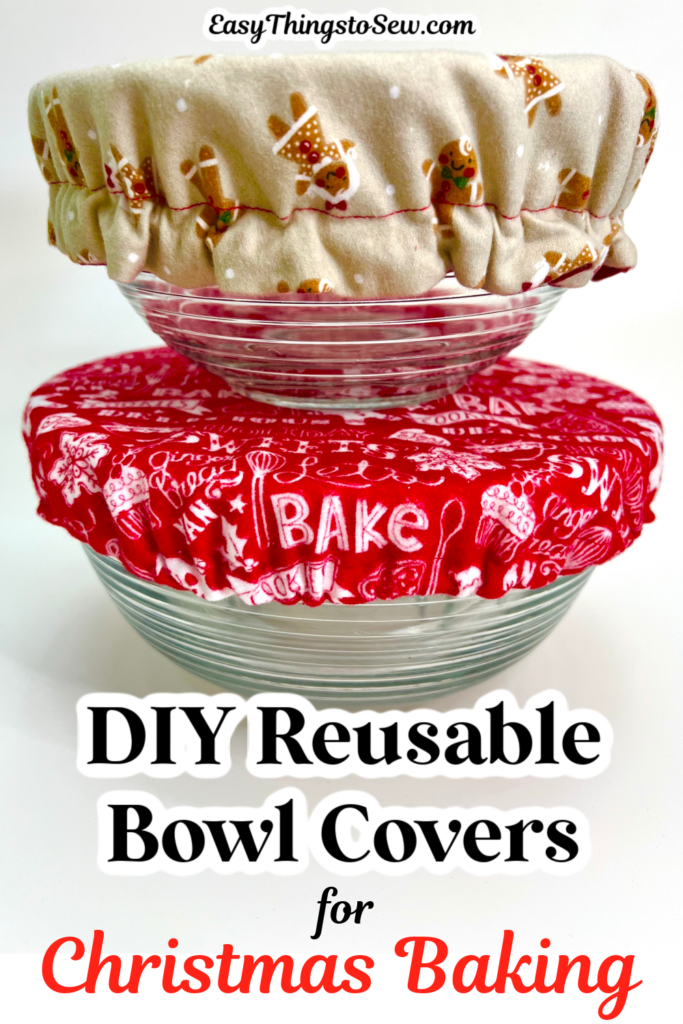
These easy DIY reusable bowl covers are just one of our free sewing patterns for holiday baking and a Christmas kitchen. See these sewing projects next:

Love this idea. I have lots of fabric scraps that I could use. Thank you for the tutitoril
You are very welcome!