DIY Fleece Neck Warmer
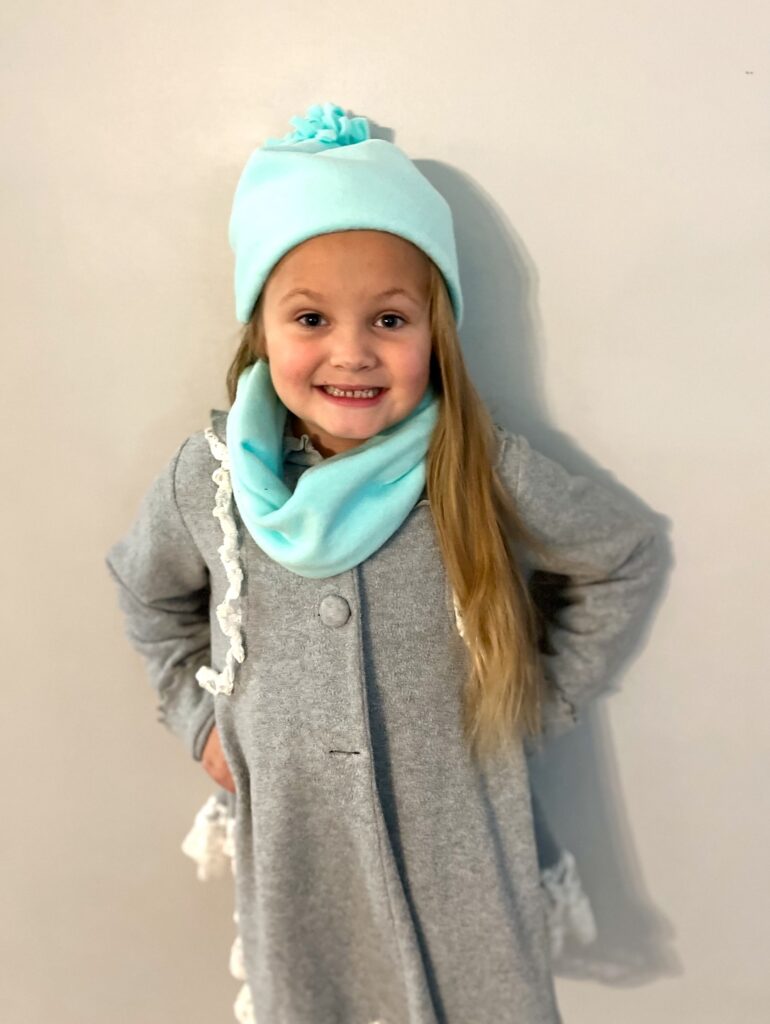
Making a fleece neck warmer is quicker and easier than you might think! We made these warm neck cowls in about 15 minutes for less than $1 each!
Our easy DIY neck warmer tutorial can be customized for kids or adults. You do not need a pattern, just take some measurements and you are ready to start sewing!
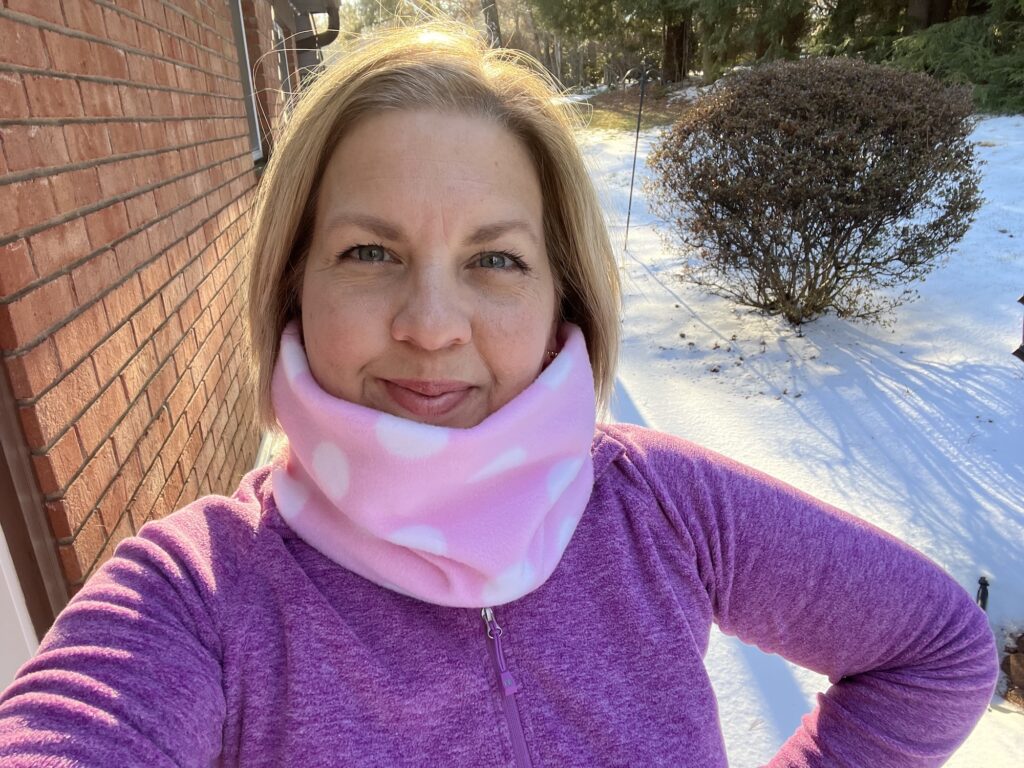
I bought one yard of fleece and was able to make two neck warmers, fleece ear warmers, an easy fleece hat and more.
How to Measure
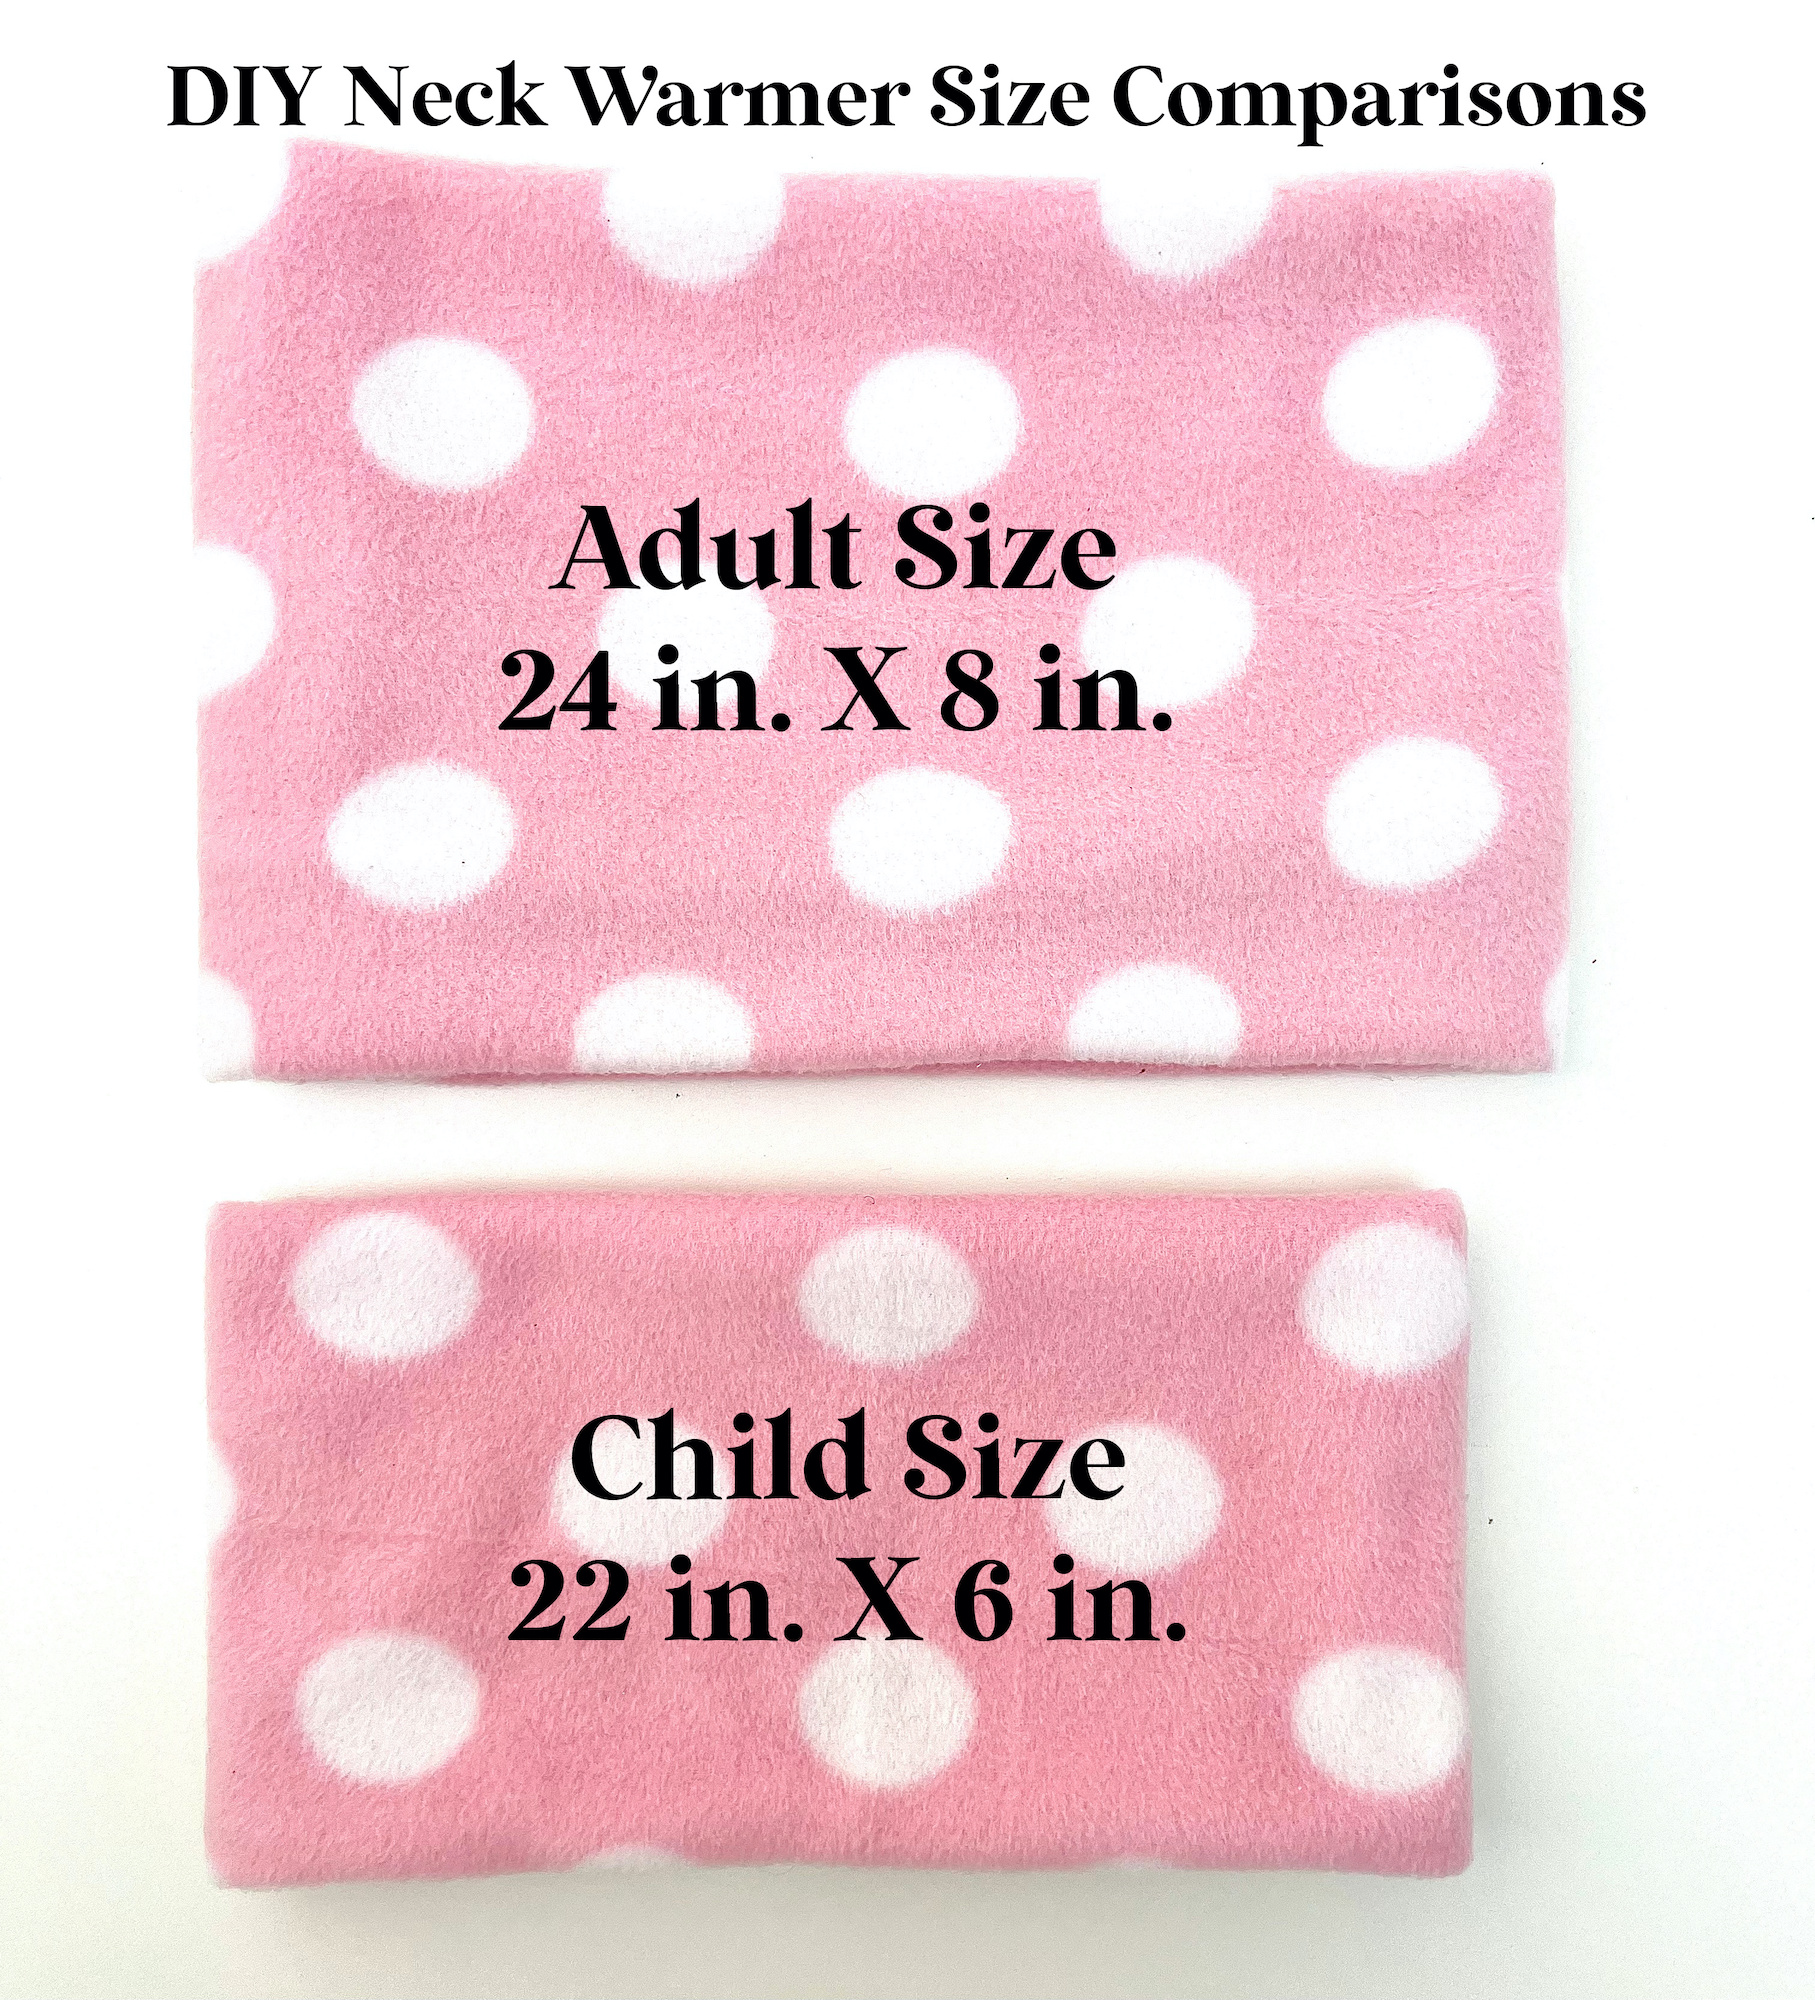
A general rule of thumb for measurements to make a neck warmer is:
- 6 inches tall for kids
- 8 inches tall for adults
- 22 inches wide for kids
- 24-25 inches wide for adults
However, you should use a flexible measuring tape to take your dimensions before cutting your fabric, especially for kids because their age and size.
Wrap the measuring tape around your neck and decide how loose or snug you would like it to be. Then add 1 inch to the measurement (to allow for seam allowances).
I made myself a neck warmer and used the measurements of 6 inches tall X 24 inches wide. I found that this size was perfect for me because it wasn’t too tall around the neck and not too loose or tight.

However, many people prefer a neck warmer that can be pulled up around their mouth or nose. In that case, you would need at least 8 inches tall.
I made another fleece neck warmer that was 8 inches tall and you can see the comparison below. (I gifted this one to my neighbor because I just don’t like that much fabric around my neck!)

My husband actually tried this larger neck warmer on (sorry, no pictures of that!) and he liked the size. It easily fit over his nose when pulled up. He did not think he would like a taller size.
I would not make it any taller than 10 inches because the fleece is very thick and would be bunching up a lot around your neck.
How to Sew a Fleece Neck Warmer
Supplies
- Fleece fabric (not flannel) (You can get 2 kids neck warmers from 1/3 yard, otherwise you will need 1/2 yard)
- Thread
- Sewing Machine
- Sewing Scissors or Rotary Cutter and Mat
- Sewing Clips or Pins
Directions
Measure and cut your fabric.
Measure the width (probably 22-25 inches, depending on your needs) along the stretchiest side of the fabric, which will be between the two selvedge edges. Watch my YouTube video below if you need some help determining where the selvedge edges are on the sides of the fabric.
Determine how tall you want the neck warmer and double that dimension (you can add on another 1 inch to allow for seam allowances, but I didn’t do that and was still happy with the results).
For example, a 6 inch tall neck warmer would be 6 X 2 = 12 inches across.
So for my neck warmer I cut a piece of fabric 12 inches X 24 inches.
(In the YouTube video below I also show cutting two individual pieces and sewing them together. This is another method if you don’t have a piece of fleece wide enough to do a fold.)
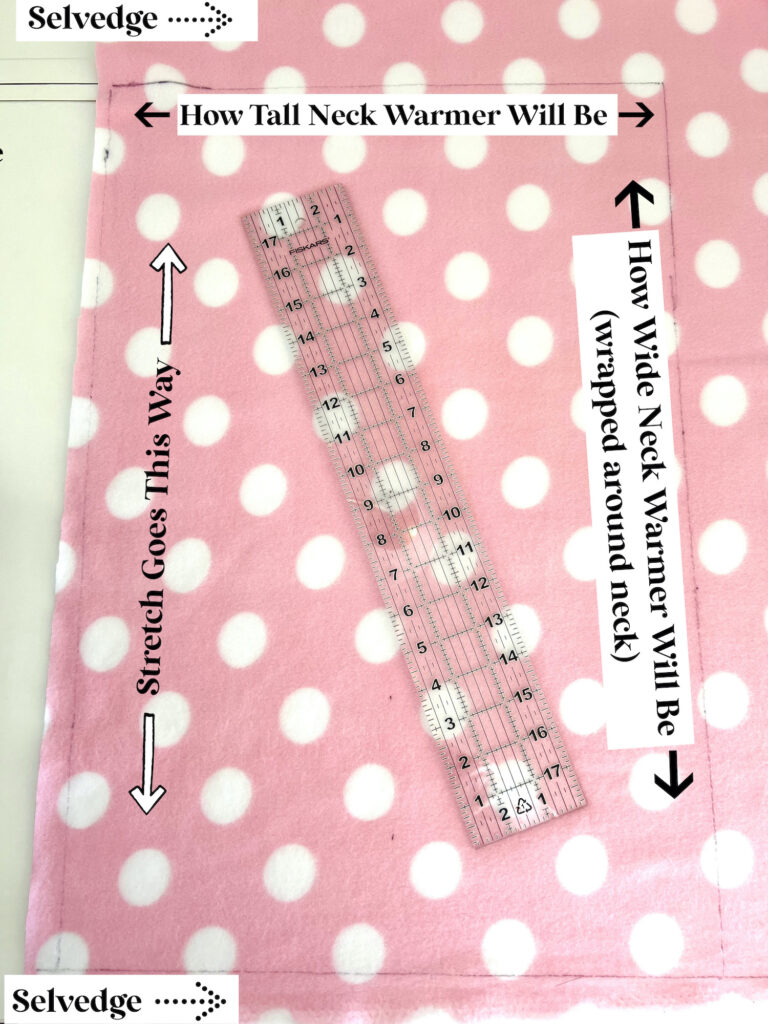
I have found that using a rotary cutter and mat is the easiest way to cut fleece, however it is not necessary.
Fold the fabric in half with the right sides facing together. Fold along the longest side of the fabric.
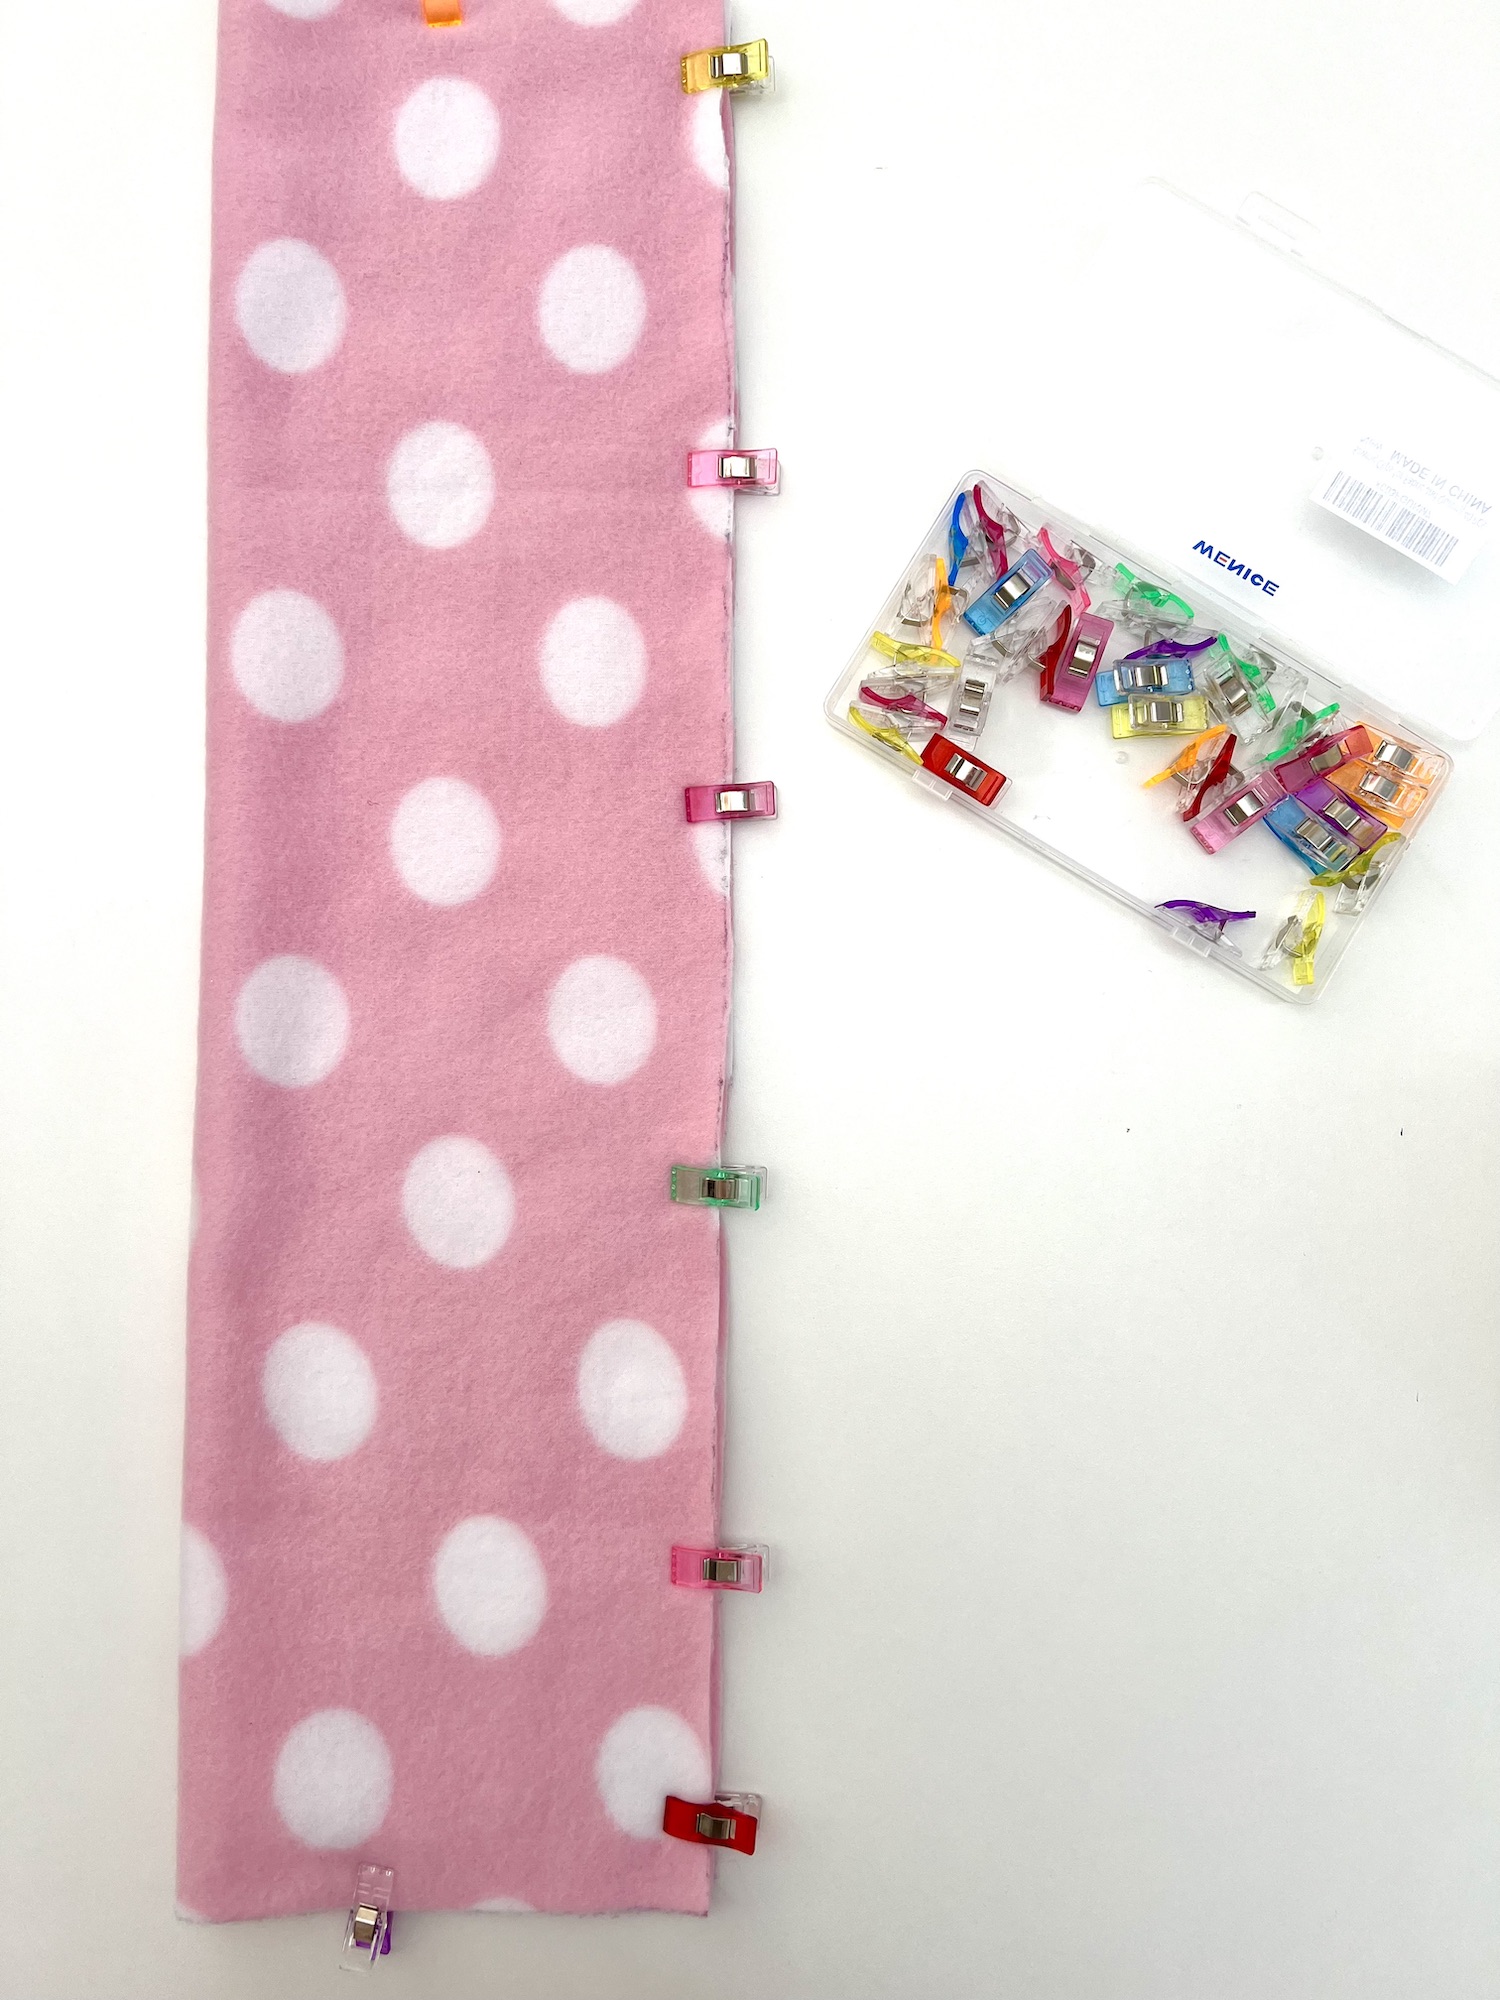
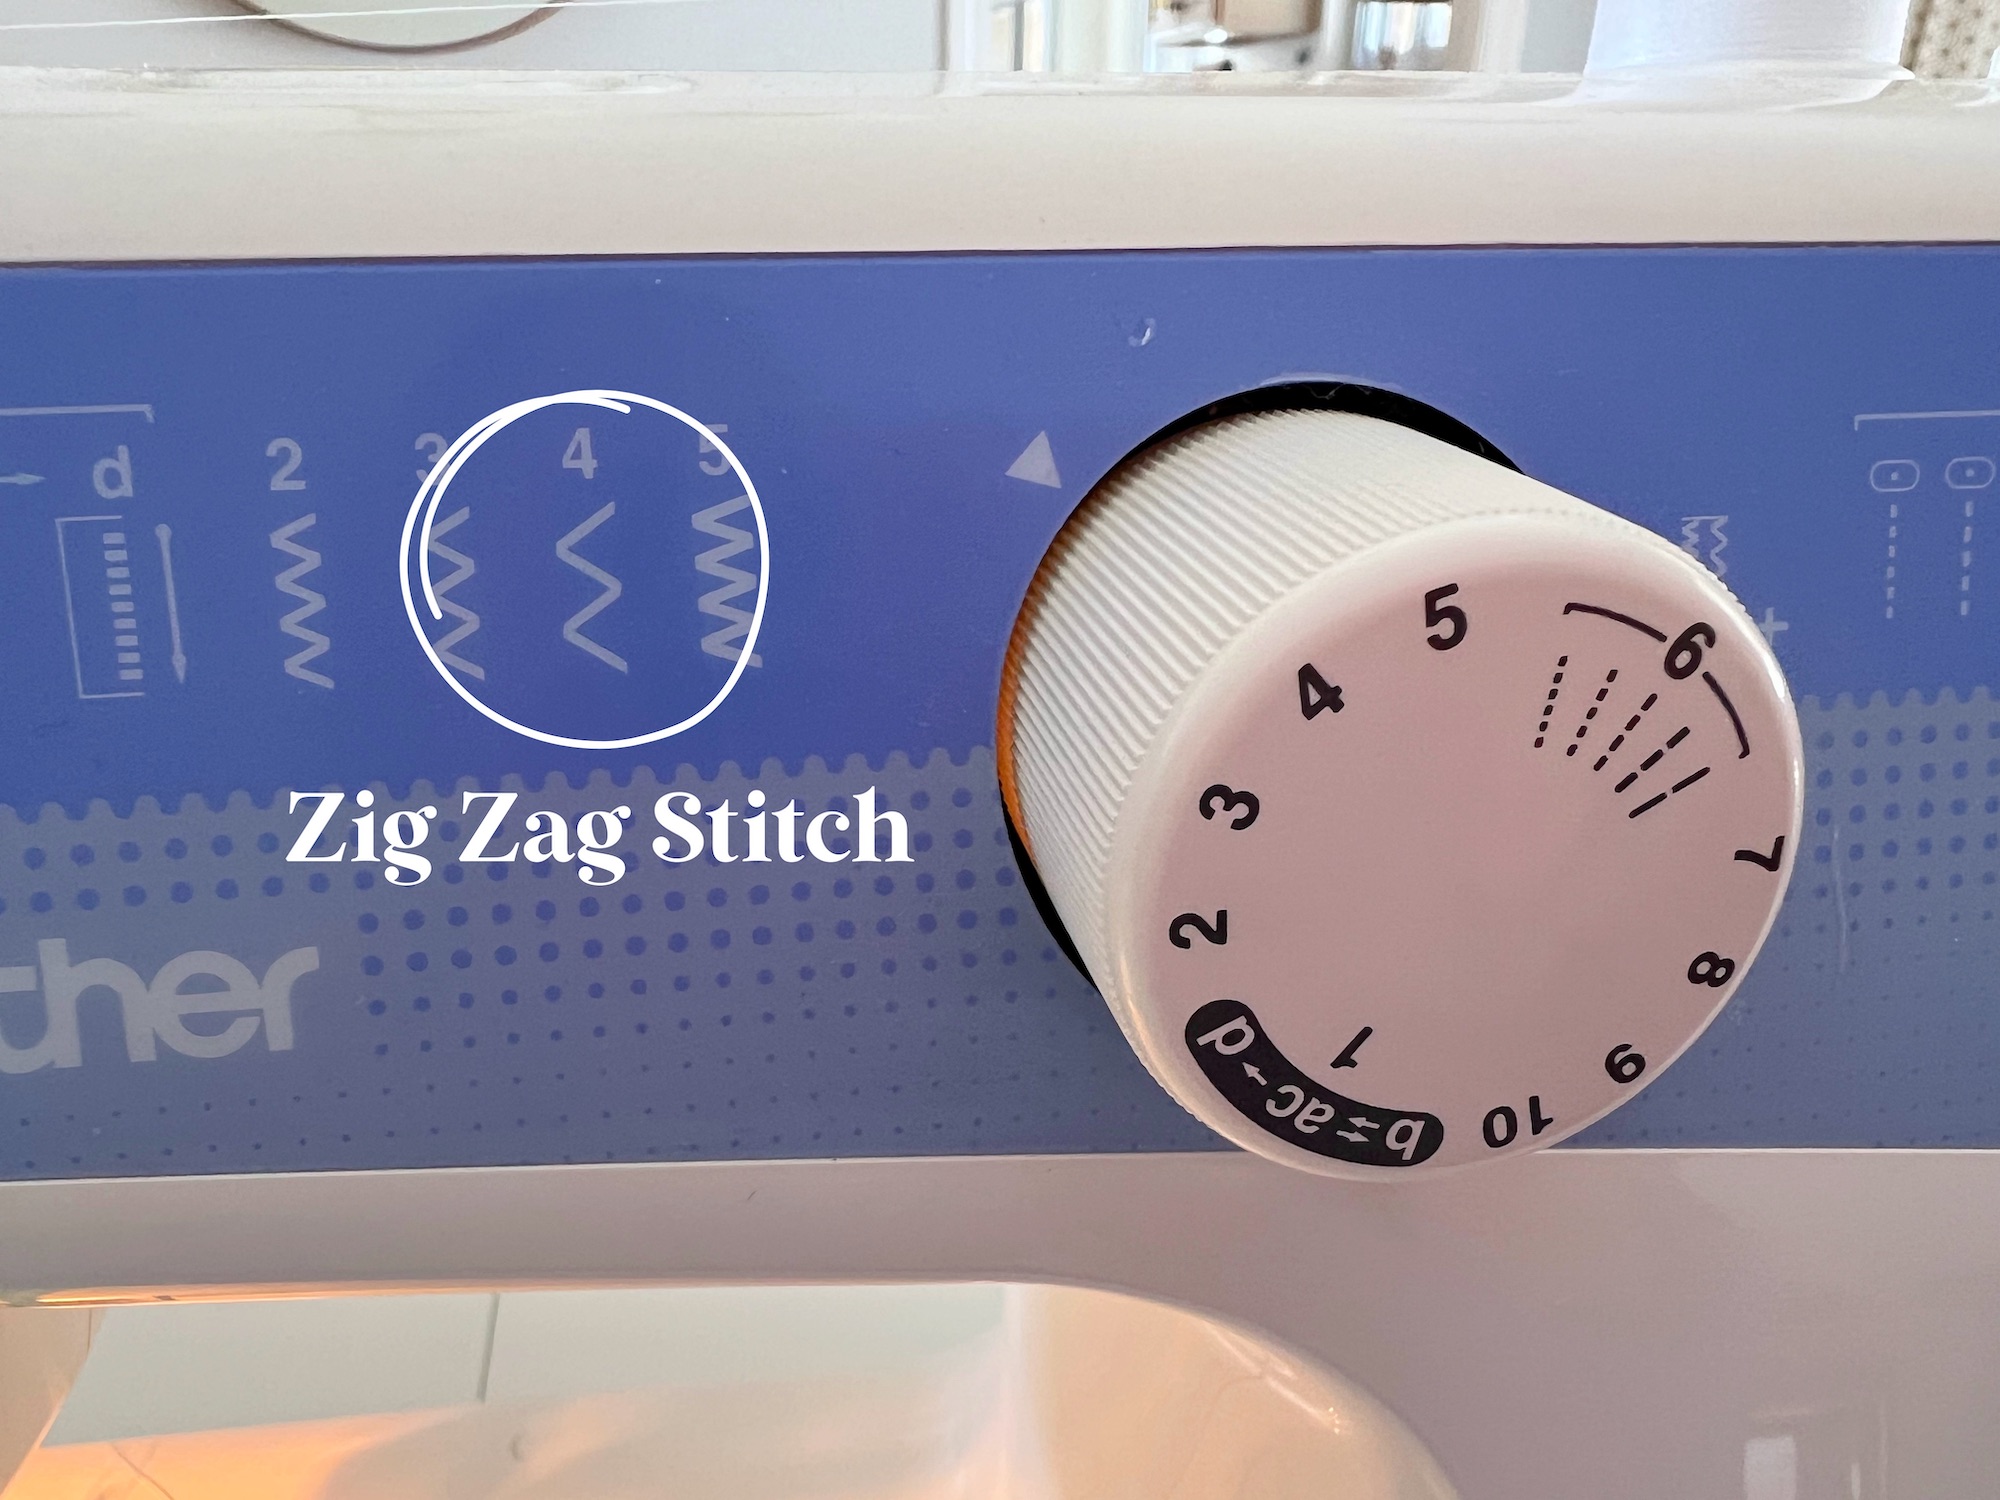
Using a zig-zag stitch, sew along the straight edge with a 3/8 inch seam allowance.
A zig-zag stitch is recommended because it allows the fabric to stretch over a head. A simple straight stitch might pop when the fleece is being stretched.
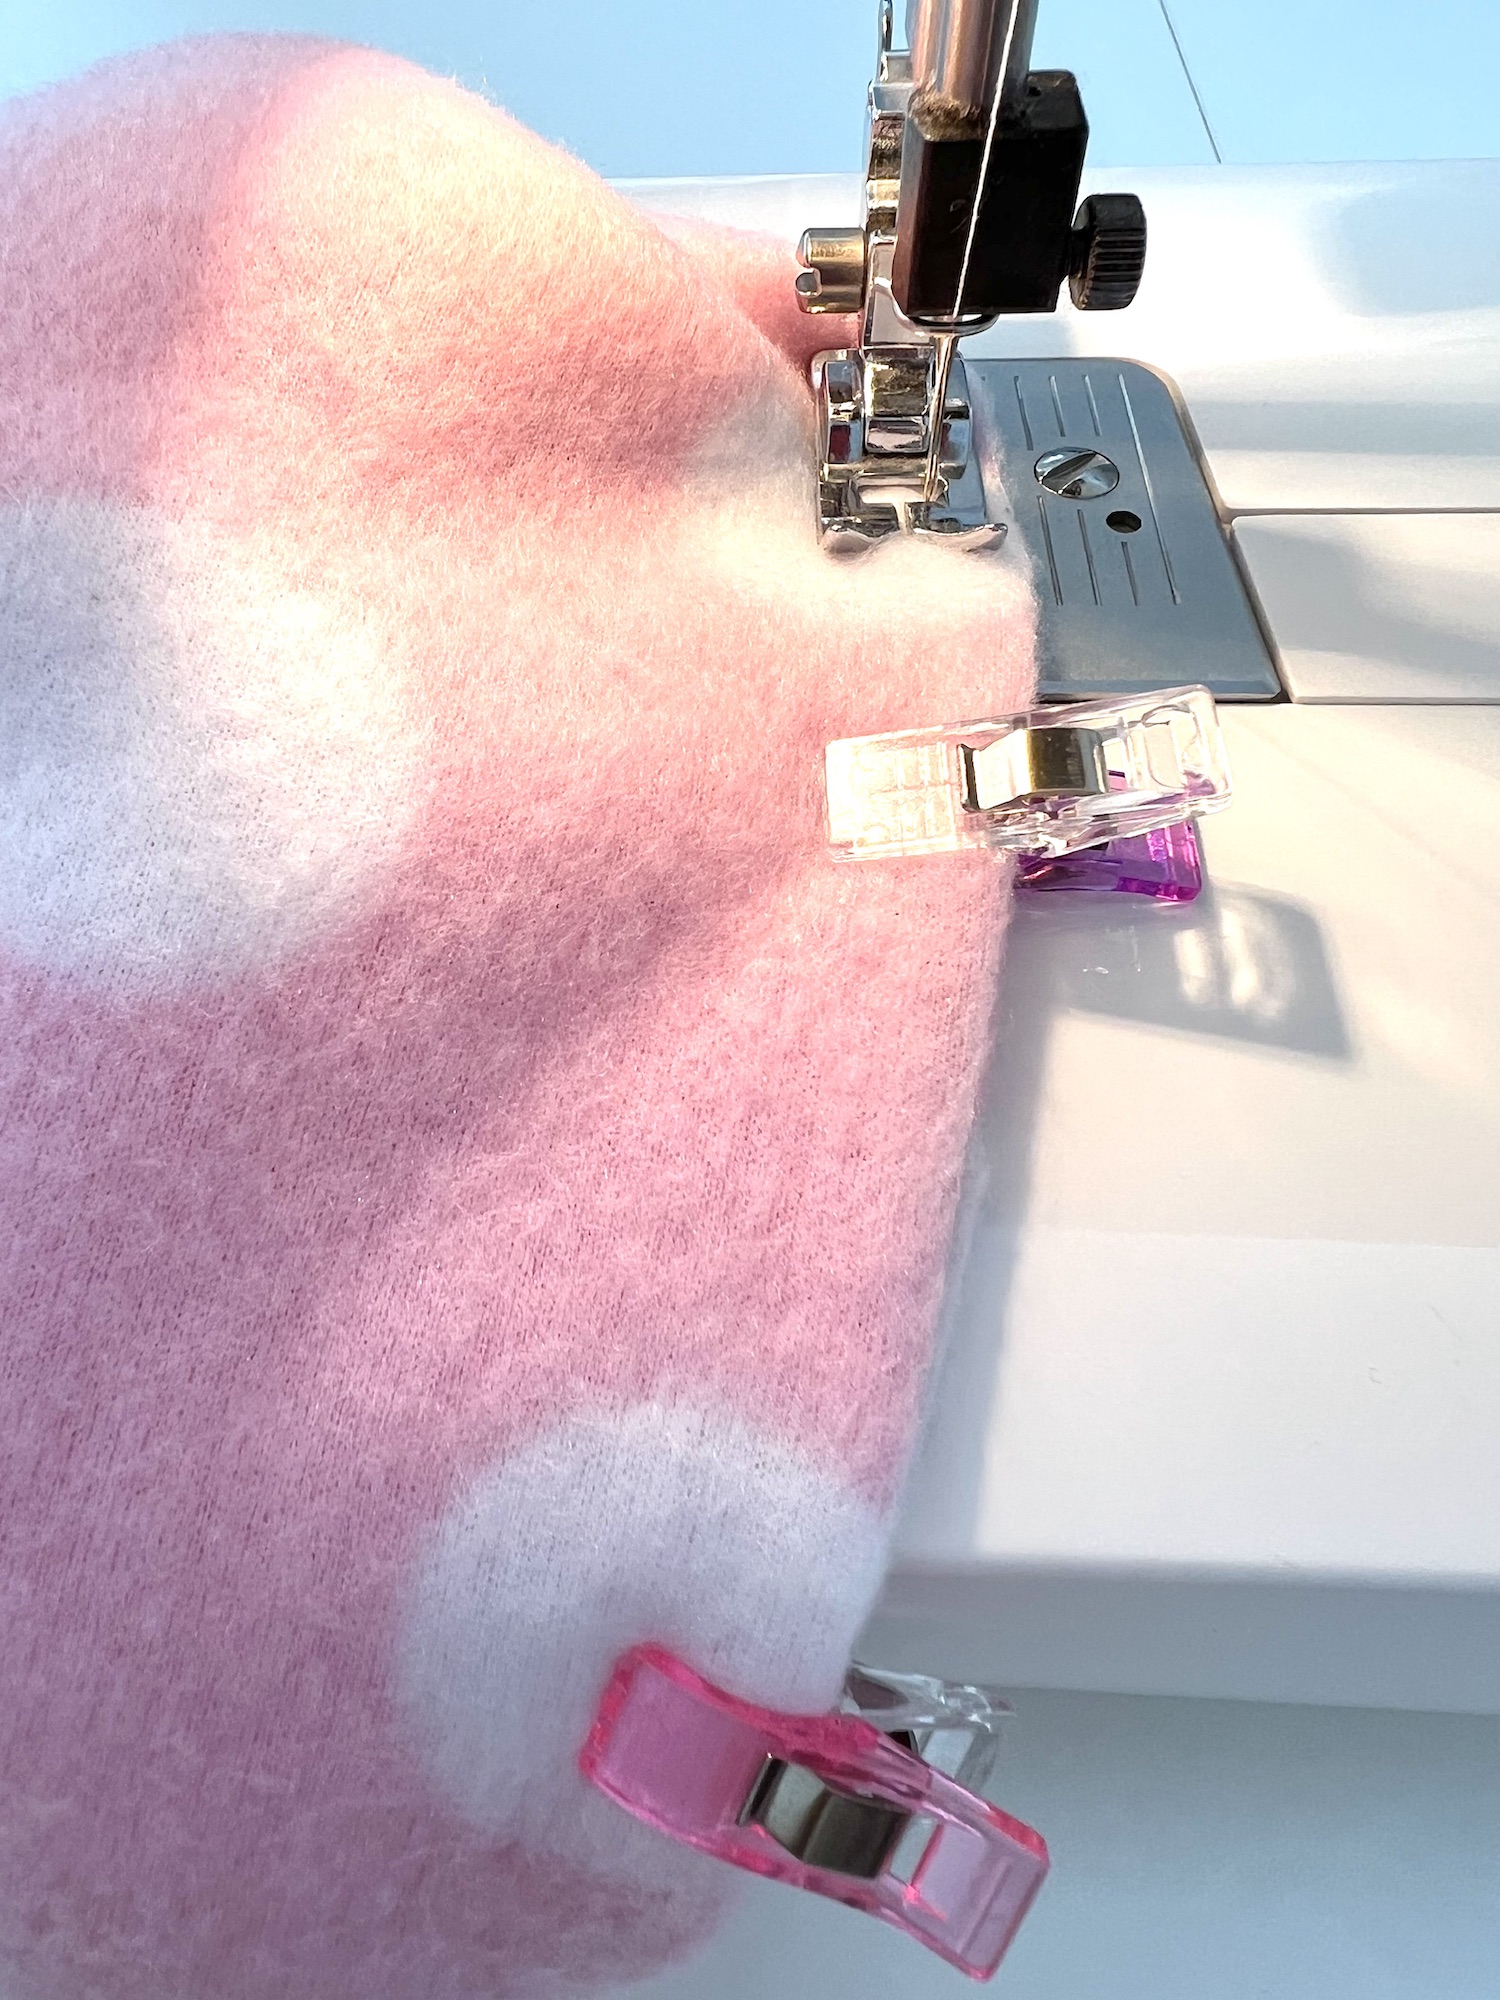
Turn the long tube inside out, so that the right sides of the fabric are outside.
Now, fold the tube up over itself again halfway, with the right sides facing each other and wrong side will be out.
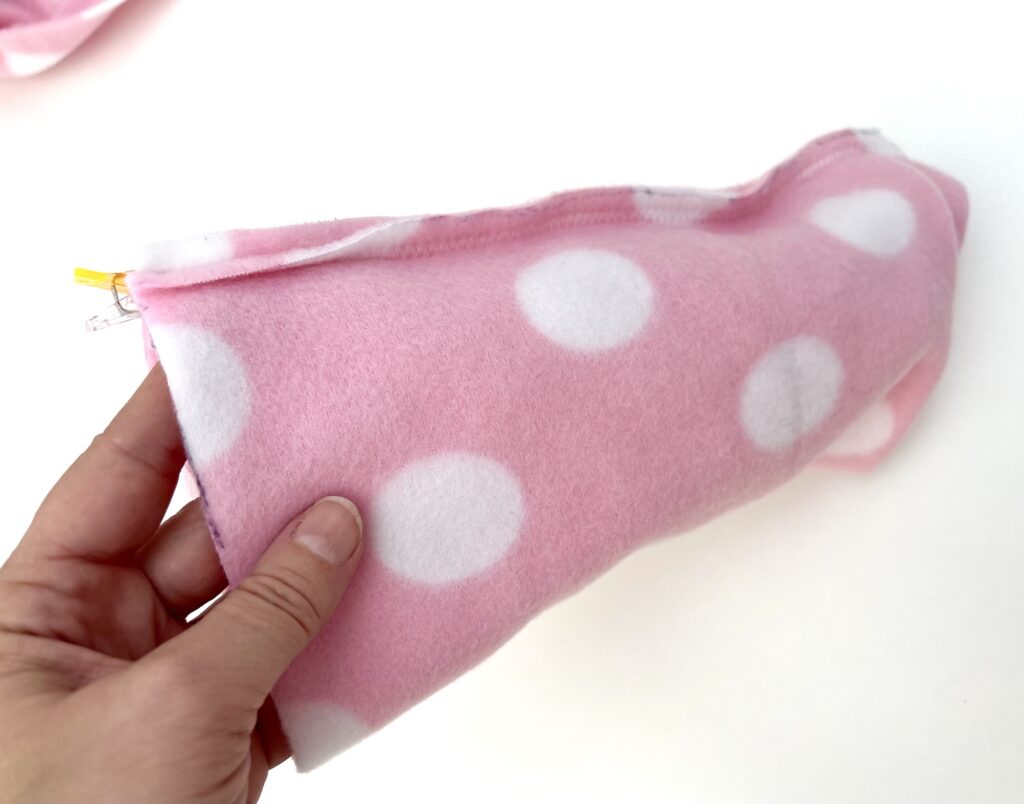
Match the seams at the cut edges. If possible, open the seams when matching them, but I never have enough fabric left over to open the seams to pin.
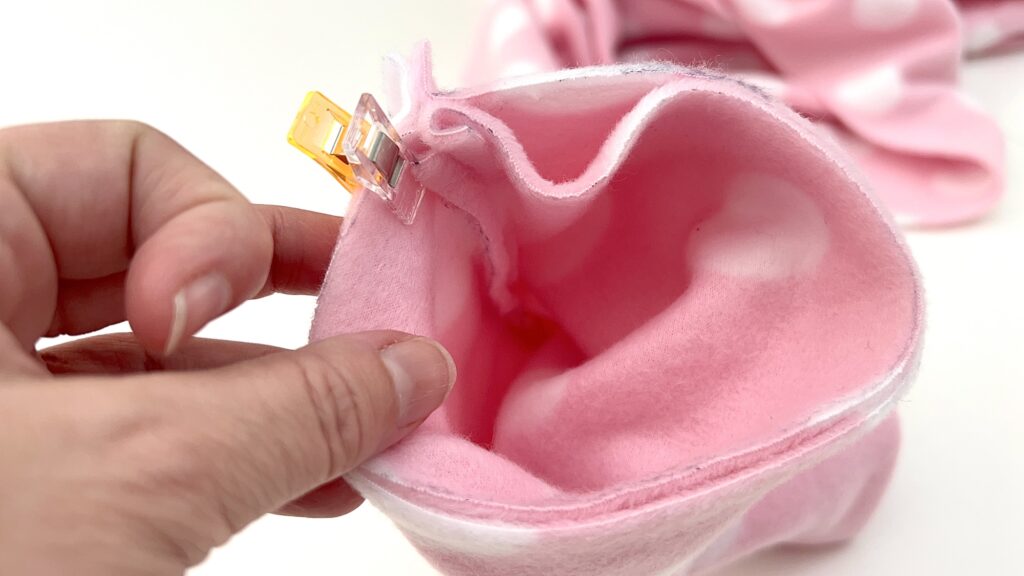
Pin or clip the fabric together all the way around the circle.
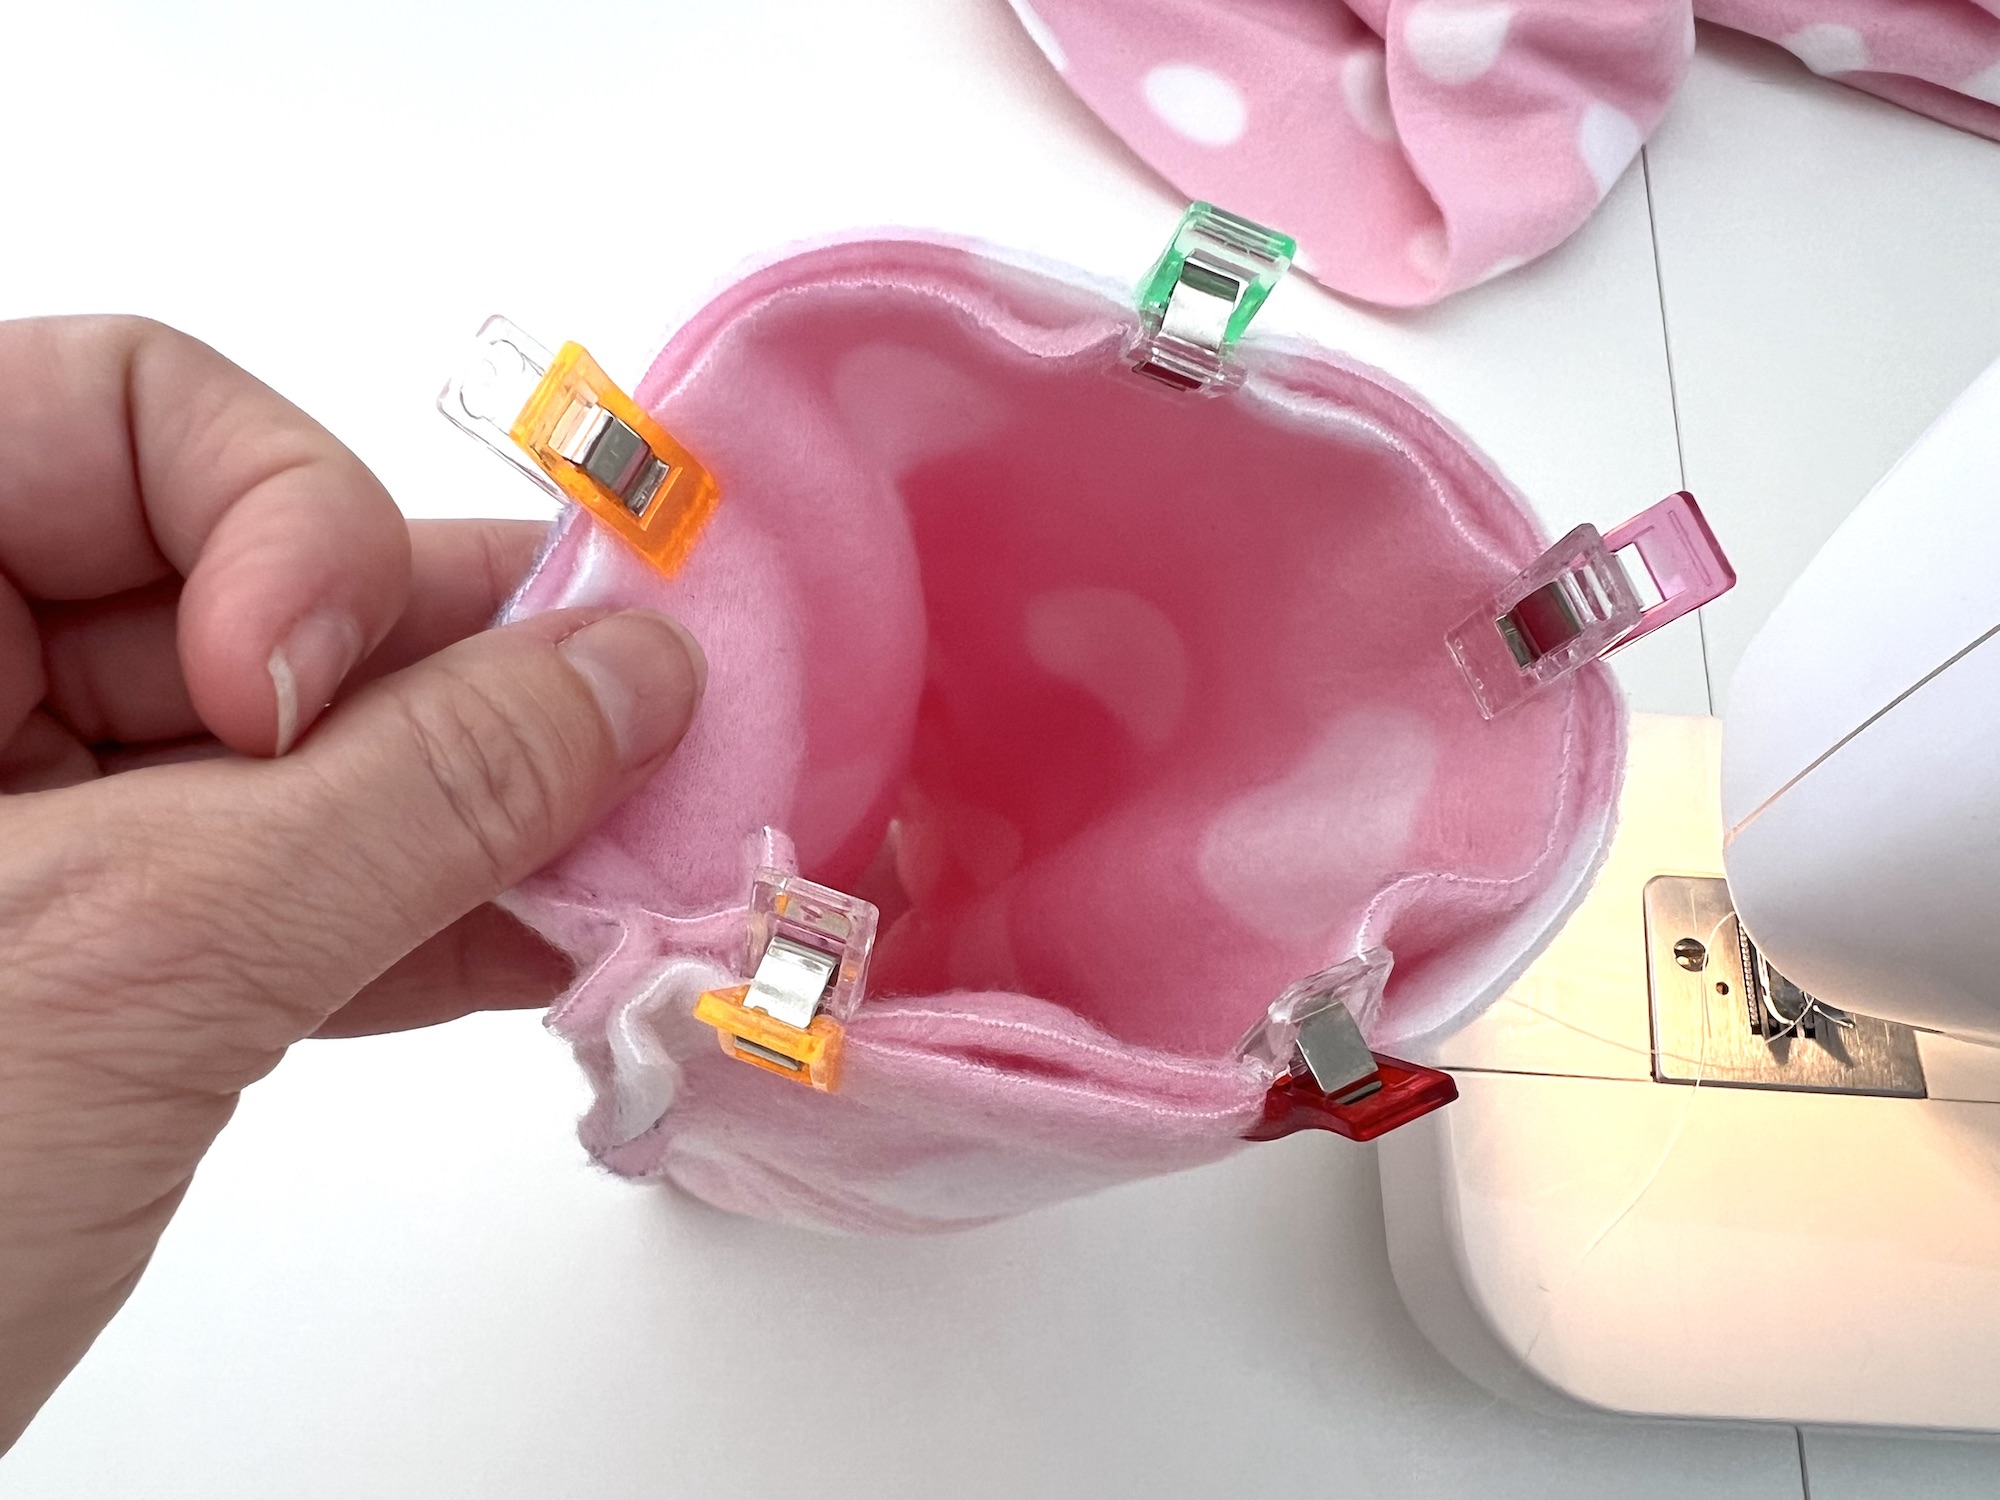
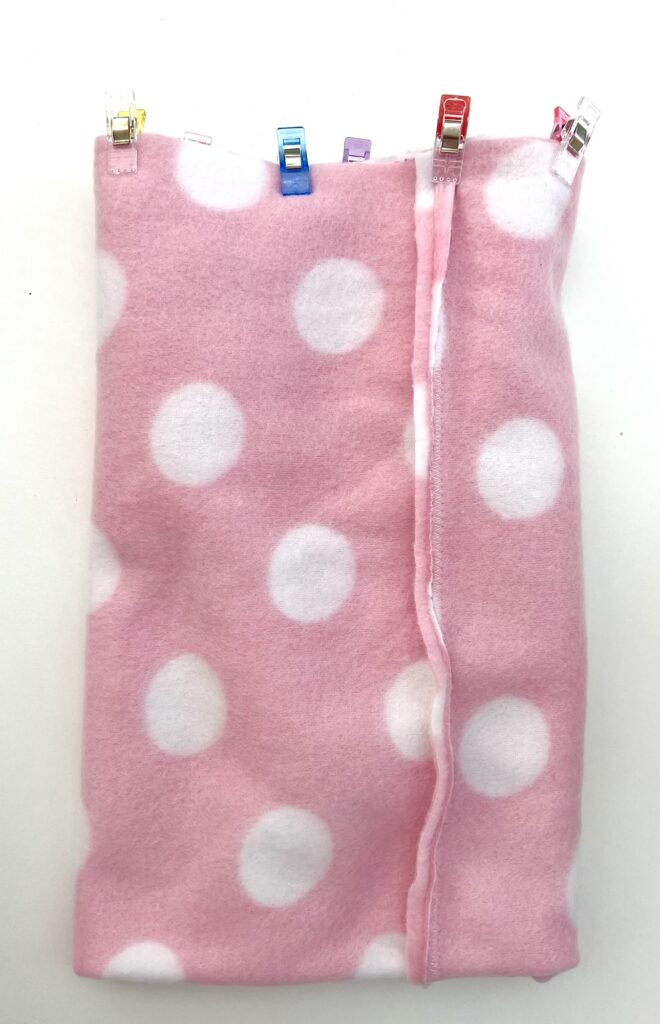
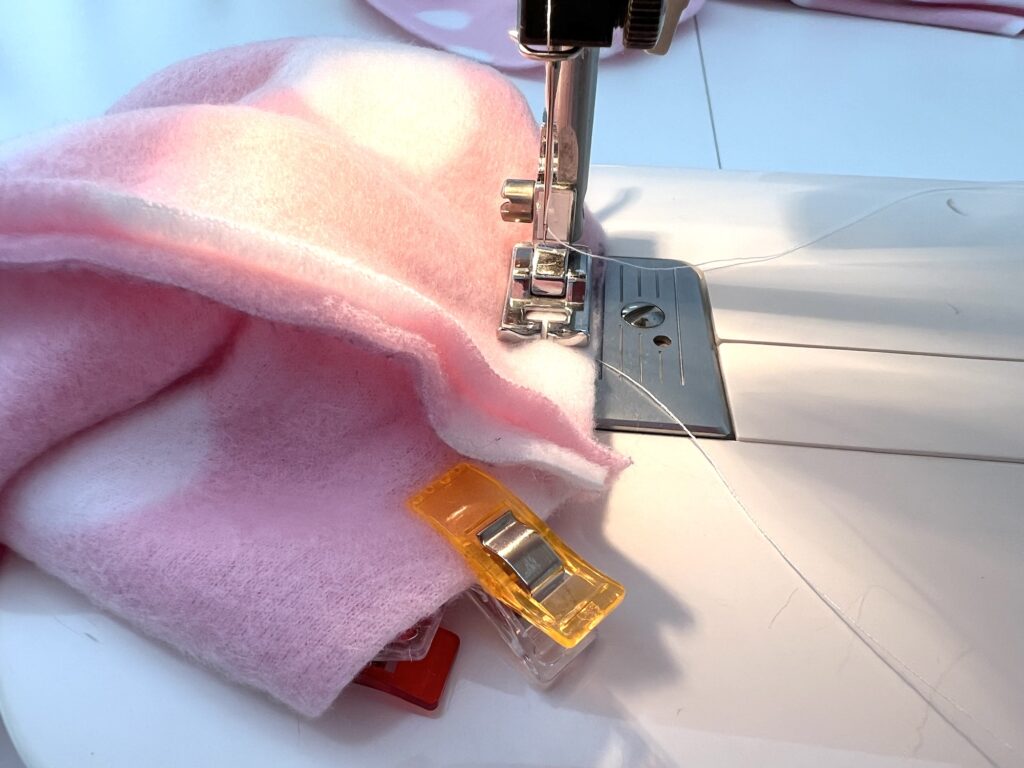
Using a zig-zag stitch again, sew around the top of the circle with a 3/8 inch seam allowance. Leave a 2-3 inch gap along one of the straight edges (not where the seams are matched). Be sure to back stitch at the beginning and the end of the stitching.
Turn the tube inside out through the opening. Be careful because the fleece is thick and the opening is small, so you may need to take it slow.
Close the gap with either hand stitching (I prefer the ladder stitch because it doesn’t show) or on the sewing machine. Fold the open seams under and sew to close.
If using a sewing machine, you can switch the stitches back to a simple straight stitch. Then tuck the open edges under and stitch close to the edge, like a top stitch.
Be careful not to sew the gap closed with the outer layer of fabric tucked in to the seam allowance, too! You may need to pull the two layers apart just to make sure that you only sew the one layer.
Turn the neck cowl so that the seams and stitched gap are on the inside of the neck warmer.
Watch me make a fleece neck warmer in my YouTube video below:
How Much Fabric Do I Need?
The amount of fabric you will need to make a neck warmer depends on the size you make.
For example, you can get two child-sized neck warmers (6 in. X 22 in.) from 1/3 yard of fleece (assuming the fleece is 44 inches wide and cut straight). The fleece would be wide enough (12 inches = 1/3 yard) for the length and you can do two cuts stacked on top of each other between the selvedge edges (22 inches + 22 inches would roughly equal the 44 inch width between the selvedges).
However, if you make an adult-sized neck warmer, you will need at least 1/2 yard. That is because a neck warmer 8 inches tall would require a 1/2 yard width (remember, you’ll need to double the size so you actually need 16 inches, and a 1/2 yard is only 18 inches long). Also, the 24 inch length of the neck warmer would be more than half of the width of the fleece, so you can only get one neck warmer per 1/2 yard (plus a lot of other little projects).
Helpful Tips I’ve Learned From Making These Neck Cowls
- It can be very difficult trying to tell what is the right side and what is the wrong side of fleece fabric. The good news is that if you can’t tell while sewing the item, then it probably won’t matter with the finished item, right?
- If you really need to determine the right side of the fleece fabric and can’t tell based on the color of the pattern or the nap of the fabric, you can look at the selvedge seams. The selvedge will be rolling in towards the right side.
- Use a large zig-zag stitch rather than a smaller, tighter stitch. You want there to be enough give when this neck warmer is pulled over the head.
- Pinning or clipping the fabric is definitely a good idea! I found that the fleece fabric slid easily while sewing.
- I used a Sharpie to trace the lines on my fleece fabric because none of the cut parts would should. This was the easiest way to make marks on the fleece, compared to using chalk.
Save this idea to Pinterest to remember for later!
This is just one of our easy sewing projects to keep you warm in winter. Be sure to see the rest of our ideas!

