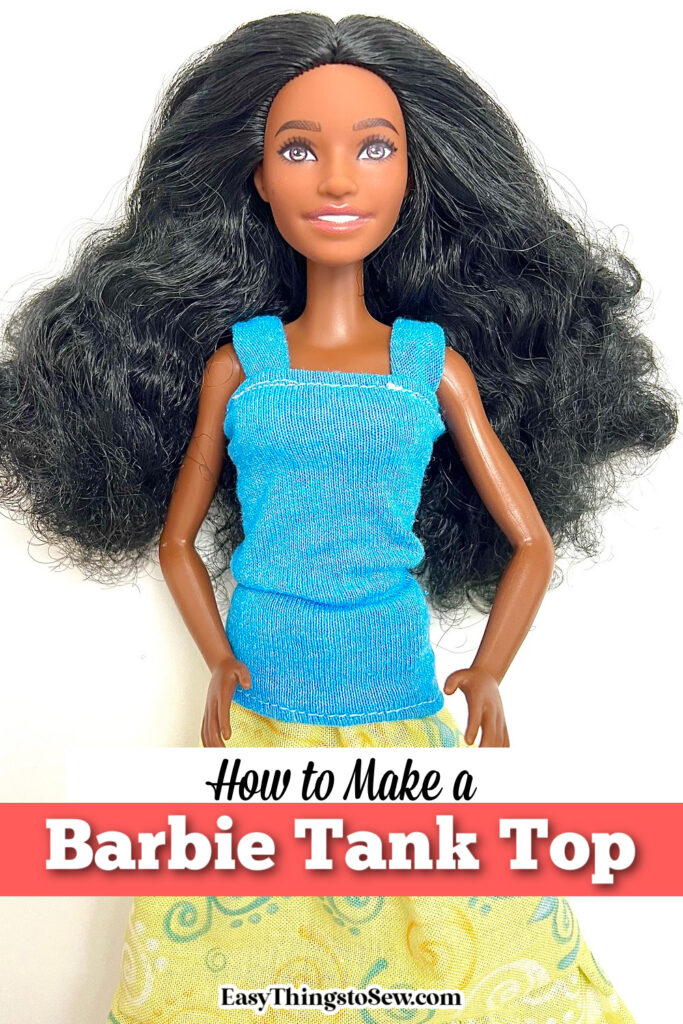
How to Sew a Barbie Tank Top (from an Old T-Shirt!)
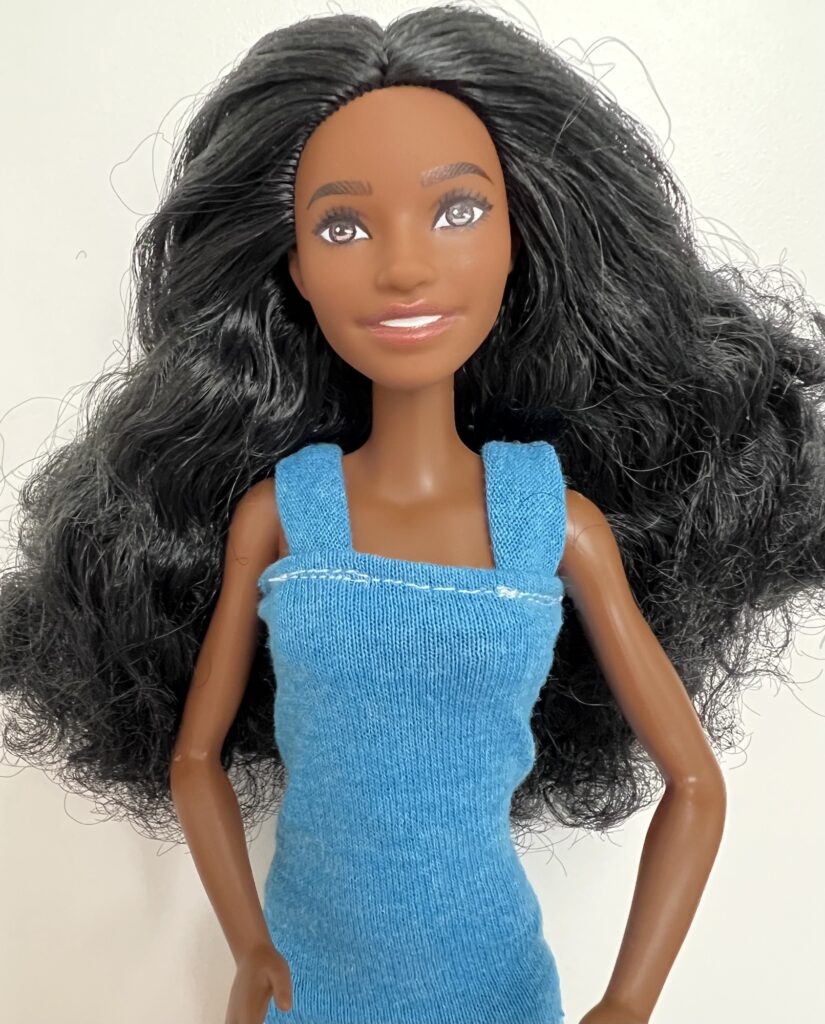
It is easy to make Barbie clothes, and this DIY Barbie tank top is a fun way to add custom clothing to your fashion doll’s wardrobe!
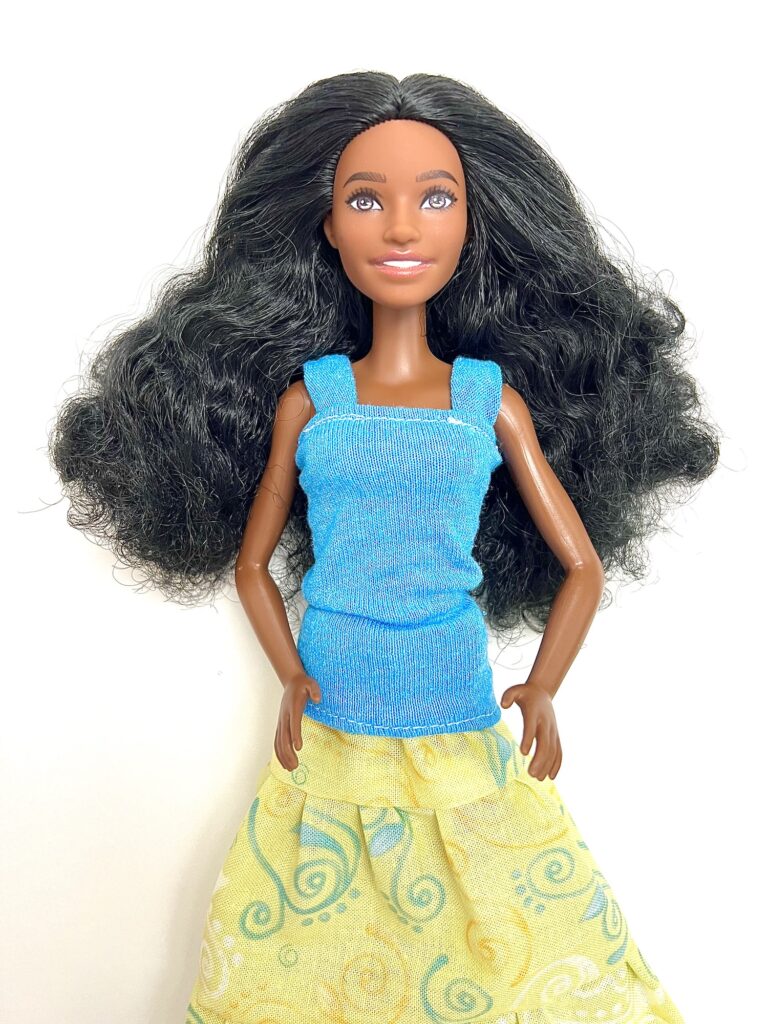
We used an old t-shirt to make this cute Barbie shirt for free! The stretchy jersey knit fabric is great for making doll shirts.
Pair this Barbie shirt with our easy ruffled skirt for Barbie or tea-length Barbie skirt to make a cute outfit!
The great thing about this sewing pattern is that you can easily use a hand needle and thread to make the top without needing a sewing machine.
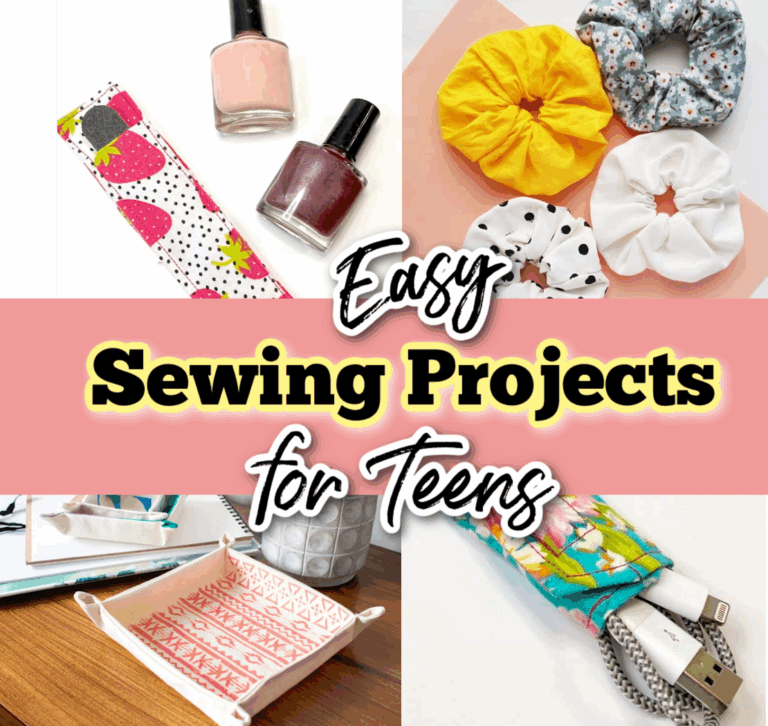
This easy DIY tank top for Barbie and other fashion dolls is just one of the many Free Barbie Sewing Patterns that we share!
How to Sew a Barbie Tank Top
Supplies
- 4 X 6 inch jersey fabric (such as t-shirt material) plus a 1 X 5 inch strip
- Matching Thread
- ½ inch wide Velcro or hook and loop tape (3 inches)
- Tailor’s Chalk or Water Soluble Ink Pen
- Sewing machine
- Hand needle (optional)
Directions
Step 1
Cut out a 4 X 6 inch piece from a stretch jersey knit, such as an old t-shirt. The 6-inch length of the pattern piece should be along the stretchiest part of the fabric.
Just stretch the t-shirt to see which direction stretches the most. Then cut the long side along the stretchy direction.
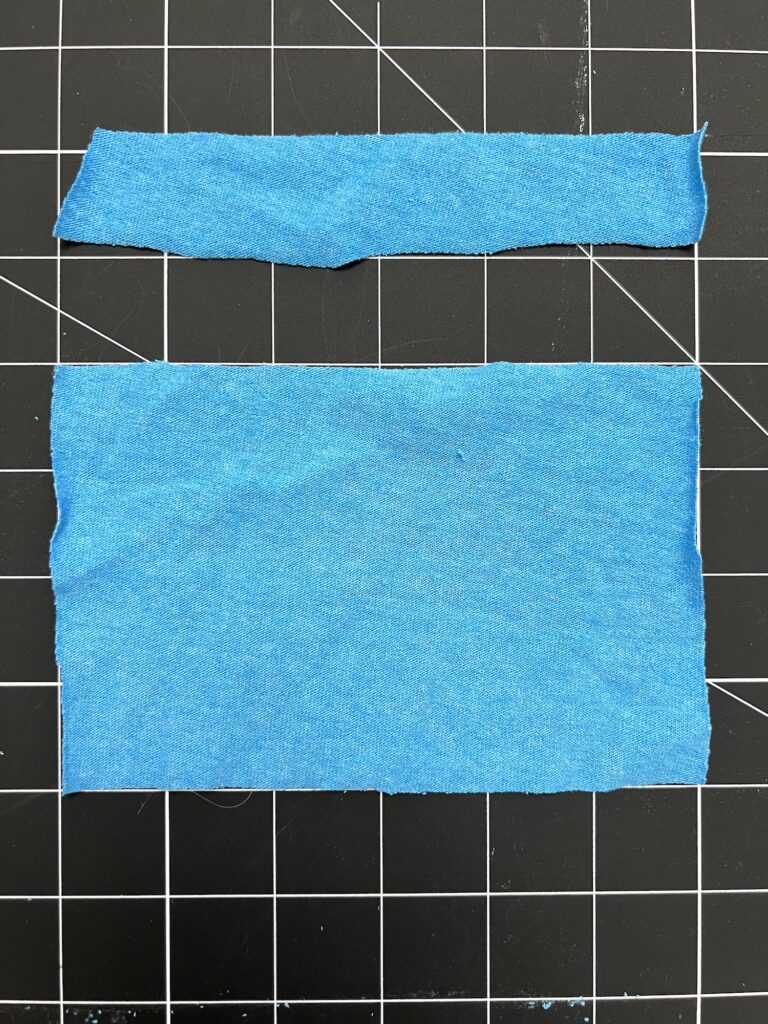
You will also want to cut another strip of knit material about 1 X 5 inches (it’s okay if it’s a little less or not perfect).
Step 2
Using the 4 X 6 inch piece of fabric, fold over the long edges ¼ inch. Do this on both of the long edges.
Then sew the seams (folded edge should be on the back or “wrong” side of the fabric). I did not use a specific seam allowance, just tried to sew close to the cut edge.
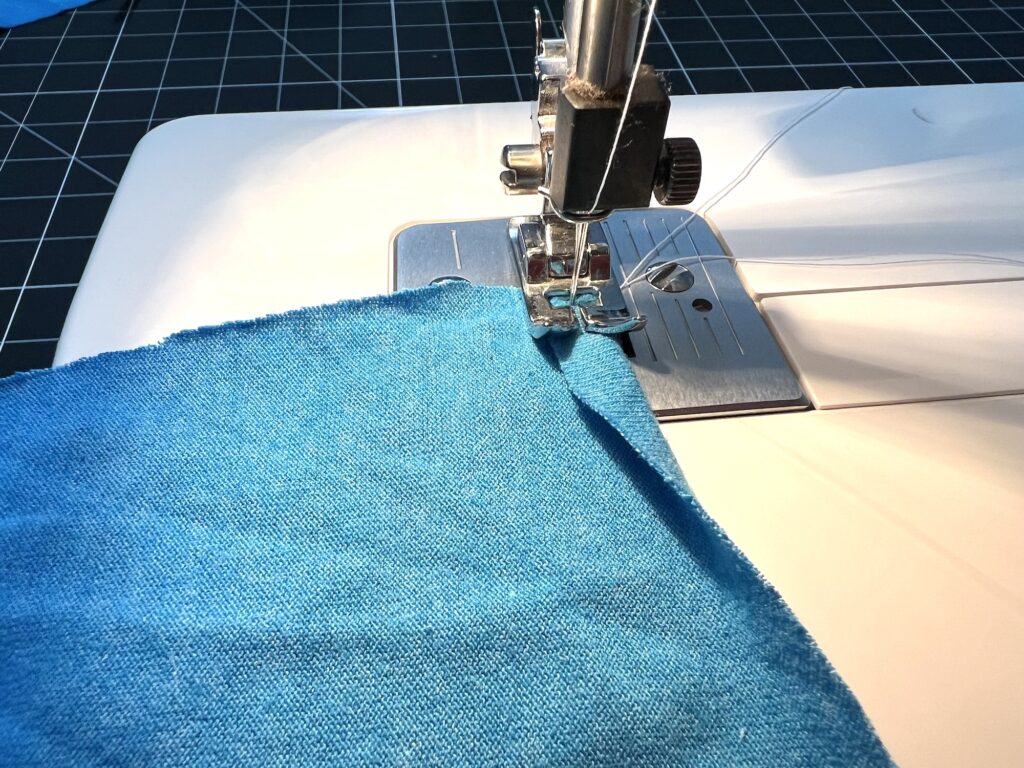
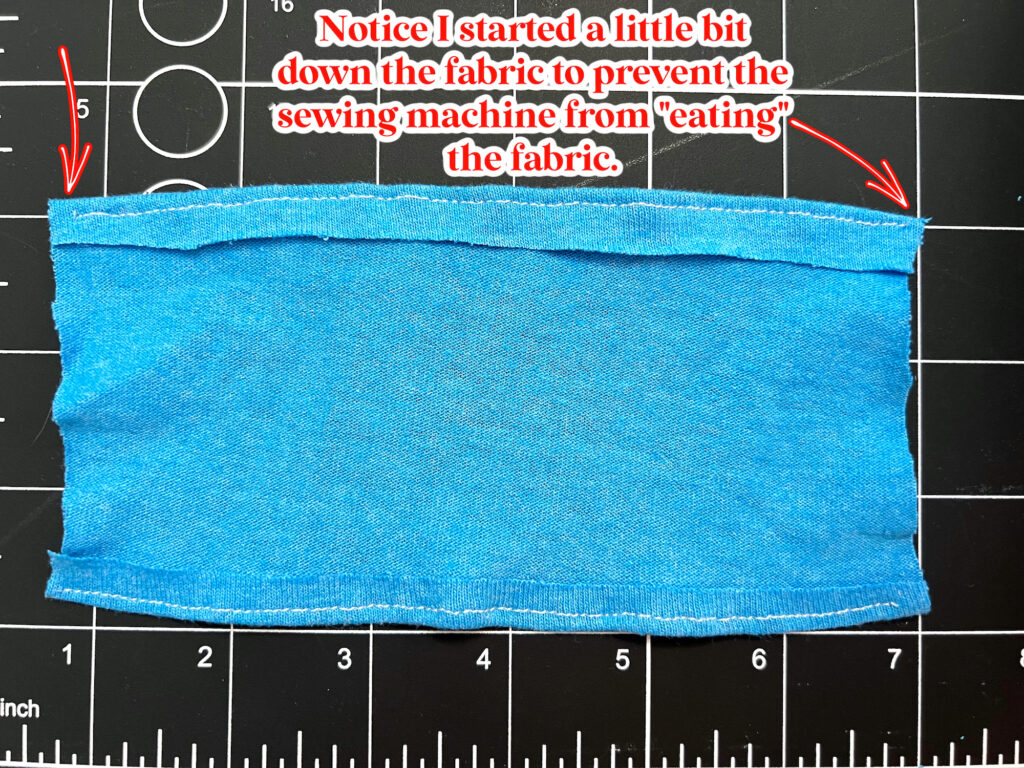
When starting your stitching, it is helpful to start a little bit down the fold (about ¼ inch), not at the edge, because the fabric will be “eaten” by the sewing machine.
Step 3
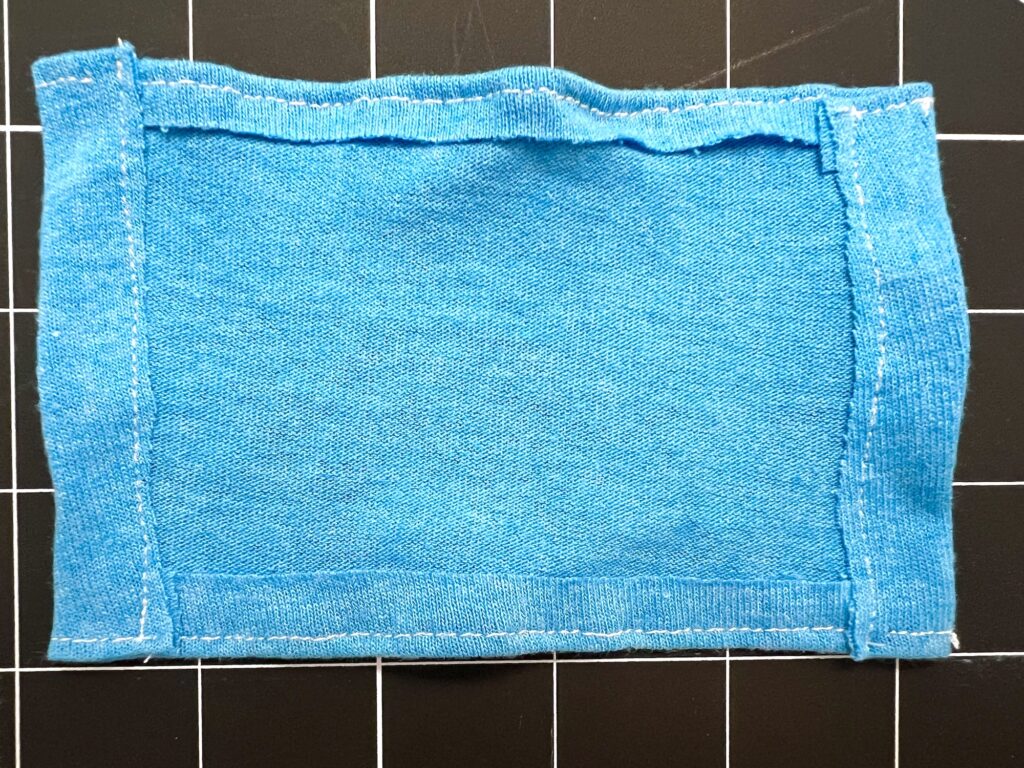
Fold over the short sides ½ inch and sew the seams close to the cut edges.
Step 4
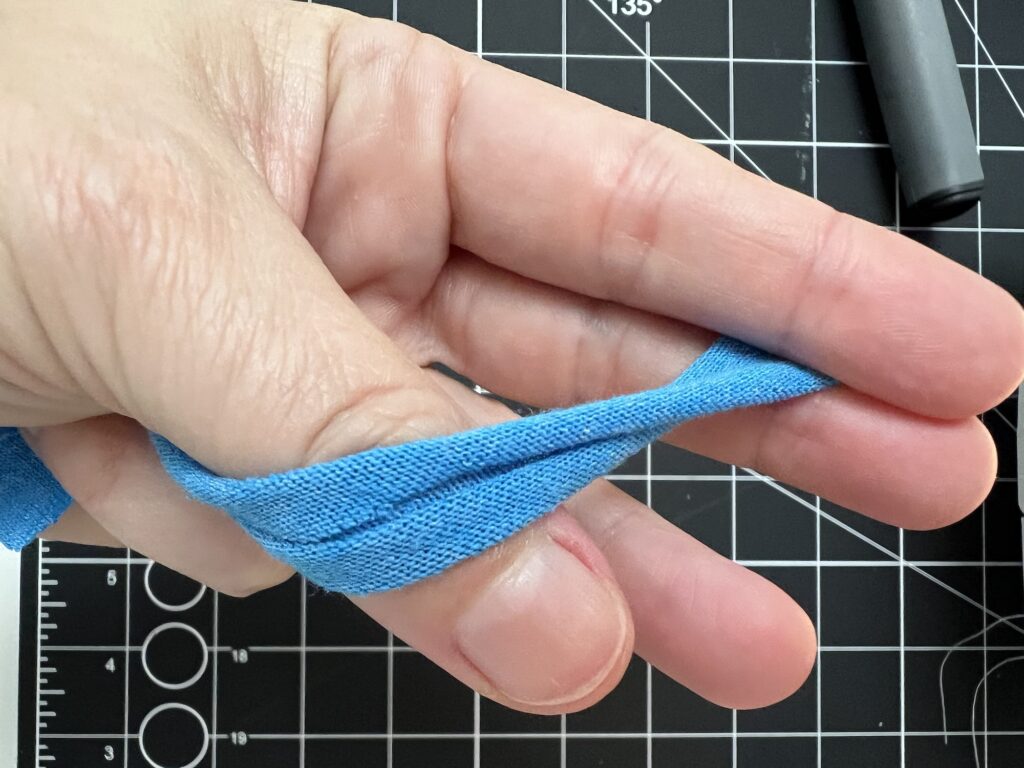
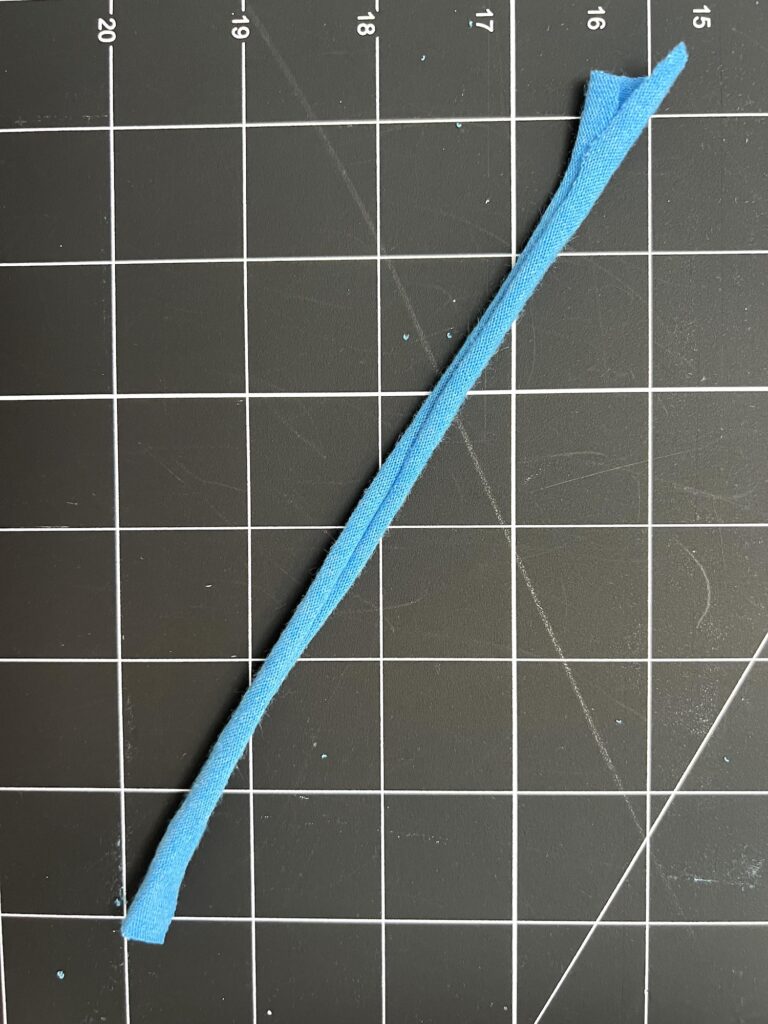
Using the long, narrow strip of of knit fabric, pull the fabric and stretch it out until it starts to curl and becomes more longer and more rope-like. The edges will start to curl under as the fabric lengthens.
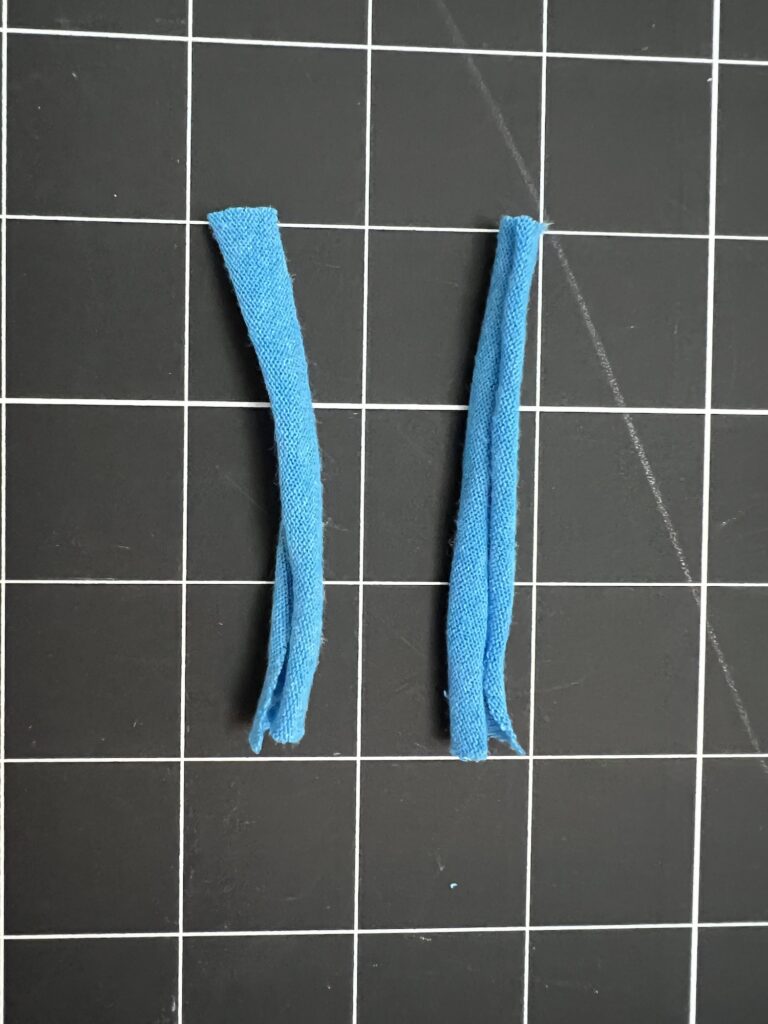
Cut two 2.5 inch lengths of the t-shirt rope.
Step 5
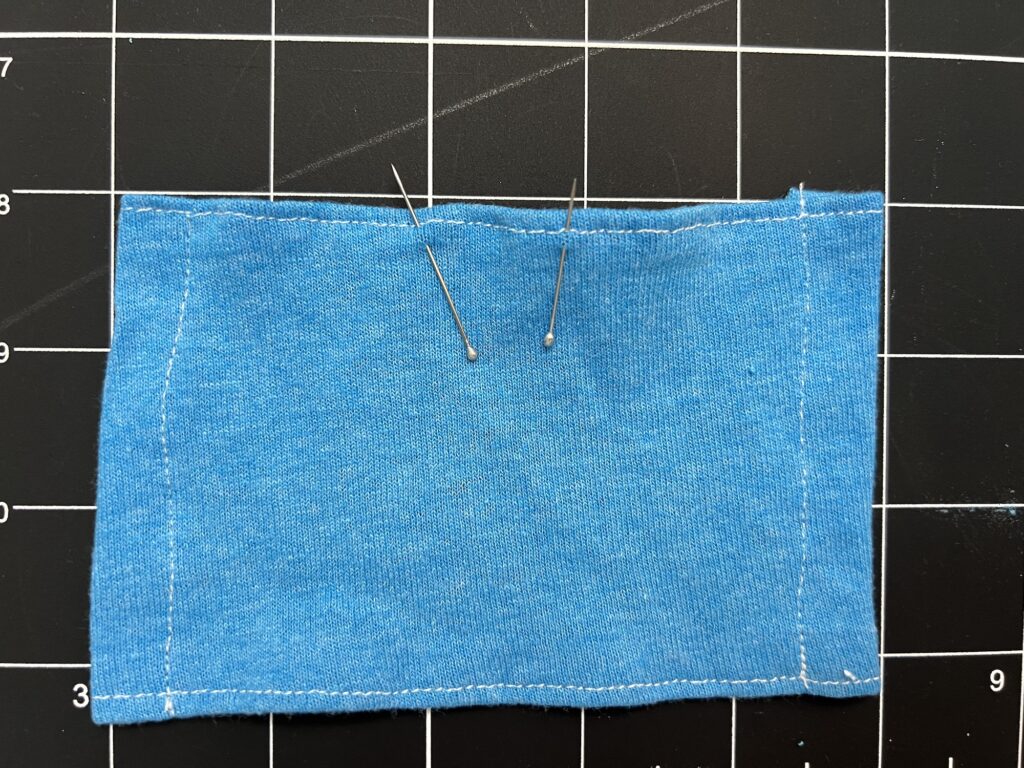
On the long side of the shirt fabric, measure from the left side of the long piece of fabric and mark the 2 inch and 3 inch points on the inside (or wrong side of the fabric). Use chalk or a vanishing ink pen.
In the photo below, I measured the two and three inch points from the left side of the fabric and pinned the placements on the right side of the fabric. That also works, too.
Lay one t-shirt rope piece on each mark, making sure the solid part of the rope is facing outwards (towards the right side of the fabric) and the folds will be facing towards the wrong side of the fabric.
Overlap the cut edge of the rope a little bit beyond the sewn seam on the shirt fabric.
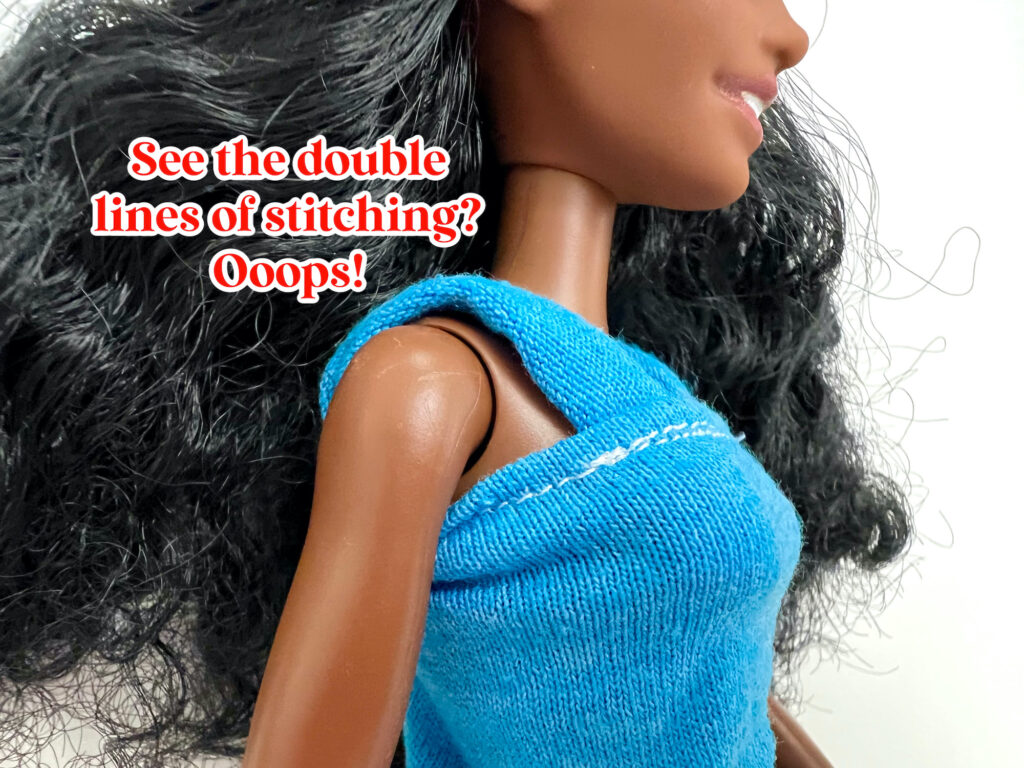
Then sew across the t-shirt rope, sewing over the existing seams to match the stitching seen on the other side of the shirt. (You don’t want there to be two visible lines of stitching on the front if you can help it.)
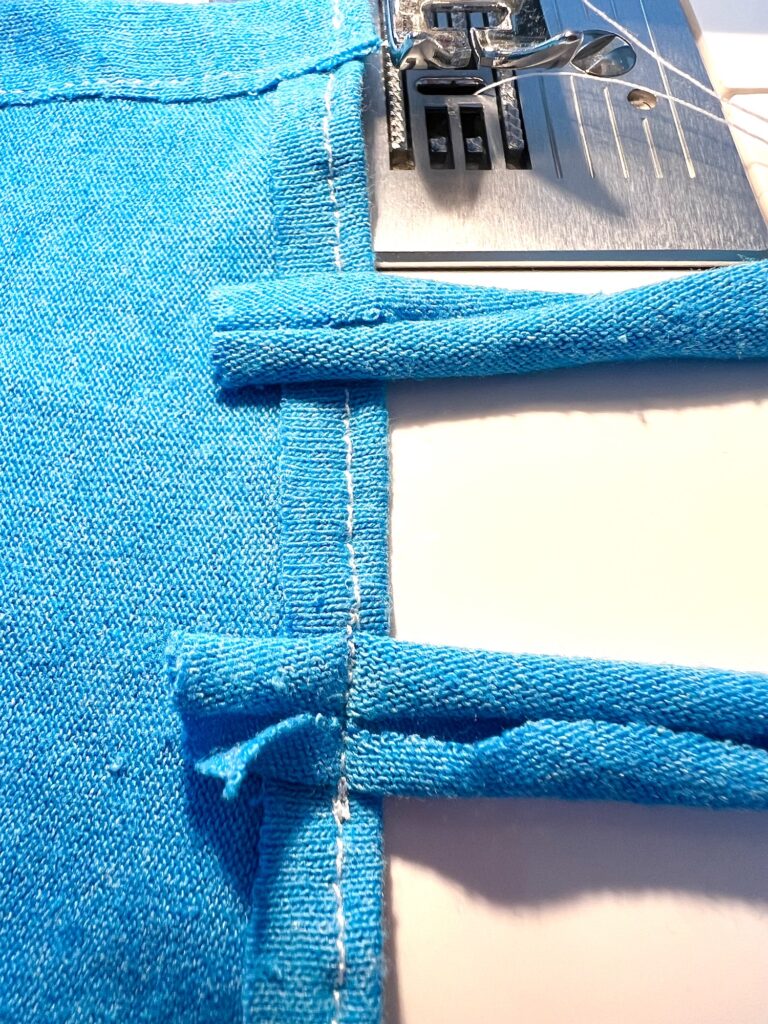
I used a white thread to show you the stitching lines, but this is why it would be best to use a matching color of thread so that you can’t see those details.
Step 6
Unfasten the hook and loop tape so that you have two pieces, one soft and one scratchy (the hooks and the loops).
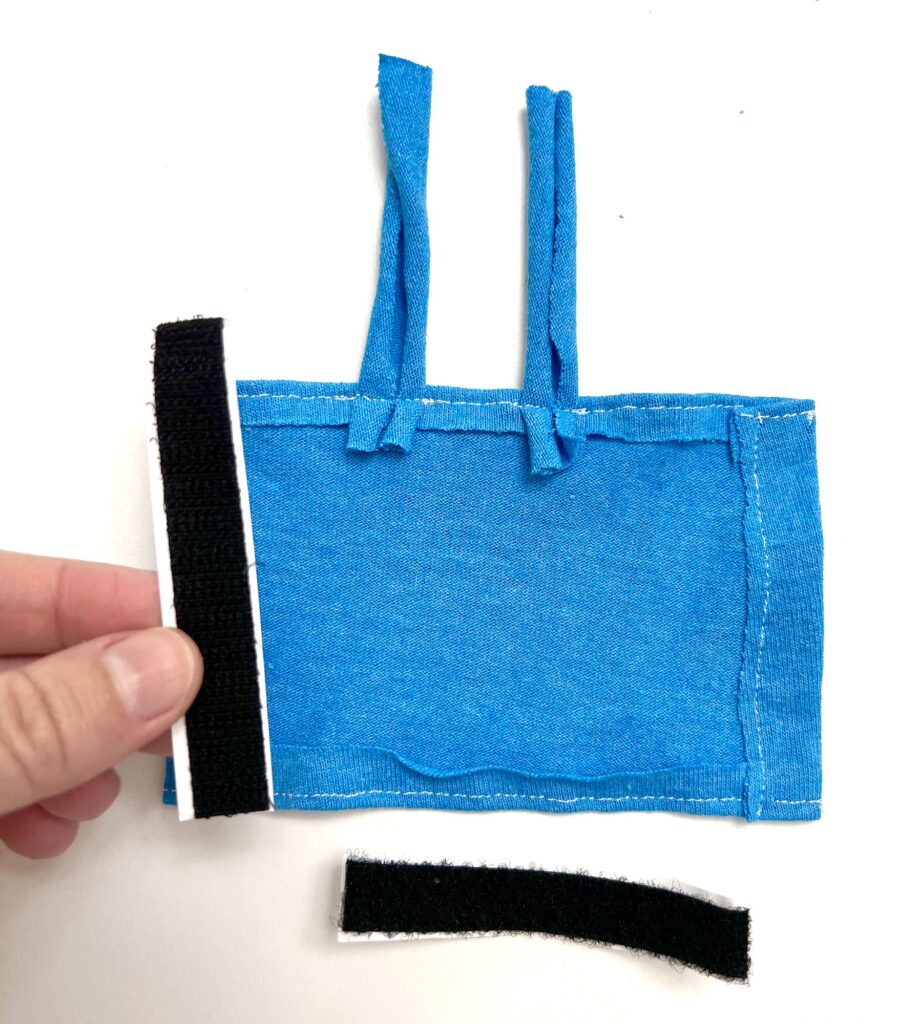
Attach one of the 3-inch pieces of Velcro or hook and loop tape on either side of the shirt.
One piece will be on the edge on the right side of the fabric and the other corresponding piece will be on the other edge on the wrong side of the fabric.
(This is important to remember because I attached my Velcro wrong the first time!)
I suggest you attach the “soft” piece on the wrong side of the fabric and the “scratchy” piece on the right side of the fabric, but that’s my personal preference.
Sew around the edges of the Velcro to attach and secure.
Helpful Tip: I had some pieces of adhesive Velcro. I used this to attach to the fabric, rather than sewing on hook and loop tape, and I am surprised at how well it is staying on! When I realized I put the tape on the wrong side, I couldn’t even tear it off! So if you are tired of sewing fiddly bits, you may want to consider adhesive tape instead.
Step 7
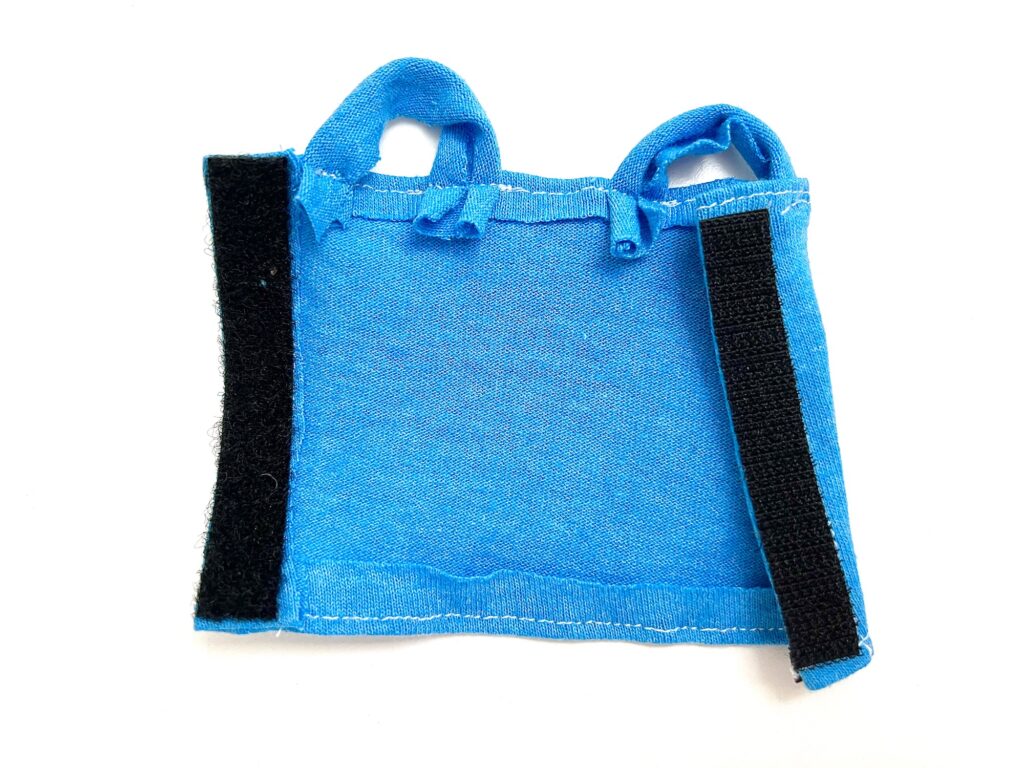
Now place the other end of each t-shirt rope along the edge of the piece of Velcro on each side and sew in place.
I suggest wrapping the tank top fabric around your Barbie doll first, then deciding how tight you need the straps, and then pinning the ropes in place before stitching.
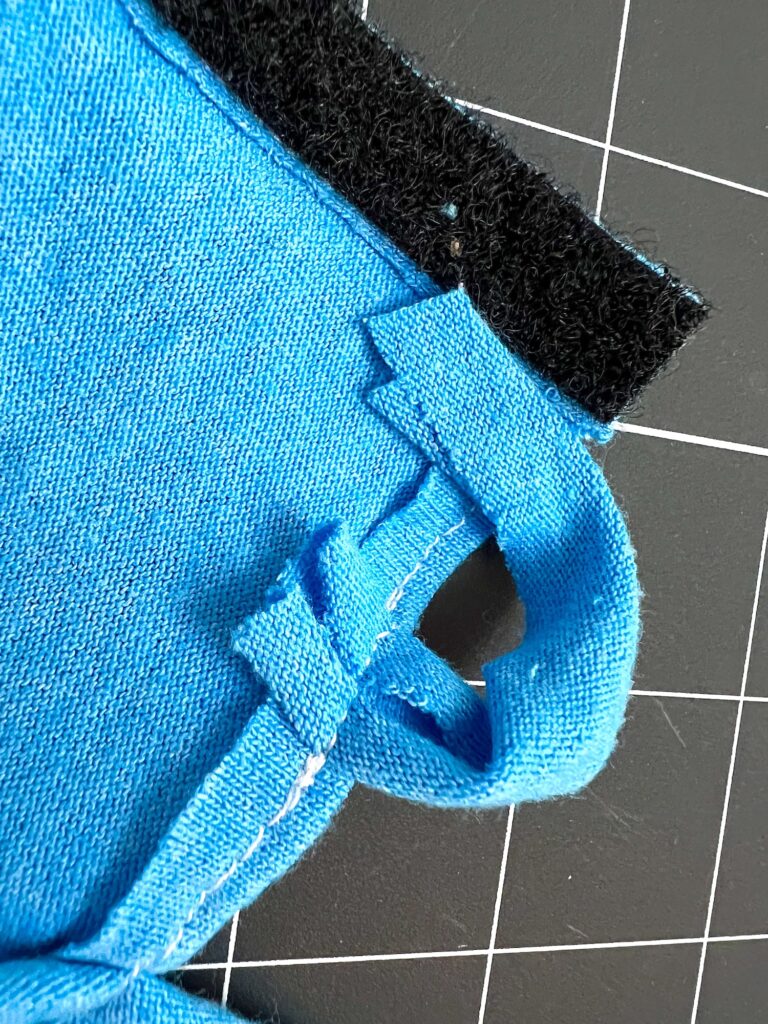
Hand stitching these ends onto the tank top is preferred because it can be difficult to get your presser foot over the Velcro and tank top strap and sew easily.
Trim off excess strap fabric on the inside.
Helpful Tips I Learned From Sewing This Barbie Tank Top
- A thicker knit jersey is better than thinner. Some t-shirts are thicker than others.
- It is easy to sew this DIY Barbie tank top with a needle and thread if you don’t have a sewing machine.
- T-shirt fabric or knit jersey fabric does not fray, so you don’t need to worry about finishing off the edges.
- I don’t specify specific seam allowances because this sewing project is so tiny. Do what feels best for you and try to keep it straight.
- I did not use a zig-zag stitch on this Barbie tank top, even though it is a knit fabric. You can use a zig-zag stitch, which allows for more stretching, if you prefer.
- A ball point needle is often recommended for stitching with jersey knit. I used a regular sewing machine needle, but you can definitely switch yours to a ball point if you prefer.
- I found that using a rotary cutter made it much easier to cut the pattern pieces. However, not everyone has a rotary cutter and you can just as easily use sewing scissors.
Save this tutorial for later! Pin it to Pinterest!
If you love this easy Barbie doll tank top, be sure to see these quick and easy Barbie clothes sewing patterns, too:
- Barbie Tube Dress (Only 1 line of stitching!)
- Easy Barbie Dress with Sleeves
- How to Sew a T-shirt for Barbie
- Barbie Bathing Suit
- How to Sew Barbie Underwear