Easiest Barbie Dress EVER! (with Video)
Your Barbie doll needs a lot of clothes, right? No fashion doll is ever complete without a varied clothing wardrobe!
However, buying new Barbie clothes can be expensive.
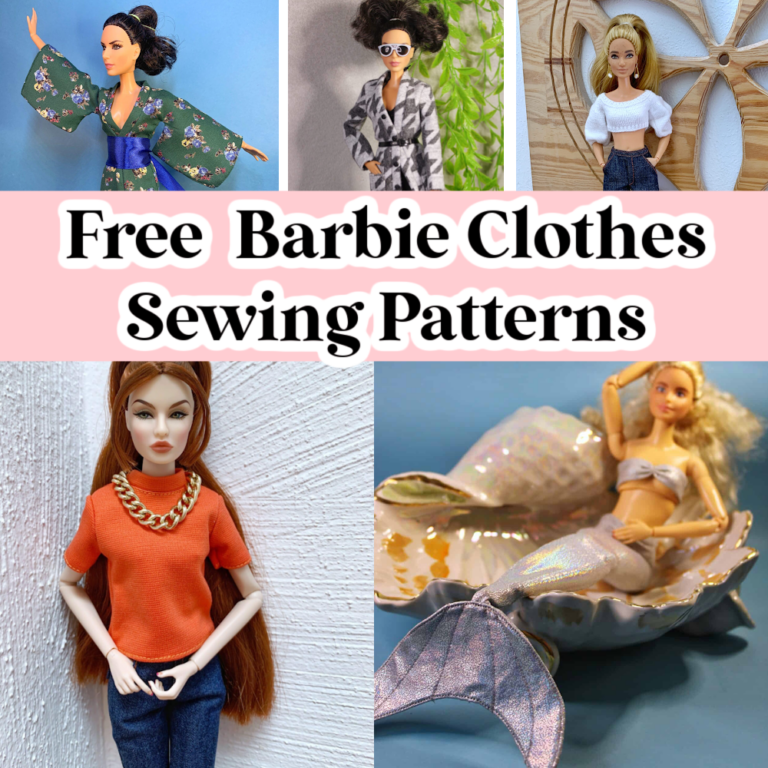
While we have a big list of free Barbie clothes sewing patterns, you may not feel like you can do some of the fancier outfits yet.
And that’s okay.
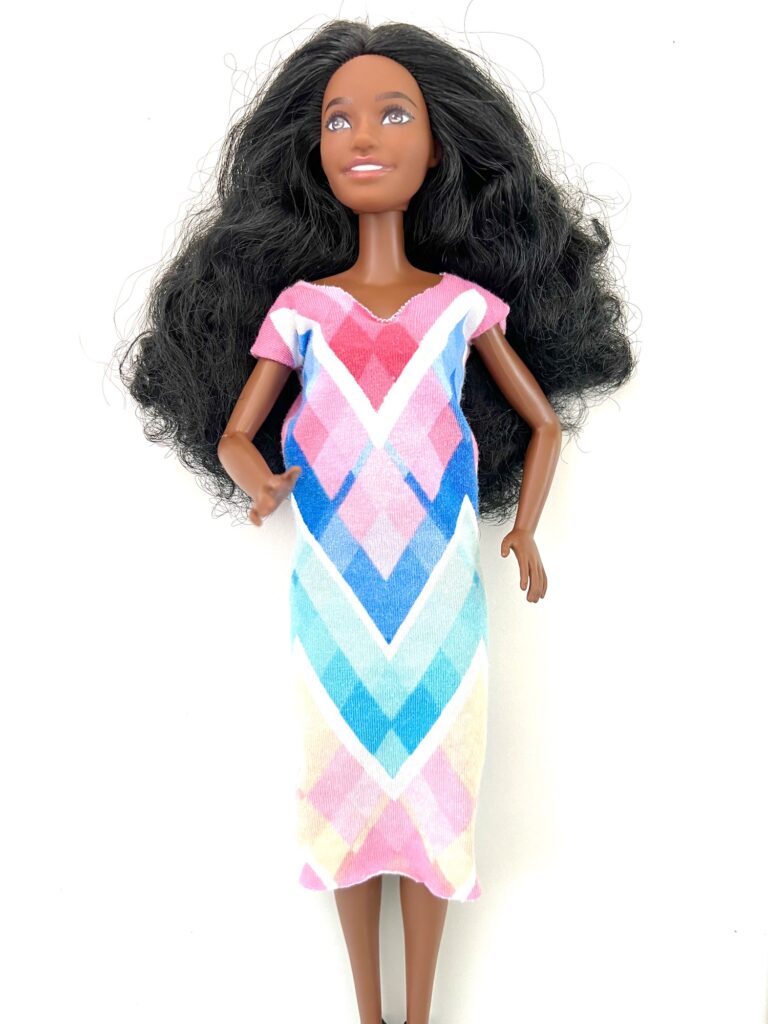
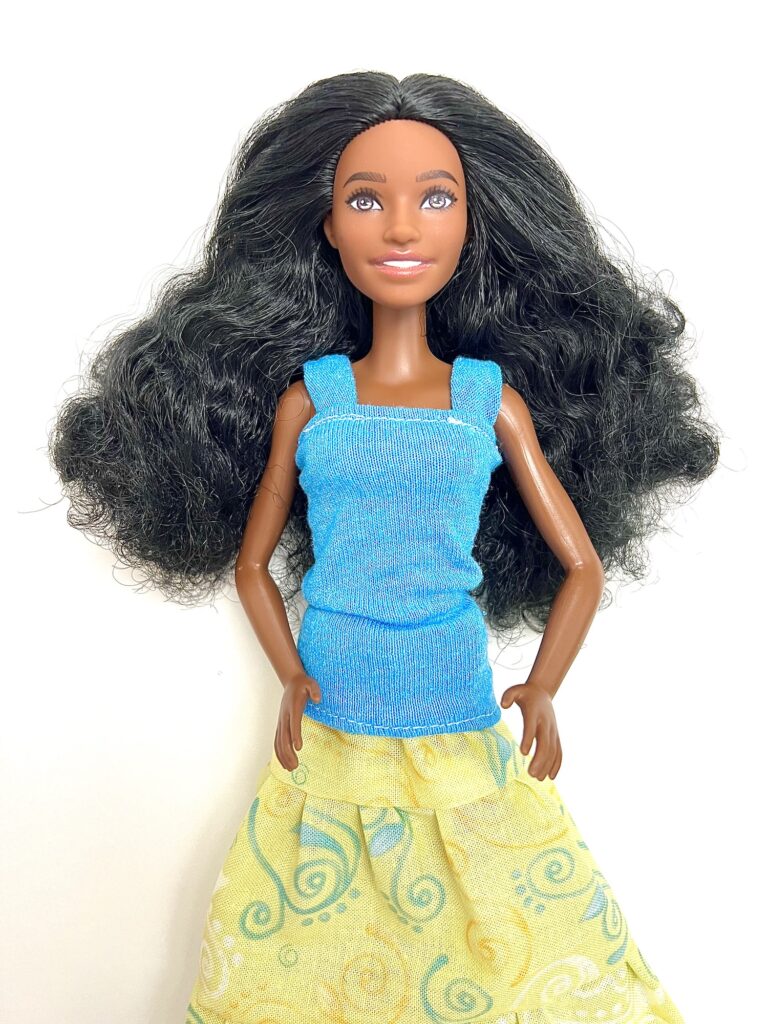
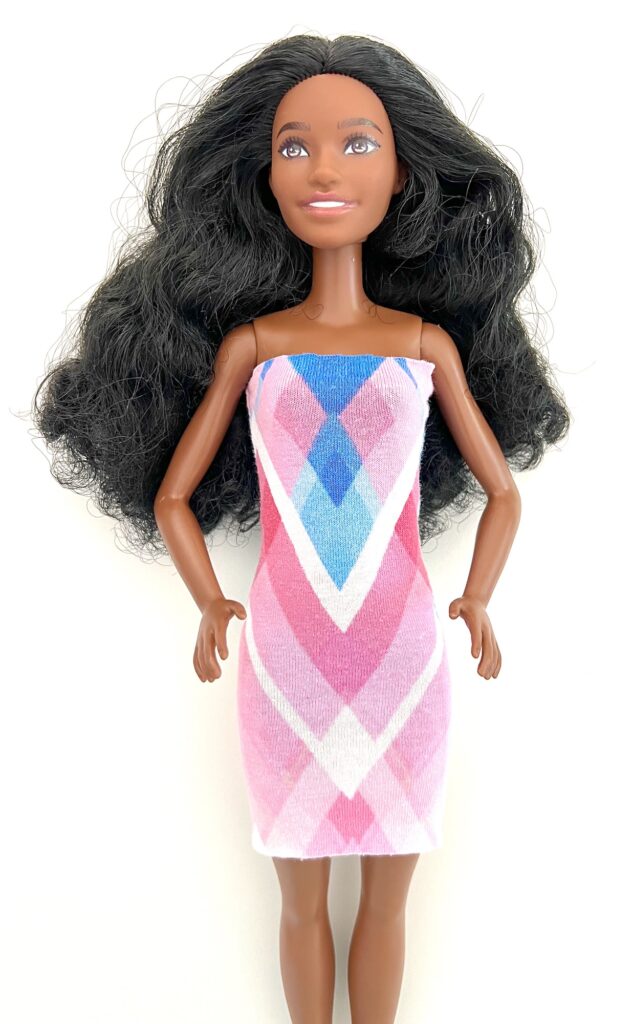
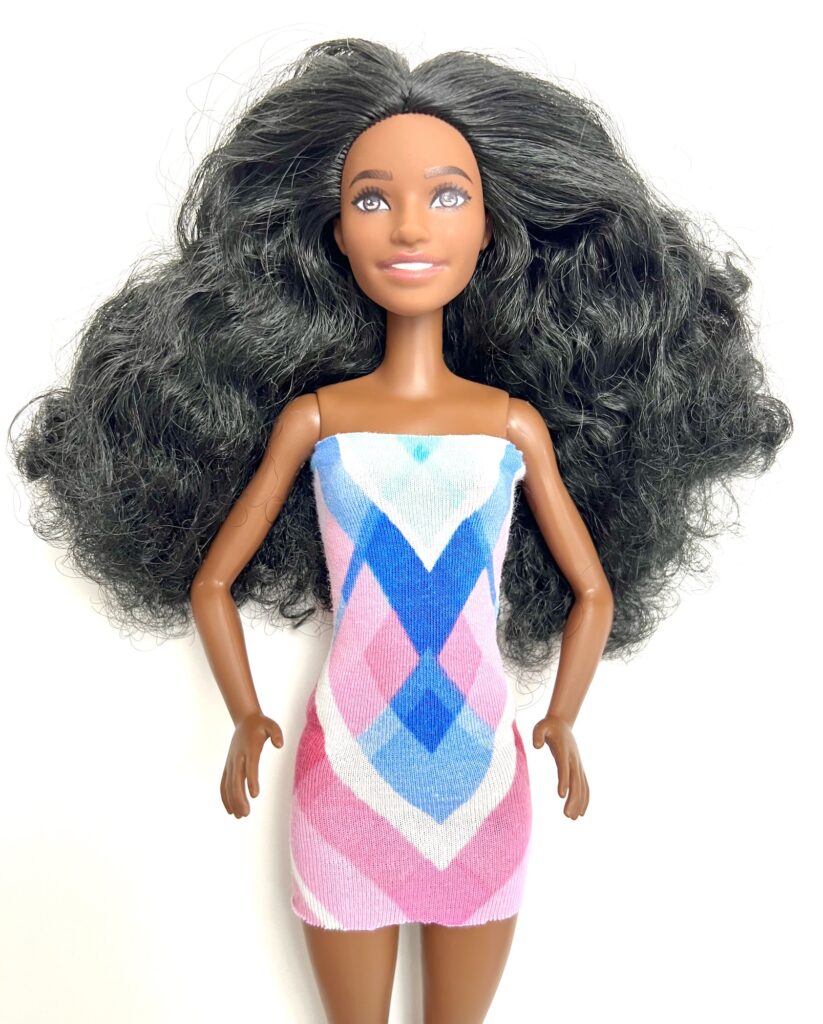
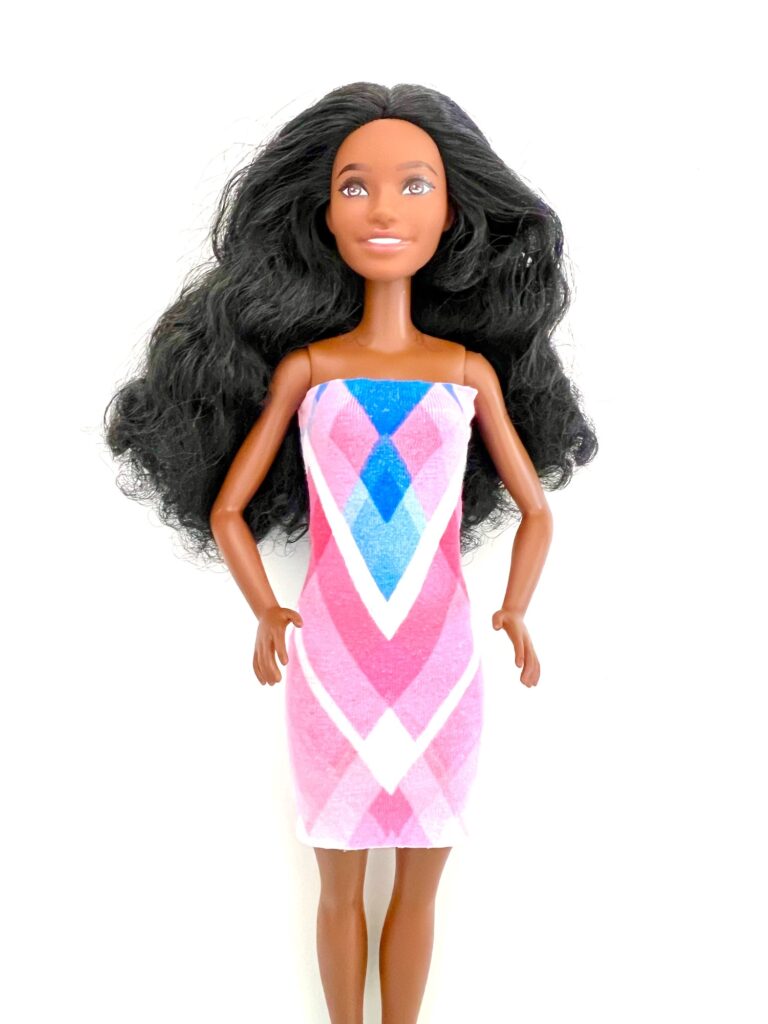
Which is why I’m so excited to show you how to make the easiest Barbie dress ever! Just sew one line of stitches and you are done!
Plus, you can use old t-shirts or leggings for scrap fabric to make these dresses. So you don’t have to pay any money for a new fashion doll wardrobe. Let’s get to it!
See our video tutorial at the end of the directions.
What Type of Fabric to Use
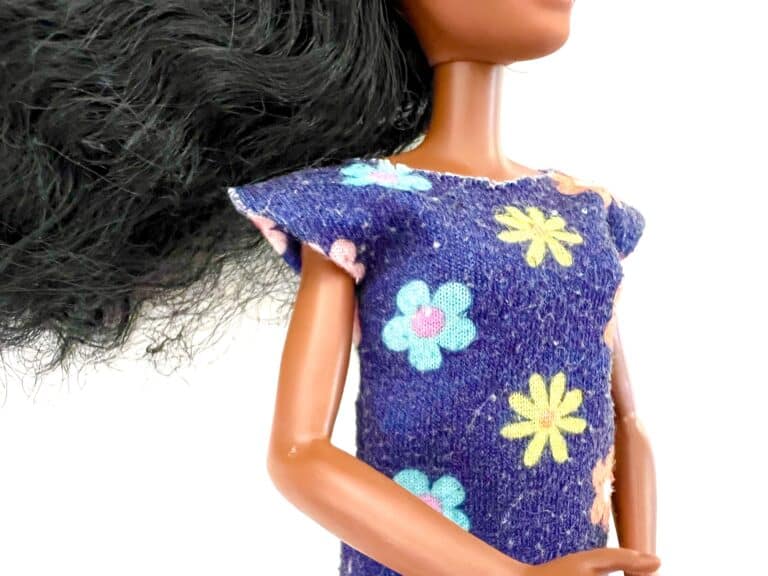
You will need to use a stretch knit fabric for this dress. That just means that the fabric needs to be stretchy (no quilter’s cotton).
Stretch knit jersey can be bought at a fabric store, but I love repurposing clothing for these dresses. Here are some great sources for upcycled knit fabrics:
- T-shirts (thicker t-shirts are better than thin ones)
- Leggings
How to Sew A Barbie Tube Dress
Supplies
- 4 X 4 inch (10 X 10 cm) stretch knit fabric (or 4 X 5 in. for a more modest dress)
- Thread
- Sewing machine
- Scissors or Rotary Cutter and Mat
Directions
Step 1
Cut the fabric.
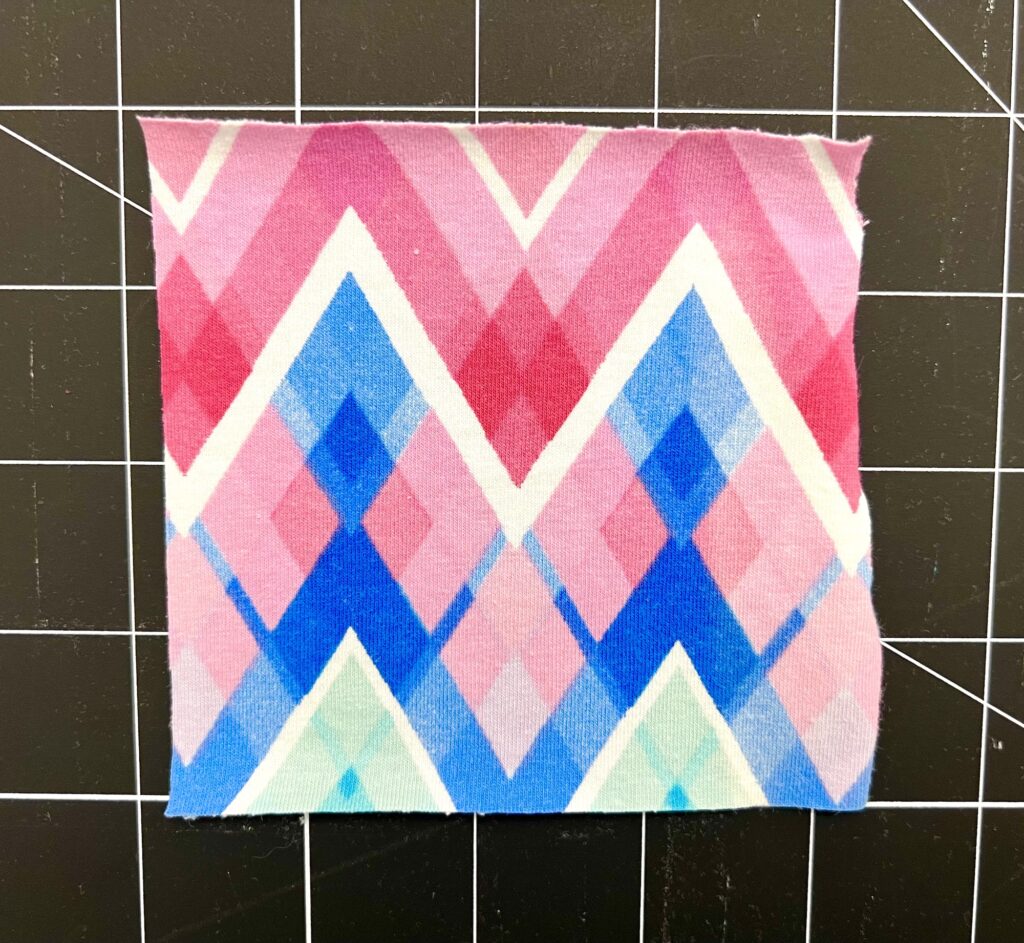
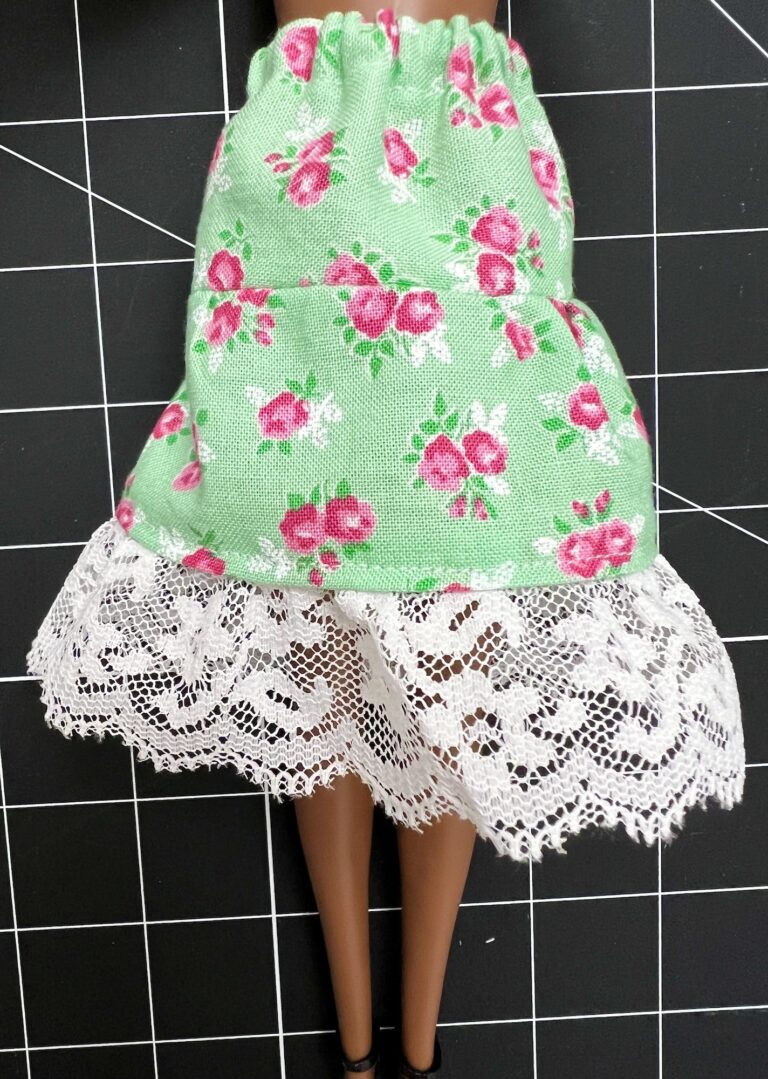
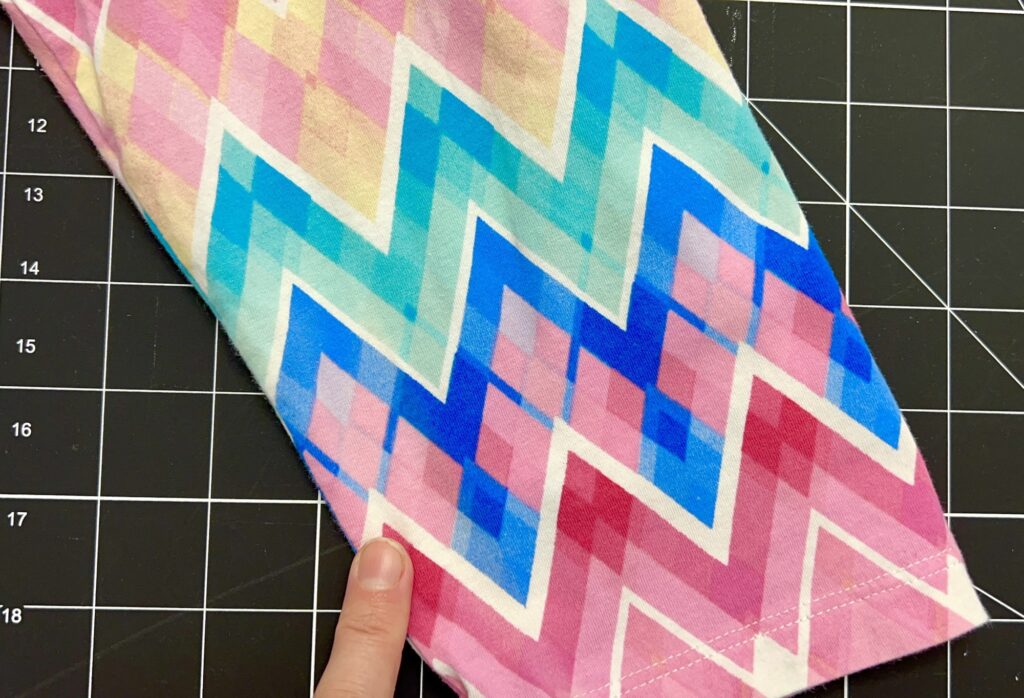
If you choose to cut a size with a longer edge to make a longer dress, keep in mind that the stretchiest part of the fabric should be the shortest side (4 inches or 10 cm). The stretchiest part is usually the width that goes across the stomach on shirts and leggings, or the selvedge side on fabric by the bolt.
If you are using a directional fabric (such as lines or plaid), keep in mind the longer side of the fabric will be the one going up and down the length of the dress.
Step 2
Fold the fabric in half, with right sides together.
If you are choosing to make a longer dress, you will want to fold the fabric in half on the shortest side (4 in / 10 cm).
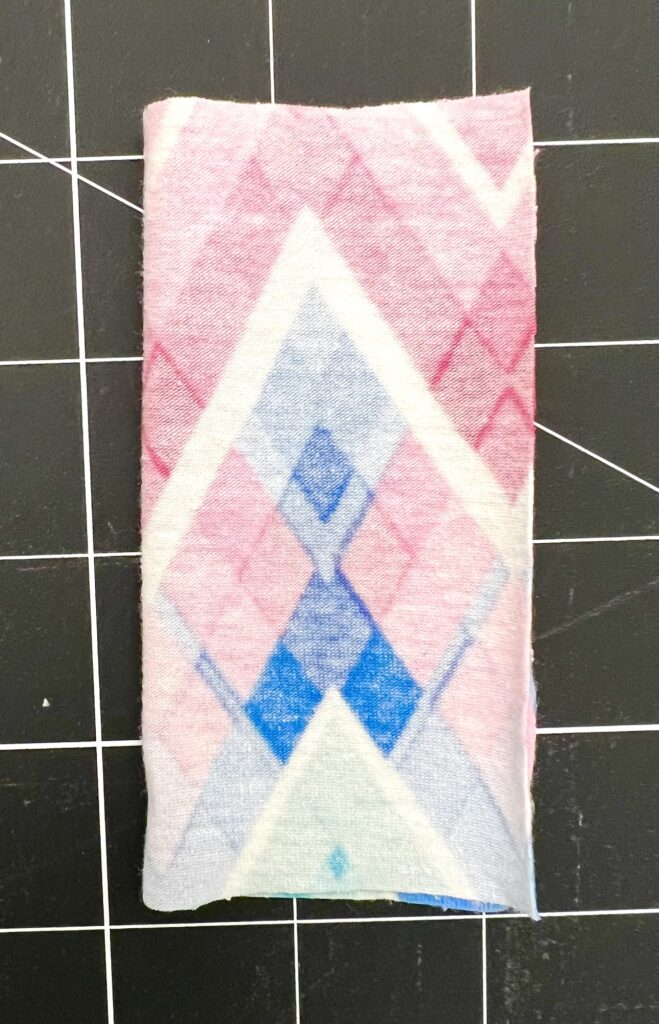
Pin fabric to secure.
Step 3
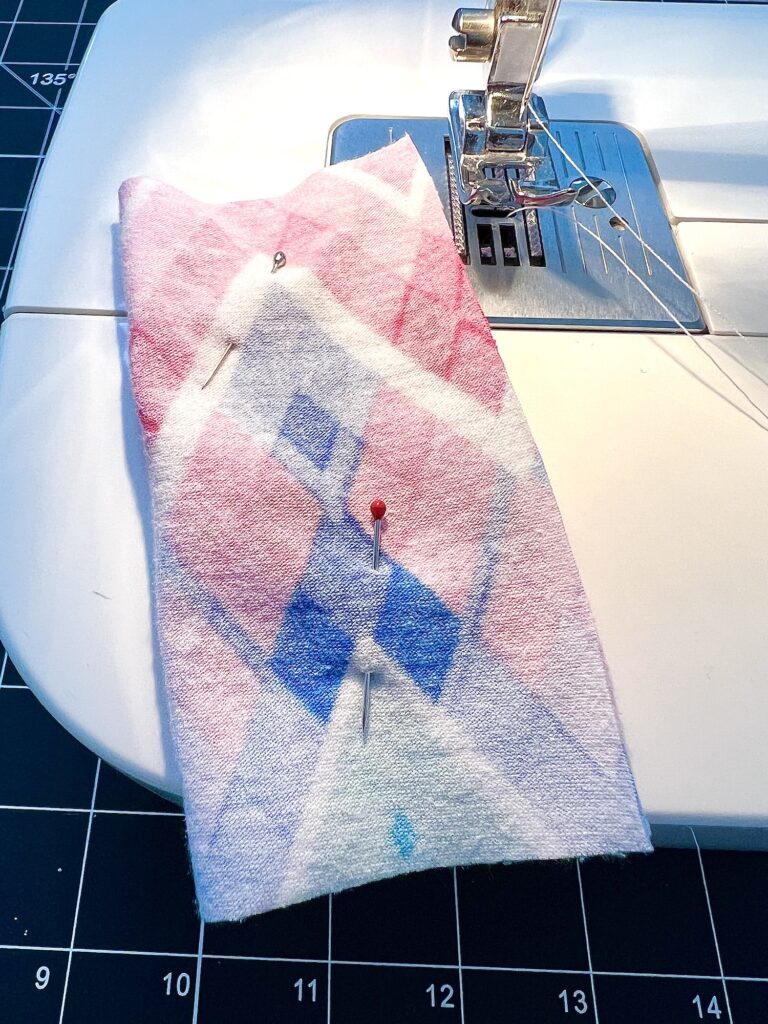
Stitch the long open edges (across from the folded edge) together using a 1/4 inch seam allowance. You can usually just use the width of your presser foot as a good judge for a 1/4 inch.
Be sure to backstitch at the beginning and ending of your stitching.
Helpful (and Necessary) Tip: These tiny bits of fabric can easily get caught under the presser foot and dragged into the bobbin thread area. If that happens, it’s okay, but not ideal.
To prevent this, I start stitching about 1/2 inch down the fabric. Then I backstitch almost to the edge, and then start stitching again. Towards the end of my stitching, I start doing a few stitches of backstitching about 1/2 inch from the edge, and then continue sewing forward.
It’s not a perfect solution, but it will save you a LOT of frustration!
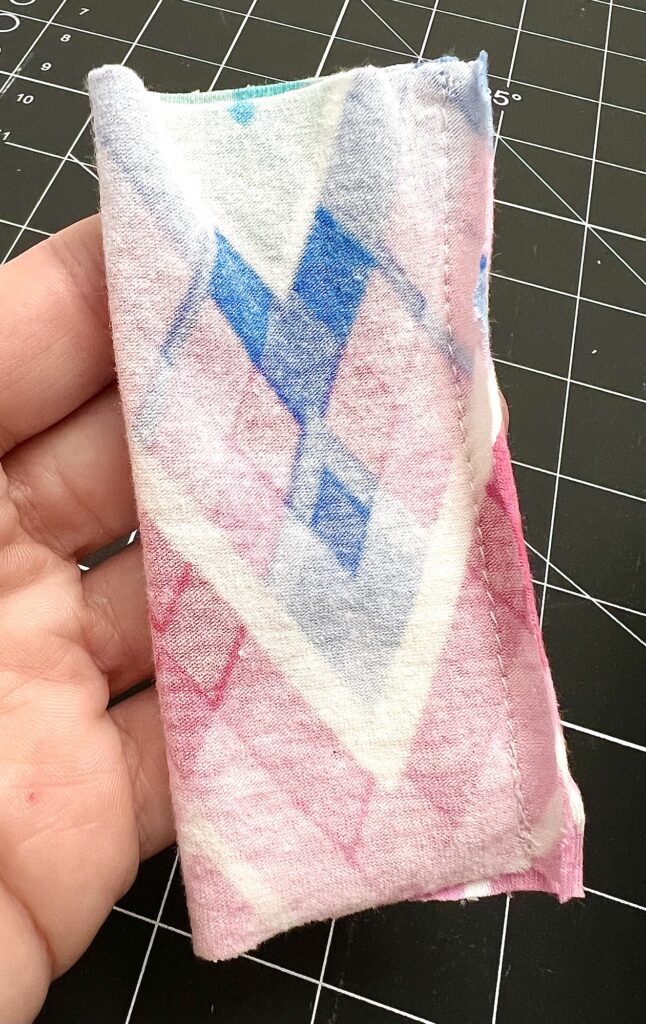
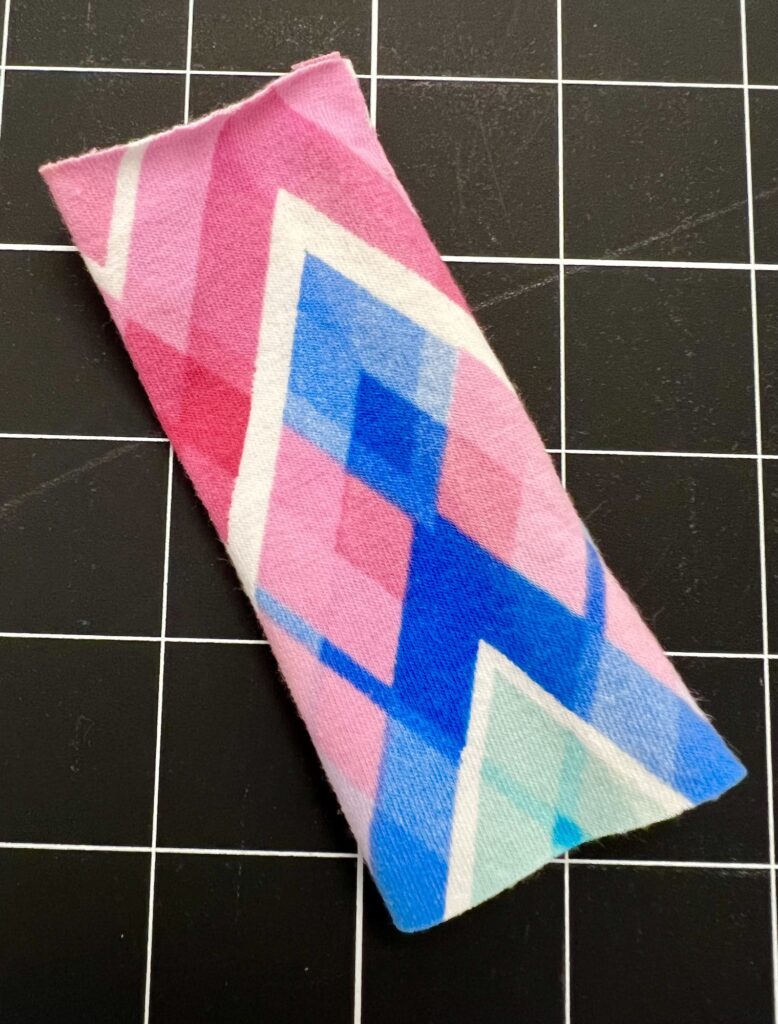
Step 4
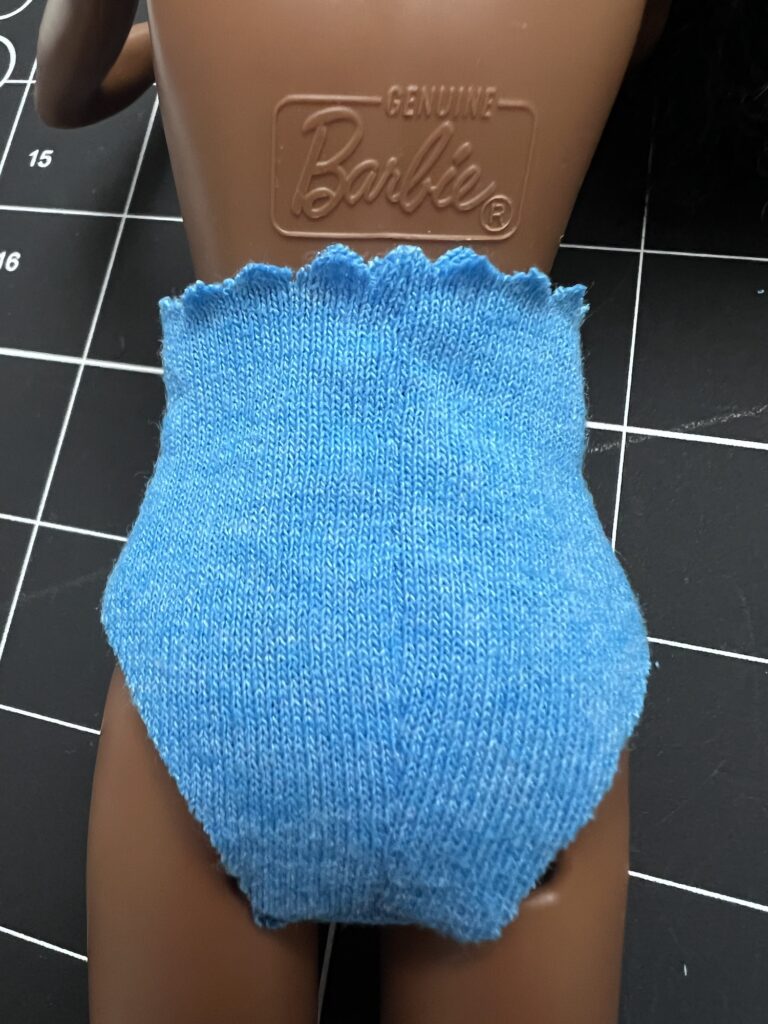
Turn the tube inside out. If the seams didn’t line up perfectly, that’s okay. Just trim the fabric to be even.
Want to watch me make this dress? Be sure to see our YouTube video:
Be sure to Pin This idea to remember for later!
If you love this easy Barbie doll dress, be sure to see these quick and easy Barbie clothes sewing patterns, too: